8
SYSTEM FUNCTIONS
POWER FAI URE MODES
Power interruptions are no problem for the U-Match system. User selections and system
parameters are stored in non-volatile memory. These parameters are retained during a power
failure. When power is returned, the slim duct system will automatically return to the last
operating mode. Or, the system can be set to power up in standby mode.
TURBO MODE
Use Turbo Mode for situations when you wish to achieve the desired room temperature in the
shortest possible time. This mode runs the unit at ultra high speeds for quickest results.
C OCK
Using the 24-hour clock feature, you can control each function in real time, for the most user-
friendly operation.
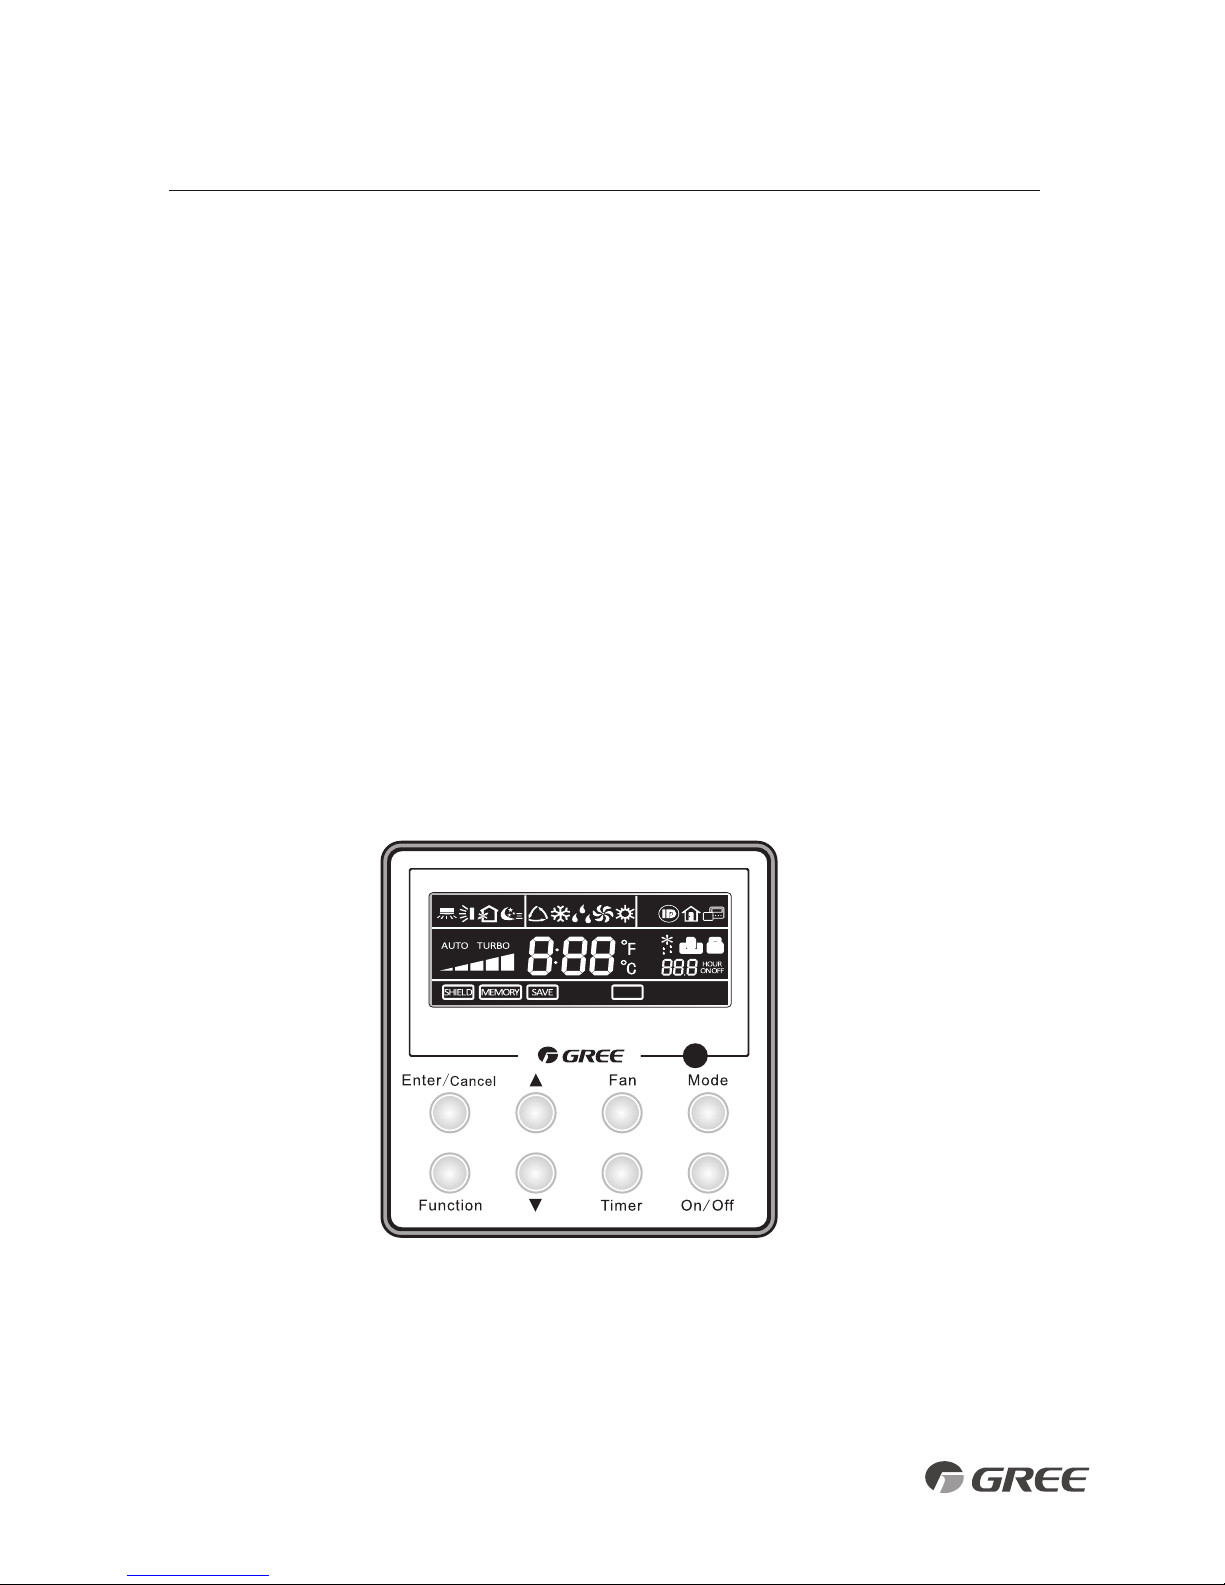
MODE BUTTON
The unit can be set to five different operating modes: HEAT, COOL, DRY, FAN ONLY and AUTO.
NOTE:
AUTO MODE has fixed setpoints of 68° F heating and 77° F cooling, which are
not adjustable. The system will automatically select heating or cooling to maintain room
temperature within this band.
DRY MODE
Select this mode to increase moisture removal during warm humid conditions. n Dry mode
the indoor fan will run at low speed during the cooling cycle. When setpoint is reached, the
indoor fan will turn off with the compressor.
TIMER MODE
The unit can be programmed to turn ON or OFF after a specific amount of time. The time period
is adjustable between one half and 24 hours.
S EEP MODE
The unit will automatically adjust room temperature during your sleep time. This slight change in
temperature will not affect your comfort level due to the natural effects that sleeping has on the
body, but it will save on energy consumption and will lower electric bills.
X-FAN MODE
When operating in humid areas, U-Match has a Dry Coil function called X-Fan that will allow the
indoor fan to run for a pre-determined amount of time after the unit is turned off (cooling or dry
modes) to ensure that additional moisture is removed from coil.

 Series User manual")