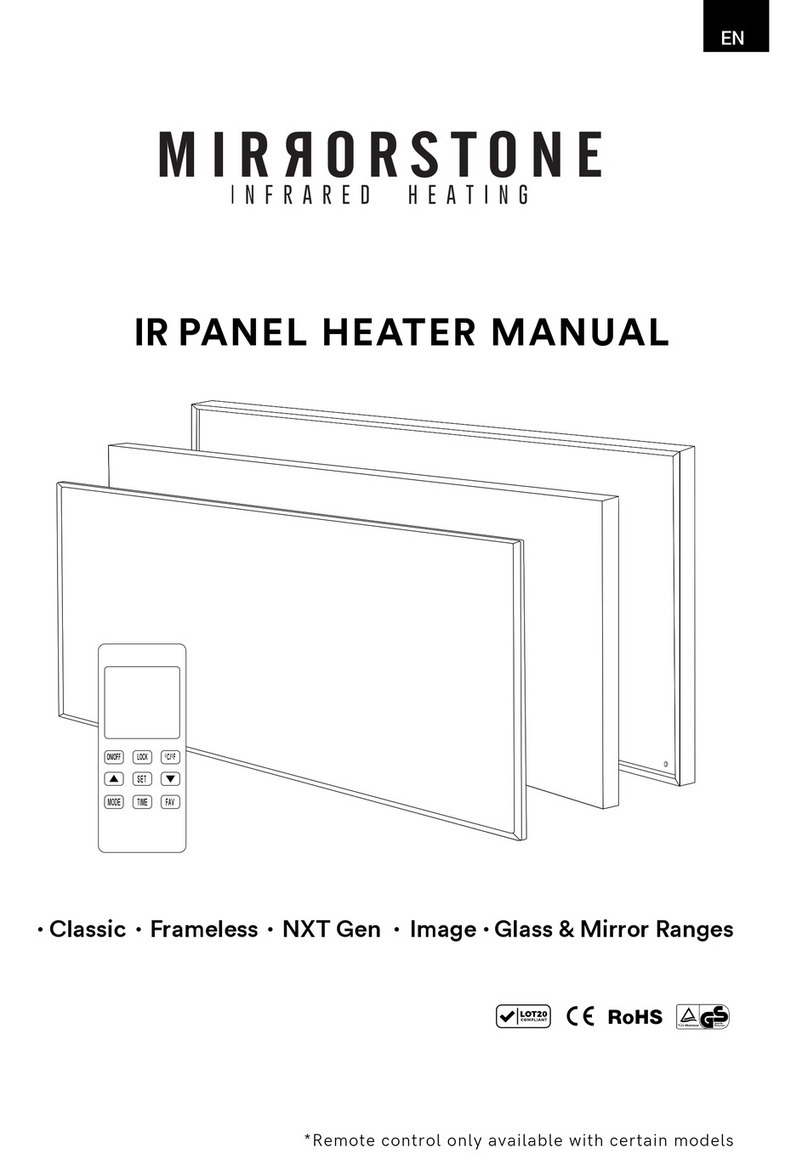
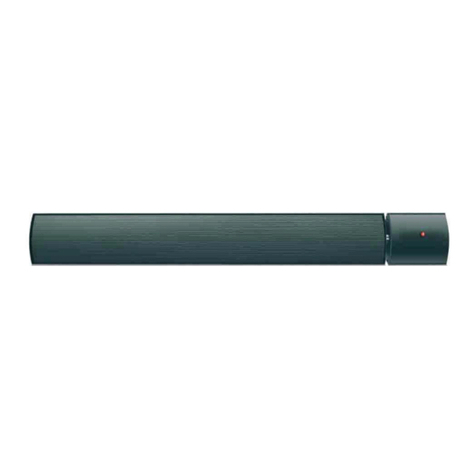
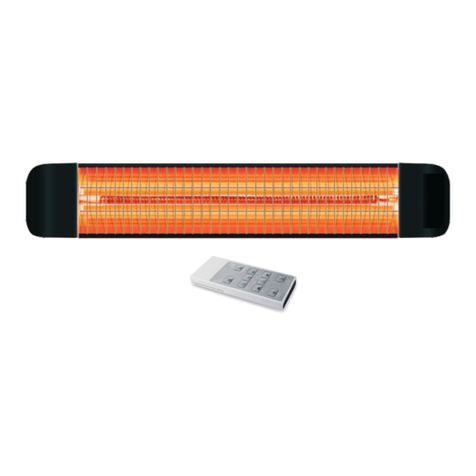
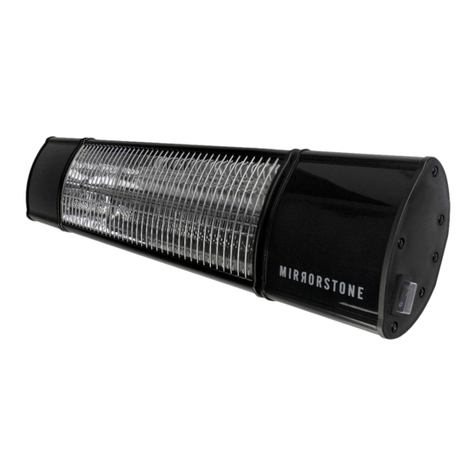
Mirrorstone MS-ZEN-12J User manual

ZENOS INFRARED BAR HEATER
MANUAL
MS-ZEN-12J/MS-ZEN-18J/MS-ZEN-24J/MS-ZEN-30J
MS-ZEN-12W/MS-ZEN-18W/MS-ZEN-24W/MS-ZEN-30W

CONTENTS
Before using your heater for the rst time
Important Safeguard
Installation Guide
Product Instructions for Non-Remote Controllable Zenos Heaters
Product Instructions for Remote Controllable Zenos Heaters
Wi-Fi Operation
Using the 7-day Timer With Your Heater
Warning
1.
2
3.
4.
5.
6.
7.
8.
3
3
6
9
11
14
17
18

EN
Zenos Infrared Bar Heater Manual 3
BEFORE USING YOUR HEATER FOR THE FIRST
TIME
Please read all the instructions in this manual carefully, even if you have prior experience of
using an infrared heater. This manual should be kept in a safe place for future reference.
Should you need to make any kind of warranty claim with the manufacturer,you will need to
make note of the complete model number (located on the product card at the back of the
heater), the date on which you received the product, and your receipt of purchase.
The various ratings listed on the product card are based on specific loading tests performed
in a controlled environment. Normal usage of use with other electrical equipment may result
in different ratings.
Upon switching the heater on for the first time,you may notice a distinct smell and light smog.
Please be aware that this is completely normal-this is simply the protective oils used on the
element to protect it during production and transport burning off. Once the heater has been
on in an open environment, any smell or smog will disappear over a short period of time.
Please abide by the following safety precautions when using the heater,in order to minimise
the risk of fire, electrical shock, injury or property damage:
IMPORTANT SAFEGUARDS
Use only the voltage specified on the product card located at the back of the heater.
Do not obstruct the front of the heater, or block the entry or exit of any airflow. There
should be a clearance of at least 30cm around the front and sides of the heater.
Do not use the product in close proximity to any other radiant heater source.
Do not use the product in close proximity to gasoline, paint or any other highly flammable
materials.
Take extra care to ensure that the heater has been off for at least 1 hour before touching it
with bare skin or moving it to another location.
Keep the heater away from all kinds of liquid, ensuring that it does not become immersed
in any liquid, as this could create an electrical shock.
Do not use the heater if the plug, power cord,or connectors become damaged in any way.
•
•
•
•
•
•
•
In the event of such an occurrence, please return the heater to a qualified electrician for
examination, adjustment, service or repair.
Do not touch the appliance with wet hands.
The most common cause of overheating is dust or fluff deposits getting stuck in the heater.
You can prolong the life and ensure the safety of your heater by disconnecting it regularly
and vacuum cleaning the air vents and grilles.
Ensure that the product is installed away from windows as any rain may cause an electrical
shock.
When cleaning the heater, only use a soft, damp cloth, and always ensure that the heater
has been disconnected from the mains before cleaning. Do not use an abrasive cleaning
cloth.
Do not connect to the main supply until the heater has been completely installed.
Do not use the heater in the immediate vicinity of any baths, showers, swimming pools, or
any other areas where there is a high concentration of water.
Do not tamper with the power cord while the heater is on.
Using an extension cord with this product is not recommended.
Please ensure that the power cord is disconnected when the heater is not on.
This heater isn’t suitable for use near long pile carpets or flokati rugs.
Do not allow the power cord to come into contact with the heater when it is on.
Do not leave the power cord loose around walkways or corridors, as this could be a trip-
ping hazard.
Do not twist, kink or wrap the cord around the heater, as this may cause the insulation to
weaken and split.
Do not store the heater away while it is still hot.
The heater is not to be used by young children,the elderly or the vulnerable without super-
vision.
Do not use the heater with more than one programmer or timer that will switch the heater
on and off automatically. The remote controllable versions come with one built in. You can
use an external one with the non remote versions.
The cover and casing are designed to protect the heating elements inside the heater,and
should not be tampered with or opened under any circumstances.
The heater may be operated by children over the age of 8 and those who suffer from
reduced physical,sensory or mental capabilities, provided they are supervised or have a
complete understanding of the operation and general hazards involved with using the
heater. Children should not play with the heater, and should not carry out any cleaning or
maintenance of the heater.
Children younger than 8 should not use the heater in any capacity, whether they are super-
vised or unsupervised.
The outer surface of the heater can get very hot and cause burns if contact is made with
the skin for prolonged periods of time. Please pay attention when children or vulnerable
people are present.
The heater should be installed at a minimum of 2.2 metres from the floor.
Should the power cord become damaged, it must be returned to the manufacturer, or be
repaired by a qualified electrician.
The heater should not be used in confined spaces with occupants who are unable to leave
the room on their own.
•
•
•
•
•
•
•
•
•
•
•
•
•
•
•
•
•
•
•
•
•
•
•
•

Use only the voltage specified on the product card located at the back of the heater.
Do not obstruct the front of the heater, or block the entry or exit of any airflow. There
should be a clearance of at least 30cm around the front and sides of the heater.
Do not use the product in close proximity to any other radiant heater source.
Do not use the product in close proximity to gasoline, paint or any other highly flammable
materials.
Take extra care to ensure that the heater has been off for at least 1 hour before touching it
with bare skin or moving it to another location.
Keep the heater away from all kinds of liquid, ensuring that it does not become immersed
in any liquid, as this could create an electrical shock.
Do not use the heater if the plug, power cord,or connectors become damaged in any way.
•
•
•
•
•
•
•
In the event of such an occurrence, please return the heater to a qualified electrician for
examination, adjustment, service or repair.
Do not touch the appliance with wet hands.
The most common cause of overheating is dust or fluff deposits getting stuck in the heater.
You can prolong the life and ensure the safety of your heater by disconnecting it regularly
and vacuum cleaning the air vents and grilles.
Ensure that the product is installed away from windows as any rain may cause an electrical
shock.
When cleaning the heater, only use a soft, damp cloth, and always ensure that the heater
has been disconnected from the mains before cleaning. Do not use an abrasive cleaning
cloth.
Do not connect to the main supply until the heater has been completely installed.
Do not use the heater in the immediate vicinity of any baths, showers, swimming pools, or
any other areas where there is a high concentration of water.
Do not tamper with the power cord while the heater is on.
Using an extension cord with this product is not recommended.
Please ensure that the power cord is disconnected when the heater is not on.
This heater isn’t suitable for use near long pile carpets or flokati rugs.
Do not allow the power cord to come into contact with the heater when it is on.
Do not leave the power cord loose around walkways or corridors, as this could be a trip-
ping hazard.
Do not twist, kink or wrap the cord around the heater, as this may cause the insulation to
weaken and split.
Do not store the heater away while it is still hot.
The heater is not to be used by young children,the elderly or the vulnerable without super-
vision.
Do not use the heater with more than one programmer or timer that will switch the heater
on and off automatically. The remote controllable versions come with one built in. You can
use an external one with the non remote versions.
The cover and casing are designed to protect the heating elements inside the heater,and
should not be tampered with or opened under any circumstances.
The heater may be operated by children over the age of 8 and those who suffer from
reduced physical,sensory or mental capabilities, provided they are supervised or have a
complete understanding of the operation and general hazards involved with using the
heater. Children should not play with the heater, and should not carry out any cleaning or
maintenance of the heater.
Children younger than 8 should not use the heater in any capacity, whether they are super-
vised or unsupervised.
The outer surface of the heater can get very hot and cause burns if contact is made with
EN
Zenos Infrared Bar Heater Manual 4
the skin for prolonged periods of time. Please pay attention when children or vulnerable
people are present.
The heater should be installed at a minimum of 2.2 metres from the floor.
Should the power cord become damaged, it must be returned to the manufacturer, or be
repaired by a qualified electrician.
The heater should not be used in confined spaces with occupants who are unable to leave
the room on their own.
•
•
•
•
•
•
•
•
•
•
•
•
•
•
•
•
•
•
•
•
•
•
•
•

Use only the voltage specified on the product card located at the back of the heater.
Do not obstruct the front of the heater, or block the entry or exit of any airflow. There
should be a clearance of at least 30cm around the front and sides of the heater.
Do not use the product in close proximity to any other radiant heater source.
Do not use the product in close proximity to gasoline, paint or any other highly flammable
materials.
Take extra care to ensure that the heater has been off for at least 1 hour before touching it
with bare skin or moving it to another location.
Keep the heater away from all kinds of liquid, ensuring that it does not become immersed
in any liquid, as this could create an electrical shock.
Do not use the heater if the plug, power cord,or connectors become damaged in any way.
•
•
•
•
•
•
•
In the event of such an occurrence, please return the heater to a qualified electrician for
examination, adjustment, service or repair.
Do not touch the appliance with wet hands.
The most common cause of overheating is dust or fluff deposits getting stuck in the heater.
You can prolong the life and ensure the safety of your heater by disconnecting it regularly
and vacuum cleaning the air vents and grilles.
Ensure that the product is installed away from windows as any rain may cause an electrical
shock.
When cleaning the heater, only use a soft, damp cloth, and always ensure that the heater
has been disconnected from the mains before cleaning. Do not use an abrasive cleaning
cloth.
Do not connect to the main supply until the heater has been completely installed.
Do not use the heater in the immediate vicinity of any baths, showers, swimming pools, or
any other areas where there is a high concentration of water.
Do not tamper with the power cord while the heater is on.
Using an extension cord with this product is not recommended.
Please ensure that the power cord is disconnected when the heater is not on.
This heater isn’t suitable for use near long pile carpets or flokati rugs.
Do not allow the power cord to come into contact with the heater when it is on.
Do not leave the power cord loose around walkways or corridors, as this could be a trip-
ping hazard.
Do not twist, kink or wrap the cord around the heater, as this may cause the insulation to
weaken and split.
Do not store the heater away while it is still hot.
The heater is not to be used by young children,the elderly or the vulnerable without super-
vision.
Do not use the heater with more than one programmer or timer that will switch the heater
on and off automatically. The remote controllable versions come with one built in. You can
use an external one with the non remote versions.
The cover and casing are designed to protect the heating elements inside the heater,and
should not be tampered with or opened under any circumstances.
The heater may be operated by children over the age of 8 and those who suffer from
reduced physical,sensory or mental capabilities, provided they are supervised or have a
complete understanding of the operation and general hazards involved with using the
heater. Children should not play with the heater, and should not carry out any cleaning or
maintenance of the heater.
Children younger than 8 should not use the heater in any capacity, whether they are super-
vised or unsupervised.
The outer surface of the heater can get very hot and cause burns if contact is made with
the skin for prolonged periods of time. Please pay attention when children or vulnerable
people are present.
The heater should be installed at a minimum of 2.2 metres from the floor.
Should the power cord become damaged, it must be returned to the manufacturer, or be
repaired by a qualified electrician.
The heater should not be used in confined spaces with occupants who are unable to leave
the room on their own.
•
•
•
•
•
•
•
•
•
•
•
•
•
•
•
•
•
•
•
•
•
•
•
•
EN
Zenos Infrared Bar Heater Manual 5

EN
Zenos Infrared Bar Heater Manual 6
INSTALLATION GUIDE
These holes at the back of the bar heater are not
for the screws, they allow air to ow.
The brackets have a notch, the one with the
notch goes into the bar heater, without the
notch goes into the wall.
2x Brackets with notch 2x Brackets without
notch

EN
Zenos Infrared Bar Heater Manual 7
Use the screws provided to install two of the brackets to the back of the heater, as
shown in Fig. A.
Use the screw provided to install two of the brackets to the wall or ceiling, as shown in
Fig. B.
Connect the brackets on the back of the heater to the brackets on the wall at your
desired angle, using the wing nuts provided to fix them, as shown in Fig. C.
For ceiling installation:the distance between the side of the heater and the wall should be at
least 100mm, as shown in Fig. 1.
(Spare parts purchased separately)
For a double installation,both heaters are mounted through a connecting frame, which is
installed on the ceiling, as shown in Fig.2.
Step 1:
Step 2:
Step 3:

EN
Zenos Infrared Bar Heater Manual 8
For wall installations,the height from the floor should be at least 1.8 metres,as shown in Fig.3.
For suspended installation,the heater will hook up to the suspension cables and hang from
the ceiling, as shown in Fig.4.

PRODUCT INSTRUCTIONS FOR NON-REMOTE
CONTROLLABLE ZENOS HEATERS
EN
Zenos Infrared Bar Heater Manual 9
Before first use,please read this manual carefully.
When removing the heater from the box, please take care to ensure that you do not
damage the heater, and that you retain the box for storage purposes.
Install the heater according to the instructions provided in the manual.
The heater should be connected to its own power supply, as it should not share a circuit
with other high-power appliances,otherwise the circuit may overload.
Make sure the heater is OFF before adjusting it. Once plugged in, turn the heater on and
the power indicator will light up.
To turn off the heater, ensure the power indicator is off,and then unplug the power plug.
Please be aware that the front of the heater does get very hot when in operation, so
please take care to ensure you do not touch the heater when it is on.
1.
1.1
1.2
1.3
2.
3.
4.
Outer casing Heating Plate Indicator Light
Model
MS-ZEN-12J
MS-ZEN-18J
MS-ZEN-24J
MS-ZEN-30J
Power
1200W
1800W
2400W
3000W
Length(mm)
940
1240
1540
1840
Height(mm)
150
150
150
150
Depth(mm)
67
67
67
67
Product Size
Power Indicator
When you require any service or repair, contact your local service centre or qualified
electrician.
Should the power cord become damaged, it must be replaced by a qualified electrician or
the manufacturer.
This heater is not intended for use by children or vulnerable people without supervision.
5.
6.
7.

EN
Zenos Infrared Bar Heater Manual 10
Before first use,please read this manual carefully.
When removing the heater from the box, please take care to ensure that you do not
damage the heater, and that you retain the box for storage purposes.
Install the heater according to the instructions provided in the manual.
The heater should be connected to its own power supply, as it should not share a circuit
with other high-power appliances,otherwise the circuit may overload.
Make sure the heater is OFF before adjusting it. Once plugged in, turn the heater on and
the power indicator will light up.
To turn off the heater, ensure the power indicator is off,and then unplug the power plug.
Please be aware that the front of the heater does get very hot when in operation, so
please take care to ensure you do not touch the heater when it is on.
1.
1.1
1.2
1.3
2.
3.
4.
When you require any service or repair, contact your local service centre or qualified
electrician.
Should the power cord become damaged, it must be replaced by a qualified electrician or
the manufacturer.
This heater is not intended for use by children or vulnerable people without supervision.
5.
6.
7.

EN
Zenos Infrared Bar Heater Manual 11
PRODUCT INSTRUCTIONS FOR REMOTE
CONTROLLABLE ZENOS HEATERS
Outer casing Heating Plate Control Box
Model
MS-ZEN-12W
MS-ZEN-18W
MS-ZEN-24W
MS-ZEN-30W
Power
1200W
1800W
2400W
3000W
Length(mm)
940
1240
1540
1840
Height(mm)
150
150
150
150
Depth(mm)
67
67
67
67
Product Size
Circuit Diagram
Remote Control
1.Power on/off buttons
2.Temperature button
3.Timer button
4.Child lock button
5.High/Low switch buttons
6.Up button
7.Down button
8.Set button
Please note: That the remote control is only available with MS-ZEN-12W, MS-ZEN-18W,
MS-ZEN-24W and MS-ZEN-30W models. If you have purchased a non-remote Zenos Heater,
you will not receive a remote control in the box.

Before first use, please read the following points carefully.
When removing the heater from the box,please take care to ensure that you do not
damage the heater,and that you retain the box for storage purposes.
Install the heater according to the instructions provided in this manual.
The heater should be connected to its own power supply, and should not share a circuit
with other high-power appliances, otherwise the circuit may overload.
Switching the heater on:
Please ensure that the power switch located on the side of the heater is in the Off
position before connecting to your electrical supply.
To switch the heater on, put the power switch on the side of the heater into the On
position. The display light on the front of the heater will light up, and display the current
room temperature.
To lock the heater ,press the Set button, followed by the Child lock button. You will see a
square lock icon on the screen, and none of the buttons will be operational while it is
locked. To unlock the heater,you can simply repeat the process
To toggle the screen on and off, press the Set button twice. The screen will power off. To
turn the screen back on, simply press the Set button twice again.
To use the automatic temperature control feature,press the Temp. button. You will see a
temperature flashing on screen that you can adjust up and down using the Up/Down
button. The maximum temperature you can set is 45, and the lowest temperature you
can set is 50C. If your desired temperature is lower than the current room tempera-
ture,the heater will not emit any heat. If the desired temperature is higher than the
current room temperature, the heater will begin emitting heat, and you will see the
lights appear on the screen below the temperature display.
To use the timer setting, press the Timer button again while you are setting your desired
temperature. You will see a “00” flashing on the screen, along with a clock icon on the
screen. Use the Up/Down button on the remote control to change the amount of time in
hours that you would like the heater to be operational for. You can select any duration
between 0 hours and 24 hours, in 1-hour increments. Once you are happy with your
selection, simply leave the heater for a few seconds, and it will save your settings.
By default, the heater comes with open window detection, where if the heater detects a
drop in temperature by 3or more within a 2 minute time window, it will automatically
switch off to conserve energy and increase efficiency. When this happens,the display will
flash and there will be a clicking sound. To override this, simply use the remote and to
switch the heater back on.
To reset the Wi-Fi setting on the heater, press Set,then Down. The Wi-Fi symbol will start
rapidly flashing on screen.
To toggle between High Power and Low power,press the High/Low switch button. The
indicator on the screen will switch from a full sun (High power) to a half sun (Low power)
1
1.1
1.2
1.3
2.
2.1
2.2
2.3
2.4
2.5
2.6
2.7
2.8
2.9
EN
Zenos Infrared Bar Heater Manual 12
to tell you which setting it is on.
To put the heater in standby, press the Set button twice. The display will switch off except
for the high power and low power symbol. Press the Set button twice again to switch the
heater back on.
Please be aware that this heater will get hot whilst in use. To prevent injury, do not touch
the heater when it is on,and allow at least 1 hour after disconnecting from the power
supply before touching it.
For repairs and servicing, please get in contact with your local repair centre or a qualified
electrician.
If there is any damage to the power cord, you must stop using the heater immediately,
and get it repaired from either a local repair centre or a qualified electrician.
This heater is not to be used by children or other vulnerable people without supervision
from an adult.
If there is any damage to the power cord,you must stop using the heater
immediately,and get it repaired from either a local repair centre or a qualified electrician.
This heater is not to be used by children or other vulnerable people without supervision.
3.
4.
5.
6.
7.
8.
9.

Before first use, please read the following points carefully.
When removing the heater from the box,please take care to ensure that you do not
damage the heater,and that you retain the box for storage purposes.
Install the heater according to the instructions provided in this manual.
The heater should be connected to its own power supply, and should not share a circuit
with other high-power appliances, otherwise the circuit may overload.
Switching the heater on:
Please ensure that the power switch located on the side of the heater is in the Off
position before connecting to your electrical supply.
To switch the heater on, put the power switch on the side of the heater into the On
position. The display light on the front of the heater will light up, and display the current
room temperature.
To lock the heater ,press the Set button, followed by the Child lock button. You will see a
square lock icon on the screen, and none of the buttons will be operational while it is
locked. To unlock the heater,you can simply repeat the process
To toggle the screen on and off, press the Set button twice. The screen will power off. To
turn the screen back on, simply press the Set button twice again.
To use the automatic temperature control feature,press the Temp. button. You will see a
temperature flashing on screen that you can adjust up and down using the Up/Down
button. The maximum temperature you can set is 45, and the lowest temperature you
can set is 50C. If your desired temperature is lower than the current room tempera-
ture,the heater will not emit any heat. If the desired temperature is higher than the
current room temperature, the heater will begin emitting heat, and you will see the
lights appear on the screen below the temperature display.
To use the timer setting, press the Timer button again while you are setting your desired
temperature. You will see a “00” flashing on the screen, along with a clock icon on the
screen. Use the Up/Down button on the remote control to change the amount of time in
hours that you would like the heater to be operational for. You can select any duration
between 0 hours and 24 hours, in 1-hour increments. Once you are happy with your
selection, simply leave the heater for a few seconds, and it will save your settings.
By default, the heater comes with open window detection, where if the heater detects a
drop in temperature by 3or more within a 2 minute time window, it will automatically
switch off to conserve energy and increase efficiency. When this happens,the display will
flash and there will be a clicking sound. To override this, simply use the remote and to
switch the heater back on.
To reset the Wi-Fi setting on the heater, press Set,then Down. The Wi-Fi symbol will start
rapidly flashing on screen.
To toggle between High Power and Low power,press the High/Low switch button. The
indicator on the screen will switch from a full sun (High power) to a half sun (Low power)
1
1.1
1.2
1.3
2.
2.1
2.2
2.3
2.4
2.5
2.6
2.7
2.8
2.9
to tell you which setting it is on.
To put the heater in standby, press the Set button twice. The display will switch off except
for the high power and low power symbol. Press the Set button twice again to switch the
heater back on.
Please be aware that this heater will get hot whilst in use. To prevent injury, do not touch
the heater when it is on,and allow at least 1 hour after disconnecting from the power
supply before touching it.
For repairs and servicing, please get in contact with your local repair centre or a qualified
electrician.
If there is any damage to the power cord, you must stop using the heater immediately,
and get it repaired from either a local repair centre or a qualified electrician.
This heater is not to be used by children or other vulnerable people without supervision
from an adult.
If there is any damage to the power cord,you must stop using the heater
immediately,and get it repaired from either a local repair centre or a qualified electrician.
This heater is not to be used by children or other vulnerable people without supervision.
3.
4.
5.
6.
7.
8.
9.
EN
Zenos Infrared Bar Heater Manual 13

EN
Zenos Infrared Bar Heater Manual 14
WI-FI OPERATION
Scan the QR code with your mobile phone, to download and install the Smart Life app.
Create an account if you haven’t already. Make sure to keep your password somewhere
safe.
Open the app, click Add device,or click on the + in the top right corner, then select the
electric heater option.
1
2.
Click OK, then connect to your Wi-FI. Make sure you’re using a 2.4GHz connection, as a
5Ghz connection will not work. When scanning your available networks, if you see a single
network belonging to you, then this will be the correct band. If you see two networks, the
name of the network should help you identify which band it belongs to, so a 2.4GHz net-
work will have 24G, 2.4, 24 or something similar in the name, whilst the 5GHz network will
have 5 or 5G in the name).
On the next screen, under the Small Home Appliances category on the left, scroll down
and select “Heater” in the Life subcategory.
On your remote, press the Set button followed by the Down to reset the Wi-Fi setting for
the Bar Heater. You should see the Wi-Fi indicator begin to blink rapidly.
Now on the app, confirm that the light is blinking rapidly, and enter your Wi-Fi network
information (the name of the network and the password).
The app will now scan for the heater, and connect once it has paired.Confirm on the next
3.
4.
5.
6.
7.
screen that the LED light is blinking.
Enter your Wi-Fi network details on the next screen (network name and password), before
connecting your phone to a new Wi-Fi network named “SmartLife_XXXX” where the “XXXX”
will be randomised numbers.
Once you’re connected to “SmartLife_XXXX”, click the button that says Confirm the hot
spot, next , the app will begin attempts to connect to the wireless temperature sensor.
8.
9.

EN
Zenos Infrared Bar Heater Manual 15
Scan the QR code with your mobile phone, to download and install the Smart Life app.
Create an account if you haven’t already. Make sure to keep your password somewhere
safe.
Open the app, click Add device,or click on the + in the top right corner, then select the
electric heater option.
1
2.
Click OK, then connect to your Wi-FI. Make sure you’re using a 2.4GHz connection, as a
5Ghz connection will not work. When scanning your available networks, if you see a single
network belonging to you, then this will be the correct band. If you see two networks, the
name of the network should help you identify which band it belongs to, so a 2.4GHz net-
work will have 24G, 2.4, 24 or something similar in the name, whilst the 5GHz network will
have 5 or 5G in the name).
On the next screen, under the Small Home Appliances category on the left, scroll down
and select “Heater” in the Life subcategory.
On your remote, press the Set button followed by the Down to reset the Wi-Fi setting for
the Bar Heater. You should see the Wi-Fi indicator begin to blink rapidly.
Now on the app, confirm that the light is blinking rapidly, and enter your Wi-Fi network
information (the name of the network and the password).
The app will now scan for the heater, and connect once it has paired.Confirm on the next
3.
4.
5.
6.
7.
screen that the LED light is blinking.
Enter your Wi-Fi network details on the next screen (network name and password), before
connecting your phone to a new Wi-Fi network named “SmartLife_XXXX” where the “XXXX”
will be randomised numbers.
Once you’re connected to “SmartLife_XXXX”, click the button that says Confirm the hot
spot, next , the app will begin attempts to connect to the wireless temperature sensor.
8.
9.

Zenos Infrared Bar Heater Manual
EN
16
Scan the QR code with your mobile phone, to download and install the Smart Life app.
Create an account if you haven’t already. Make sure to keep your password somewhere
safe.
Open the app, click Add device,or click on the + in the top right corner, then select the
electric heater option.
1
2.
Click OK, then connect to your Wi-FI. Make sure you’re using a 2.4GHz connection, as a
5Ghz connection will not work. When scanning your available networks, if you see a single
network belonging to you, then this will be the correct band. If you see two networks, the
name of the network should help you identify which band it belongs to, so a 2.4GHz net-
work will have 24G, 2.4, 24 or something similar in the name, whilst the 5GHz network will
have 5 or 5G in the name).
On the next screen, under the Small Home Appliances category on the left, scroll down
and select “Heater” in the Life subcategory.
On your remote, press the Set button followed by the Down to reset the Wi-Fi setting for
the Bar Heater. You should see the Wi-Fi indicator begin to blink rapidly.
Now on the app, confirm that the light is blinking rapidly, and enter your Wi-Fi network
information (the name of the network and the password).
The app will now scan for the heater, and connect once it has paired.Confirm on the next
3.
4.
5.
6.
7.
screen that the LED light is blinking.
Enter your Wi-Fi network details on the next screen (network name and password), before
connecting your phone to a new Wi-Fi network named “SmartLife_XXXX” where the “XXXX”
will be randomised numbers.
Once you’re connected to “SmartLife_XXXX”, click the button that says Confirm the hot
spot, next , the app will begin attempts to connect to the wireless temperature sensor.
8.
9.

EN
Zenos Infrared Bar Heater Manual 17
USING THE 7-DAY TIMER WITH YOUR HEATER
On the home screen of the Smart Life app,press the Timer button in the bottom right
corner.
Then, press Add in the middle of your screen.
On the next screen, you’ll be able to choose your timer settings.
Use the sliders at the top of the screen to set what time you want your heater to switch on
or off.
Press the Repeat button to set which days you would like the timer to occur on, if any.
Press the Note button to set a note for that particular timer setting.
Press the Switch button to set whether you want the heater to switch on or off at the time
you have set.
1.
2.
3.
4.
5.
6.
7.
Figure 1 Figure 2 Figure 3 Figure 4
Figure 5 Figure 6 Figure 7 Figure 8

WARNING
Zenos Infrared Bar Heater Manual 18
EN
Please ensure that the heater is installed correctly, as per this instruction manual, and that
it is facing the correct way.
The heater should be installed in a place where the controls cannot be used by someone
who is using a bath or a shower.
The heater should not be installed directly above an electrical socket.
Please consult a qualified electrician if there is any damage to the power cord on your
heater.
Before moving your heater ,make sure it has sufficiently cooled down.
Do not leave young or vulnerable people unsupervised in a room when the heaters are in
use.
Please ensure that the heater is not installed in close proximity to furniture,curtains or any
other objects in the home that could be flammable.
When disposing of your heater ,please use your local rubbish collection facilities rather than
using your general waste services. Contact your local council for information regarding these
collection services.
1.
2.
3.
4.
5.
6.
7.

www.mirrorstoneheating.co.uk
86 Scudamore Road Leicester, LE3 1UQ
+44 (0) 116 436 2250
EN
This manual suits for next models
7
Table of contents
Other Mirrorstone Heater manuals
Popular Heater manuals by other brands

Electric Radiators Direct
Electric Radiators Direct Ecostrad Eco Simple guide

Modine Manufacturing
Modine Manufacturing HEX5 Series Installation, Parts, Service, and Maintenance Manual

4iQ
4iQ JUPITER instruction manual

cecotec
cecotec READY WARM 9600 SMART ROTATE instruction manual

GHP Group
GHP Group TT15CPDG User's manual and operating instructions

Smart+ Products
Smart+ Products SPP-1800-6WC owner's manual