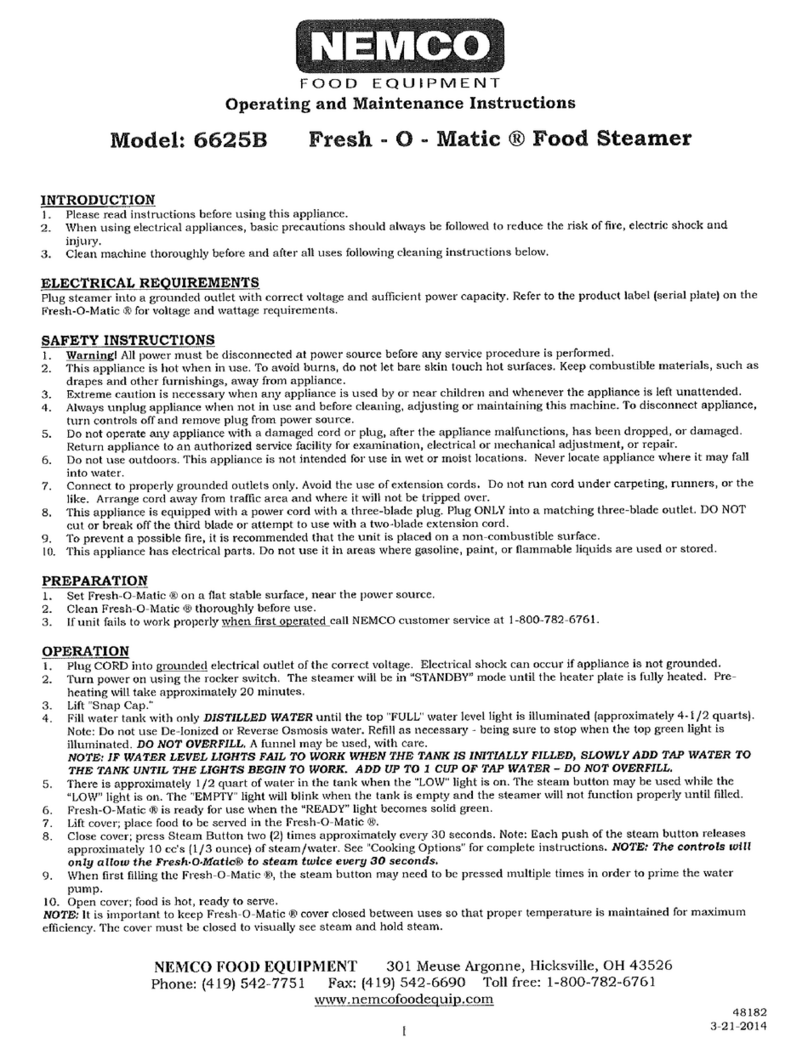
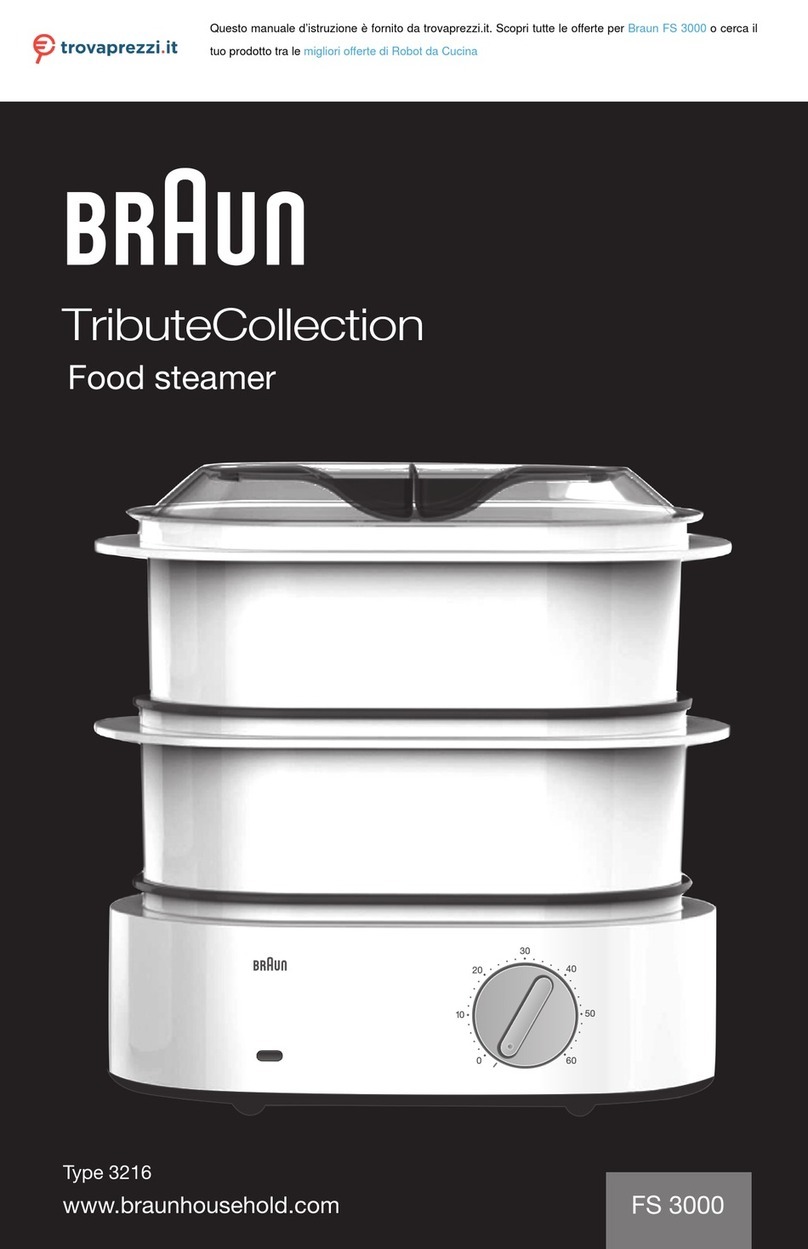
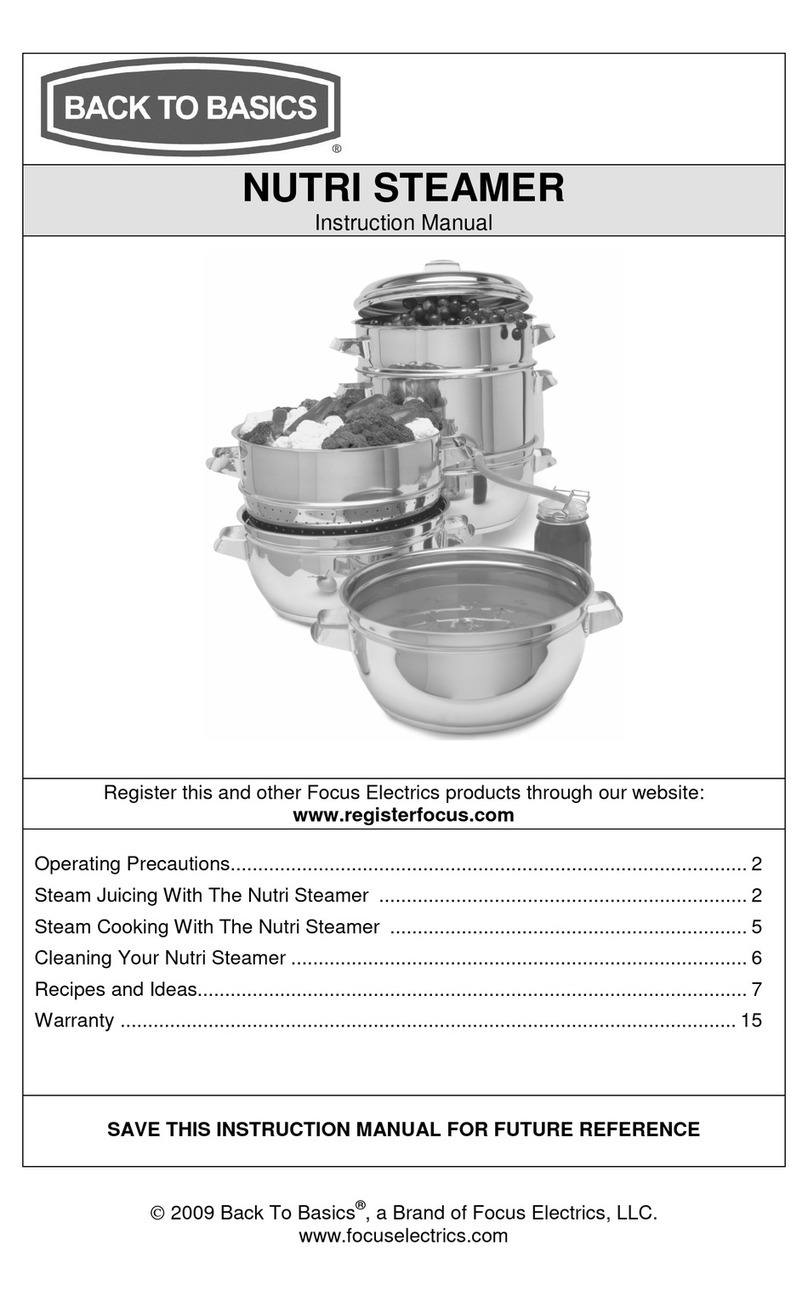
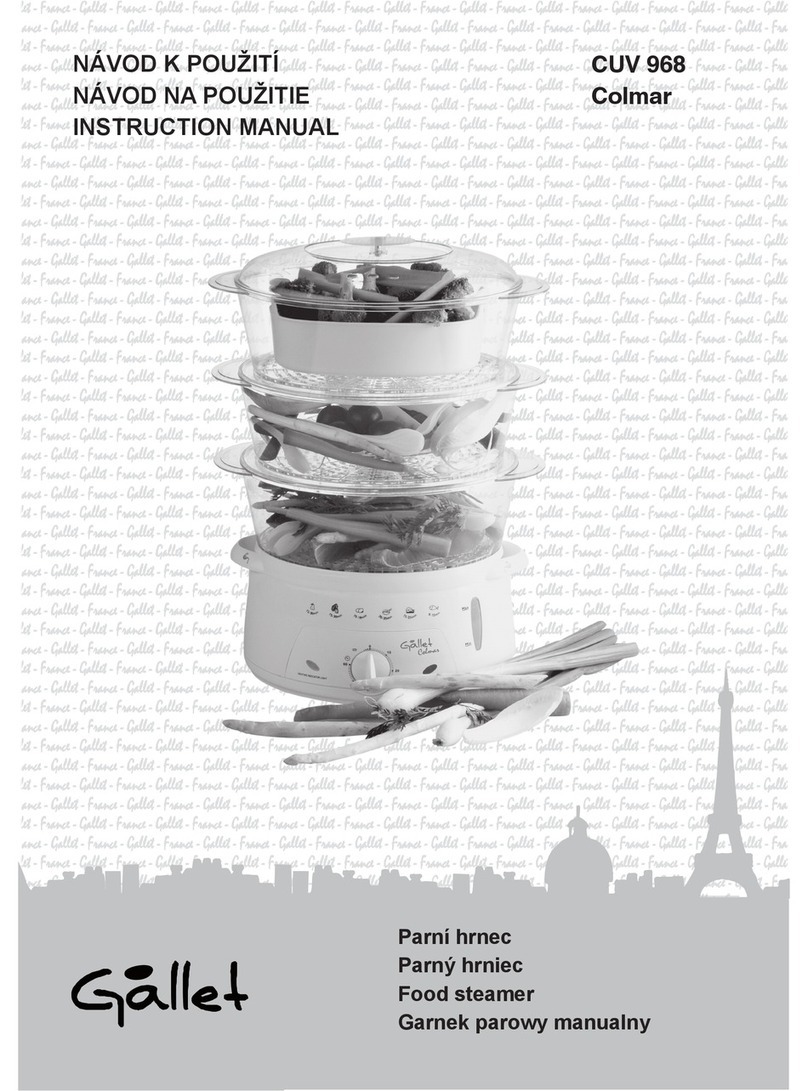
Kasanova VAPORIERA User manual

VAPORIERA
GUS000001
MANUALE DI ISTRUZIONI
Vaporiera

2VAPORIERA ITA
MANUALE DI ISTRUZIONI
AVVERTENZE
Durante l’uso di apparecchi elettronici, è importante seguire basilari precauzioni per la
sicurezza, incluse le seguenti:
- NON toccare le superci roventi. Quando l’apparecchio è in funzione, la base può
raggiungere temperature elevate. Lascia rareddare l’apparecchio prima di estrarre gli
alimenti.
- NON introdurre corpi estranei all’interno dell’apparecchio.
- Scollegare sempre l’apparecchio quando non in uso e prima della pulizia
- Questo apparecchio non è un giocattolo per bambini. Può essere utilizzato da
bambini al di sopra degli 8 anni di età e da persone con ridotte capacità siche,
sensoriali e mentali o con scarsa esperienza e conoscenza solo se supervisionati o
istruiti adeguatamente sull’uso sicuro dell’apparecchio stesso e se sono in grado di
comprendere i pericoli insiti. La pulizia e la manutenzione non devono essere eseguite
da bambini, a meno che non abbiano più di 8 anni e non siano supervisionati. Tenere
l’apparecchio e il suo cavo al di fuori dalla portata dei bambini al di sotto degli 8 anni.
- NON utilizzare l’apparecchio per scopi diversi da quelli a cui è destinato. Prodotto
destinato al solo uso domestico
- NON utilizzare l’apparecchio in caso presenti danni al cavo o alla spina elettrica. Non
utilizzare l’apparecchio nel caso risulti malfunzionante o in qualche modo danneggiato.
Portare l’apparecchio al centro assistenza autorizzato per controllo, riparazione o
sostituzione di parti elettriche e meccaniche.
- NON utilizzare l’apparecchio con mani bagnate.
- Utilizzare unicamente su superci asciutte e piane.
- Per evitare il rischio di shock elettrico, NON immergere il cavo di alimentazione, la
spina o l’unità principale in acqua o altro liquido. Tenere il cavo lontano da fonti di calore.
- NON utilizzare e non riporre l’apparecchio in prossimità di fonti di calore (piastre e
fornelli).
- Per evitare il rischio di shock elettrico o incendio, NON coprire l’apparecchio con panni
o altri oggetti durante l’utilizzo.
- Scollegare l’apparecchio staccando la spina dalla presa a muro. NON tirare il cavo.
- NON spostare o sollevare l’apparecchio mentre esso è in funzione e il cavo è inserito
nella presa di corrente.

3
VAPORIERA ITA
MANUALE DI ISTRUZIONI
- NON utilizzare l’apparecchio con accessori diversi da quelli in dotazione
- Al primo utilizzo assicurarsi di rimuovere correttamente l’apparecchio dal suo
imballaggio. Lavare gli accessori con acqua tiepida e detergente, sciacquare con
abbondante acqua e asciugare completamente prima di assemblare.
- NON utilizzare spugnette abrasive per la pulizia
- Al ne di evitare ustioni, non toccare la supercie calda dell’apparecchio, usare guanti
da forno/presine durante la rimozione del coperchio e delle pietanze.
- Non riempire il serbatoio dell’acqua al di sopra del livello massimo: l’acqua in
eccedenza potrebbe traboccare e provocare ustioni.
- NON utilizzare l’apparecchio quando il livello dell’acqua è inferiore a un
bicchiere(200ml): esaurita l’acqua il contenuto della vaporiera potrebbe bruciare.
- ATTENZIONE! Quando in uso, la valvola di sfogo del vapore dietro il coperchio rilascia
vapore: per evitare il rischio di scottarsi non sostare in prossimità della valvola.
- Non posizionare la vaporiera in utilizzo sotto armadietti o mensole perchè produce
grandi quantità di vapore.
PARTI
1Coperchio con valvole di
sfogo vapore
2 Contenitori di cottura a vapore
3 Vano portaspezie
4Diusore di vapore
5 Serbatoio d’acqua
6Timer
7Spia Luminosa
8 Maniglia

4VAPORIERA ITA
MANUALE DI ISTRUZIONI
AL PRIMO UTILIZZO
Rimuovi l’apparecchio e gli accessori da eventuali sacchetti e rimuovi le
pellicole protettive se presenti. Lava il il coperchio, i contenitori e il vano
portaspezie in acqua e detersivo, risciacqua bene e riposizionale dopo averle
ben asciugate
UTILIZZO
1. Posiziona l’apparecchio su un piano stabile, asciutto e lontano da fonti di
calore. Evita I vani angusti dove il vapore avrebbe dicioltà a fuorisuscire
2. Riempi il serbatoio d’acqua
ATTENZIONE: Non aggiungere sale pepe, spezie o altri liquidi diversi da
acqua nel serbatoio.
3. Posiziona il vano portaspezie
4. Aggiungi spezie o aromi nel vano a tuo piacere. Se non desideri
aggiungere alcun aroma, lascialo vuoto..
5. Posiziona gli alimenti nei recipienti. Gli alimenti più voluminosi andranno
nel recipiente inferiore, in quanto potrebbero richiedere un tempo di cottura
più lungo.
8. Mettere il recipiente sulla base e sul coperchio sulla parte superiore.
9. Collegare la presa alla corrente, impostare il timer per il tempo consigliato,
il vapore comincerà a fuoriuscire entro 30 secondi.
AVVERTIMENTO:
Non toccare la base, le ciotole o il coperchio durante l’uso, poiché diventano
molto calde.
10. Quando l’operazione di cottura a vapore è completa, il timer emetterà un
segnale acustico.
AVVERTIMENTO:
Per prevenire le ustioni, utilizza una presina quando si rimuove il coperchio
o i recipienti, quando il vapore caldo esce. Togliere lentamente il coperchio
con l’interno del coperchio rivolto verso di te e far fuoriuscire gradualmente
il vapore. Tenere il coperchio sopra l’unità per consentire la condensa di
scarico nel vapore.
Non toccare l’unità durante la cottura a vapore. Se è necessario controllare il
progresso della cottura o mescolare, utilizzare un utensile con una maniglia

5
VAPORIERA ITA
MANUALE DI ISTRUZIONI
lunga.
11. Al ne di evitare che l’alimento sia troppo cotto, rimuovi immediatamente
la ciotola di vapore usando una presina.
12. Una volta terminato l’uso dell’apparecchio, staccare la spina dalla presa
di corrente e lasciar rareddare completamente prima di rimuovere il vassoio
di raccolta e conservarlo.
AVVERTIMENTO:
Prestare attenzione quando si rimuove il vassoio: potrebbe essere ancora
molto caldo.
Non azionare l’apparecchio senza la vaschetta e il coperchio al vapore in
posizione..
SUGGERIMENTI:
Aggiungere le aromi freschi o essiccati nel vano per insaporire le tue
pietanze. Il timo, il cilantro, il basilico, l’aneto, il curry etc sono solo alcune
erbe e spezie che esaltano il sapore senza bisogno di aggiungere sale.
A.) Prova l’aroma suggerito nella Guida agli aromi o utilizza le tue erbe
preferite per creare nuove combinazioni.
B.) Le dosi suggerite sono per 1/2 o 3 cucchiaini di erbe secche o spezie. Se
usi aromi freschi,, taglia le foglie e triplica le proporzioni
C.) Per evitare che le foglioline cadano nel recipiente, consigliamo di bagnare
il vano prima di aggiungere questi condimenti.
TEMPO DI COTTURA
1. I tempi di vapore indicati nella guida sono solo un suggerimento. Il tempo
può variare a seconda della dimensione dell’alimento, la distanza del cibo nel
recipiente, la freschezza del cibo, le preferenza personale.
2. I tempi di cottura sono per la quantità indicata nella guida. Per quantità più
grandi o minori, regolare il tempo di conseguenza.
3. I tempi di vapore sono tutti basati sul cibo cucinato nel recipiente inferiore,
salvo diversa indicazione. Il cibo cucinato nel recipiente superiore richiede
leggermente più tempo per cucinare.
4. Tutti i tempi indicati nella guida si basano sull’utilizzo di acqua fredda.

6VAPORIERA ITA
MANUALE DI ISTRUZIONI
Tipo di alimento peso Minuti cottura
Asparagi 500g 15-16
Carcio 500g 40
Fagioli 250g 18
Rapa 500g 30
Broccoli 500g 15-20
Spinaci 250g 10
Cavoletti di Bruxels 500g 25
Cavolo 500g 15
Sedano 250g 10
Carote 500g 20
Cavolore 500g 20
Pannocchia di Mais 500g 20
Melanzana 500g 15
Funghi 500g 6-8
Cipolle 250g 10
Piselli 500g 10
Patate 500g 35
Patate americane 500g 35
Verdure congelate 500g 25-30

7
VAPORIERA ITA
MANUALE DI ISTRUZIONI
Tipo di alimento peso Minuti cottura
Pollo 150g 12-15
300g 30-35
Suino 200g 5-10
Vitello 500g 20
CARNE E PESCE
1. Il vapore ha il vantaggio di permettere a tutto il grasso di gocciolare via
durante la cottura. La carne adatta per la grigliata è ideale anche per la
cottura a vapore.
2. Prima di cuocere a vapore carne e pollame insaporiscila con salse o
marinatura.
3. Cuocere completamente tutti gli alimenti prima di servirli in tavola. Utilizza
un coltello o uno spiedo per controllare che il centro sia cotto e che i succhi
siano ben chiari.
5. Utilizzare erbe fresche per aggiungere sapore.

8VAPORIERA ITA
MANUALE DI ISTRUZIONI
PULIZIA
1. Non immergere mai la base, il cavo o la spina in acqua.
2. Scollegare dalla presa a muro e lasciare rareddare completamente
l’apparecchio prima di pulire.
3. Non pulire nessuna parte dell’unità con detergenti abrasive, ad esempio
candeggina.
4. Non pulire I recipienti in plastica trasparenti con il lato abrasivo di una
spugna
5 Lava il coperchio, il contenitore, i cestelli in acqua calda edetergente per
piatti.
6. In alternativa, tutte queste parti possono essere lavate in lavastoviglie nel
vano superiore. Tuttavia, la pulizia assisdua in lavastoviglie può causare una
lieve perdita di lucentezza esterna.
7. Svuotare il serbatoio e cambiare l’acqua dopo ogni uso.
8. Non immergere la base nell’acqua. Riempire il serbatoio con acqua calda e
saponata e pulire con un panno. Risciacquare abbondantemente.
9. Pulire la base con un panno umido.
10. Pulire regolarmente l’unità.
MANUTENZIONE
Dopo 2-3 mesi di utilizzo coerente, si possono accumulare depositi nel
serbatoio. Questo è un processo normale e l’accumulo dipenderà dal grado
di durezza dell’acqua nella vostra zona. È fondamentale che l’apparecchio
sia regolarmente pulito per mantenere la produzione di vapore e prolungare
la vita dell’unità.
1. Riempire il bacino idrico al livello MAX con aceto bianco.
IMPORTANTE: Non usare nessun altro prodotto chimico
2. Collegare alla presa di corrente. Durante questa procedura, il vassoio di
gocciolamento, I recipienti e il coperchio devono esseree presenti.
3. Impostare il timer per 25 minuti per iniziare emettere vapore.
attenzione: Se l’aceto inizia a bollire al di sopra del bordo della base,
scollegare l’unità e spegnere il timer. Ridurre leggermente la quantità di
aceto.
4. Quando il timer emette il suono di completamento del ciclo, scollegare
PULIZIA E MANUTENZIONE

9
VAPORIERA ITA
MANUALE DI ISTRUZIONI
TRATTAMENTO DEL DISPOSITIVO ELETTRICO ED
ELETTRONICO A FINE VITA
Informazione agli utenti per il corretto smaltimento del prodotto ai
sensi della Direttiva Europea 2002/96/CE e del D.lgs N. 151/2005.
Caro consumatore,
è importante ricordarti che, come buon cittadino, avrai l’obbligo di
smaltire questo prodotto non come riuto urbano, ma di eettuare
una raccolta separata. Il simbolo sopra indicato e riportato
sull’apparecchiatura indica che il riuto deve essere oggetto di
“raccolta separata”. I dispositivi elettrici ed elettronici non devono
essere considerati riuti domestici. Pertanto, il prodotto alla ne
della sua vita utile, non deve essere smaltito insieme ai riuti
urbani. L’utente dovrà conferire (o far conferire) il riuto ai centri
di raccolta dierenziata predisposti dalle amministrazioni locali,
oppure consegnarlo al rivenditore contro l’acquisto di una nuova
apparecchiatura di tipo equivalente. La raccolta dierenziata
del riuto e le successive operazioni di trattamento, recupero e
smaltimento favoriscono la produzione di apparecchiature con
materiali riciclati e limitano gli eetti negativi sull’ambiente e sulla
salute eventualmente causati da una gestione impropria del riuto.
Grazie!
dalla presa a muro e lasciare rareddare completamente prima di rimuovere
l’aceto.
5. Sciacquare il serbatoio diverse volte con acqua fredda.

10 FOOD STEAMER INSTRUCTION MANUAL
SAFTEY INFORMATION
When using an electrical appliance, basic precaution should always be
followed, including the following:
• Always unplug this appliance from the electrical immediately after using
and before cleaning.
• Keep the unit away from water or other liquids to avoid electrical
discharge; don’t plug the product in if it’s resting on a wet surface.
• When disconnect, please unplug by grasp the plug and not the cord, to
avoid any injury.
• This appliance is intended for household use only
• Store this appliance to a safe place, out of the reach of children.
• Use this appliance only for its intended use as described in this manual.
Do not use attachments not recommended; specically any attachments
not provided with the unit.
• Never operate this appliance if it has a damaged cord or plug, if it is not
working properly, return it to the Service Centre for examination and
repair.
• Keep this appliance away from sources of heat (gas, electric burner,
heated oven) or inammable objects.
• Before plugging the appliance in or when you operate it, make sure your
hands are dry and safe to do the actions.
• It’s better not to use an extension cord with this unit. However, if one is
used, use extension cords which are in good condition, with an earthed
connection, and with a minimum rating of 10 A.
• Place the unit on a solid surface to avoid movement or falling.
• This product has been designed for domestic use only. Any professional
use, inappropriate use or failure to comply with the instructions, the
manufacturer accepts no responsibility for and the guarantee will not
apply.
• Never immerse the unit into water. If the cord and plug become wet at
any time, remove the plug from the electric socket while wearing dry
rubber gloves. If the unit has been immersed, send it immediately to an
authorized service centre or to your dealer.
11
FOOD STEAMER INSTRUCTION MANUAL
OPERATION
BEFORE THE FIRST USE
1LID WITH STEAM
VENTS
2STEAMING BOWL
3DRIP TRAY (WITH
FLAVOR SCREEN)
4STEAM DIFFUSER
5WATER BASIN
6COOKING TIMER
7INDICATOR
8HANDLE
• Burning hazard: Parts of the unit become very hot during operation.
Touch only the handles or buttons.
• Do not use any accessories not supplied with this unit!
SAVE THESE INSTRUCTIONS
Remove the appliance and all accessories from the packaging. Peel o any
adhesive labels, if any. Wash the lids, steaming bowls, steam diuser and
avor screen and drip tray in warm, soapy water before use. Rinse and dry
thoroughly. Wipe the inside of the water basin with a damp cloth.

12 FOOD STEAMER INSTRUCTION MANUAL
1. Place the appliance on a stable, level surface, away from any objects,
which could be damaged by steam. Such as walls and overhanging
cupboards.
2. Fill water directly into the water basin.
WARNING: Do not add any salt, pepper, seasonings, herbs, wine, stock or
any liquid other than tap water to the water basin.
3. Place the Drip tray on the base and make sure it sits at
4. Place herbs or apices in the Flavor Screen for add avor. You may use
Drip trap without adding herbs to the Flavor screen if you prefer.
Add fresh or dried herbs to the Flavor Screen to spice up the healthy
foods. Thyme, cilantro, basil, dill, curry and tarragon are just a few herbs
and spice along with garlic, caraway or horseradish that enhance avor
with no need to add salt. When using the Flavor Screen:
A.) Try the suggested avoring listed in the steaming Guide or use your
favorite herbs to create new combinations.
B.) Flavor suggestions are for 1/2 to 3 teaspoons of dried herbs or
spices. If using fresh herbs, chop leaves and triple the amount.
C.) To prevent small herbs or ground spices from falling through the
Flavor Screen, rinse or wet the screen before adding seasoning.
HOW TO USE
FLAVOR SCREEN TIPS
5. Depending on version, your food steamer may be tted with 1,2 bowls.
6. Depending on user’s choice, steaming bowls can be assembled in
several dierent positions.
7. Put the food in the bowls. We recommend that you put largest pieces of
food in the bottom bowl, require a longer cooking time.
8. Put the bowl on the base and lid on top.
9. Plug into wall outlet, set timer (See HOW TO SET THE TIMER) for the
recommended time, steaming will begin within 30 seconds.

13
FOOD STEAMER INSTRUCTION MANUAL
WARNING:
Do not touch the base, steaming bowls, or lid during use, as they get very
hot.
10. When steaming is complete, the timer will give a beep.
WARNING:
To prevent burns, use a mitt when removing the lid or steaming bowls, as hot
steam will escape. Remove the lid slowly with the inside of the lid pointing
away from you and let steam escape gradually. Hold the lid over unit to allow
the condensation to drain into the steamer.
Do not reach into the unit while steaming. If you need to check on the cooking
progress or to stir, use a utensil with a long handle.
11. In order to prevent food from being overcooked, remove the steaming
bowl immediately using a mitt, and place it on a plate or on the revered
lid. Also, you can use the handle to remove the steaming bowl.
12. When you have nished using the appliance, unplug from the wall
socket and leave to cool completely before removing the drip tray and
storing.
WARNING:
Use caution when removing the drip tray, while other parts of the unit may be
cool, the water in the water basin and the drip may still be very hot.
Do not operate the appliance without steaming bowl and lid in place.
1. Steaming times stated in the guide and recipes are only a guide. Time
may vary depending on the size of the food piece, spacing of the food
in the steaming bowl, freshness of food, personal preference. As you
become familiar with the steamer, adjust cooking time.
2. Steaming times are for the quantity stated in the guide or recipe. For
larger or smaller quantities adjust the time accordingly.
3. The steaming times are all based on the food cooked in the lower bowl,
unless specically stated otherwise. Food cooked in the upper bowl nay
STEAMING TIME

14 FOOD STEAMER INSTRUCTION MANUAL
take slightly longer to cook.
4. All times stated in the guide and recipes are based on the use of cold
water.
Type of Vegetable Weight/Measurement Time (minutes)
Asparagus 500g 15-16
Artichokes 500g 40
Beans 250g 18
Beetroot 500g 30
Broccoli 500g 15-20
Bok Choy 500g 15-20
Brussels Sprouts 500g 25
Cabbage 500g 15
Celery 250g 10
Carrots 500g 20
Cauliower 500g 20
Corn, whole 500g 20
Eggplant 500g 15
Mushrooms 500g 6-8
Onions 250g 10
Parsnips 250g 10
Peas 500g 10
Capsicums 500g 15
Potatoes 500g 35
Sweet Potato 500g 35

15
FOOD STEAMER INSTRUCTION MANUAL
Type of Vegetable Weight/Measurement Time (minutes)
Spinach 250g 10
Squash 500g 15
Turnips 500g 20
All frozen Vegetables 500g 25-30
Type of Meat Weight/Measurement Time (minutes)
Chicken 150g 12-15
300g 30-35
Pork 200g 5-10
Beef 500g 20
1. Steaming has the advantage of allowing all the fat to drip away during
cooking. Due to the gentle heat only choose tender, lean cuts of meat
and trim o all fat. Meat suitable for grilling is ideal for steaming.
2. Serve steaming meat and poultry with avorsome sauces or marinade
before steaming.
3. Thoroughly cook all foods before serving. Pierce with a knife or skewer
to check that the center is cooked and juices run clear.
4. Sausage must be completely cooked before steaming.
5. Use fresh herbs while steaming to add avor.
1. Never immerse the base, cord or plug in water.
2. Unplug at the wall socket and leave the appliance to cool completely
before cleaning.
3. Do not clean any part of the unit with abrasive cleaners e.g. scouring
powders, steel wool or bleach.
MEAT AND POULTRY
CARE AND MAINTENACE

16 FOOD STEAMER INSTRUCTION MANUAL
4. Do not clean clear plastic bowls and baskets with abrasive side of a
sponge or pad.
5. We recommend washing the lid, rice container, baskets in hot water and
dishwashing liquid.
6. Alternatively, all those parts can be cleaned in a dishwasher in the upper
basket on the light cycle. However, continual cleaning in a dishwasher
may result in a slight loss of exterior gloss and dulling.
7. Empty the water basin and change the water after each use.
8. Do not immerse the base in water. Fill the water basin with warm, soapy
water and wipe with a cloth. Rinse thoroughly.
9. Wipe the base with a damp cloth.
10. Clean the unit on a regular basis.
After 2-3 months of consistent usage, chemical deposits may build up in the
water basin and heating element. This is a normal process and the build-up
will depend on the degree of water hardness in our area. It is essential the
appliance is unambiguous regularly to maintain steam production and extend
the lie of the unit.
1. Fill the water basin to the MAX level with white vinegar (not brown
vinegar).
IMPORTANT: Do not use any other chemical or commercial declare.
2. Plug in a wall socket. Drip tray, steaming bowl and lid should be in place
during this procedure.
3. Set timer for 25 minutes to begin steaming
WARNING: If vinegar begins to boil over the edge of base, unplug the unit
and switch the timer o. Reduce the quantity of vinegar slightly.
4. When the timer rings, unplug from the wall socket and allow cooling
completely before pouring out vinegar.
5. Rinse the water basin several times with cold water.
DESCALING THE WATER BASIN

17
FOOD STEAMER INSTRUCTION MANUAL
INFORMATION FOR USERS OF DOMESTIC
APPLIANCES
This symbol on the product or in its packaging indicates that
this product shall not be treated as household waste. Instead
it shall be handed over to the applicable collection point for the
recycling of electrical and electronic equipment. By ensuring this
product is disposed of correctly, you will help prevent potential
negative consequences for the environment and human health,
which could otherwise be caused by inappropriate waste
handling of this product. The recycling of materials will help to
conserve natural resources. For more detailed information about
recycling of this product, please contact your local city oce,
your household waste disposal service or the shop where you
purchased the product.

Manuale d’Istruzione - Instruction manual
Importato da KASANOVA S.p.A.
Viale Monterosa 91 - 20862 Arcore (MB)
PRODOTTO DI PROVENIENZA EXTRA UE
220-240 V~50-60 Hz
Power: 400-500 W
This manual suits for next models
1
Table of contents
Languages:
Other Kasanova Electric Steamer manuals
Popular Electric Steamer manuals by other brands

Bartscher
Bartscher 120791 instruction manual

H.Koenig
H.Koenig VAP12 instruction manual

Silvercrest
Silvercrest SDG 950 C3 operating instructions

Welbilt
Welbilt CLEVELAND SteamCraft 24CGA10 Operation installation maintenance manual

German pool
German pool FSL-103 user manual

Russell Hobbs
Russell Hobbs RHFS30 Instructions and warranty