Thank
you
for
purchasing
a
KAWAI
Digital
Piano!
The
Kawai
digital
piano
MR370
is
a
revolutionary
new
keyboard
instrument
that
combines
the
latest
in
electronic
advances
with
traditional
craftsmanship
inherited
from
Kawai's
many
years
of
experience
in
building
fine
pianos.
Its
wooden
keys
provide
the
touch
response
and
full
dynamic
range
required
for
a
superb
performance
on
the
piano,
harpsichord,
organ,
and
other
instrument
presets.
Moreover,
the
newly-added
reverb
effect
gives
you
even
deeper
resonance.
Industry-Standard
MIDI
(Musical
Instrument
Digital
Interface)
jacks
are
included
which
allow
you
to
play
other
electronic
instruments
at
the
same
time
-
opening
a
whole
new
world
of
musical
possibilities.
This
Owner's
Manual
contains
valuable
information
that
will
help
you
make
full
use
of
this
instrument's
many
capabilities.
Read
it
carefully
and
keep
it
handy
for
further
reference.
Table
of
Contents
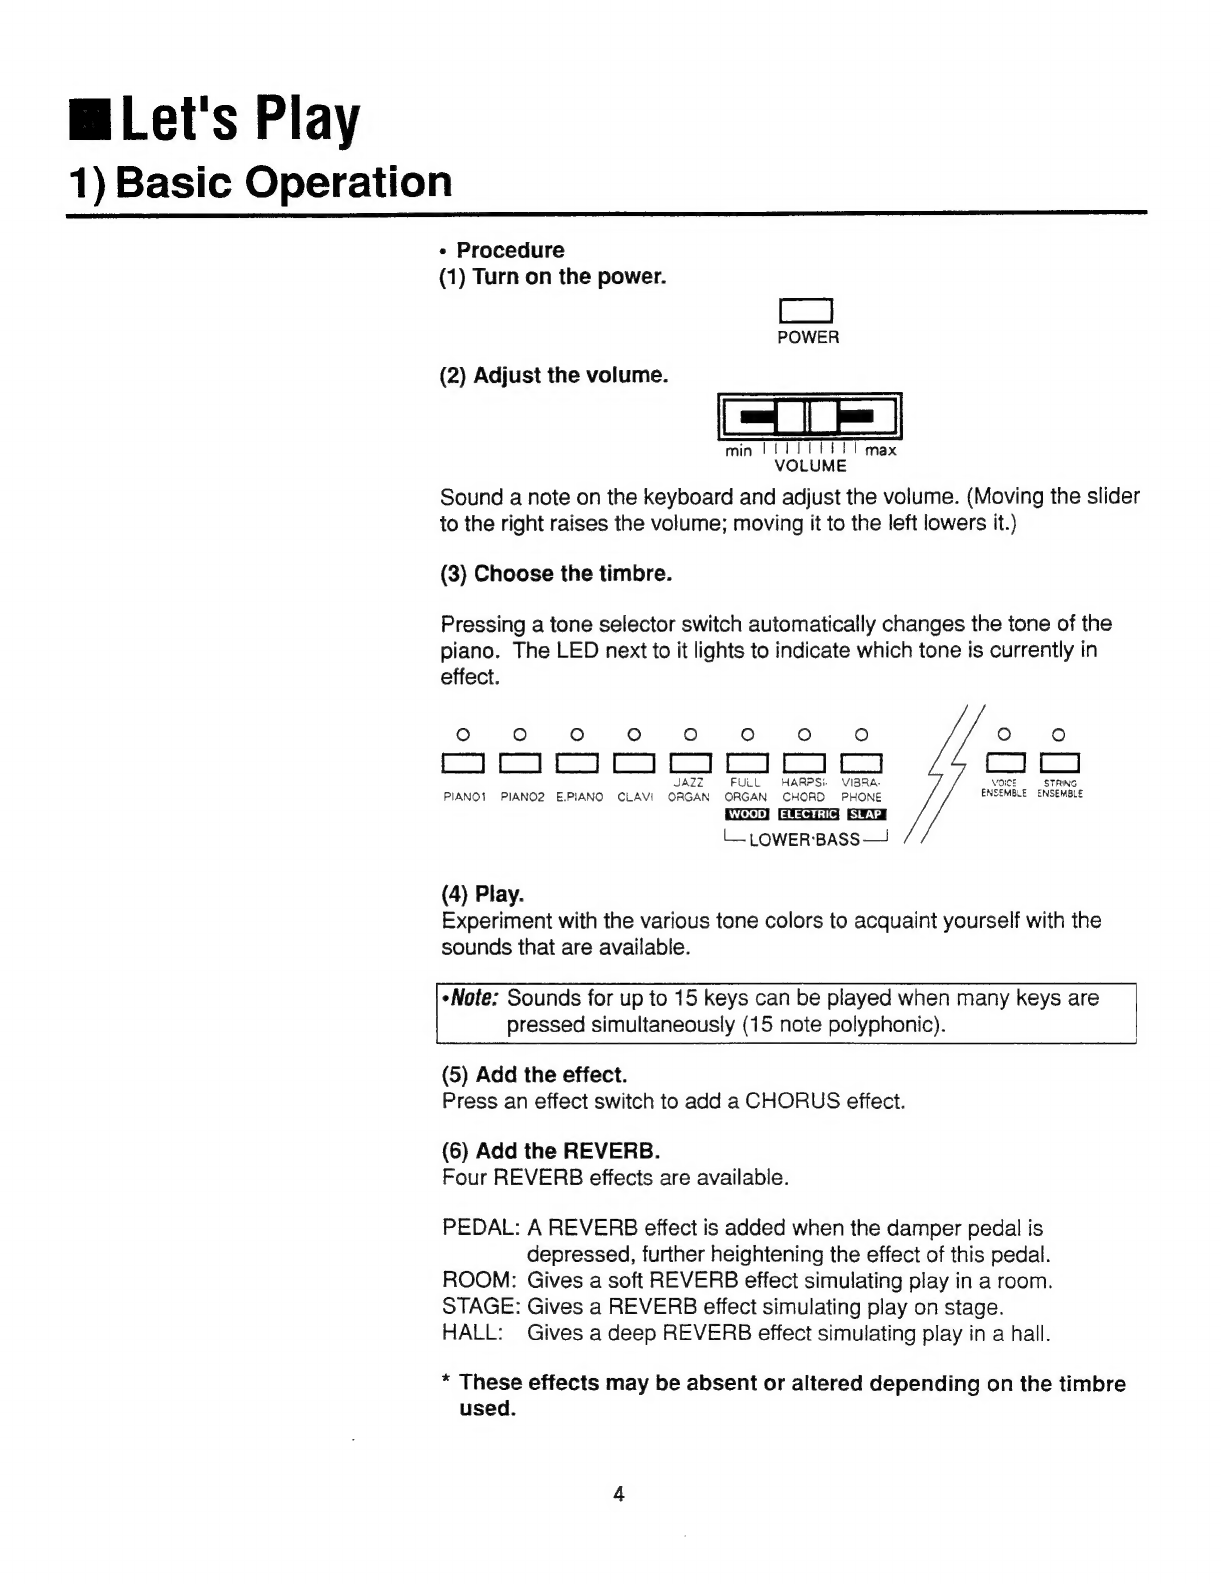
BP
Basic:
Controls
cissiciescescsecetvaceeresedie
ce
tetieteeeaenseeel
1
Oe
er
Ss
Play
ciscti
recat
ses
rece
Reet
Aarenet
ein
ean
eas
4
1)
Basic
OnGratl
on
oa
iicesscccassescetscadnacaceiedect
clined
daisy
4
2)
DUAL
and
SPLIG
scivicsaccstovaieievasaasncatanteecabateactantsueratiaresnnaene
5
MM
Advanced
Features..........ccscssscccccsssssseceeeeeessssseeeeesesssenees
7
T)
Programming:
MOG
ei
uc.ccs
oc
dcccscanectsceneseiisnceersccenteatieeneness:
7
2)
Changing
the
SPLIT
Point
...........sccssscesssscsssessrcesecensersoresserencere
8
SBP
WEAVING
aecsstoceni
os
sutoucuuncasteatlaeddoe
cob
onisenhsiraceeuene
becex
oem
dcatel
npueeeecaunee
9
LY
PORTE
GRAIIO
INS
oo.
cca
cscvensoce
aye
sates
ceesscdieeteceidcenecstcensetaniedemelasels
10
BB
MIDI
tnteriace
6c
ees
eer
eee
ee
ee
12
aL)
WAU
S
MEDI?
si
cat
cnet
cist
cisisnicanadetacatuatavantesvexcveutatpelancesaataeaceaietetaes
12
2)
CONMGCHONS
32s
cisceciccain
vende
hsctcbes
aesdercsus
ved
so
eetoereebedatdseuictves
13
3)
MIDI
Implementation
...........ccceceseessecessseeesseeeensseesesseseesseeeses
15
Ay:
MIDI
OPGratlon
sat
siscstcscincs
ssid
ucssccnrstdsccadecsdsctunbenenseadesevetivecioesis
16
(A)
Setting
the
Channel
............:cecesccecsessseecesssssneeesessseeeeseenaeesees
16
(B)
Sending
@
program
NUMDET
.............ccssecccesescseesesssetseesssseeeens
17
(C)
Turning
MULTI
TIMBRE
on
and
Off...
ccceecccessreeeessreeeees
20
(Ey
EOC
AL
CONTROL
scic1
tects
tapetessde
auanedioansedietuasiauaiwuvenan:
21
ME
SPSCIICAONS
i
iecsescncsccavceasshoyceusesesenradentuseeaceaacaseaeents
23
M
MIDI
Implementation
Chart
............ccccessessesssseeeessneeees
24