manuals.online logo
Brands
  1. Home
  2. •
  3. Brands
  4. •
  5. Kenmore
  6. •
  7. Dryer
  8. •
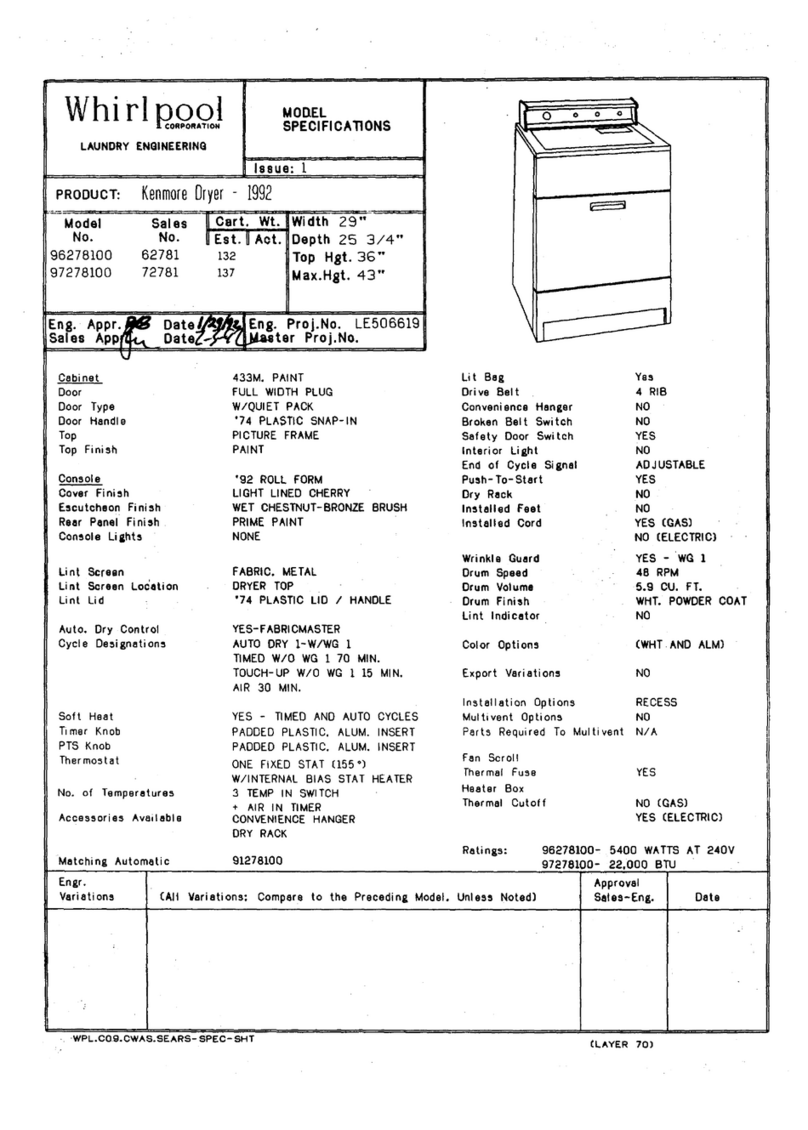
  9. Kenmore 62852 User manual

Kenmore 62852 User manual

KENMORE SUPER CAPACITY PLUS DRYER/SECADORA KENMORE DE CAPACIDAD SUPERIOR "PLUS"
O FABRIC SIGNAL
T1EI_IERA_J_E ENDQFCYCLE
AUTO
MOISTURE
SENSING
O
•MED DRY
C01_-ON
O O O
PUSH TO START
Stock Nos. 62852 (Elec.) & 72852 (Gas)
Stock Nos. 62854 (Elec.) & 72854 (Gas)
Features -
Become familiar with all features before using
your dryer. Refer to your Owner's Hanual for
feature details.
O Cycle Selector (Timer)
Control
• AUTO MOISTURE
SENSING
• TIMED DRY
• TOUCH UP
• AIR DRY
WRINKLE GUARD ® I
to reduce wrinkling
_ 4 FABRICITemperature
settings for additional
clothes care
Adjustable End-of-Cycle
SIGNAL Control
_PUSH TO START
Bu_on
Lint Screen
Model and Serial No.
Plate
Drum Light
Dryer Rack for gentle
care of special fabrics
_) Reversible Super Wide
Side-Swing Door
(see back for reversing
instructions)
Additional Features
• Super Capacity Plus
for fewer loads
• QUIET PAKTMinsulation
for extra-quiet operation
8527702
2/01
Reserva Nos. 62852 (el_c.) & 72852 (gas)
Reserva Nos. 62854 (el_c.) & 72854 (gas)
Caracteristicas -
Antes de usar su secadora, familiaricese con todas
las caracteristicas de la misma. Consulte su manual
del propietario para conocer las caracteristicas en
detalle.
Control (temporizador) Filtro de pelusa
de seleccidn de ciclos
• DETECCION AUTOMATICA _ Placa de los n_meros
DE HUMEDAD de modelo y de serie
• SECADO PROGRAMADO _ Luz del tambor
• RETOQUE _ Estante de secado para
• SECADO CON AIRE el cuidado especial de
PROTECCION ANTI- ciertos tejidos
ARRUGAS I para reducir _) Puerta super ancha de
arrugas vaivdn lateral de posicidn
reversible (vdase las
4 posiciones de tela y de instrucciones para el cam-
temperatura para el cuidado bio de posicidn en la
adicional del tejido siguiente p&gina)
Control ajustable de la Caracteristicas adicionales
SENAL de fin ciclo
Botdn EMPUJE PARA
INIClAR
• Capacidad superior "plus"
para menos cargas de secado
• Aislador de sonidos QUIET
TM
PAK para un funcionamiento
extra silencioso
HalwD_ •Su_rCIpI©_P_s .OzdHtPak _NSm'_s
Reversible Super Wide
Side-Swing Door Puerta super ancha de
vaiv n lateral de posicion
reversible
1. Place towel (A) on top of dryer to protect
surface.
2. Open dryer door. Remove bottom
screws from cabinet side of hinges (B).
Loosen (do not remove) top screws from
cabinet side of hinges.
3. Lift door until top screws in cabinet are
in large part of hinge slot. Pull door for-
ward off screws. Set door (handle side
up) on top of dryer. Remove top screws
from cabinet.
4. Remove screws attaching hinges
to door.
5. Remove screws at top, bottom and
side of door (4 screws). Holding door
over towel on dryer, grasp sides of outer
door and carefully lift to separate
it from inner door. Do NOT pry apart with
putty knife. Do NOT pull on door seal or
plastic door catches.
6. Be careful to keep cardboard spacer
centered between doors. Reattach outer
door panel to inner door panel
so handle is on the side where hinges
were just removed.
7. Attach door hinges to door so large
part of hinge slot is at bottom of hinge.
8. Remove door strike (C) from cabinet.
Use a small, flat-blade screwdriver to
carefully remove 4 hinge hole plugs (D)
on left side of cabinet, insert plugs in
hinge holes on right side of cabinet.
9. Insert screws in bottom holes on
left side of cabinet. Tighten screws
halfway. Position door so large end of
door hinge slot is
over screws. Slide
door up so screws
are in bottom of
slots. Tighten
screws. Insert and
tighten top screws
in hinges.
10. Remove door stnke plug (E). Insert the
door strike you removed in Step 8 in
hole and secure with screw. Insert door
strike plug in original door strike hole
and secure with screw.
11. Close door and check that door strike
aligns with door catch (F). If needed,
slide door catch left or right within slot
to adjust alignment.
1. Coloqueunatoalla(A)encimade ]asecadorapard
protegerlasuperficie
2. Abralapuertade la secadora.Extraigalostornillos
inferioresde lasbisagrasde1ladode1gabinete(B).
Afloje(noextraiga)lostornillossuperioresdelas
bisagrasdelladodel gabinete
3. Levante]apuertahastaquelos[ornillossuperiores
de1gabineteestenen la partegrandedela ranura
dela bisagra Tirede lapuertahaciaadelantepard
separadadelostornillos.Coloquela puerta(con
el lad0dela rnanijahaciaarriba)encimade la
secadoraExtraigalostornillossuperioresdel
gabinete
4. Extraigalostornillosqueunenalas bisagras
conla puerta
5. Extraigalostornillosenla partesuperior,inferiory
lateraldela puerta(4tornillos) S0s[eniendola
puertasabrela[oalla enlasecadora,sujetelos
costadosdel parteexteriordela puertay levante
cuidadosamen[epardsepararladela parteinterior
de la puertaNO lossepareutilizandouna
esp_tula NOtire delbudetede la puertani de
losganchospl_sticosde la misrna.
6. Tengacuidadodemantenerlosespaciadoresde
cart6ncentradosentrelaspuertasVuelvaa unirel
panelexteriorde la puertaal panelinteriorde la
mismademaneraquelamanijaseencuentreenel
ladodedondeseacabandeextraerlasbisagras
7. Unalasbisagrasde lapuertadernaneraque
la partegrandede la ranuradela bisagrase
encuentreenla partede abajodela bisagra.
8. Extraigael interruptorde lapuerta(C) de1gabi-
nete Useundestomil[adorpequeSodepunta
planaparaquJtarcuJdadosamentelos4tapones
debisagraconagujeros(D)queseencuentranal
ladoizquierdode1gabinete.Introduzcalos
taponesen losagujerosde la bisagraenel lado
dereehodelgabinete.
9. IntroduzcalostornillosenlosagujerosJnfefiores
enel ladoJzqu]erdodel gabinete.Atornillelospar
la mitad Coloquelapuertade talfarina queel
extremograndedela ranuradela bisagraeste
sabrelostornillos _._j/
Deslicela puertahacia _
arribaparaquelos
torniHosest6nenla
partedeabajodelas
ranuras.Aprietelos
tornillos.Introduzca
y aprietelostomillos
superioresenlas
bisagras
10 Extraigael tapondelinterruptorde lapuerta(E).
Introduzcaelinterruptorde la puertaque usted
quit6enel paso8en el agujero,y asegOrelocon
untornillo.Introduzcaeltap6ndelinterruptord
ela puertaen el agujerooriginalde1interruptorde
la puertay asegQrelocon untomillo
11 Cierrela puertay asegQresede queelinterruptor
dela mismaest6alineadoconel ganchode la
puerta(F).Si esnecesario,desliceel gancbo
dela puertahaciala izquierdao derechadentro
dela ranuraafin deajustarla alineaci6n
This manual suits for next models

6

Other Kenmore Dryer manuals

Kenmore Elite HE4 User manual

Kenmore

Kenmore Elite HE4 User manual

Kenmore 2696418100 Owner's manual

Kenmore

Kenmore 2696418100 Owner's manual

Kenmore 41793142300 User manual

Kenmore

Kenmore 41793142300 User manual

Kenmore 110.60372710 User manual

Kenmore

Kenmore 110.60372710 User manual

Kenmore 29 IN. (73.7CM) User manual

Kenmore

Kenmore 29 IN. (73.7CM) User manual

Kenmore 62821 Use Owner's manual

Kenmore

Kenmore 62821 Use Owner's manual

Kenmore 134199600H User manual

Kenmore

Kenmore 134199600H User manual

Kenmore Oasis 110.6708 User manual

Kenmore

Kenmore Oasis 110.6708 User manual

Kenmore 240-volt compact electric dryers Original instructions

Kenmore

Kenmore 240-volt compact electric dryers Original instructions

Kenmore 11071082000 Owner's manual

Kenmore

Kenmore 11071082000 Owner's manual

Kenmore 41791100002 User manual

Kenmore

Kenmore 41791100002 User manual

Kenmore 501-80002 User manual

Kenmore

Kenmore 501-80002 User manual

Kenmore 11075202310 User manual

Kenmore

Kenmore 11075202310 User manual

Kenmore W10562379A User manual

Kenmore

Kenmore W10562379A User manual

Kenmore 11065202310 User manual

Kenmore

Kenmore 11065202310 User manual

Kenmore 110.C8787? User manual

Kenmore

Kenmore 110.C8787? User manual

Kenmore 84092 User manual

Kenmore

Kenmore 84092 User manual

Kenmore 110.C9787 Series User manual

Kenmore

Kenmore 110.C9787 Series User manual

Kenmore 90 Series Electric Operating instructions

Kenmore

Kenmore 90 Series Electric Operating instructions

Kenmore C60102 User manual

Kenmore

Kenmore C60102 User manual

Kenmore 796.6900 User manual

Kenmore

Kenmore 796.6900 User manual

Kenmore 11069912990 Operating instructions

Kenmore

Kenmore 11069912990 Operating instructions

Kenmore W10850306A User manual

Kenmore

Kenmore W10850306A User manual

Kenmore 90 Series Gas Operating instructions

Kenmore

Kenmore 90 Series Gas Operating instructions

Popular Dryer manuals by other brands

Zanussi TDS 383 W Instruction booklet

Zanussi

Zanussi TDS 383 W Instruction booklet

Electrolux TWSL4E300 user manual

Electrolux

Electrolux TWSL4E300 user manual

Solt GGSHPD800W user manual

Solt

Solt GGSHPD800W user manual

Candy CV116-S Instruction book

Candy

Candy CV116-S Instruction book

Beko DS 7433 PA0 user manual

Beko

Beko DS 7433 PA0 user manual

GE DBVH520GJ Dimensions and installation information

GE

GE DBVH520GJ Dimensions and installation information

Bosch WTMC6321CN Operating, care and installation instructions

Bosch

Bosch WTMC6321CN Operating, care and installation instructions

Van Air Systems FP-3 Installation, operation & maintenance instructions

Van Air Systems

Van Air Systems FP-3 Installation, operation & maintenance instructions

Hoover VHC 980ATX Instruction book

Hoover

Hoover VHC 980ATX Instruction book

Buchi B-191 manual

Buchi

Buchi B-191 manual

Admiral ADG7000AWW Use & care guide

Admiral

Admiral ADG7000AWW Use & care guide

Bosch WQG242AASN User manual and installation instructions

Bosch

Bosch WQG242AASN User manual and installation instructions

Bosch Nexxt 500 Plus Series WTMC553 Operating and installation instructions

Bosch

Bosch Nexxt 500 Plus Series WTMC553 Operating and installation instructions

Trotec DH 310 Original instructions

Trotec

Trotec DH 310 Original instructions

Whirlpool WED8120HC Quick reference guide

Whirlpool

Whirlpool WED8120HC Quick reference guide

Frigidaire FEQBB30DS0 Use & care guide

Frigidaire

Frigidaire FEQBB30DS0 Use & care guide

Grundig GTN 48250 GC User instructions

Grundig

Grundig GTN 48250 GC User instructions

Kleenmaid KED300-Compact Instructions for use

Kleenmaid

Kleenmaid KED300-Compact Instructions for use

manuals.online logo
manuals.online logoBrands
  • About & Mission
  • Contact us
  • Privacy Policy
  • Terms and Conditions

Copyright 2025 Manuals.Online. All Rights Reserved.