Kenwood MG700 series User manual

MG700 series

n
m
l
k
j
e
o
f
g
h
i
a
c
d
b

p
q
r

s
t

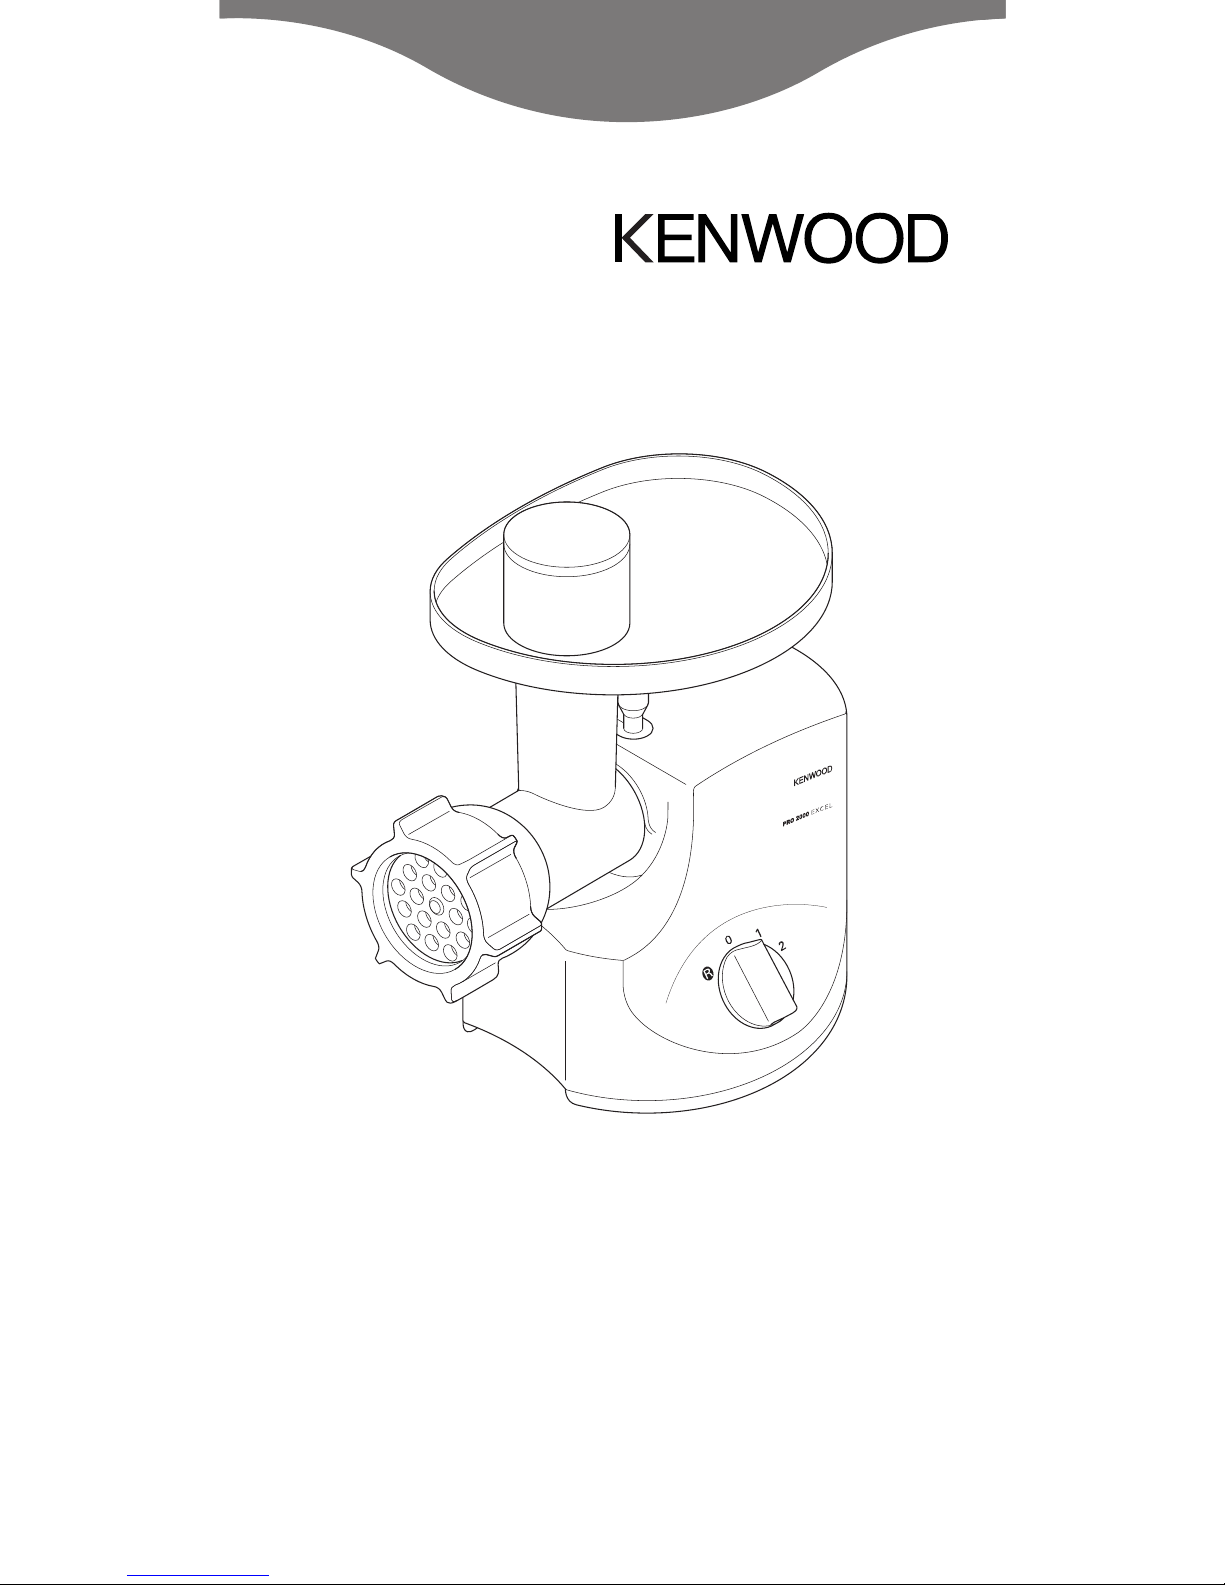
Use the meat grinder to process
meat, poultry and ish. Use the
inclusive attachments to shape
sausages and kebbe.
before using your Kenwood
appliance
●Read these instructions care ully and
retain or uture re erence.
●Remove all packaging and any
labels.
safety
●Always ensure bones and rind etc
are removed rom the meat be ore
mincing.
●When mincing nuts only eed a ew
down at a time and allow the scroll
to pick them up be ore adding any
more.
●Always unplug:
●●be ore itting or removing parts
●●a ter use
●●be ore cleaning.
●Always use the pusher supplied.
Never put your ingers or utensils in
the eed tube.
●Warning - the cutting blade is sharp,
handle with care both in use and
cleaning.
●Ensure the attachment is secured in
position be ore switching on.
●To avoid electric shocks, never let
the power unit, cord or plug get wet.
●Never use a damaged appliance.
Get it checked or repaired: see
‘Service’.
●Never use an unauthorised
attachment.
●Never let the cord hang down where
a child could grab it.
●This appliance is not intended or
use by persons (including children)
with reduced physical, sensory or
mental capabilities, or lack o
experience and knowledge, unless
they have been given supervision or
instruction concerning use o the
appliance by a person responsible
or their sa ety.
●Children should be supervised to
ensure that they do not play with the
appliance.
●Only use the appliance or its
intended domestic use. Kenwood
will not accept any liability i the
appliance is subject to improper use,
or ailure to comply with these
instructions.
before plugging in
●Make sure your electricity supply is
the same as the one shown on the
underside o your machine.
important (UK) only
●The wires in the cord are coloured
as ollows:
Blue = Neutral
Brown = Live.
●The appliance must be protected by
a 13A approved (BS1362) use.
Note:
●For non-rewireable plugs the use
cover MUST be re itted when
replacing the use. I the use cover
is lost then the plug must not be
used until a replacement can be
obtained. The correct use cover is
identi ied by colour and a
replacement may be obtained rom
your Kenwood Authorised Repairer
(see Service).
●I a non-rewireable plug is cut o it
must be DESTROYED
IMMEDIATELY. An electric shock
hazard may arise i an unwanted
non-rewireable plug is inadvertently
inserted into a 13A socket outlet.
●This appliance con orms to EC
directive 2004/108/EC on
Electromagnetic Compatibility and
EC regulation no. 1935/2004 o
27/10/2004 on materials intended
or contact with ood.
before using for the first time
1 Wash the parts see ‘care and
cleaning’
2 Push excess cord into the cord
stowage compartment at the back
o the power unit.
English
4

mincer
power unit
locking lever
attachment outlet
on/o speed control
spanner
ring nut
mincer screens: ine, medium,
coarse
cutter
scroll
mincer body
eed tube
tray
pusher
dish/cover
storage unit or kebbe and
sausage adaptors
to assemble
1 Fit the scroll inside the mincer body.
2 Fit the cutter – cutting side
outermost . Ensure it’s seated
properly – otherwise you
could damage your mincer.
3 Fit a mincer screen . Put the notch
over the pin.
●Use the ine screen or raw meat;
ish; small nuts; or cooked meat or
shepherd’s pie or meat loaves.
●Use the medium and coarse screens
or raw meat; ish and nuts.
4 Loosely it the ring nut.
to use the mincer
1 With the mincer attachment in the
position shown , locate in the
outlet. Rotate the mincer body so
that the eed tube is upright.
2 Tighten the ring nut irmly by hand.
●I you experience poor results when
mincing meat, switch o and unplug
the machine. Dismantle and clean
the attachment, then re-assemble
the attachment and re it to the
power unit. Tighten the ring nut
using the spanner provided .
3Fit the tray. Put the dish/cover under
the mincer to catch the ood.
4Thaw frozen food thoroughly
before mincing. Cut meat into
2.5cm (1”) -wide strips.
5 Switch to speed 2. Using the pusher,
gently push the ood down the eed
tube, one piece at a time. Don’t
push hard – you could damage
your mincer.
Note:
Speed 1 is or extruding sausages,
kebbe and or use with the optional
attachments.
●I the machine stalls or overheats
during use, it will stop mincing and
emit a quiet humming noise. In the
case o a stall, switch the machine
o , then turn the control to R (reverse)
or a ew seconds to release the
clogged ood. Switch o and unplug
the machine and remove any clogged
material. However, i the machine
overheats, switch the machine o and
allow it to cool down or 1 hour
be ore continuing the mincing
operation.
●When selecting reverse, always wait
until the machine stops operating
be ore turning the speed control to
the reverse (R) position.
6 Switch o and unplug a ter use.
7 Loosen the ring nut. I necessay use
the spanner provided.
8 Move the locking lever towards the
back o the unit, then rotate the eed
tube towards the ront o the
machine, then pull ree.
54

sausage filler
base plate
large nozzle ( or thick sausages)
small nozzle ( or thin sausages)
Ask your butcher or sausage skin or
mail order rom the Natural Casing
Company Ltd, PO Box 133,
Farnham, Surrey GU10 5HT,
England. Use pig/hog skin on the
large nozzle and sheep/lamb skin on
the small nozzle. Or, instead o using
skin, roll in breadcrumbs or
seasoned lour be ore cooking.
to use the sausage iller
1 I you’re using skin, soak it in cold
water or 30 minutes irst. Then open
it up with a jet o water and place
your chosen nozzle under a running
tap and pull the skin onto the nozzle.
2 Fit the scroll inside the mincer body.
3 Fit the base plate - put the notch
over the pin.
4 Hold the nozzle on the mincer
attachment and loosely screw the
ring nut on.
5 With the mincer attachment in the
position shown , locate in the
outlet. Rotate the mincer body so
that the eed tube is upright.
6 Tighten the ring nut irmly by hand.
7 Fit the tray.
8 Switch on to speed 1. Using the
pusher, push the ood down the eed
tube. Don’t push hard – you
could damage your mincer.
Ease the skin o the nozzle as it ills.
Don’t over ill.
9 Twist the skin to orm sausages.
pork sausage recipe
100g (4oz) dry bread
600g (11⁄2lb) pork, lean and at, cut
into strips
1 egg, beaten
5ml (1tsp) mixed herbs
salt and pepper
1 Soak the bread in water, then
squeeze and discard the water.
2 Mince the pork into a bowl.
3 Add the remaining ingredients and
mix well.
4 Make into sausages (see ‘to use the
sausage iller’).
5 Fry, grill or bake until golden brown.
ebbe ma er
shaper
cone
Kebbe is a traditional Middle Eastern
dish: deep- ried lamb-and-bulgur-
wheat parcels with a minced meat
illing.
to use the kebbe maker
1 Fit the scroll inside the mincer body.
2 Fit the shaper – put the notch
over the pin.
3 Fit the cone.
4 Loosely screw the ring nut on.
5 With the mincer in the position
shown , locate in the outlet.
Rotate the mincer body so that the
eed tube is upright.
6 Tighten the ring nut irmly by hand.
7 Fit the tray.
8 Switch on to speed 1. Using the
pusher, gently push your mixture
through. Cut into lengths.
6

stu ed kebbe recipe
outer casing
500g (1lb 2oz) lamb or at- ree
mutton, cut into strips
500g (1lb 2oz) bulgur wheat,
washed and drained
1 small onion, inely chopped
Important
Always use the bulgur wheat straight
away a ter draining. I it is allowed to
dry out, it may increase the load on
the mincer resulting in damage.
1 Using the ine screen, mince
alternate batches o meat and
wheat.
2 Mix. Then mince twice more.
3 Stir the onion into the mix.
4 Push through, using the kebbe
maker.
Filling
400g (10oz) lamb, cut into strips
15ml (1tbsp) oil
2 medium onions, inely chopped
5-10ml (1-2tsp) ground allspice
15ml (1tbsp) plain lour
salt and pepper
1 Using the ine screen, mince the
lamb.
2 Fry the onions until golden brown.
Add the lamb.
3 Add the remaining ingredients and
cook or 1-2 minutes.
4 Drain o any excess at and allow to
cool.
To finish
1 Push the casing mixture through,
using the kebbe maker.
2 Cut into 8cm (3”) lengths.
3 Pinch one end o the tube to seal it.
Push some illing – not too much –
into the other end, then seal.
4 Deep ry in hot (190˚) oil or about 6
minutes or until golden brown.
care and cleaning
●Always switch o and unplug be ore
cleaning.
power unit
●Wipe with a damp cloth, then dry.
●Never immerse in water or use
abrasives.
mincer attachment
1 Loosen the ring nut manually or with
the spanner and dismantle. Wash
all the parts in hot soapy water, then
dry. Don’t wash any part in the
dishwasher. Never use a soda
solution.
2 Re-assemble.
3 Wipe the screens with vegetable oil,
then wrap in greaseproo paper to
prevent discolouring/rusting.
4 I you keep the mincer on the
machine, put the dish/cover on the
tray as a dust-cover.
5 The sausage and kebbe
attachments can be kept together in
the storage unit supplied .
service and customer
care
●I the cord is damaged it must, or
sa ety reasons, be replaced by
Kenwood or an authorised Kenwood
repairer.
UK
I you need help with:
●using your machine or
●servicing, spare parts or repairs (in or
out o guarantee)
콯call Kenwood customer care on
023 9239 2333. Have your
model number ready – it’s on
the underside o the power unit.
●spares and attachments
콯call 0870 2413653.
other countries
Contact the shop where you bought
your machine.
7

●Designed and engineered by
Kenwood in the UK.
●Made in China.
guarantee
I your mincer goes wrong within one
year rom the date you bought it, we
will repair it (or replace it i
necessary) ree o charge provided:
●you have not misused, neglected or
damaged it;
●it has not been modi ied (unless by
Kenwood);
●it is not second-hand;
●it has not been used commercially;
●you have not itted a plug incorrectly;
and
●you supply your receipt to
show when you bought it.
This guarantee does not a ect your
statutory rights.
IMPORTANT INFORMATION FOR
CORRECT DISPOSAL OF THE
PRODUCT IN ACCORDANCE
WITH EC DIRECTIVE
2002/96/EC.
At the end o its working li e, the product
must not be disposed o as urban
waste.
It must be taken to a special local
authority di erentiated waste collection
centre or to a dealer providing this
service.
Disposing o a household appliance
separately avoids possible negative
consequences or the environment and
health deriving rom inappropriate
disposal and enables the constituent
materials to be recovered to obtain
signi icant savings in energy and
resources. As a reminder o the need to
dispose o household appliances
separately, the product is marked with
a crossed-out wheeled dustbin.
8

Head O ice Address:
Kenwood Limited, New Lane, Havant, Hampshire PO9 2NH, UK
www.kenwoodworld.com
Designed and engineered by Kenwood in the UK
Made in China 19615/1
Other manuals for MG700 series
3
Table of contents
Other Kenwood Grinder manuals
Popular Grinder manuals by other brands

Tryton
Tryton TMS12519 Operating instruction

EINHELL
EINHELL Bavaria BWS 115/85 operating instructions

Reliable Equipment & Service
Reliable Equipment & Service REL-GR-9 Operator's guide

Hitachi Koki
Hitachi Koki 18SH2 Handling instructions

Pearl
Pearl PA10SDG Series Owner's/operator's manual

Makita
Makita 9500N instruction manual