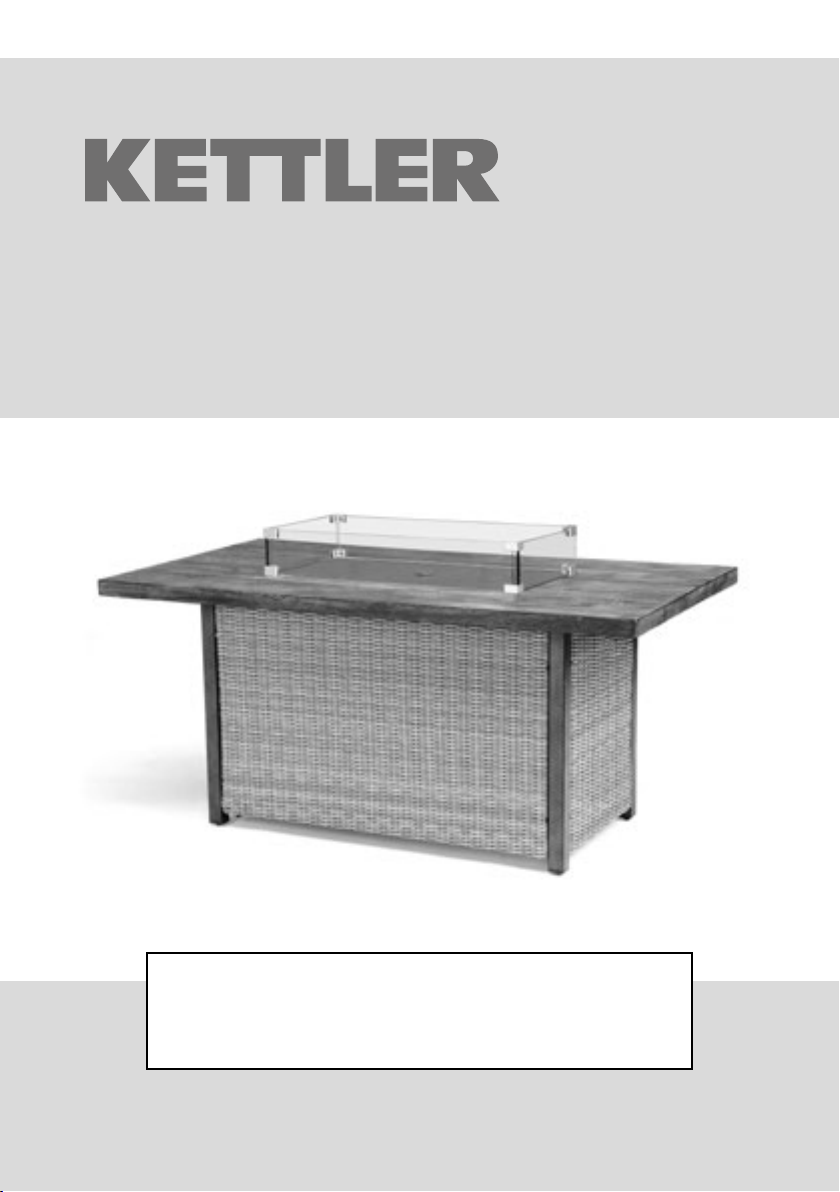
Important Safety Information
• Keep all electrical cords and fuel supply hose
away from heated surfaces.
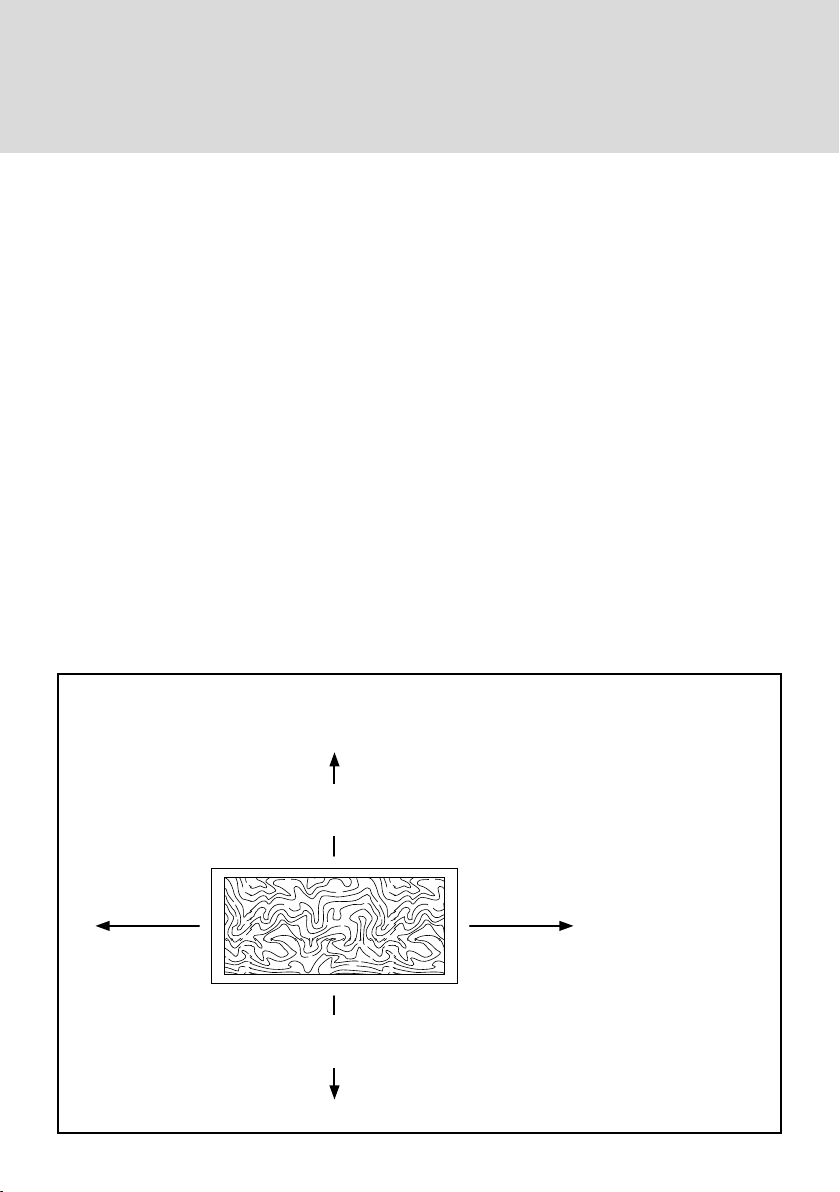
• Combustible material should not be within
72 inches of the top of the unit, or within 48
inches around the entire unit.
• Keep the appliance area clear and free from
combustible material, gasoline and other
ammable vapors and liquids.
• If the ame goes out while burning, turn
the gas valve o. Wait 5 minutes before
repeating the initial lighting procedure. Once
you have a ame started, hold down the
control knob for one minute.
• Do not add water into the unit.
• Do not operate unit if any part has been under
water. Immediately call a qualied service
techni¬cian to inspect the appliance and
replace any part of the control system and any
gas control that has been under water.
• Do not disconnect any part while unit is in use.
• Do not store a spare propane tank on or near
this unit.
• If the heating unit is indoors, detach the
propane tank and leave outdoors.
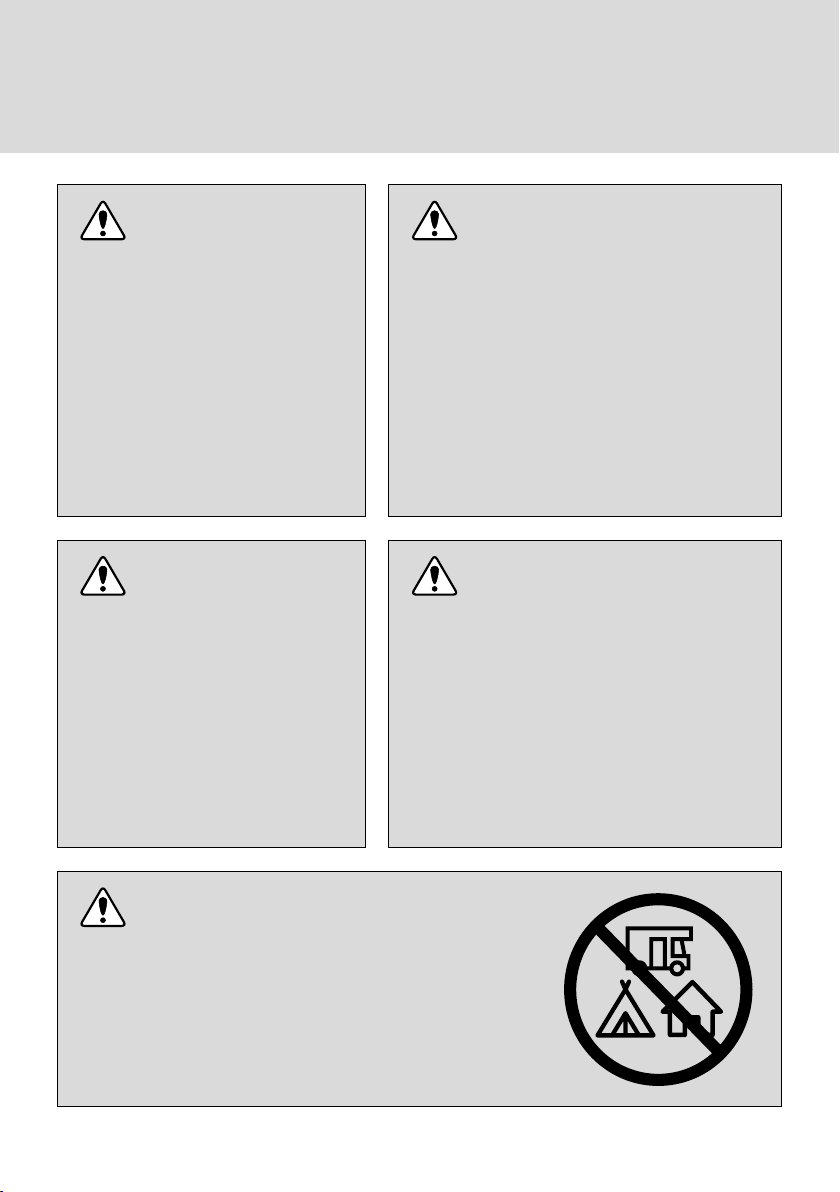
• Do not operate on a boat or vehicle. This
unit must be used on a at surface and
outdoorsONLY.
• Always remove protective cover before
operating (if applicable).
• Do not set the protective cover over the
unit until it is turned o and completely
cooleddown.
• Check for leaks after not using the unit for
long periods of time.
• Children should never operate this unit.
Children must be supervised while near
thisunit.
• Keep gas tank at least 5 feet away from unit
when lit. (if external tank)
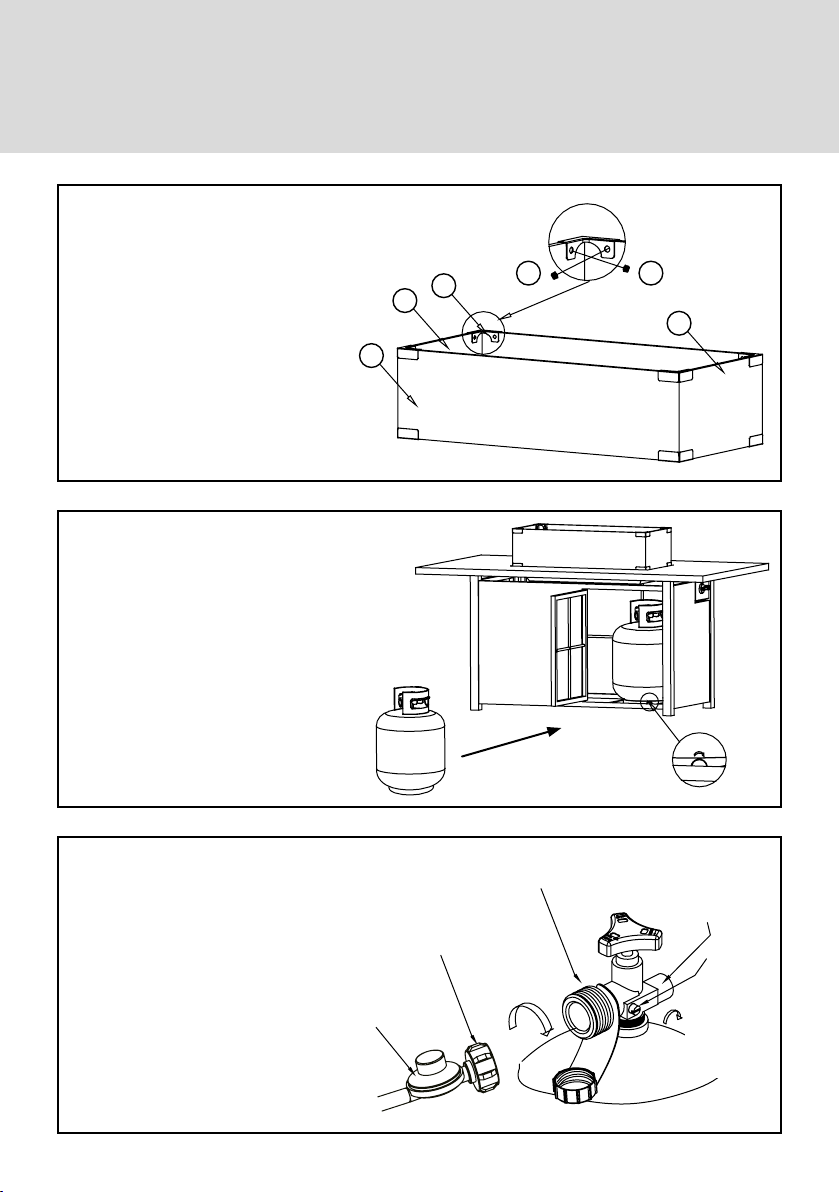
• The maximum gas supply pressure is 250psi.
• All installation and repair should be done by
a qualied professional. This unit should be
inspected annually and cleaned regularly.
• Inspect all elements of this heating unit
before each use. If there is damage, the
burner must be replaced.
• Keep the hose out from any pathways to
eliminate any accidental damage.
(if external tank)
• Be aware of the hazards of high temperatures
and stay away from the unit to avoid any
burns or injury.
• The gas supply tank should be constructed
and marked with the specications for
the LP gas tanks of the U.S. Department of
Transportation or the National Standard
of Canada CAN/C SA-B339, LP gas tanks,
spheres and tubes for Transportation of
Dangerous Goods; and Commission.
• The LP gas tank must have a listed overlling
prevention device and a QCCI or Type I,
(CGA810) LP gas tank connection.
• This heating appliance should not be used
on plastic or articial wood decks.
• Children and adults should be alerted to
the hazards of high surface temperatures
and should stay away to avoid burns or
clothingignition.
• Young children should be carefully
supervised when they are in the area of the
appliance.
• Clothing or other ammable materials
should not be hung from the appliance or
placed on or near the appliance.