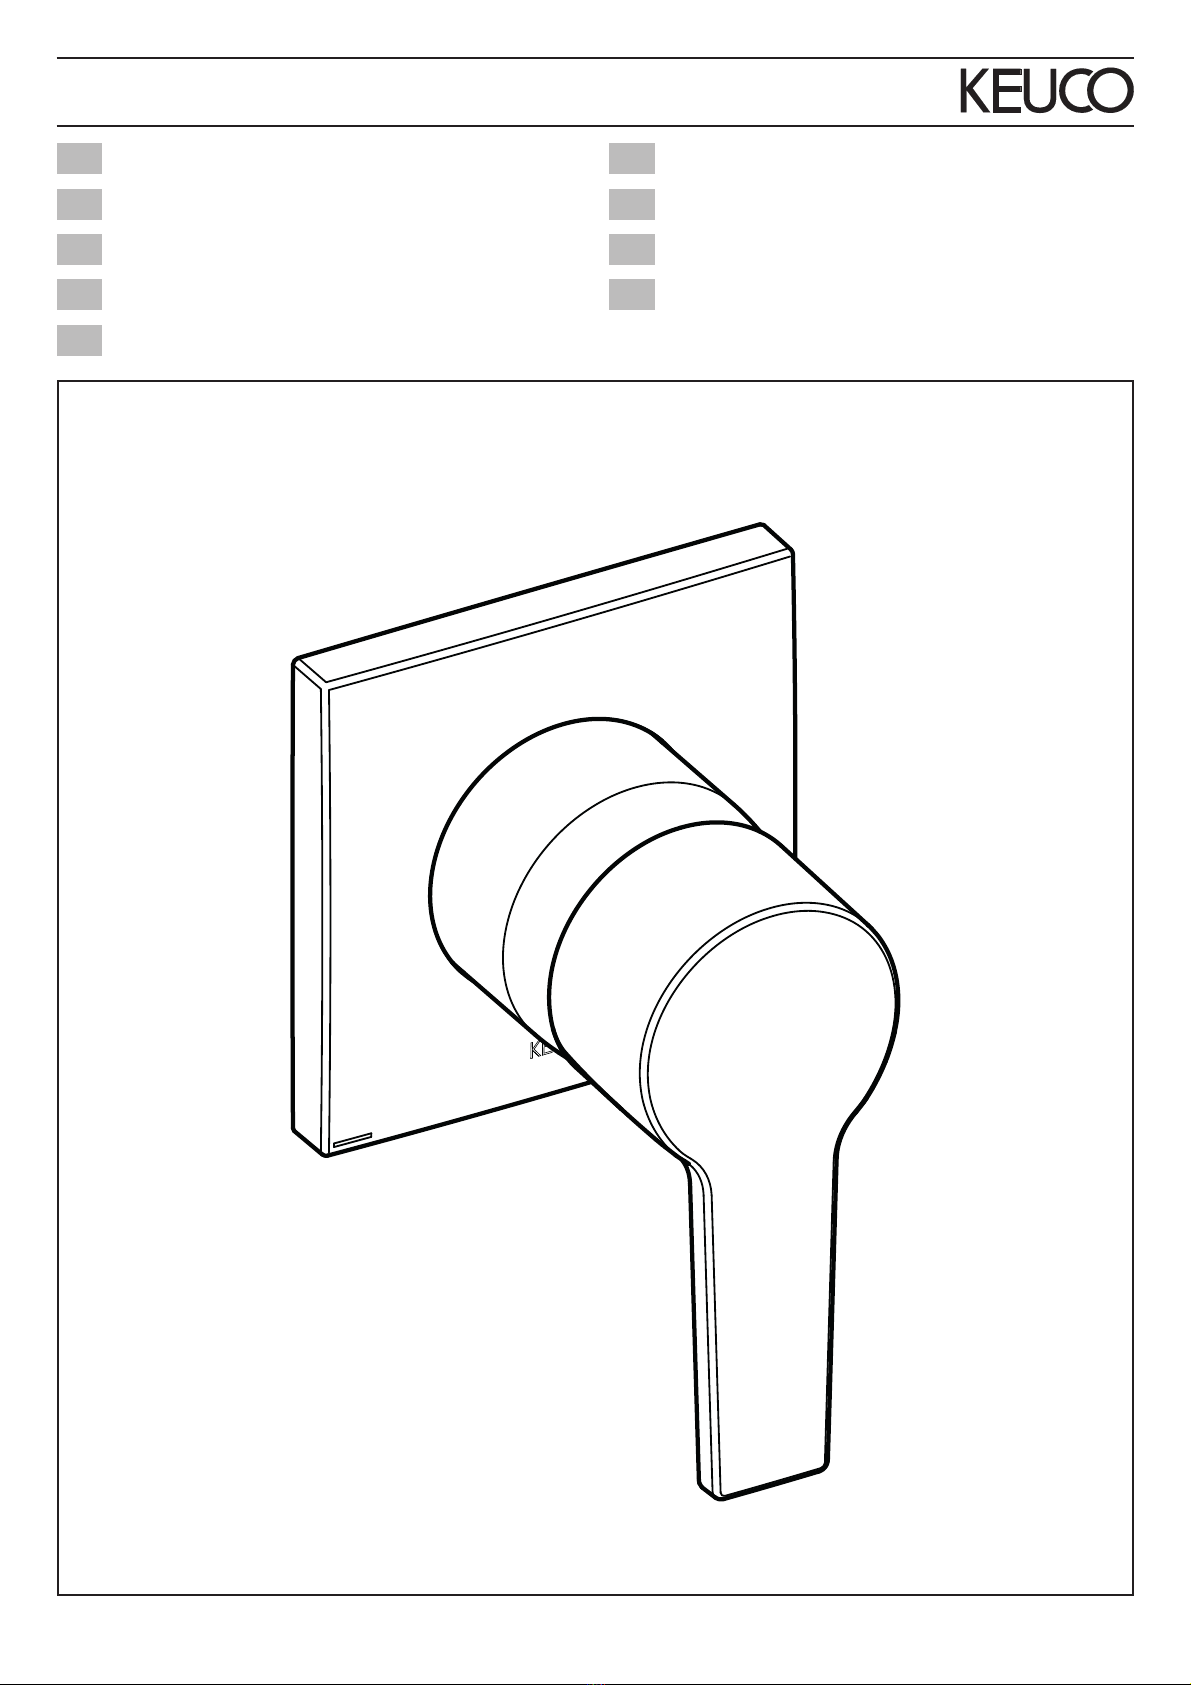
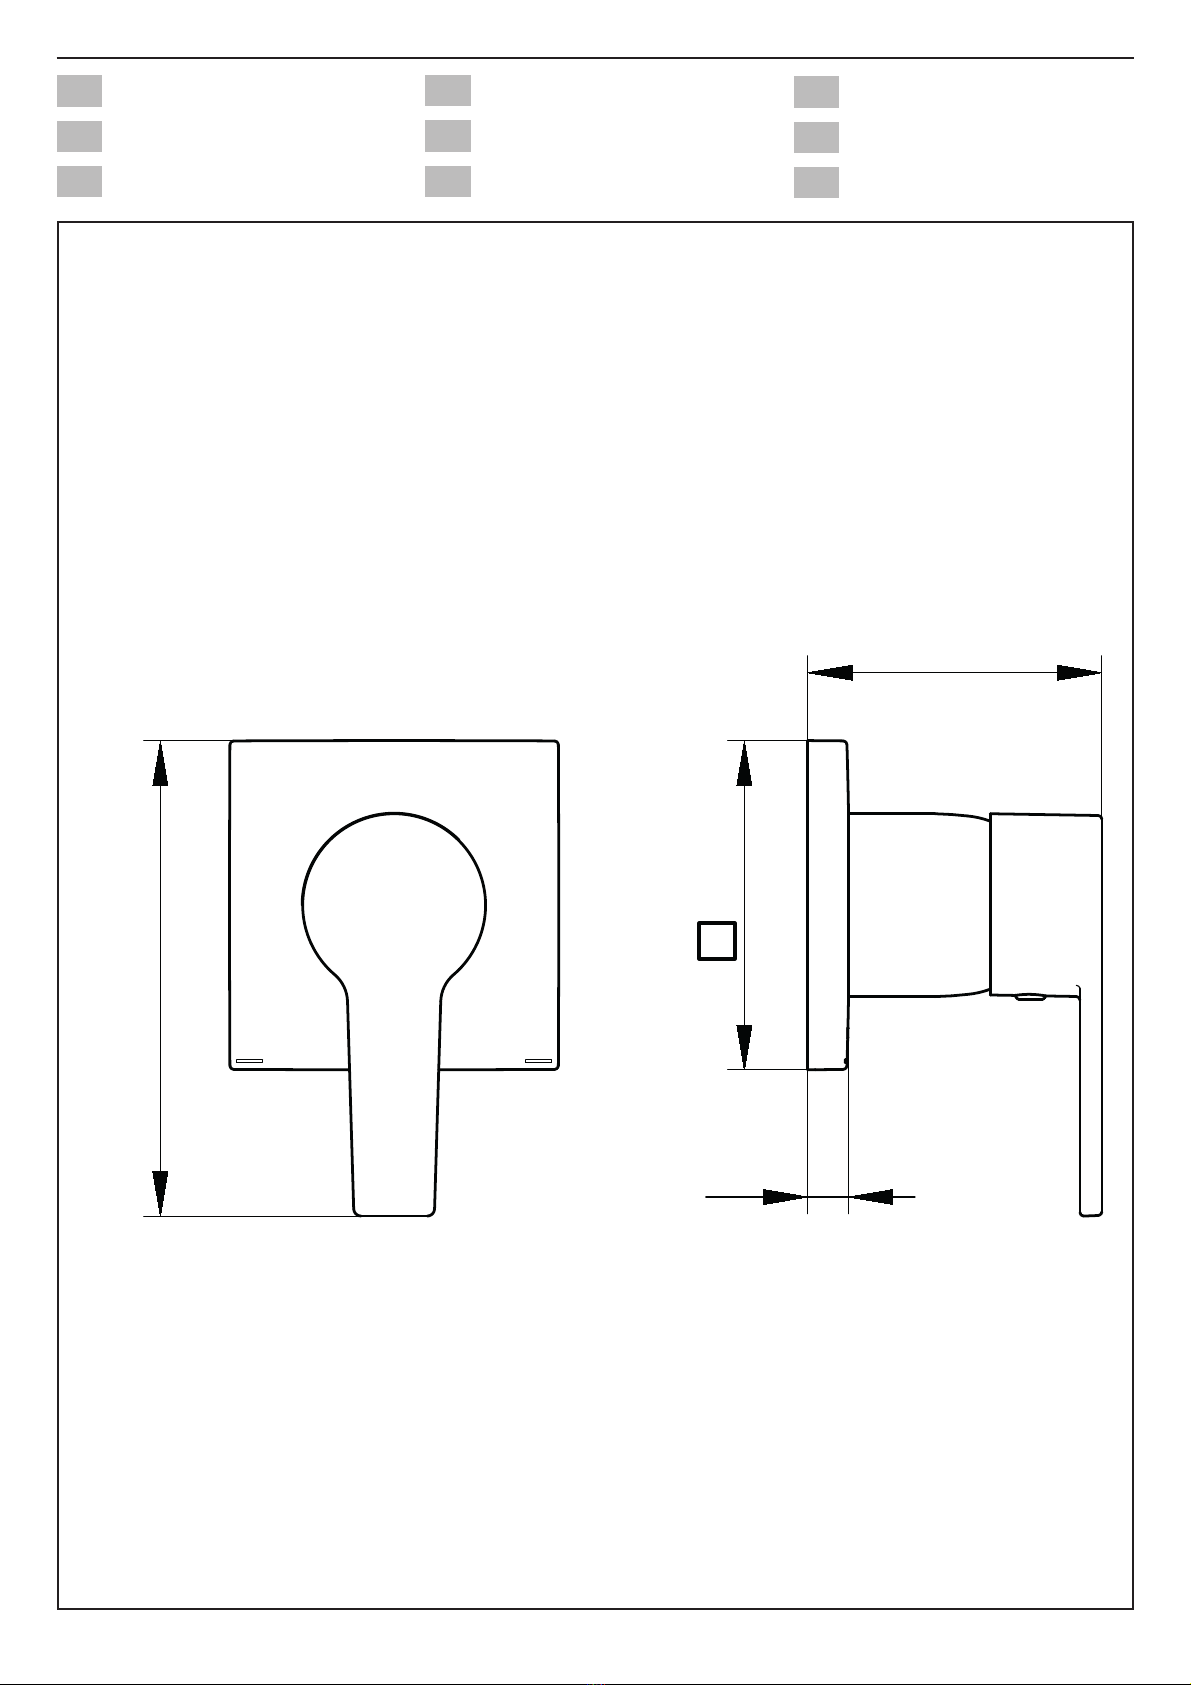
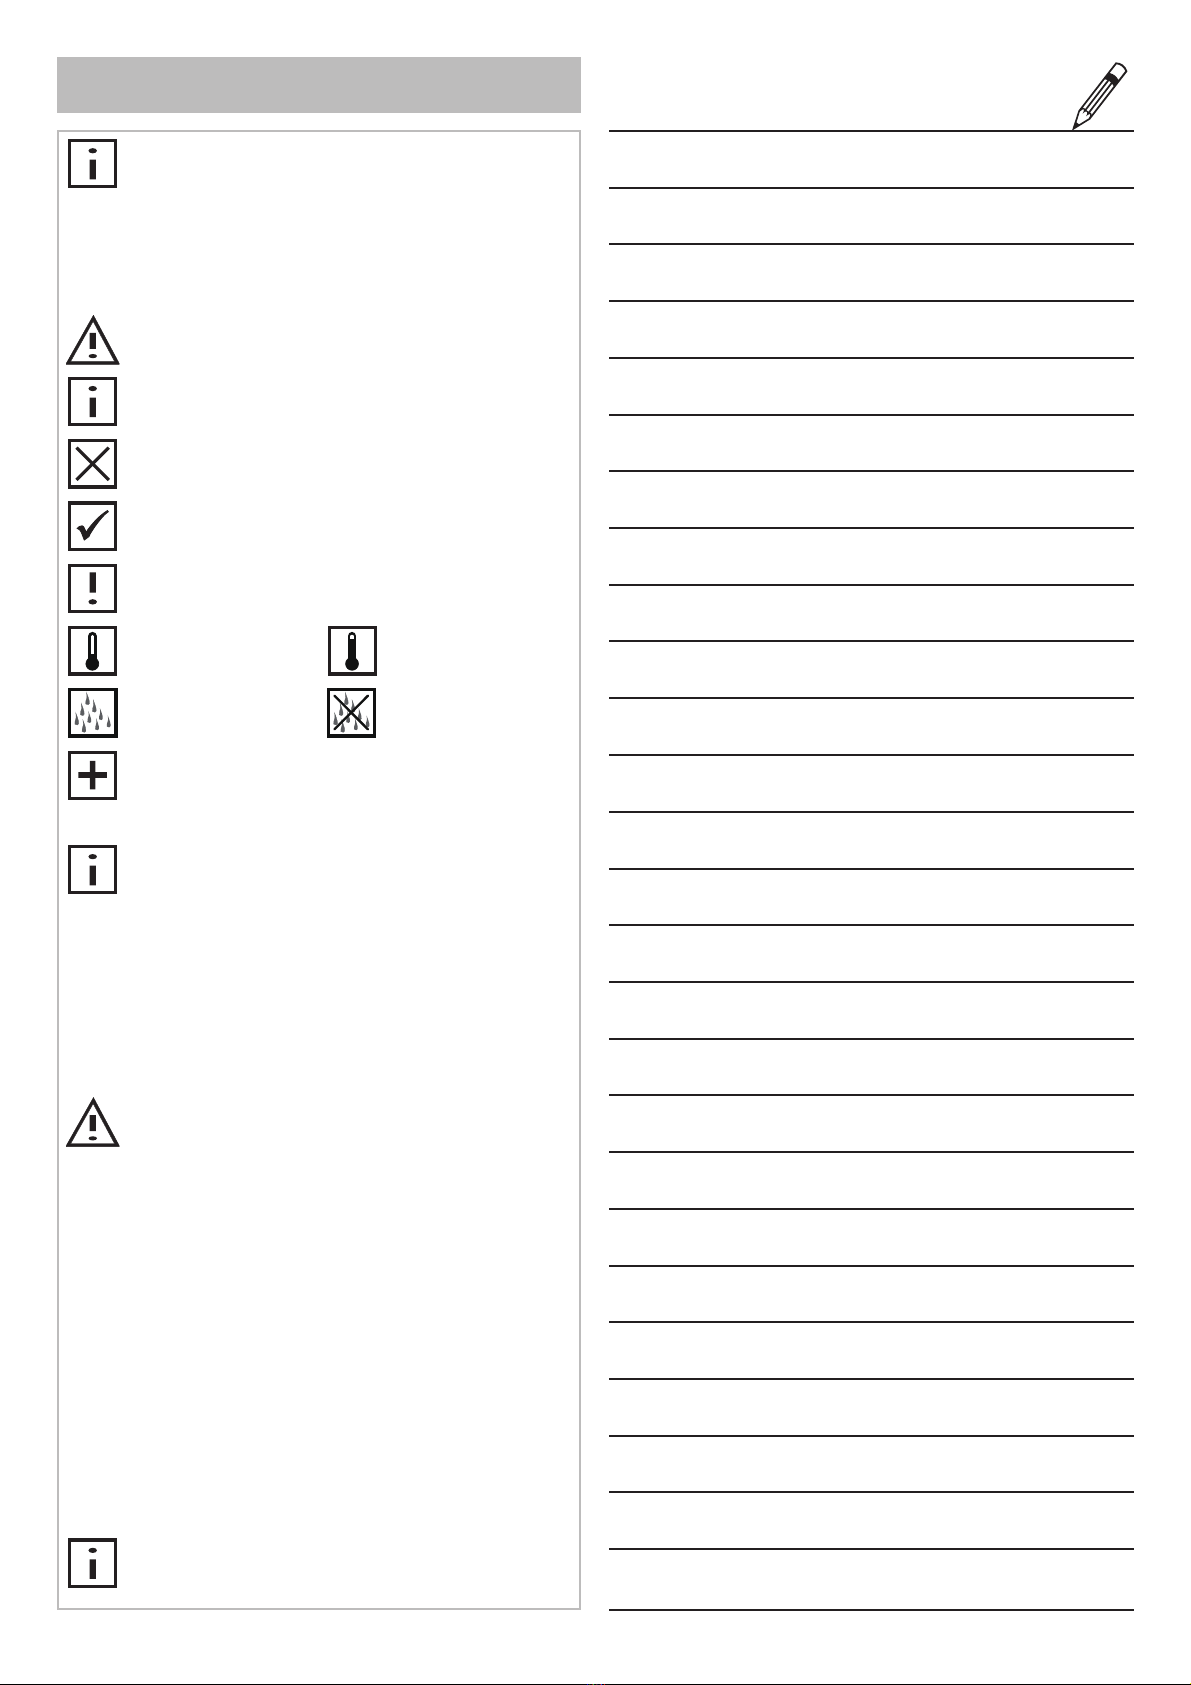
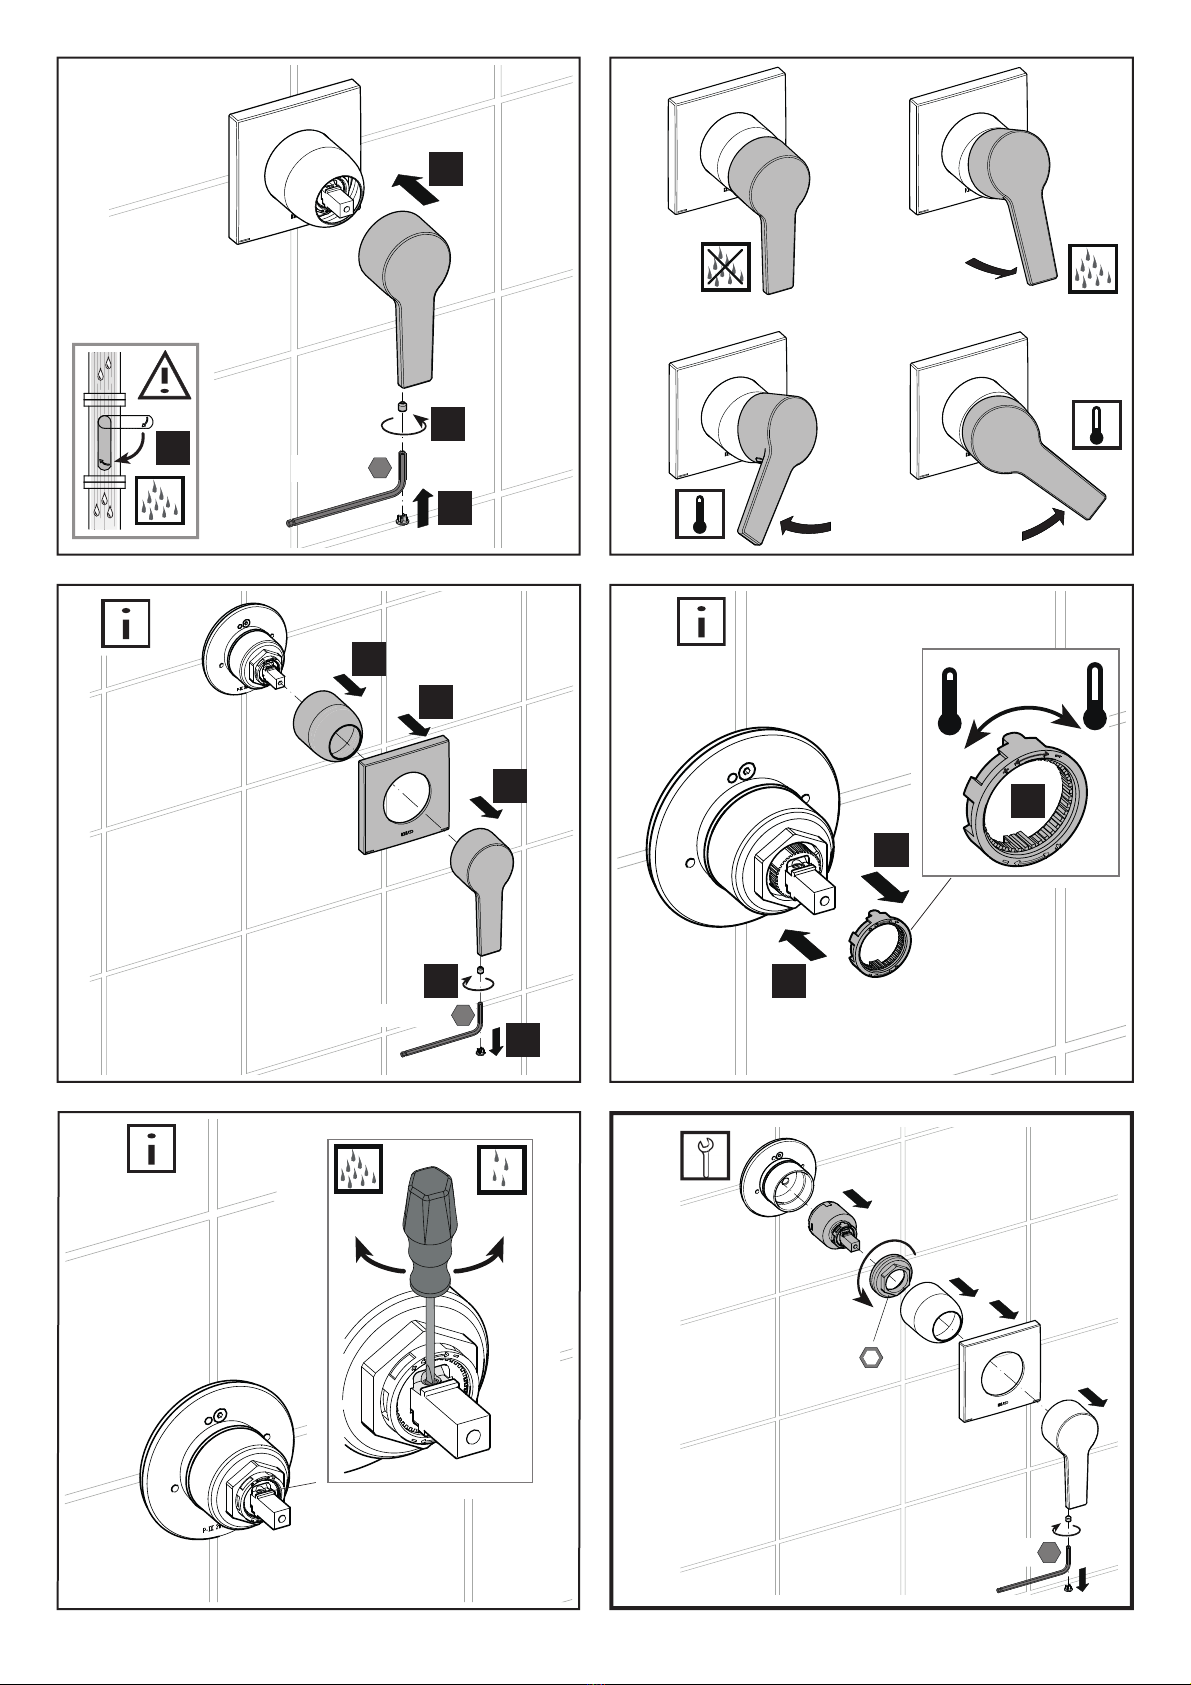
KEUCO Edition 11 51151 010002 User guide
Other KEUCO Bathroom Fixture manuals

KEUCO
KEUCO Axess 35006 011302 User guide

KEUCO
KEUCO Axess 35015 0301 Series User guide

KEUCO
KEUCO Stageline 32853 01V0 Series User manual

KEUCO
KEUCO Axess 35001 0400 Series User guide

KEUCO
KEUCO Axess 35015 0101 Series User guide

KEUCO
KEUCO Plan S User guide

KEUCO
KEUCO iLook move 17612 019053 User manual

KEUCO
KEUCO Axess 35014 1013 Series User guide

KEUCO
KEUCO Edition 400 21503 171351 User manual

KEUCO
KEUCO Plan Care 34903 0137 Series User guide

KEUCO
KEUCO Plan 14983 0100 Series User guide

KEUCO
KEUCO Edition 400 21513 171351 User manual

KEUCO
KEUCO Axess 35006 0801 Series User guide

KEUCO
KEUCO Plan 14956 010137 User manual

KEUCO
KEUCO Royal Lumos 14301 171151 User manual

KEUCO
KEUCO IXMO 59545 010001 User guide

KEUCO
KEUCO Axess 35006 1302 Series User guide

KEUCO
KEUCO 21521 171351 User manual

KEUCO
KEUCO IXMO SOLO 59552 010201 User guide

KEUCO
KEUCO FLEXX.BOXX 59970 000070 User guide


Popular Bathroom Fixture manuals by other brands

Kohler
Kohler Mira Sport Max J03G Installation and user guide

Moen
Moen 186117 Series installation guide

Hans Grohe
Hans Grohe Raindance Showerpipe 27235000 Instructions for use/assembly instructions

Signature Hardware
Signature Hardware ROUND SWIVEL BODY SPRAY 948942 Install

fine fixtures
fine fixtures AC3TH installation manual

LIXIL
LIXIL HP50 Series quick start guide