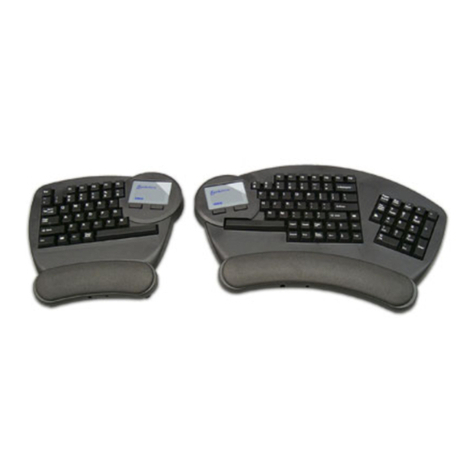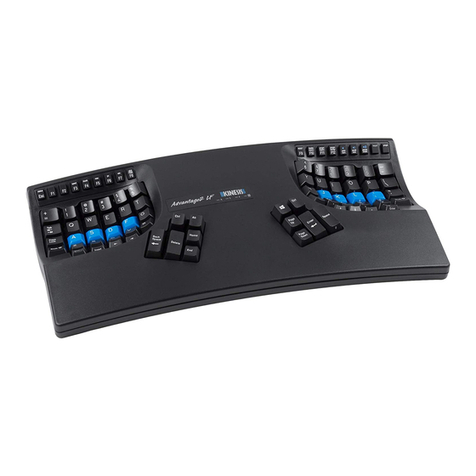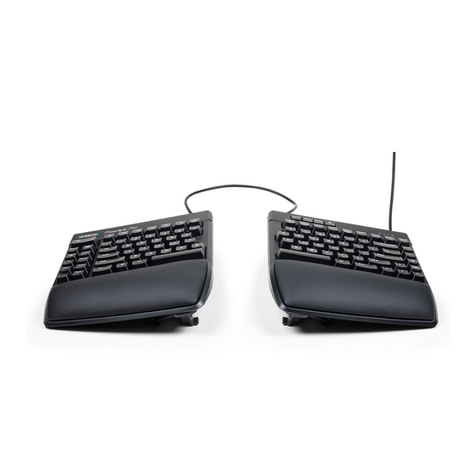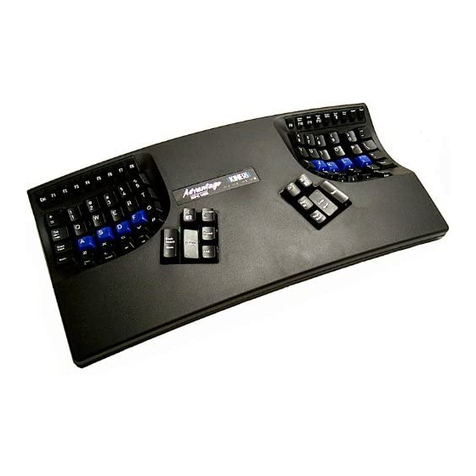
9
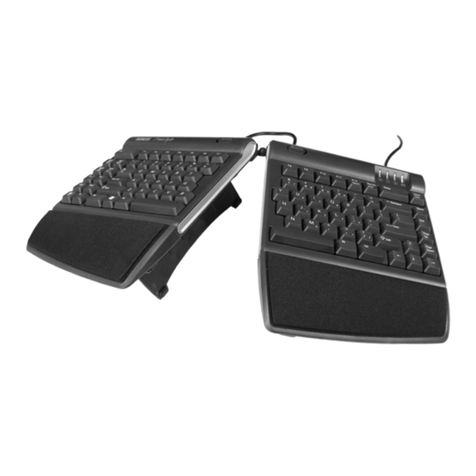
Use the four provided machine bolts with self-locking nuts to attach the adapter
plate to the head of the under-desk track.
Positioning keyboard cables
You may loop the keyboard halves interconnecting cable over the track
head as shown above, or use the self-adhesive clips (provided) to clip the
cables to the underside of the track. Avoid placing the cables where they
can be pinched or damaged when adjusting the keyboard or stowing it
under the desk. For the main cable, avoid placing it where you might step
on it or roll over it with your chair.
Connecting keyboard and touchpad to your computer
Shut down your computer and attach the keyboard and mouse to the same
locations that your previous keyboard and mouse were attached. Be careful that
you do not swap positions! If your mouse and keyboard ports are PS/2 style
(round, 6-pins), you will need to install the provided adapter cables. The
keyboard does not require a driver. For your touchpad, do not install any drivers
until you have tested the touchpad to evaluate if they are needed.
Initial testing of the touchpad
Turn on your computer. When a mouse cursor appears during the bootup
process, try the touchpad to see if you can move the cursor. Use only very
gentle pressure. You can use the buttons to click, or you can tap very gently on
the touchpad surface to click. If you haven’t used a touchpad previously, you
will want to install and use the touchpad tutorial which is installed when you
install the cirque drivers (below).
Initial testing of keyboard
The cursor keys should move the keyboard cursor around the desktop. Run a
text editing application and test every key for functionality. If one or more keys
do not perform their expected act, reset the keyboard’s special memory chip as
explained under “Customizing your keyboard & special key actions.”
Using a serial port for your touchpad (Windows 95/98/ME)
While most PCs will allow you to connect two pointing devices at once, it is
simpler if you start out by disconnecting your previous pointing device and
attach the cable from your touchpad (labeled “mouse”) to the same port.
Connecting the touchpad to your serial port.
If you wish to connect the touchpad to your serial port and you have been using
a PS/2 port with your old mouse, turn off the computer and attach the 9-pin
connector (labeled “mouse”) from your keyboard to an available serial port
connector on your computer. Leave your old mouse attached to the PS/2 port!
10
Activating your serial port
Start your computer and test the touchpad. If it is not working, use the “add
hardware” option in the control panel and have it search for new hardware.
When it finishes searching, select “Details” to confirm that a “standard serial
port” was detected. Then select “Finish” and restart your computer as instructed
by Windows. For some computers, you may have to follow this procedure twice
to get the touchpad to work correctly on the serial port.
Installing the Cirque driver and tutorial
Once you know that the touchpad is active, you can install the Cirque drivers
and tutorial if you wish. Insert the diskette provided, click on the Start, then
Run, and then type a: and browse to find the installation file. Double click to
run this program. The driver will be installed and the tutorial will begin.
Touchpad tutorial
If you have not used a touchpad extensively, it is a good idea to practice with
the Cirque tutorial. Practicing with the tutorial will rapidly improve your
comfort and efficiency with this pointing device. After you have installed the
Cirque driver, the tutorial will automatically run every time you reboot until you
deselect this property in the tutorial’s startup screen. Remember that your
touchpad is very different than a mouse. Constant force is not required to
activate either the pointer or the “tap-to-click” action.
Customizing your touchpad
After installing the Cirque driver, you can adjust sensitivity and even customize
button actions using the “Mouse” icon in your control panel (click Start, the
Settings, then Control Panel).
Adapting to your new computing environment
When adjusting to your new keyboard, please follow these suggestions:
!Don’t type “hard.” Relax!
!Make small changes and try them for a while before changing again
!Carefully review the ergonomic guidelines below.
Preliminary adjustment of keyboard
Loosen both adjusting knobs on one side while supporting the keyboard. When
making adjustments to the keyboard, be gentle so that movements don’t cause
damage to the adjustment mechanisms. If adjustment seems difficult, further
loosen the adjusting knobs.
When the keyboard section is approximately where you want it, gently tighten
