5
4.3 Layout Programming Tips
• If the keyboard cannot understand the desired remap, then the default action will remain in effect.
• Do not mix and match square and curly brackets in a single line of code
• Separate each line of code with Enter/Return
• The order in which the lines of code appears in the .txt file does not generally matter, except in the event
of conflicting commands, in which case the command closest to the bottom of the file will be implemented.
• Tokens are not case-sensitive. Capitalizing a token will not produce the “shifted” action.
• A line of code can be temporarily disabled by placing an asterisk (*) at the beginning of the line.
4.4 Position Tokens
Generally speaking, position tokens are defined by the basic QWERTY Windows action for the key in the
default layout. In some cases tokens have been modified for clarity and/or ease of programming.
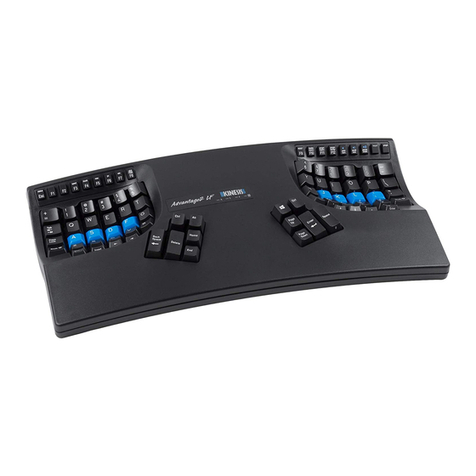
• Example: The Hotkey 1 position is: [hk1]>…
4.6 Programming Remaps
To program a remap, encode the position token and one action token in square brackets, separated by “>“.
Remap Examples:
1. Hotkey 1 performs Q: [hk1]>[q]
2. Escape key performs Caps Lock: [esc]>[caps]
Shifted Actions: Shifted characters (e.g., “!”) cannot be produced by a Remap. To produce a shifted key
action, it is necessary to encode it as macro which includes both the down and up stroke of the shift key
surrounding the basic key action. Downstrokes are indicated by placing a “-” inside the bracket and upstrokes
are indicated by placing “+”. See example macro 1 below.
4.7 Programming Macros
To program a macro, encode the “trigger keys” to the left of the “>” in curly brackets. Then encode one or
more Action Tokens to the right of the “>” in curly brackets. Each macro can include approximately 300 Action
tokens and each layout can store up to 7,200 total macro tokens spread across up to 100 macros.
Trigger Keys: Any non-modifier key can be trigger a macro. A co-trigger can be added by encoding a
modifier to the left of “>”. See example 1 below. Note: Windows co-triggers are not recommended. Write your
macro under the desired “Layer Header”.
Individual Playback Speed Prefix {s_}: By default, all macros play at the selected default playback speed.
To assign a custom speed for improved playback performance for a given macro you can use the “Individual
Playback Speed” prefix “{s_}”. Choose a number from 1-9 corresponding to the speed scale shown Section
4.6. The speed prefix should be placed to the right of the “>“ before the macro content. See example 2 below.
Multiplay Prefix {x_}: By default, all macros playback continuously while the trigger key is held. To override
the repeat feature and restrict a macro to playback a specific number of times you can use the “Macro
Multiplay” prefix “{x_}”. Choose a number from 1-9 corresponding to the number of times you want the macro
to replay. The multiplay prefix should be placed to the right of the “>“ before the macro content. See example
3 below. If a macro is not playing back properly, try assigning a Multiplay value of 1. The macro may actually
be firing multiple times before you are releasing the trigger key. See example 3 below
Timing Delays: Delays can be inserted into a macro to improve playback performance or to produce a
mouse double-click. Delays are available in any interval between 1 and 999 millisecond ({d001} & {d999}),
including random delays ({dran}). Delay tokens can be combined to produce delays of various durations.
