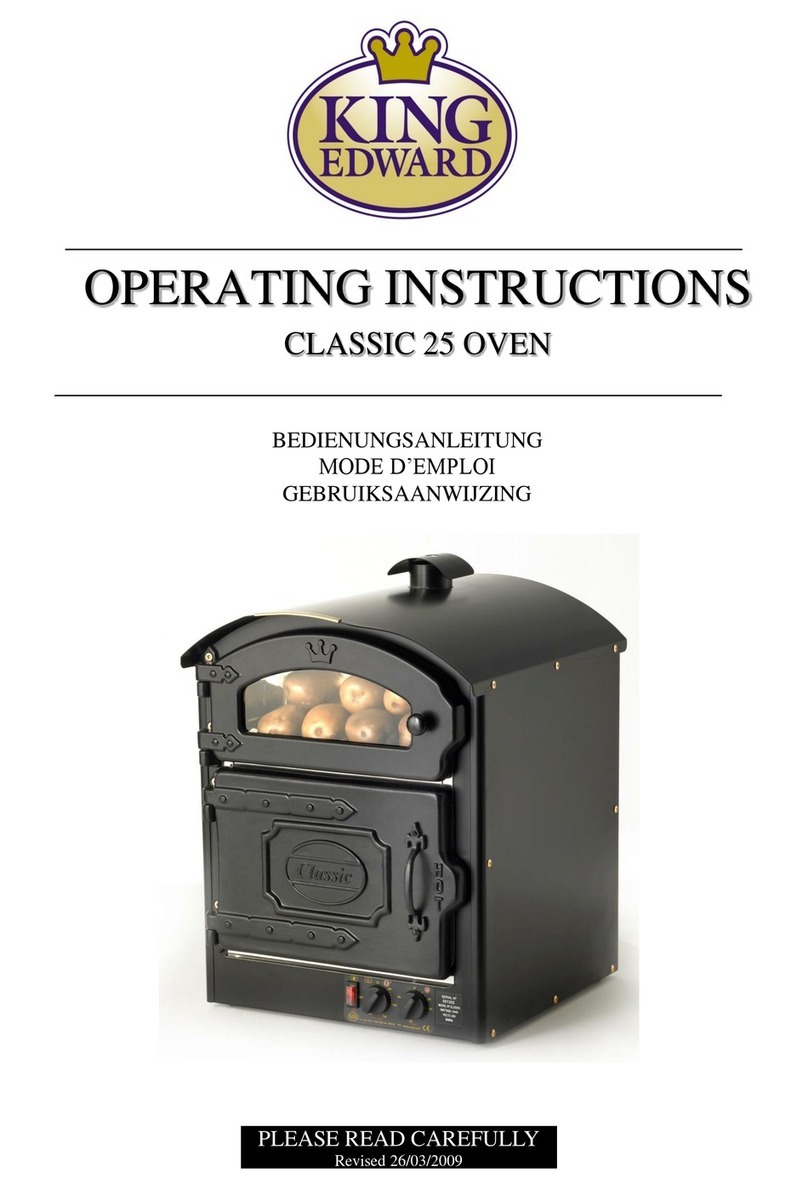
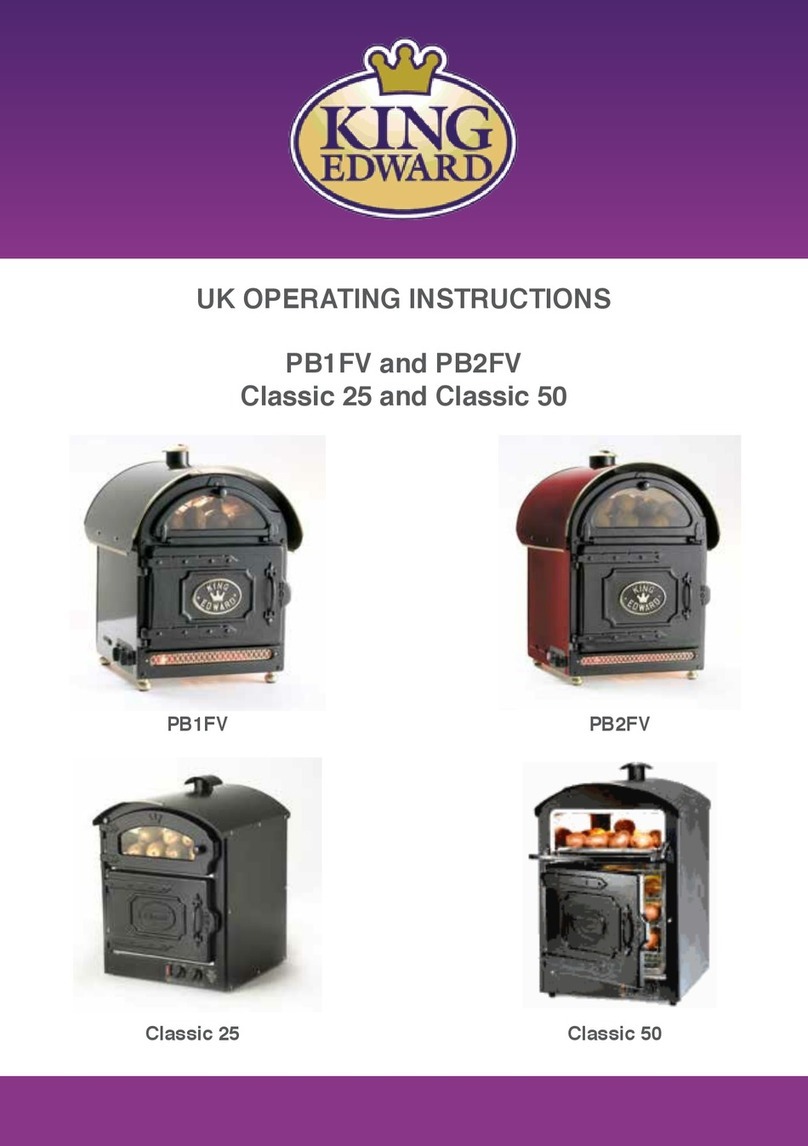
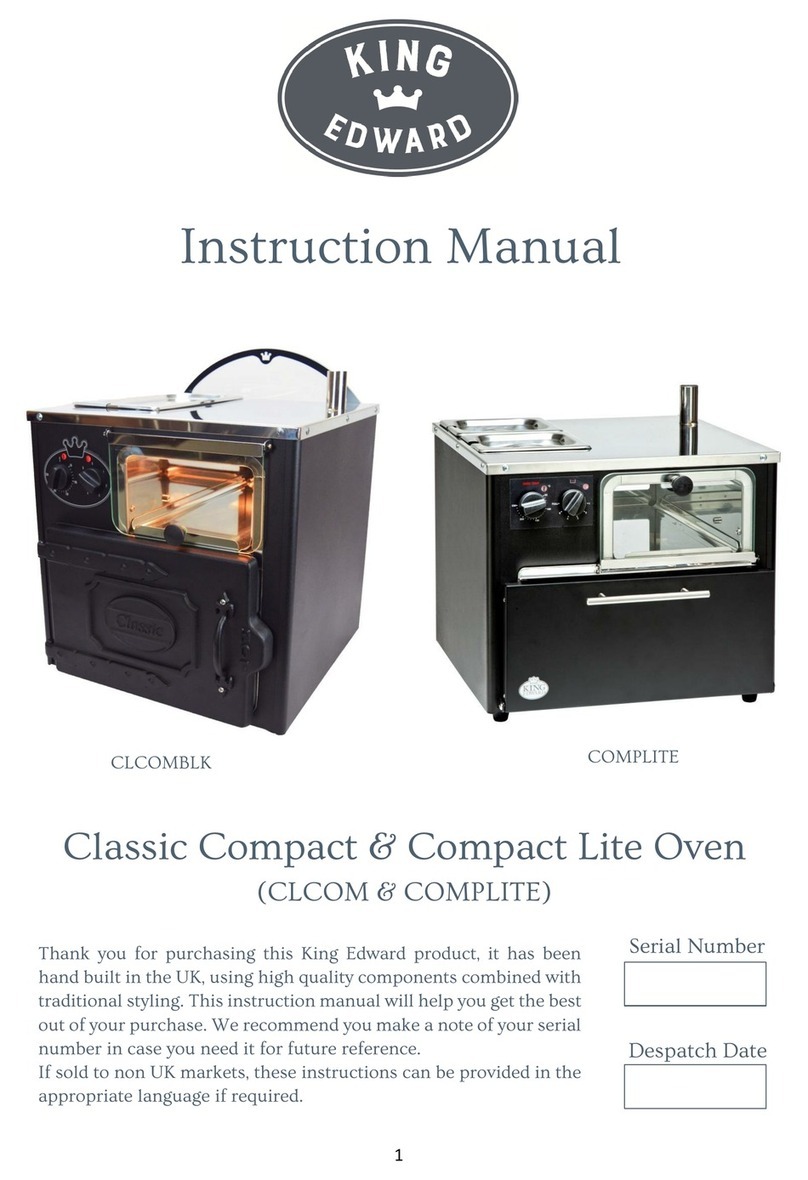
King Edward CLASSIC 50 User manual

OPERATING INSTRUCTIONS
CLASSIC 50 OVEN
CLASSIC 50 OVEN
BEDIENUNGSANLEITUNG
MODE D’EMPLOI
GEBRUIKSAANWIJZING
PLEASE READ CAREFULLY
(Rev 5; 01/06/2010)

INSTALLATION INSTRUCTIONS
We recommend that wherever possible, the Classic 50 potato baker is sited near adequate extraction /
ventilation to assist with the disposal of steam.
The exterior of this appliance will get hot during operation. Suitable precautions must be taken.
Make sure that the mains flex cannot come into contact with hot surfaces and that it is adjusted to the
required length by a qualified person upon installation. Do not push excess flex under the baker.
If the supply cord is damaged, it must be replaced by the Manufacturer, its Service Agent or Similarly
Qualified Persons in order to avoid a hazard.
Do not position the baker near to the edge of a counter enabling staff or customers to brush against it in
passing.
Position the baker so that the electrical socket can be reached easily in the event that the baker needs to
be disconnected from the electric supply.
OPERATING RECOMMENDATIONS
The interior of this appliance will get very hot during operation. ALWAYS use an oven glove
(preferably one which covers the wrist and lower arm as well) when operating the baker or removing
potatoes from it.
Take particular care when opening the main oven door; the built-up steam and heat inside will escape as
soon as the door is opened and could cause injury if you are standing too close. Avoid opening the main
oven door unnecessarily as this will cause heat loss and lengthen the cooking time.
Handle baked potatoes carefully, occasionally they may burst in the oven or whilst being handled.
Do not turn the thermostat control up to its full setting, as this will invariably burn the outside of the
potatoes before the inside is cooked; moderate heat for longer is recommended.
All King Edward ovens MUST be operated by suitably trained staff. Under NO circumstances should
children come into contact with or operate this appliance.
Taking the trays out and positioning the potatoes before loading will enable you to gain the maximum
capacity from your baker.
This product may increase the ambient temperature.
Always use best practise and take all reasonable precaution to avoid accidents when using this oven.
INSTRUCTIONS FOR USE
Before using the oven, take out the wire trays and position the potatoes on them ready for loading.
Plug the oven in at the socket, turn on the ‘Fan on’ rocker switch in the control panel, this will turn the
fan motor on and also the display lights.
Turn the thermostat knob on the control panel to the temperature required for jackets we recommend
190 - 200°C. At this stage the neon light will come on to indicate that the oven is heating up.
When the thermostat neon goes out, the oven has reached temperature. You can then load the prepared
trays of potatoes. At this stage you may use the timer if you wish by setting it to the desired cooking
time. The red neon will then go off when the bell rings at the end of the cooking period. Please note -
the oven will not automatically turn off!
When cooked sufficiently, the potatoes will feel soft when gently squeezed. They can then be
transferred to the top display area and served when required. To maintain adequate storage temperature
in the top display area, the main oven must be left on at normal operating temperature (190 - 200°C).
If you intend to cook products other than potatoes, adjust the temperature and cooking times according
to the product’s cooking instructions - bearing in mind this is a fan assisted oven with reduced cooking
times.

COOKING GUIDE
COOKING GUIDE
Our figures are based on 8oz potatoes, but much larger ones will require longer baking. When using
larger potatoes adjust the oven capacity accordingly. It is worth weighing the size of potato you expect
to use.
¾50 x 8oz potatoes at 190 - 200°C for 60 minutes
¾40 x 10oz potatoes at 190 - 200°C for 70 minutes
When the oven is fully loaded, particularly with larger potatoes, air-flow inside may become
restricted. If this is the case, it may be desirable to reduce the cooking temperature whilst
increasing the cooking time.
ABOUT POTATOES
ABOUT POTATOES
We recommend the use of washed and graded baking potatoes as non-baking varieties take longer to
cook and don’t produce such good results, King Edward, Maris Piper or Desiree are three good baking
varieties although your supplier may be able to recommend others to you. Some ways you can prepare
your potatoes include:
¾Rubbing the skins in olive oil and salt. ~ (makes the skins crisper)
¾Pricking the skins ~ (may reduce the risk of the potatoes bursting)
¾Wrapping them in foil ~ (produces a much “wetter” potato with a soft, thin skin, also
increases the cooking time, ~ not really a proper “jacket” potato).
The skin of the potato will become thicker and crunchier if it is cooked for longer at a lower
temperature. However once the baked potatoes are removed from the oven, the skins will become softer
as they reduce in temperature. Once removed from the very hot temperature of the baking oven and
placed into the lower temperature of the holding oven, the potatoes will inevitably reduce in core
temperature. The display oven is intentionally at a lower temperature to prevent the potato from over-
cooking; this also helps to prolong the display life of the potato.
Despite being prepared and cooked in the same way, the same batch of potatoes can produce different
results! Please use the method of baking that suits you best and gives you the results you want ~
HAPPY BAKING!
CLEANING & MAINTENANCE
Always unplug oven at socket before cleaning.
To maintain the visual appeal of the baker, the exterior panels, doors and black framework should be
cleaned with warm soapy water and a soft cloth and then polished with Mr Sheen or similar and a soft
cloth. Clean Stainless Steel surfaces with a proprietary stainless steel cleaner.
Top display area door glass can be cleaned with proprietary glass cleaner.
Wiping painted surfaces with a damp cloth will leave unsightly smears if it is not polished afterwards.
Clean the oven after use when it has cooled or is still slightly warm as dried on spills will be difficult to
remove later.
Never use abrasive materials on any of the oven surfaces.
The oven interior can be cleaned using a normal domestic oven interior cleaner, please follow the
instructions carefully.
To facilitate easy cleaning, you can completely remove the wire trays in main oven, and remove the fan
element cover (unscrew and detach but do not remove the screws completely). Clean in in warm soapy
water; and reverse to reassemble.
We recommended that door catches on main oven and top display doors are oiled and greased regularly.
DO NOT SUBMERGE THIS BAKER IN WATER OR USE ANY WATER JETS TO CLEAN IT

CLASSIC 50 OVEN
CLASSIC 50 OVEN -
-REPLACEABLE PARTS
REPLACEABLE PARTS
2
4
67
Description Part Number
1 Wire Tray x 3 (300mm D x 358mm W) 700218v
2 Brass Feet 500116
3 Rubber insert for foot C-RF
4 Removable crumb tray CT-CO/50
5 Removable fan & element cover FC-CO/50
6 Door Catch 500115 )
7 Door Catch Stud 500115 ) ordered as one complete part
8 Rubber Door Seal 700229V
9 Top door knob 500121
10 Door hinge pins (s/s threaded stud) 700122
11 Top door retaining arm 600022
12 Black control knobs 190304
8
12
Thermostat 90 min timer
10 11
Fan motor &
element behind
removable cover
Fan on/off switch
5
9
3
1
BULB CHANGE IN THE TOP OVEN
Unplug the oven from the mains electricity.
Pull or lever off the rectangular glass bulb cover; carefully
unscrew old bulb anti-clockwise. Replace with new bulb.
Replace glass bulb cover.
NB: Bulbs are not covered by guarantee

Wiring Diagram
Wiring Diagram -
-Classic 50 Oven
Classic 50 Oven
Electrical Component List
1 Mains Flex 190201 13 Display Area - High Temp Bulb 400125
2 Wires Red CO9001 14 Fan Motor 700000
3 Wires Red CO9002 15 Control knobs 190304
4 Wires Red CO9003 16 Main Oven Element (2.6kW) 7000022
6 Wires Red CO9004 17 Thermal Cut Out 190222
7. Wires Black CO9005 18 Thermostat 190303V
8 Wires Black CO9006 19 Neon Indicator (with tails) 190303A
9 Wires Earth CO9007 20 Fan on/off switch 190001a
10 Wires Red CO9008 21 Rectangular Top Bulb Housing 500121
11 Wires Red CO9009 complete with lens cover
12 Mains Connector 190306V 22 90 minute timer T-90
Neutral = BLACK Line
Live = RED Line
3
2
15
16
7
14
7
8
Main Oven Element
Top Bulb Holder
Fan Motor
1
2
Thermal
Cut Out
18
19
20
T’Stat
1
2
3
Fan
Oven
Switch
Timer
Neon
4
2
19
Neon
15
21
9
6
L
L
N
N
17
10
1
Mains Flex
Earth
Stud
13
12
11
22
WIRING INSTRUCTIONS
WIRING INSTRUCTIONS
• Prepare all 3 wires using trimming template
• Loosen cord grip
• Wire in the sequence: Neutral – Live – Earth
• Ensure terminal screws are tight
• Always use 13 amp (Brown) fuse
• Tighten cord grip onto cord before replacing cover
L
CORD GRIP
FUSE
E
N
If in doubt contact a qualified electrician. THIS APPLIANCE MUST BE EARTHED
NEUTRAL / BLUE OR BLACK
25mm
8mm
EARTH - GREEN OR YELLOW / GREEN
40mm
8mm LIVE / BROWN OR RED
8mm
12mm

SERVICE SHEET
SERVICE SHEET
DISCONNECT FROM ELECTRICITY SUPPLY BEFORE COMMENCING SERVICE
1. Replacing top oven bulb
Access is gained through top oven door. Lever off glass cover, unscrew bulb - replace cover ensuring cut-out
in cover is over bulb housing side.
2. Replacing Door Seal (Main Oven)
Lift door off hinges and lie flat with seal facing upwards. Unscrew all screws next to seal, remove seal and
replace. Reverse process.
* Ensure seal is tucked inside lip on cast door and is even all round before fully tightening screws - do not
over tighten!
3. Replacing Top Oven Bulb Assembly
Remove outer canopy, stainless steel oven top, 8 screws, pull off wire connectors. Assembly can be removed
through oven after pushing in clamps around sides. Reverse process.
4. Replacing Thermal Cut-out
Remove fan motor access panel at rear of oven (2 screws)
–Remove thermal cut out (2 screws)
–Replace with new item
–Reverse process
* Important - fibre washers must be replaced between cut-out plate and oven or oven will cut out
prematurely and disable cooking process.
* Test oven at full temperature and allow to cycle several times, before leaving. If whole oven (including
lights) go off, cut-off plate would need bending away from oven. Re-test when cooled.
5. Replacing Main Oven Fan
5.1 Remove element cover from inside oven
5.2 Unscrew central nut anticlockwise, remove fan blade
5.3 Remove fan motor access panel
5.4 Remove thermal cut out
–Replace with new item. (Ensure fibre washers are used between fan motor fixing plate and oven
wall and also fixing plate and screw heads)
–Use stud loc and screws to prevent them from vibrating loose.
–Test oven by turning fan switch on, turn thermostat to mid setting (150-200) towards neon. Allow
oven to cycle several times, making sure fan blade does not catch on element cover
6. Replacing Fan Oven Element
6.1 Remove fan motor access panel at rear of oven (2 screws)
6.2 Pull off wire terminals
6.3 Remove element cover from inside oven. NB: the 2 slotted screws only need to be loosened and the
cover lifted and pulled over the screw heads
6.4 Remove central screw from element and lift out
6.5 Replace with new element and reverse procedure
6.6 Test oven
7. Replacing Thermostat
7.1 Remove element cover from inside oven
7.2 Carefully open slightly the 2 clips holding thermostat sensor. Move in line with hole, capillary
passes through.
7.3 Remove 8 screws holding the L/H side panel (when facing doors) and remove
7.4 Retract thermostat sensor through oven side
7.5 Remove control knob and 2 screws from front
7.7 Pull out thermostat and carefully transfer all connections to new item
–Replace in reverse order
–Test thermostat by turning knob with mid setting (150-200) towards neon. Wait until neon goes out
and cycles several times before turning off.
Ensure all operational and safety checks are conducted before leaving machine.

FAULT FINDING GUIDE
PROBLEM CHECK
NOTHING WORKS Is the oven switched on at the socket ?
Is the fan oven switch on?
Is trip on main fuse board on ?
Has fuse blown in plug ?
*If trip/fuse continues to trip/blow after
resetting/replacing; consult service engineer
*Top oven bulb may not be working
- giving the impression that the oven is not working!
If all above are OK but oven still does not heat up -see
below
OVEN NOT HEATING UP Turn oven thermostat knob to mid setting (150 - 200ºC)
in line with neon: does neon light up ?
Yes - look inside oven to see if fan blade is turning (F
models only)
No and fan not turning - consult service engineer
OVEN BURNING PRODUCT Is thermostat turned above 220 ºC (temperature in
line with neon)?
Yes - try a lower setting (180 - 200 ºC)
*Larger potatoes may need cooking at lower
temperature for longer to prevent over cooking
outside before inside is cooked
No - does neon light go off when temperature knob is
turned to low setting (below 100 ºC) or off ?
No - consult service engineer
THERMAL CUT-OUT The whole oven, (lights, elements and fan) cycles off
and then on again some time later indicating a
replacement thermostat is required.
Yes - consult service engineer

All King Edward equipment is covered by a 1 year guarantee from the time of
purchase; this does not effect your statutory rights. Depending on the contract
you have entered into with your supplier, the guarantee may cover Parts Only
or be full Parts & Labour. Please check with your supplier for confirmation.
Irrespective of the level of cover certain items are not covered by the
manufacturers guarantee: bulbs, fuses, main oven door seal, glass and damage
to the mains lead.
The manufacturers guarantee covers all components with the exceptions
highlighted above – but it does not cover external surfaces and trim.
Breakages to external trim (eg brass fittings, flue, etc) and the deterioration in
the quality/appearance of surface panels, canopy and stainless steel interiors,
which are deemed to have been caused by general wear & tear through oven
usage, are not covered by this guarantee.
Please check your fuses and electricity supply before calling out an engineer
as service calls requested in error will be charged at the normal rate.
Please have the equipment sited where it is easily accessible to the engineer
and where there is adequate room to work. In the case of an oven, please
ensure the product has not been used within 6 hours of the engineers visit and
that it has cooled down sufficiently to work on.
Most service calls will be responded to within 48 hours. However, in
exceptional circumstances we may require the equipment back at our factory
for investigation and repair. In these instances please allow 4 working days
from collection to delivery.
Persons not authorised by King Edward Catering Equipment should not
attempt to repair/adjust any part without our prior consent as this may
invalidate our guarantee as would the fitting of non specified parts.
Please contact King Edward on 01885 489200 or your equipment supplier if
you have any problems.
For future reference please write your equipment serial number here:
GUARANTEE
GUARANTEE
Table of contents
Other King Edward Oven manuals