GET STARTED
QUICK START GUIDE
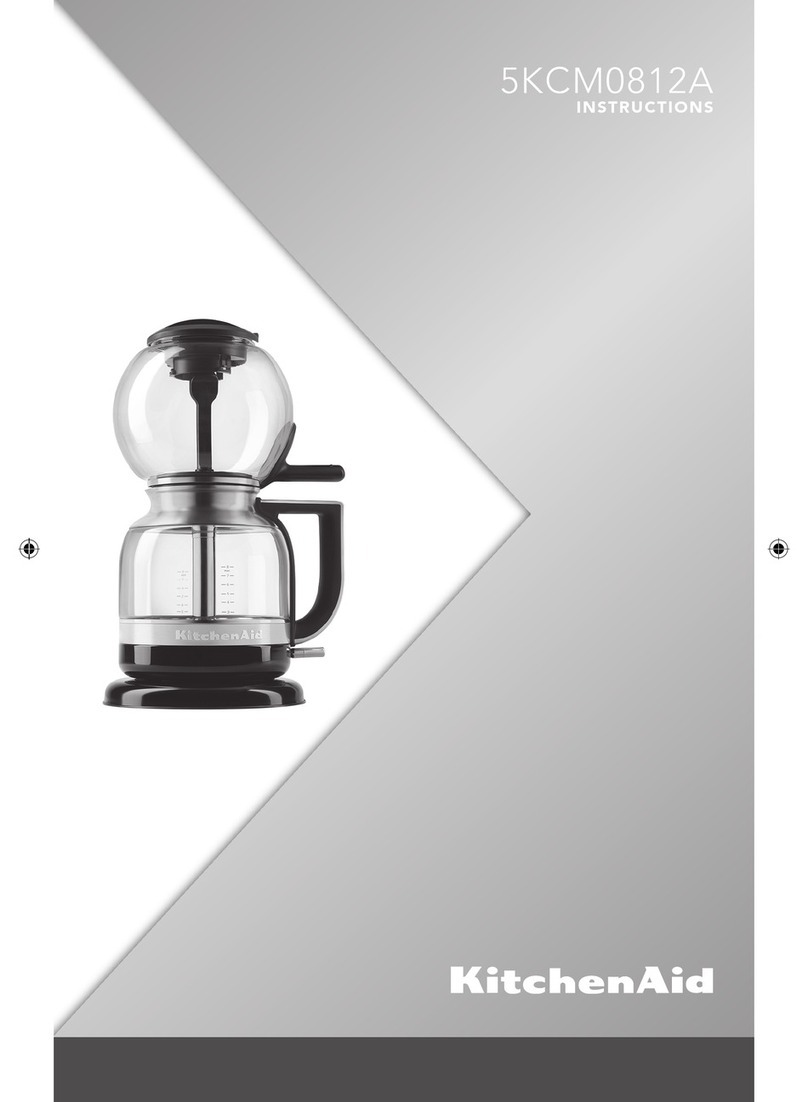
The KitchenAid®Siphon Coffee Brewer brings together the incredible avours of siphon coffee
brewing with easy, safe operation and no open ame. With the simple ip of a switch, automatically
brew exceptionally clean and bright tasting coffee with no need for guesswork or adjustment.
For complete instructions and videos, go online to kitchenaid.com.au or kitchenaid.co.nz.
2. Scoop the desired amount of ground
coffee into the brew unit using the
coffee scoop; then, place the lid
on the brew unit.
NOTE: For 8 cups of coffee, use
approximately 74 g of medium-coarse
ground coffee.
1. Keep the brew unit steady by grasping
the brew unit handle, and use the coffee
filter handle to place the coffee filter
into the bottom of the brew unit. Turn
the coffee filter handle clockwise until
the coffee filter locks into place.
NOTE: If using the cloth filter, refer to
the Instructions Manual.
4. Press down on the ON/OFF switch
to begin the brewing cycle. The LED
indicator will glow and the water will
begin to heat.
Once the brewed coffee has stopped
pouring into the carafe, remove the
brew unit from the carafe and place
in the brew unit stand. Remove the
lid from the brew unit, place it on the
carafe, and turn clockwise to lock it
into place. Your coffee is now ready
to be served.
NOTE: The switch will automatically
turn off during the brewing cycle. Do
not remove the brew unit at this time;
the cycle is not yet complete. Allow the
coffee to finish pouring into the carafe.
3. Fill the carafe with fresh, filtered water
to the desired cup level as indicated on
the sides of the carafe. To avoid spills on
the countertop, do not overfill the carafe.
Place the carafe on the base. Remove
the brew unit from the brew unit stand
and place it on the carafe. Turn the brew
unit handle until it aligns with the carafe
handle and locks into place.
NOTE: The amount of coffee brewed
may be slightly less than the amount
of water you put into the carafe, due
to natural evaporation during the
brewing process. This is normal.
W10745266B_v07.indd 2 10/13/15 10:49 AM


