manuals.online logo
Brands
  1. Home
  2. •
  3. Brands
  4. •
  5. kleankin
  6. •
  7. Indoor Furnishing
  8. •
  9. kleankin 834-033V01 User manual

kleankin 834-033V01 User manual

834-033V01
IN230600288V01_UK_FR_ES_DE_IT
EN_IMPORTANT, RETAIN FOR FUTURE REFERENCE: READ CAREFULLY.
FR_IMPORTANT:A LIRE ATTENTIVEMENT ET À CONSERVER POUR CONSULTATION
ULTÉRIEURE.
ES_IMPORTANTE, LEA Y GUARDE PARA FUTURAS REFERENCIAS.
DE_,,WICHTIG! SORGFÄLTIG LESEN UND FÜR SPÄTER NACHSCHLAGEN AUFBEWAHREN."
IT_IMPORTANTE! CONSERVARE IL PRESENTE MANUALE PER FUTURO RIFERIMENTO E
LEGGERLO ATTENTAMENTE.
SAFETY INSTRUCTIONS
● Please read these safety instructions carefully before using this product.
● Do not disassemble or alter the components of the mirror.
● Keep the mirror dry. Moisture reduces the sensitivity of the appliance.
● Turn off and keep out of direct sunlight when stored away. Keep out the reach of children.
Do not use the mirror if it is faulty.
CONSIGNES DE SÉCURITÉ
● Ne pas démonter ou modifier le miroir
● Gardez le miroir sec. L'humidité réduit la sensibilité de l'appareil.
● Éteignez l'appareil et protégez-le de la lumière directe du soleil lorsque vous le rangez.
Tenez-le hors de portée des enfants.
● N'utilisez pas le miroir s'il est défectueux.
EN
FR
INSTRUCCIONES DE SEGURIDAD
● No desmonte ni modifique ningún componente del espejo.
● Mantenga el espejo seco. La humedad reducirá la sensibilidad del espejo.
● Apague el espejo y manténgalo alejado de la luz solar directa al almacenarlo. Manténgalo
alejado y fuera del alcance de los niños.
● No utilice el espejo si no funciona correctamente.
SICHERHEITSHINWEISE
● Demontieren Sie den Spiegel nicht.
● Halten Sie den Spiegel trocken. Feuchtigkeit verringert die Empfindlichkeit des
Geräts.
● Schalten Sie das Gerät aus und bewahren Sie es vor direktem Sonnenlicht geschützt auf.
Bewahren Sie ihn außerhalb der Reichweite von Kindern auf.
● Verwenden Sie den Spiegel nicht, wenn er defekt ist.
ISTRUZIONI DI SICUREZZA
● Non smontare o alterare lo specchio.
● Mantenere o specchio asciutto. L’umidità riduce la sensibilità dell’apparecchio.
● Spegnere l'apparecchio e tenerlo lontano dalla luce solare diretta quando viene riposto.
Tenere fuori dalla portata dei bambini.
● Non usare se lo specchio è guasto.
IT
ES
DE
PART
LIST
B2
A1C2
05
Done
07
04
B2
C2
BC
01
A1
Y=460mm
A
X=650mm
H
02 03
06
Fit a 3A fuse in a fused spur
NEUTRAL-BLUE
NEUTRAL-BLAU
BLU NEUTRO
BLEU-NEUTRE
AZUL NEUTRO
EARTH-YELLOW/GREEN
ERDE-GELB / GRÜN
TERRA GIALLO / VERDE
JAUNE TERRE/VERT
AMARILLO/VERDE
LIVE-BRAUN
BRUN VIF
MARRÓN VIVO
MARRONE BRILLANTE
LIVE-BROWN
5-10mm
X/Y
EN: Pull up the PC cover on the back of the
mirror.
FR: Retirez la protection du circuit imprimé à
l'arrière du miroir.
ES: Retire la cubierta de la PC de la parte
trasera del espejo.
DE: Entfernen Sie die PC-Abdeckung auf der
Rückseite des Spiegels
IT: Rimuovere la copertura PC sul retro dello
specchio.
EN: Take off the LED DC connector.
FR: Enlevez le connecteur DC de la LED.
ES: Retire el conector de CC del LED.
DE: Trennen der LEDs vom Stromkreis
IT: Scollegare il connettore CC del LED.
EN: Take off the LED strip from the frame.
FR: Retirez la bande LED du cadre.
ES: Retire la tira del LED del marco.
DE: Trennen der LED-Leiste vom Rahmen
IT: Togliere la striscia LED dalla struttura.
EN: Stick the new LED strip on the aluminum
frame.
FR: Collez la nouvelle bande LED sur le cadre
en aluminium.
ES: Pegue la nueva tira del LED al marco de
aluminio.
DE: Kleben Sie den neuen LED-Streifen auf
den Aluminiumrahmen
IT: Attaccare la nuova striscia LED sulla struttu-
ra in alluminio.
EN: This product contains a light source of energy efficiency class <F>.
FR: Ce produit est équipé d'une source lumineuse énergétique : classe d'efficacité
<F>.
ES: Este producto contiene una fuente de luz de energía: Clase de eficiencia <F>.
DE: Dieses Produkt enthält eine Lichtquelle der Energieeffizienzklasse <F>.
IT: Questo prodotto contiene una sorgente luminosa energetica: Classe di efficienza
<F>.
EN: Connect the LED strip DC connector.
FR: Connectez le connecteur DC de la bande
LED.
ES: Conecte el conector de CC de la tira del
LED.
DE: Verbinden Sie die LED-Leiste mit dem
DC-Anschluss
IT: Collegare il connettore CC della striscia
LED.
EN: Place the PC board back.
FR: Replacez la carte de circuit imprimé.
ES: Vuelva a colocar la placa de PC en su
lugar.
DE: Abdecken der Platinenrückseite
IT: Riposizionare la copertura PC.

Other kleankin Indoor Furnishing manuals
kleankin 834-540V00 User manual

kleankin

kleankin 834-540V00 User manual

kleankin 834-541V00 User manual

kleankin

kleankin 834-541V00 User manual

kleankin 834-027V70 User manual

kleankin

kleankin 834-027V70 User manual

kleankin 834-389V80 User manual

kleankin

kleankin 834-389V80 User manual

kleankin 834-390V80 User manual

kleankin

kleankin 834-390V80 User manual

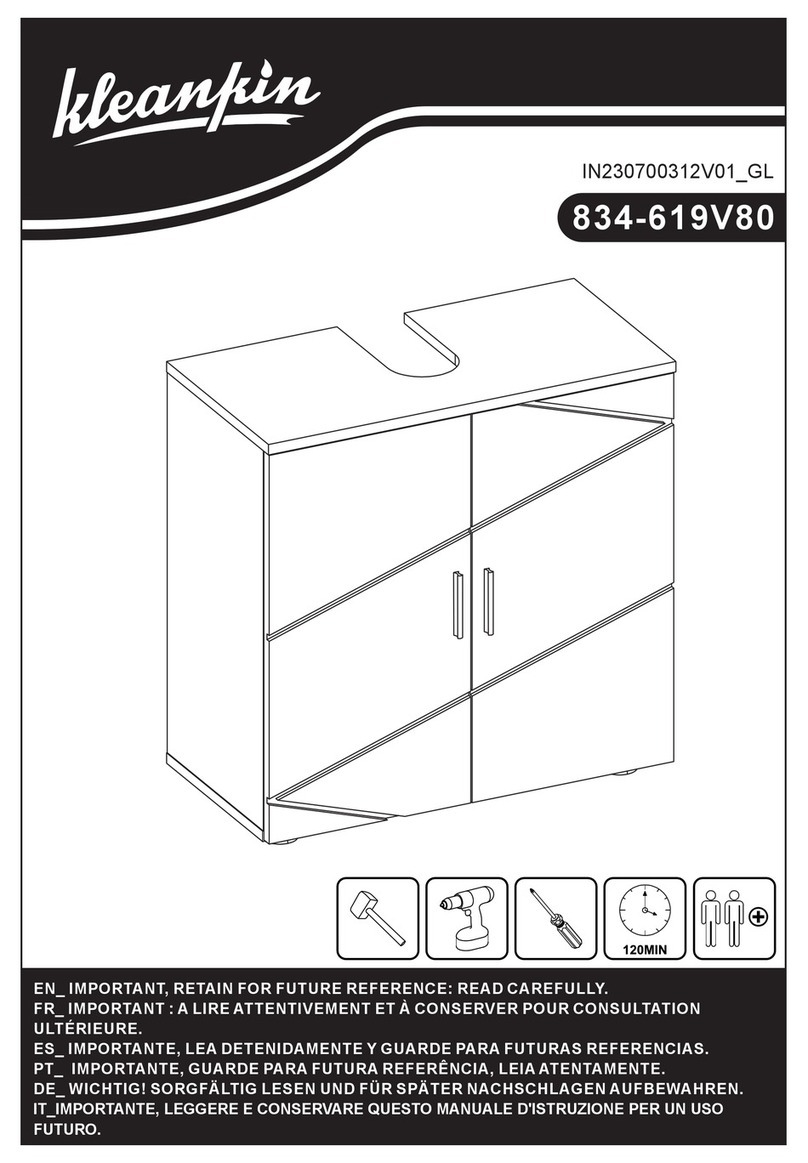
kleankin 834-619V80 User manual

kleankin

kleankin 834-619V80 User manual

kleankin 834-618V80 User manual

kleankin

kleankin 834-618V80 User manual

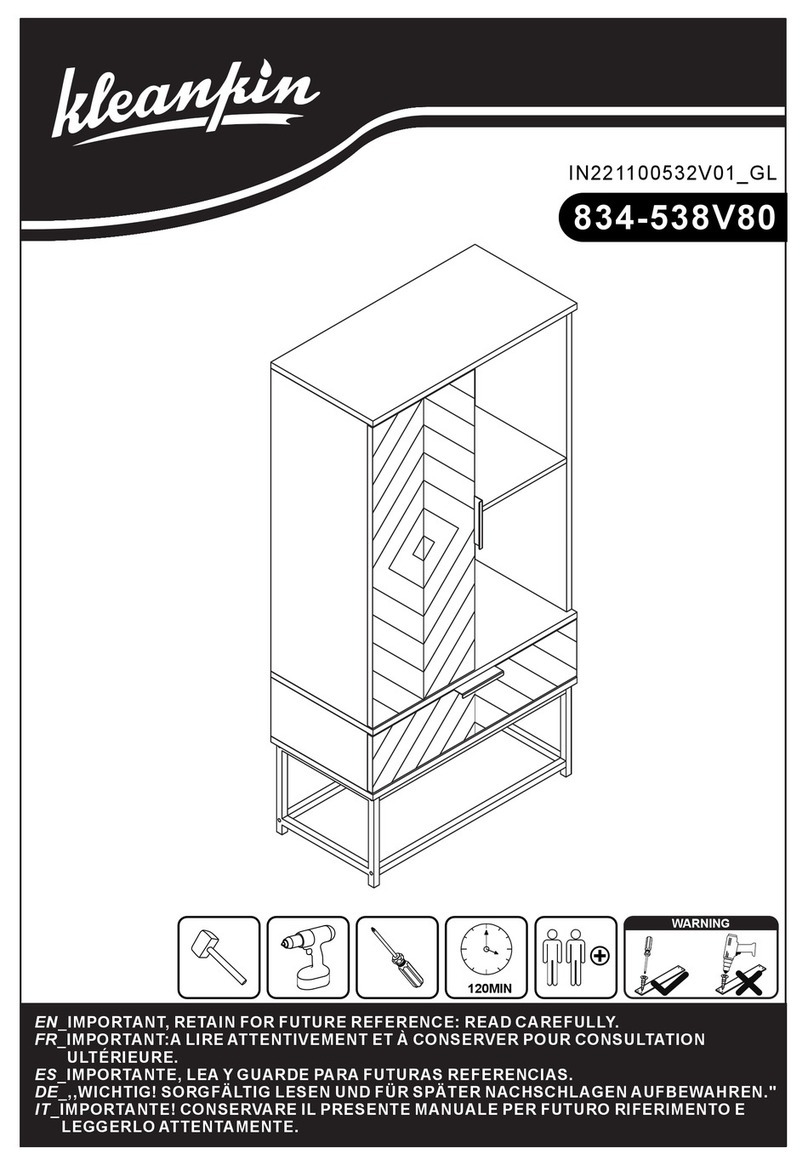
kleankin 834-538V80 User manual

kleankin

kleankin 834-538V80 User manual

kleankin 834-394V01 Installation guide
kleankin

kleankin 834-394V01 Installation guide

kleankin 834-593V80 User manual

kleankin

kleankin 834-593V80 User manual

kleankin 834-057 User manual

kleankin

kleankin 834-057 User manual
kleankin 834-392V81 User manual

kleankin

kleankin 834-392V81 User manual
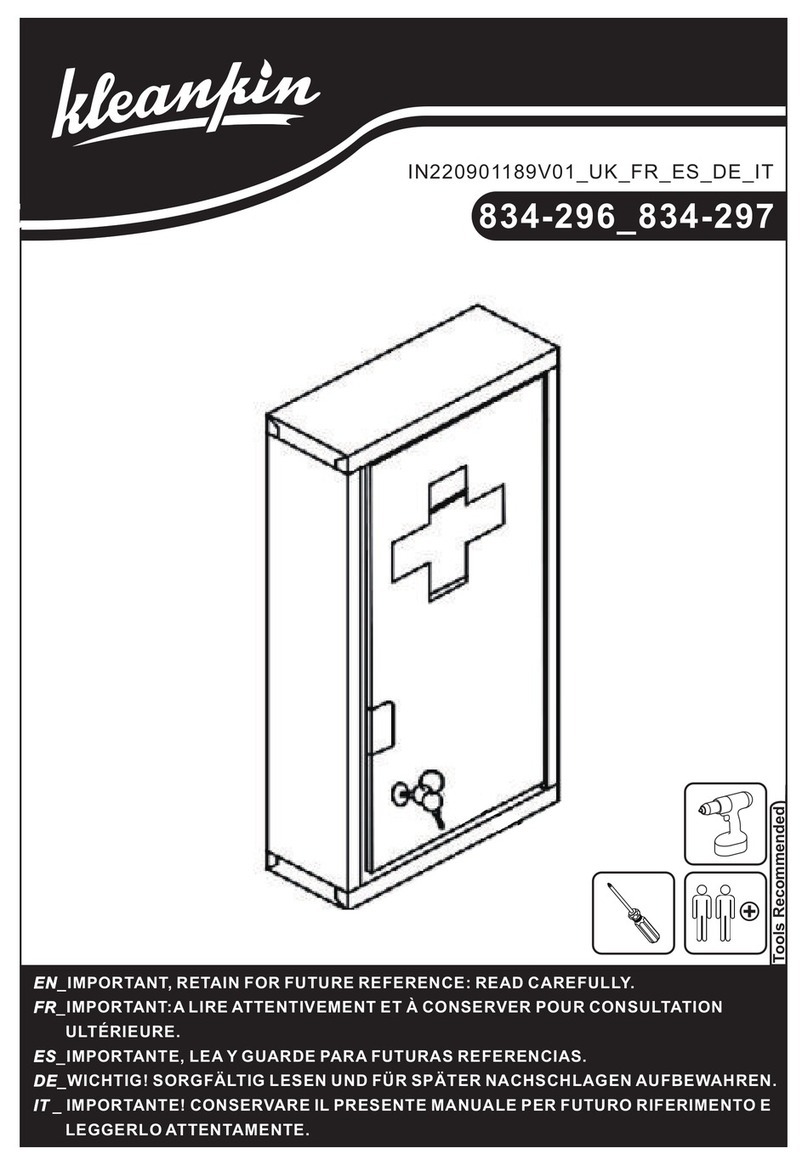
kleankin 834-296 User manual

kleankin

kleankin 834-296 User manual

kleankin 834-605V00 User manual

kleankin

kleankin 834-605V00 User manual

kleankin 834-453 User manual

kleankin

kleankin 834-453 User manual

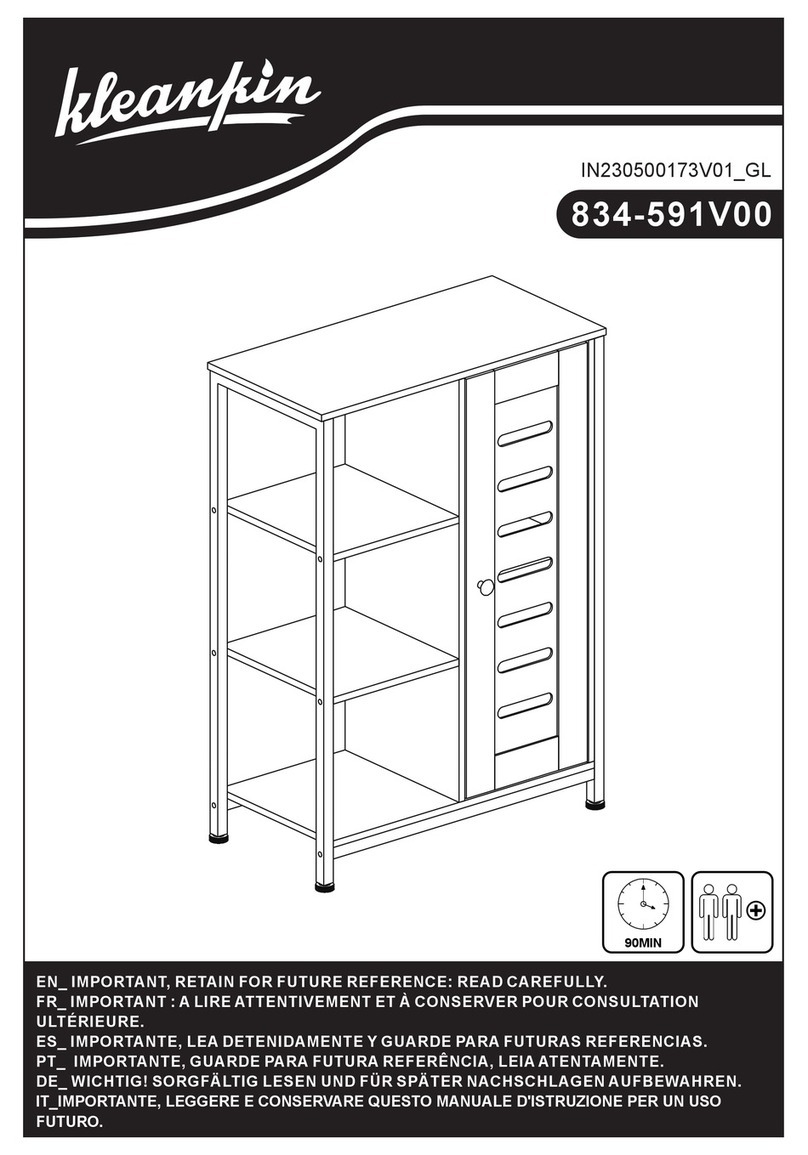
kleankin 834-591V00 User manual

kleankin

kleankin 834-591V00 User manual

kleankin 834-625V80 User manual

kleankin

kleankin 834-625V80 User manual

Popular Indoor Furnishing manuals by other brands

Techni Mobili RTA - 2202 Assembly instructions

Techni Mobili

Techni Mobili RTA - 2202 Assembly instructions

Mäusbacher Aarhus 0474 00 Assembly instructions

Mäusbacher

Mäusbacher Aarhus 0474 00 Assembly instructions

modway EEI-2920 manual

modway

modway EEI-2920 manual

Safco Roam 1958 instructions

Safco

Safco Roam 1958 instructions

Rauch M2227 Assembly instructions

Rauch

Rauch M2227 Assembly instructions

Sauder Worksense BERGEN CIRCLE 426459 manual

Sauder

Sauder Worksense BERGEN CIRCLE 426459 manual

RTA Products TECHNI MOBILI RTA-B005 Assembly instructions

RTA Products

RTA Products TECHNI MOBILI RTA-B005 Assembly instructions

INK+IVY End Table Assembly instructions

INK+IVY

INK+IVY End Table Assembly instructions

Otto OT8CUBEWE Assembly instructions

Otto

Otto OT8CUBEWE Assembly instructions

homechoice Boston Assembly instruction

homechoice

homechoice Boston Assembly instruction

Crate&Barrel Keane manual

Crate&Barrel

Crate&Barrel Keane manual

Kesseböhmer iMove Single Tray Mounting instruction

Kesseböhmer

Kesseböhmer iMove Single Tray Mounting instruction

Walker Edison BU60LANFW Assembly instructions

Walker Edison

Walker Edison BU60LANFW Assembly instructions

Tech Craft BCE48 Assembly manual

Tech Craft

Tech Craft BCE48 Assembly manual

Seconique NEVADA 5 DRAWER LOW WARDROBE Assembly instructions

Seconique

Seconique NEVADA 5 DRAWER LOW WARDROBE Assembly instructions

Costway Giantex HV10030 user manual

Costway

Costway Giantex HV10030 user manual

Oeuf RIVER 1RFB0x manual

Oeuf

Oeuf RIVER 1RFB0x manual

Whittier Wood 1263AFDAO Assembly instructions

Whittier Wood

Whittier Wood 1263AFDAO Assembly instructions

manuals.online logo
manuals.online logoBrands
  • About & Mission
  • Contact us
  • Privacy Policy
  • Terms and Conditions

Copyright 2025 Manuals.Online. All Rights Reserved.