Klever YT5461-02 User manual
GB
1/19
Original instructions
Garden shredder
YT5461-02 / BGS PRO 2800-17
GB
2/19
DESCRIPTION OF THE SYMBOLS
The use of symbols in this manual is intended to draw your
attention to possible risks. The safety symbols and the
explanations that accompany them must be perfectly
understood. The warnings in themselves do not remove the
risks and cannot replace correct actions for preventing
accidents.
This symbol, marking a point of safety, indicates a caution,
warning or danger. Ignoring this warning can result in an
accident to yourself or others. To limit the risks of injury, fire or
electrocution, always follow the recommendations indicated.
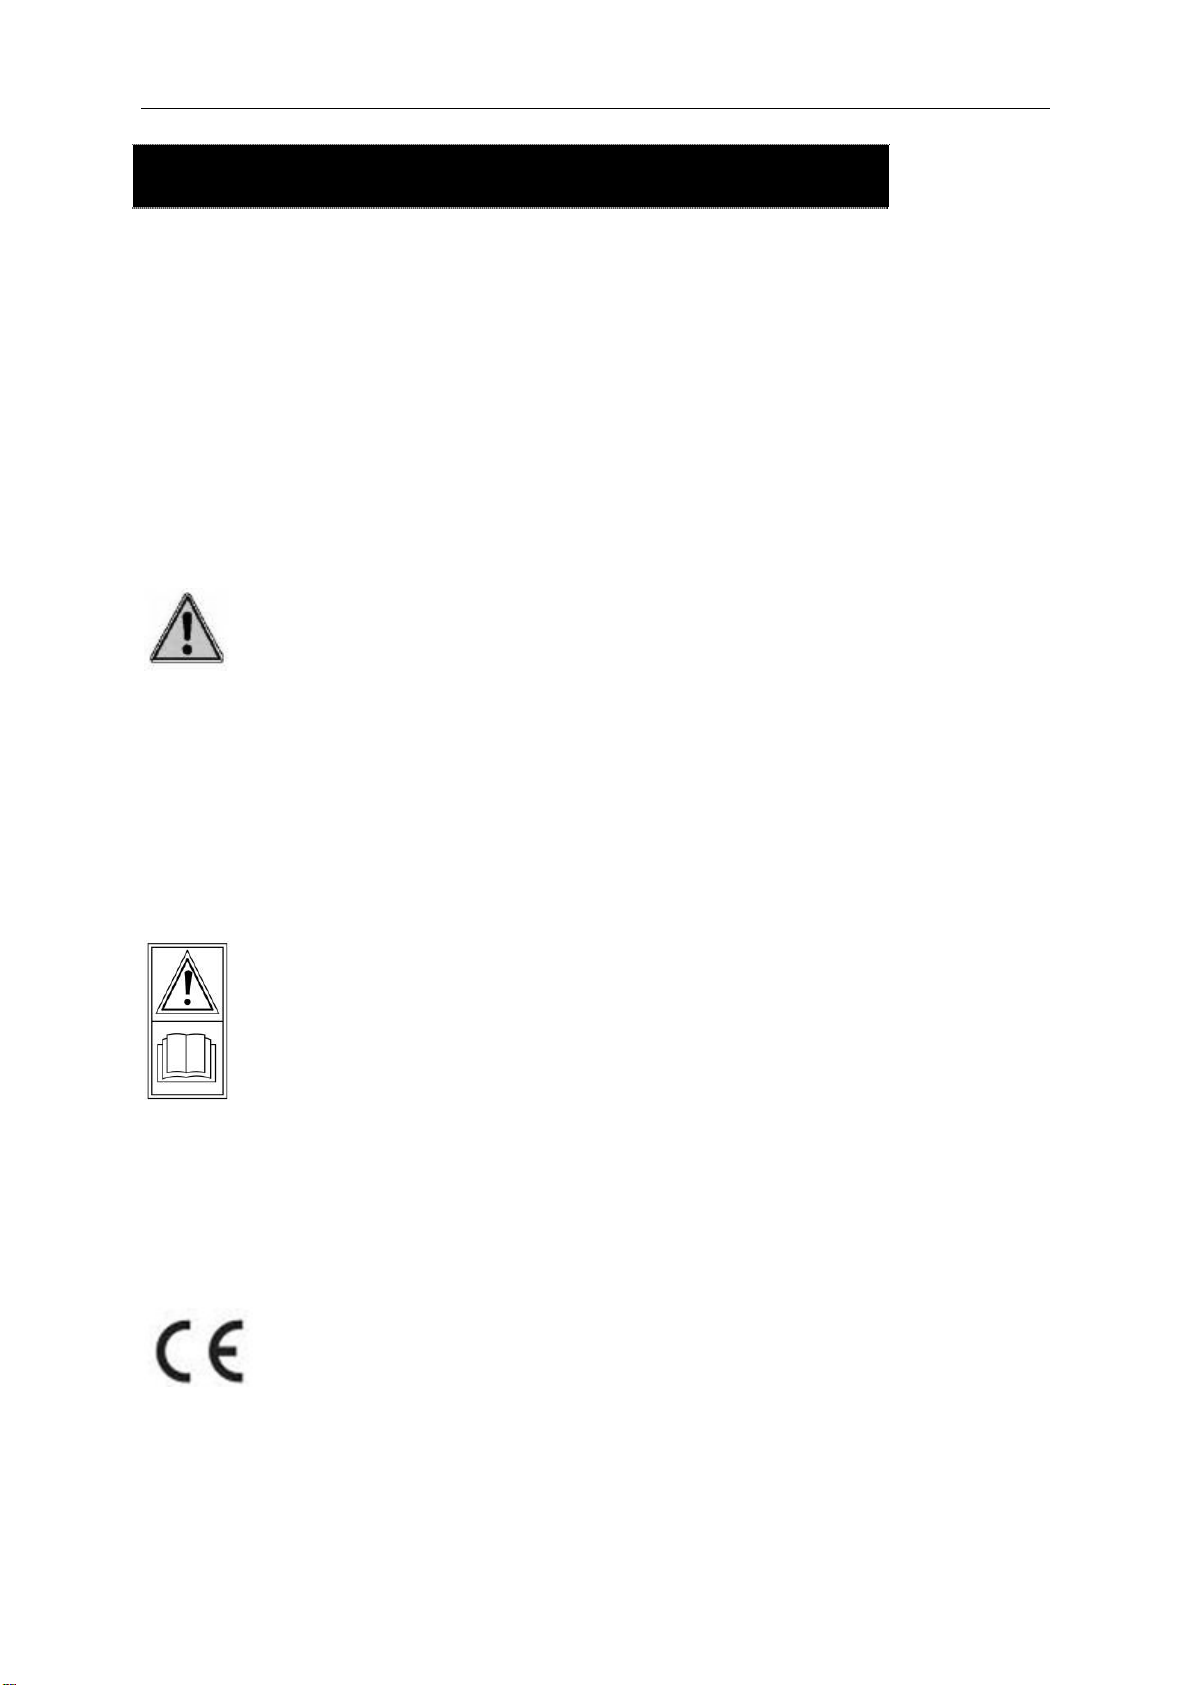
Read operator’s manual
Before use, refer to the corresponding paragraph in the present
manual.
Conforms to applicable safety standards.

GB
3/19
Wear eye and hearing protection.
Wear protective gloves
Do not use as a step
Don’t expose to rain.
Keep bystanders away.
Danger of injury from flying parts! Always maintain a sufficiently
safe distance. Beware of thrown objects. The distance between
the machine and bystanders should be at least 15 meters.
Remove plug from the mains immediately if the cable is
damaged or cut.
GB
4/19
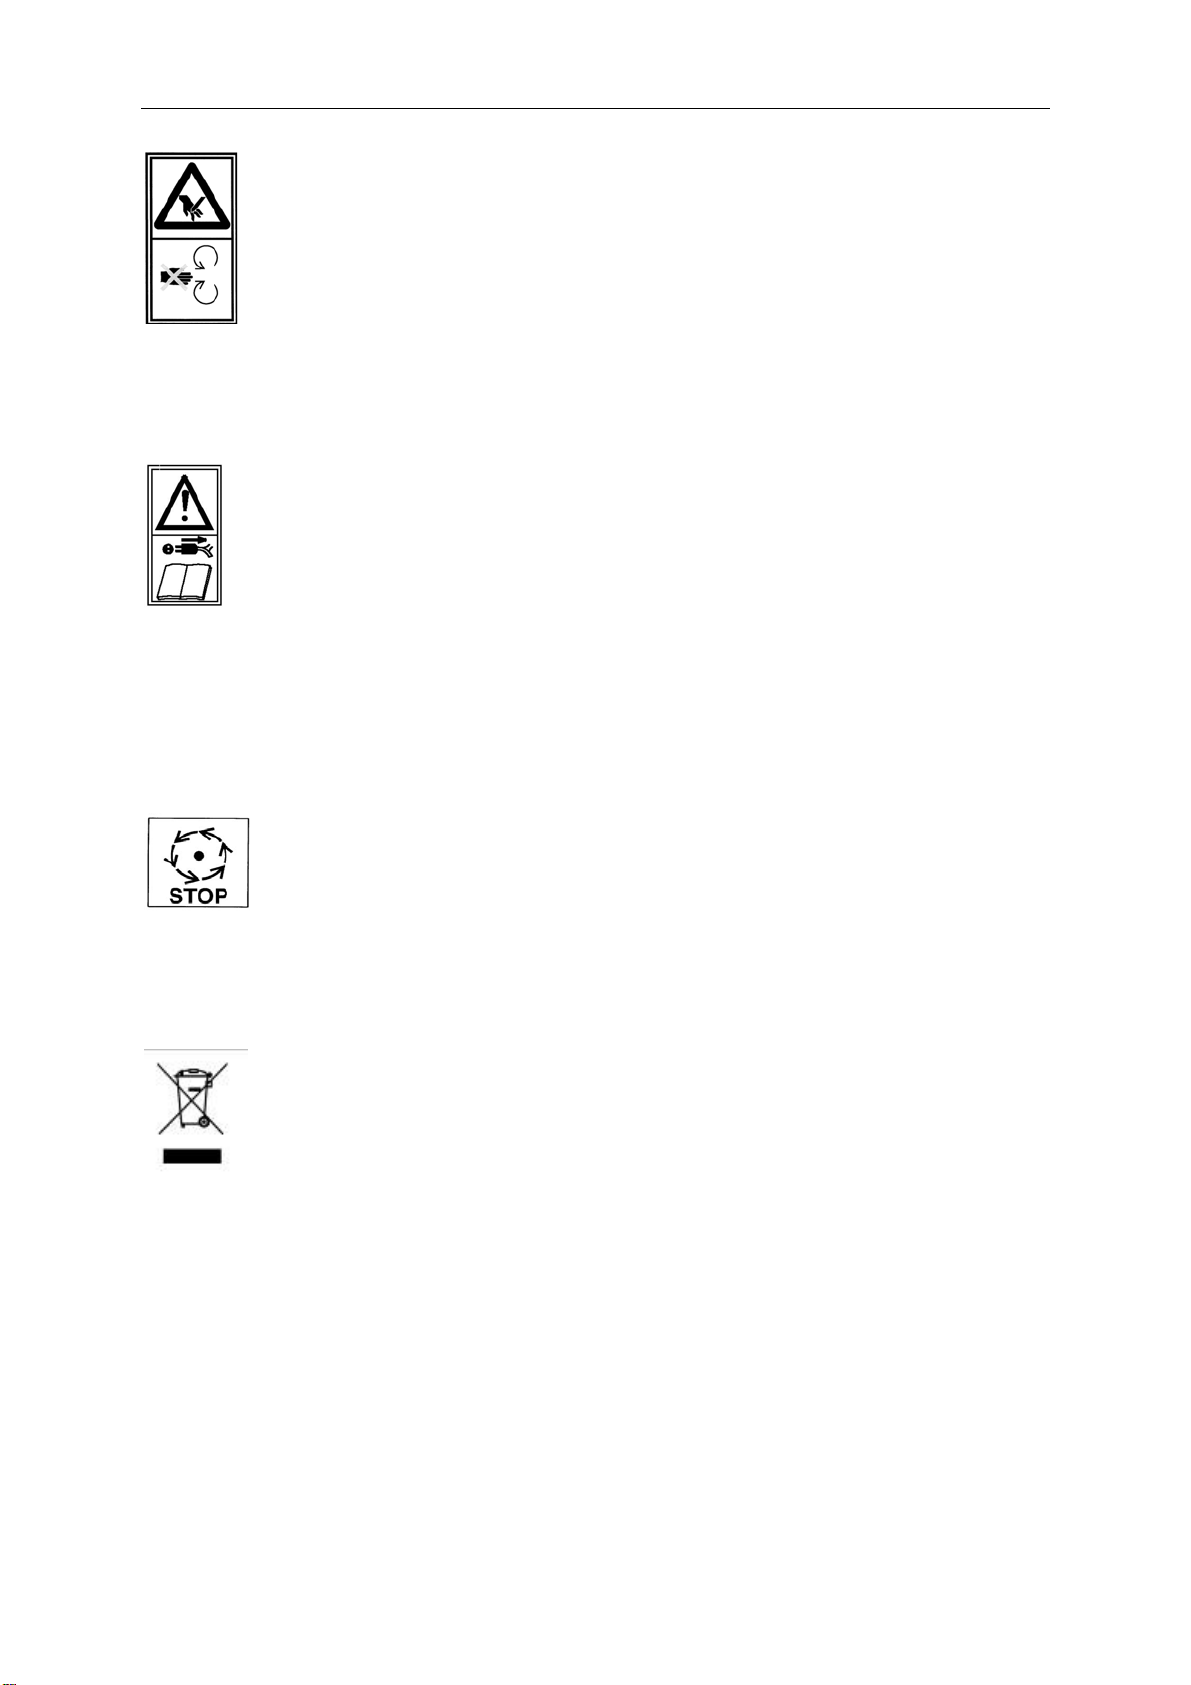
Danger - Rotating blades. Keep hands and feet out of openings
while machine is running.
Warning: Switch off and remove plug from mains before
adjusting, cleaning or maintenance, or if cable is entangled or
damaged.
Waiting until all machine components have completely stopped
before touching them.
Recycle unwanted materials instead of disposing of them. All
appliances and packaging should be sorted and tendered at a
regional recycling centre into to be processed in an ecological
manner.

GB
5/19
General instructions for shredder/chippers
IMPORTANT
READ CAREFULLY BEFORE USE
KEEP FOR FUTURE REFERENCE
Safe operating practices for powered shredder/chipper.
Training
a) Read the instructions carefully. Be familiar with the controls
and the correct use of the machine.
b) Never allow children, persons with reduced physical, sensory
or mental capabilities or lack of experience and knowledge or
people unfamiliar with these instructions to use the machine.
Local regulations can restrict the age of the operator.
c) Keep in mind, that the operator or user is responsible for
accidents or hazards occurring to other people or their
property.
Preparation
a) Obtain ear protection and safety glasses. Wear them at all
times while operating the machine.
b) While operating the machine always wear substantial
footwear and long trousers. Do not operate the machine
when barefoot or wearing open sandals. Avoid wearing
clothing that is loose fitting or that has hanging cords or ties.
c) Operate the machine in a recommended position and only on
a firm, level surface.
d) Do not operate the machine on a paved or gravel surface
where ejected material could cause injury.
e) Before using, always visually inspect to see, that the
shredding means, shredding means bolts and other fasteners

GB
6/19
are secure, the housing is undamaged and that guards and
screens are in place. Replace worn or damaged components
in sets to preserve balance. Replace damaged or unreadable
labels.
f) Before use check the supply and extension cord for signs of
damage or aging. If the cord becomes damaged during use,
disconnect the cord from the supply immediately. DO NOT
TOUCH THE CORD BEFORE DISCONNECTING THE
SUPPLY. Do not use the machine if the cord is damaged or
worn.
g) Never operate the machine while people, especially children,
or pets are nearby.
Operation
a) Before starting the machine, make certain that the feeding
chamber is empty.
b) Keep your face and body away from the feed intake opening.
c) Do not allow hands or any other part of the body or clothing
inside the feeding chamber, discharge chute, or near any
moving part.
d) Keep proper balance and footing at all times. Do not
overreach. Never stand at a higher level than the base of the
machine when feeding material into it.
e) Always stand clear of the discharge zone when operating this
machine.
f) When feeding material into the machine be extremely careful
that pieces of metal, rocks, bottles, cans or other foreign
objects are not included.
g) If the cutting mechanism strikes any foreign objects or if the
machine should start making any unusual noise or vibration,
immediately shut off the power source and allow the machine
to stop. Disconnect the machine from the supply and take the
following steps before restarting and operating the machine:

GB
7/19
i. Inspect for damage;
ii. Replace or repair any damaged parts;
iii. Check for and tighten any loose parts.
h) Do not allow processed material to build up in the discharge
zone; this may prevent proper discharge and can result in
kickback of material through the feed intake opening.
i) If the machine becomes clogged, shut-off the power source
and disconnect the machine from supply before cleaning
debris.
j) Never operate the machine with defective guards or shields,
or without safety devices, for example debris collector in
place.
k) Keep the power source clean of debris and other
accumulations to prevent damage to the power source or
possible fire.
l) Do not transport this machine while the power source is
running.
m)Stop the machine, and remove plug from the socket. Make
sure that all moving parts have come to a complete stop
i. Whenever you leave the machine.
ii. Before cleaning blockages or unclogging chute.
iii. Before checking, cleaning or working on the machine.
n) Do not tilt the machine while the power source is running.
o) Always be sure of the footing on slopes and to walk, never
run.

GB
8/19
Maintenance and storage
a) When the machine is stopped for servicing, inspection, or
storage, or to change an accessory, shut off the power
source, disconnect the machine from the supply and make
sure that all moving parts are come to a complete stop. Allow
the machine to cool before making any inspections,
adjustments, etc. Maintain the machine with care and keep it
clean.
b) Store the machine in a dry place out of the reach of children.
c) Always allow the machine to cool before storing.
d) When servicing the shredding means be aware that, even
though the power source is switched off due to the interlock
feature of the guard, the shredding means can still be moved.
e) Replace worn or damaged parts for safety. Use only genuine
replacement parts and accessories.
f) Never attempt to override the interlocked feature of the
guard.
g) Switch-off the machine before attaching or removing the bag.
h) If the supply cord is damaged, it must be replaced by the
manufacture, its service agent or similarly qualified persons in
order to avoid a hazard.
Electric safety
- Use only extension cords approved for outdoor work
and protected against splashing. The extension cable must
have conductors of at least 1,5 mm² for a cable length less
than 25m and 2,5 mm² if the length exceeds 25m. Before
use, always unroll the cable reel. Check the condition of the
cable.
- The appliance should be supplied via a residual current
device (RCD) with a tripping current of not more than 30
mA.

GB
9/19
- Do not pull on the cable to unplug. Protect the cable
from heat, oil and sharp edges.
Intended use
Garden shredder has been designed for shredding most garden waste, including pruning,
hedge trimmings, twigs and other organic garden waste. The shredded waste is ideal for
composting purposes or to obtain a smaller volume of waste for easy disposal.
You must not introduce stones, glass, metal, bone, and plastic or fabric waste into
the appliance.
In order to avoid the blades wearing too quickly, do not shred roots or parts of plants still
containing soil.
Any other use that is not expressly permitted in these instructions can damage the appliance
and represent a danger to the user.
Technical data
Model: YT5461-02
Mains voltage / frequency: 220-240 V ~ 50 Hz
Rated power S1: 2300 W; 2800W (P40)
Maximum speed 44 min-1
Branch diameter: Max. 45 mm
Weight: 27.5 kg
Sound pressure level 84.4 dB(A) K=3 dB(A)
Sound power level : 95 dB(A)
Protection class I
Degree of protection IPX4
Explanation of duty type 2800W (P40): continuous-operation periodic duty
Continuous-operation periodic duty 2800W (P40), followed by an indication of the duration of
the duty as stated on the rating label.
It means that the machine can be continuously operated at a sequence of identical duty
cycles, each cycle consisting of a time of operation (40%) at constant load (2800W) and a
time of operation (60%) at no-load. There is no time de-energized and at rest.
Noise Information
Measured sound values determined according to EN 50434: 2014.
The noise figures quoted are emission levels and are not necessarily safe working levels.
Whilst there is a correlation between the emission and exposure levels, this cannot be used
reliably to determine whether or not further precautions are required. Factors that influence
the actual level of exposure of work-force include the characteristics of the work room, the
other sources of noise, etc. i.e. the number of machines and other adjacent processes, and
the length of time for which an operator is exposed to the noise. Also the permissible

GB
10/19
exposure level can vary from country. This information, however, will enable the user of the
machine to make a better evaluation of the hazard and risk.
Wear hearing protection!
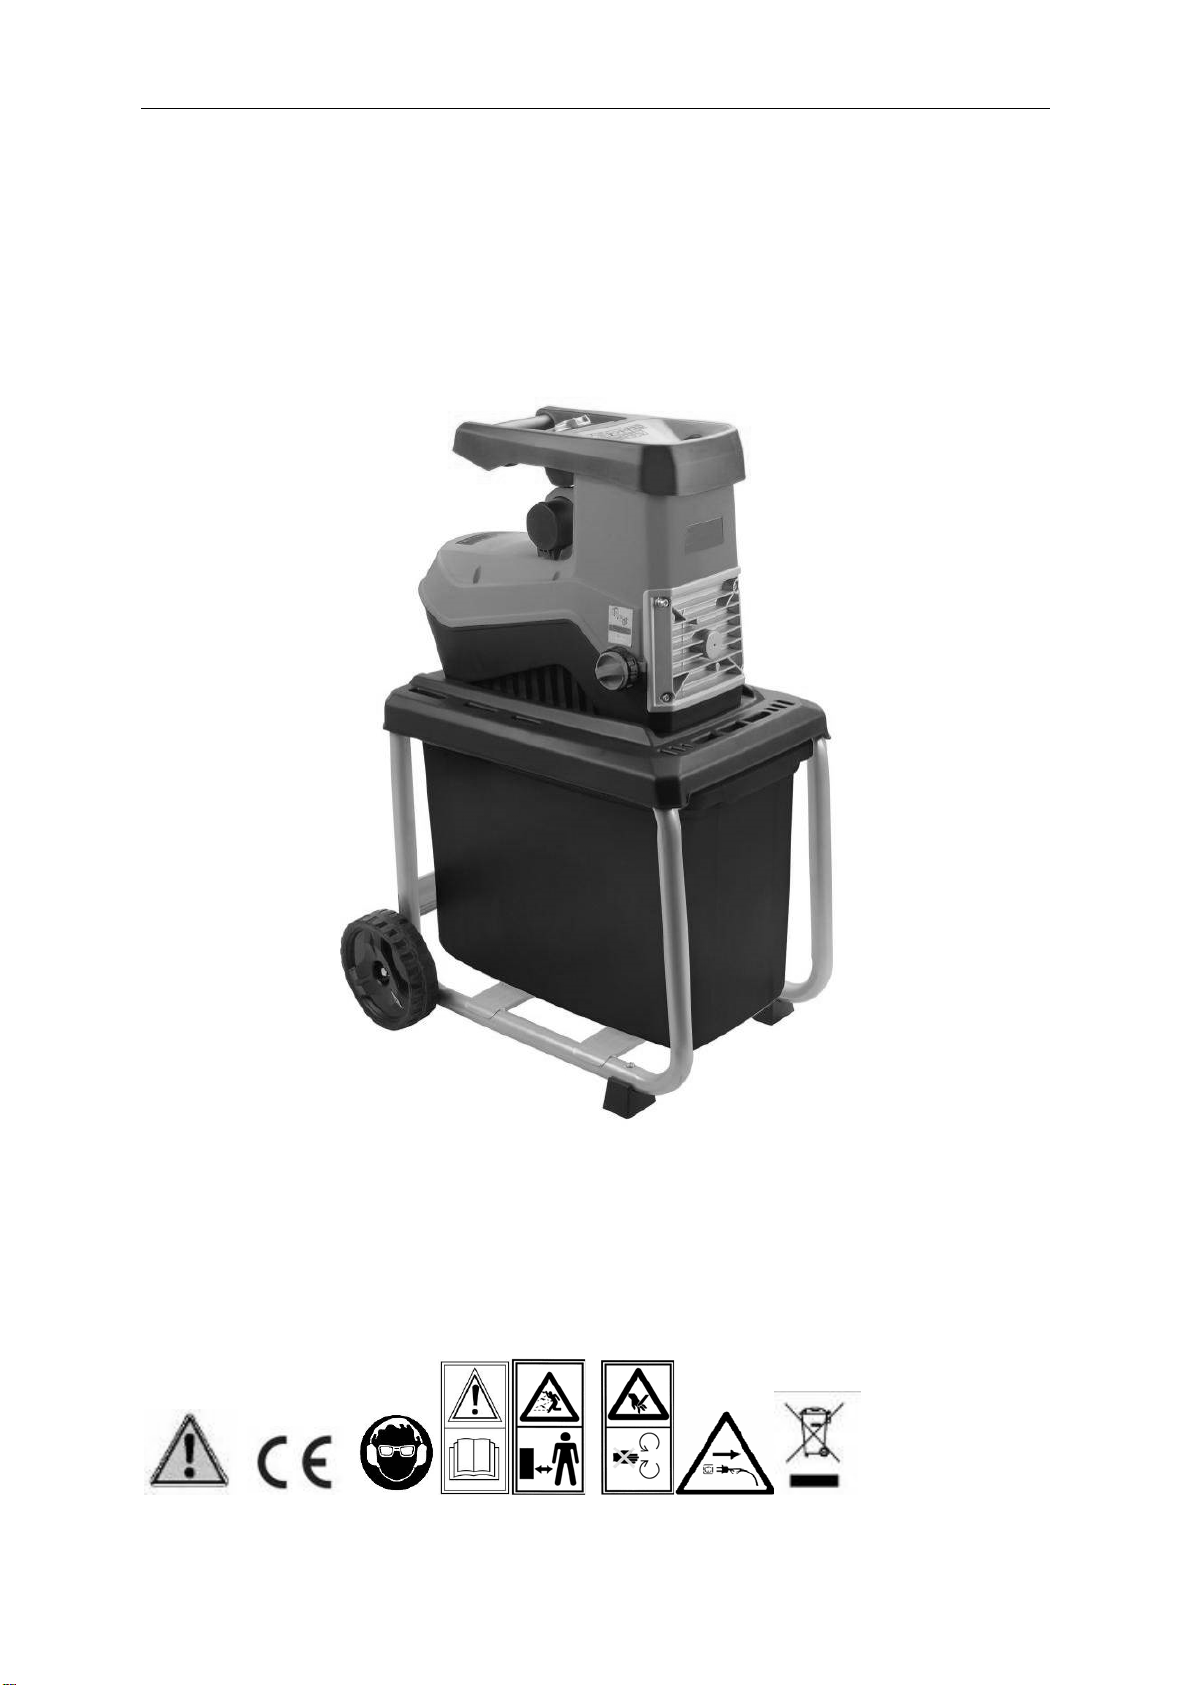
Parts identification
Pic1
1. Over load protection 2. On switch
3. off switch 4. Feeding tunnel
5. Electric plug 6. Adjusting knob
7. Collection box 8. Base frame
9. Supporting wheel 10. Rear wheel
14
15
This manual suits for next models
1
Table of contents
Popular Paper Shredder manuals by other brands

Fellowes
Fellowes Powershred PS-77Cs user guide

Garner
Garner FLASHPRO operating instructions

Swingline
Swingline STACK-AND-SHRED200X&200XL 60X Start here

GBC
GBC ShredMaster CC055 instruction manual

UNITED OFFICE
UNITED OFFICE UAV 190 A1 operating instructions

Rexel
Rexel Optimum AutoFeed+ 45X instruction manual


