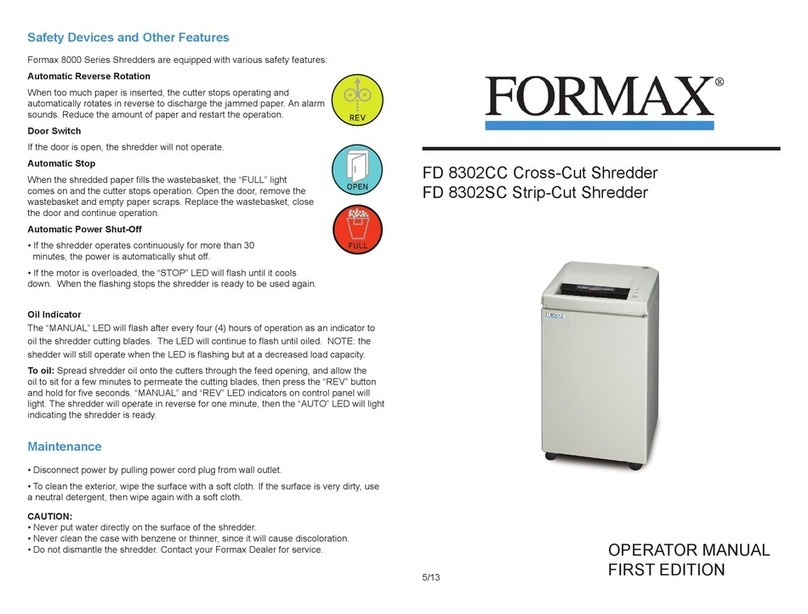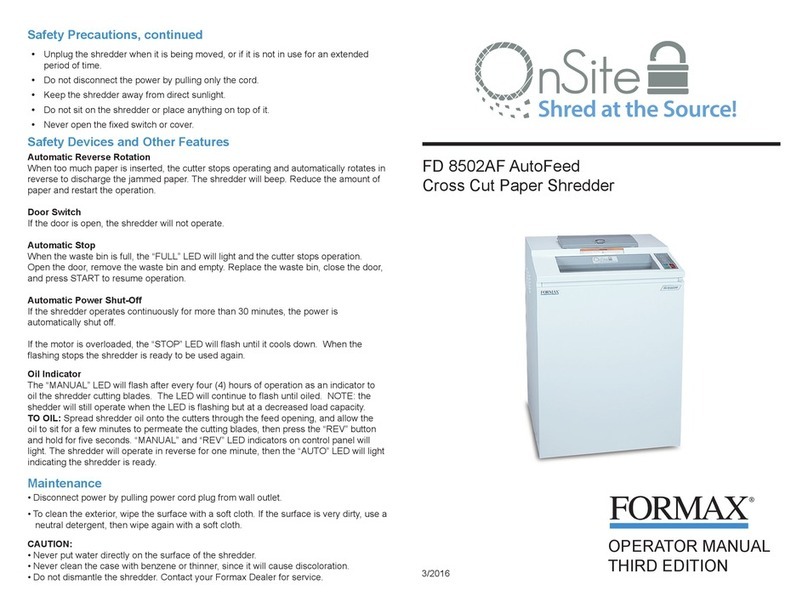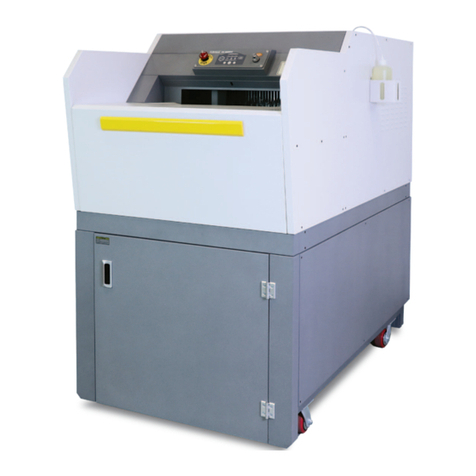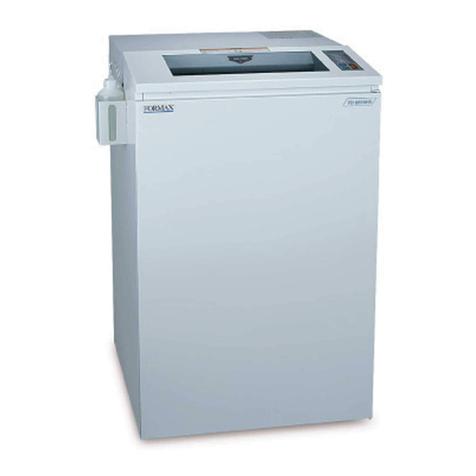
Load Indicator LEDs
The LEDs on the right side of the control panel indicate the ideal capacity of media to
be shredded. Green is the most ecient amount, yellow is borderline, and red means
the shredder is overloaded and will stop and switch into reverse to clear the jam. Try to
keep the media being shredded in the green zone.
Full LED
If the waste bin is full, the FULL LED will light and the cutter will stop
automatically. Open the door, empty the waste bin and reinstall it,
close the door, and press START to resume operation.
ECO Mode LED
When the power switch is initially turned on (see next page), the
shredder is automatically in ECO Mode. This energy-saving feature
puts the shredder into standby after 5 minutes of inactivity. When the
shredder is in standby, the ECO Mode LED on the control panel will be lit.
To exit ECO Mode: Turn the power switch to the o position, then while pressing the
stop button turn the shredder back on, hold the stop button down until the shredder
beeps once and release. The ECO Mode indicator LED will go out indicating that the
shredder is no longer in ECO Mode. To re-engage ECO Mode simply turn the shredder
o and on again.
Cleaning Mode LED
When the shredder is in Auto Clean mode, the CLEAN LED will light.
Wait until the shredder has completed the cleaning cycle before
attempting to shred.
Sensor LED
If the SENSOR LED is lit, you must reset the optical sensor. Press the
STOP button for 5 seconds to recover the sensor’s sensitivity.
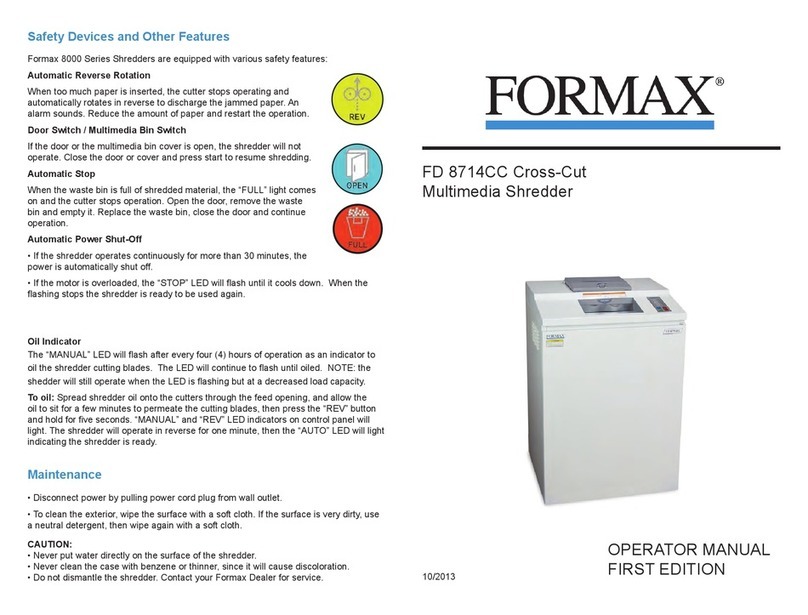
Auto Reverse
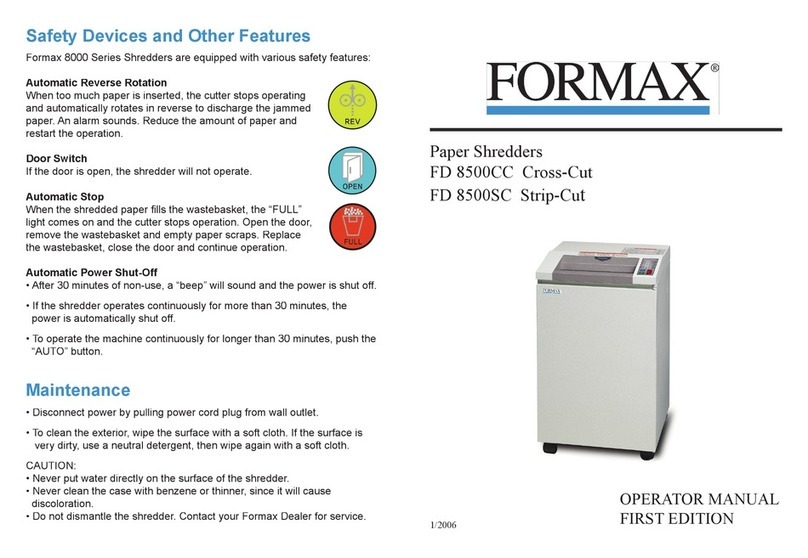
When too much paper is inserted, the cutter stops operating and
automatically rotates in reverse to discharge the jammed paper. The
shredder will beep. Reduce the amount of media and restart the operation.
Door Switch
If the door is open, the DOOR LED will light and the shredder will not
operate. Close the door to continue operation.
Auto Power Shut-O
If the shredder operates continuously for more than 30 minutes, the power is
automatically shut o.
Motor Overload Protection
If the motor is overloaded, the M LED will ash until it cools down.
When the ashing stops the shredder is ready to be used again.
Operation
1. Flip the power switch “ON” located on the right side of the
shredder.
2. Auto Start/Auto Stop
When the START button is pushed, the AUTO LED will light.
Insert media into the infeed slot. The shredder will start and stop
automatically.
3. Manual Operation
If media is too small for the shredder’s sensors to detect, shred it
manually. Push the START button once more and the MANUAL
LED will light. Insert media to be shredded. Three minutes after
shredding, the cutter blades automatically stop rotating.
4. Reverse Operation
Push the REV button and the REV LED will light and cutters
will operate in reverse. If too many sheets are inserted at once,
the shredder will automatically operate in reverse. If this occurs,
remove the inserted sheets and shred in smaller amounts. NOTE:
The maximum shred capacity will vary according to paper quality,
laminate thickness, humidity and voltage. If using the shredder
continuously, do not insert more than half of the maximum capacity.
Set-up Guidelines
1. Install the shredder on a level surface, away from heat sources and direct sunlight.
2. Insert plug into wall outlet with the appropriate voltage, 115V. If the outlet is shared
with another electronic device, the total current should not exceed 30A (at 115V).
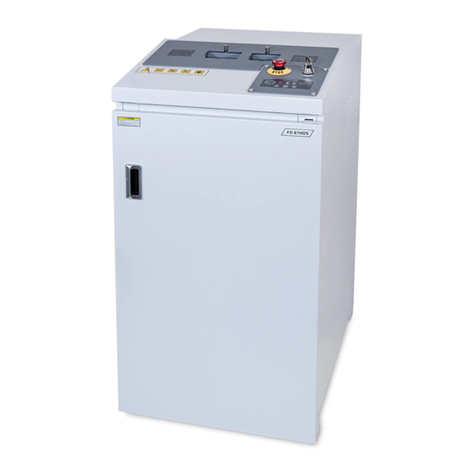
Specications
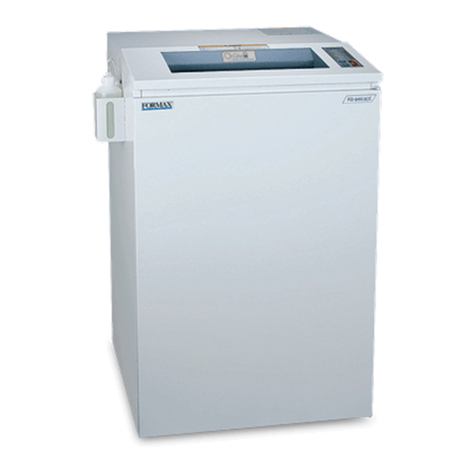
Cutting Style: Cross Cut
Shred Size - Laminated: .12” x .55” (3 x 14mm)
Shred Size - Paper Only: .24” x .55” (6 x 14mm)
Laminated Sheets: Up to a 3mm stack
Paper Capacity: 36 to 38 sheets*
Speed: 10 fpm
Feed Opening: 12.2” (310mm)
Dimensions: 21.6” W x 21.6” D x 38” H
Bin Capacity: 30 gal. (115 liters)
Weight: 238 lbs. (108kg)
Security Level: P-4
Power Supply: 115V, 60 Hz, 400W
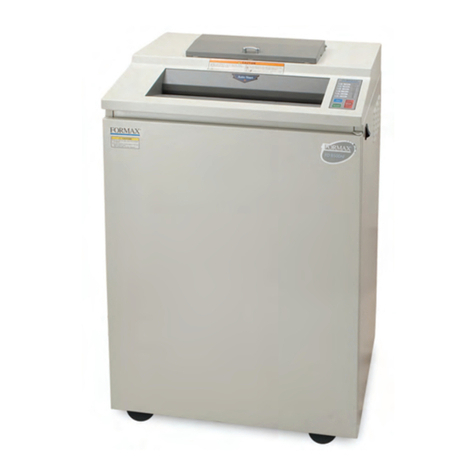
Control Panel and Safety Features
* Paper capacity varies depending on paper type and power supply.
** Capacity varies based on laminate thickness and power supply. Samples may be sent to Formax for testing.
