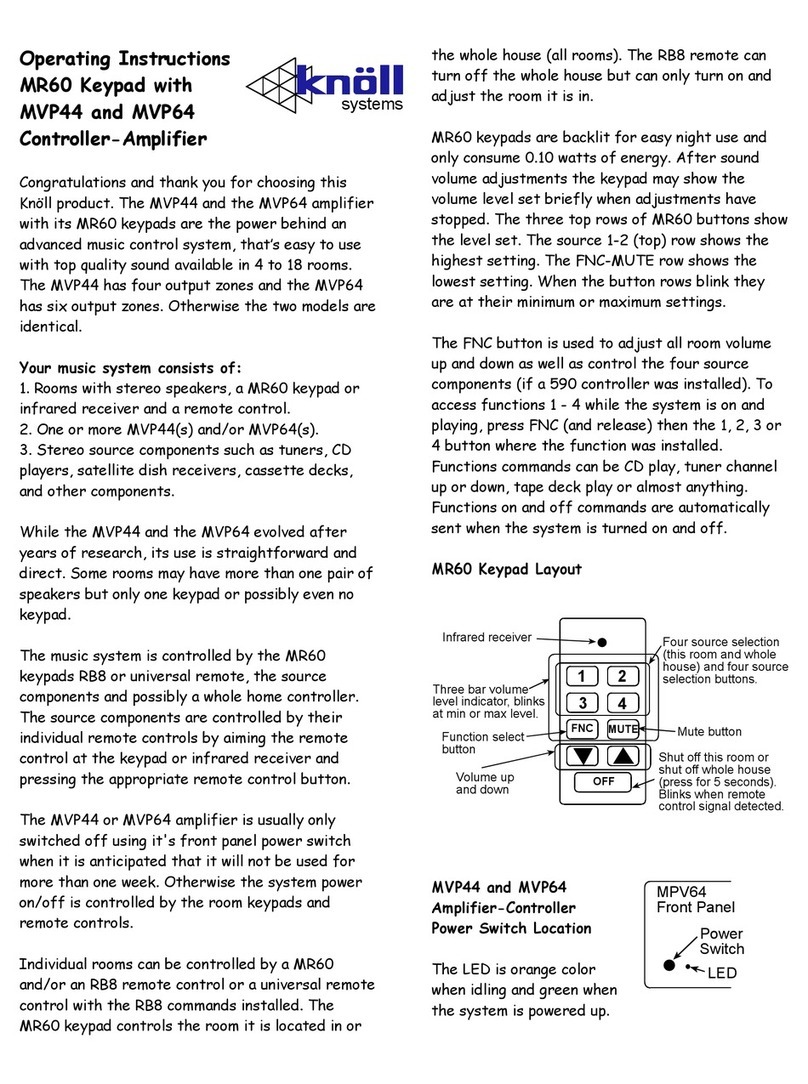
Connect the power supply using the
supplied PS1202 12 volt DC power
supply. We suggest using gold RCA
plugs on all connecting cables.
MR24
DUAL STEREO
BUFFER
Information and
Installation Guide
MR24 Dual Stereo Buffer
12 VDC
Made In Canada
systems
+
-
R
L
Gain
R
L
Out 1 Out 1
Out 2 Out 2
In 1 In 2
1L 1R 2L 2R
12VDC
PS1202
Connect the #2
outputs to the
second set of
inputs on the two
receivers or
components.
Connect the #1 outputs to the first
set of inputs on the two receivers or
components. The two “Out 1”’s are
identical just buffered.
Connect the first
component (example:
CD player) outputs to
the MR24 inputs #1.
Connect the second
source component (if
used) to the MR24
inputs #2.
Start by setting the
volumes at 3/4. Adjust
up or down until a good
quality signal with no
clipping is obtained.
CONNECTION DIAGRAM
INSTALLATION TIPS:
1. Follow all electrical and building code requirements
in your area.
2. The MR24 is never installed inside a wall, but on a
wall or behind electronic equipment.
3. There are no user or installer adjustments inside the
MR24, only the external gain controls.
4. Connect the outputs from the MR24 to the two
different receiver or controller inputs one for out 1 and
one from out 2 (if used) using a short as possible gold
RCA jack cables. We do not suggest long cable lengths,
as interference may be experienced from time to time.
5. Connect the one or two sources to the MR24 inputs
again ideally using a short as possible gold RCA jack
cable.
6. Connect the PS1202 12 VDC power supply to the
MR24. The power supply can be on all the time or
switched on and off with the system as desired.
7. The gains on the MR24 should be adjusted for
maximum output without any clipping or distortion
sounds. Use a high dynamic range sound source when
adjusting the gains. Start at about 3/4 on and adjust up
or down as desired.
USA and CANADA WARRANTY
Knöll Systems warrants its MR24 sold in the USA or Canada by authorized
Knöll Systems dealers to be free of defects in materials and workmanship.
This warranty extends for three years from the date of purchase by the original
consumer. Any MR234 returned to and found to defective by Knöll Systems
within the warranty period will be repaired or replaced at Knöll Systems
option, at no charge. Knöll Systems will not be responsible for the actual
cost of installation or removal of the product, nor for any incidental or
consequential damages. Some states do not allow the exclusion or
limitation of incidental or consequential damages, so the above limitation
may not apply to you. This warranty gives you specific legal rights.You
may have additional legal rights that vary from state to state.
Congratulations for choosing the finest stereo
buffer made today. To assure correct installation
and to realize the full potential of this product,
please read and follow these instructions
carefully. If you have questions or comments,
please don't hesitate to call or write your Knöll
dealer.
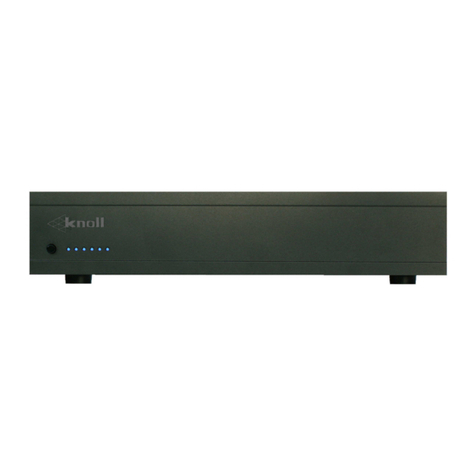
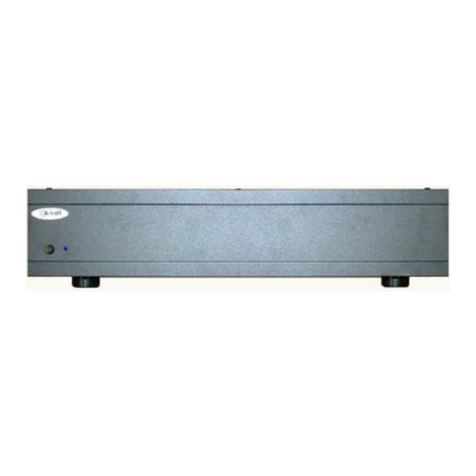
The MR24 is designed for use in systems where
feedback from source components in use can
cause a distorted signal to appear where it is not
wanted. The MR24 does not allow signal to go
back through its signal path because each of the
eight outputs have an op amp to prevent any
signal leaking backwards. An adjustable gain is
provided for each of the four inputs.
The MR24 output is unbalanced and therefore
is unsuited to long cable runs, especially in high
EMI areas. In this case we suggest using the
Knöll UTP send and receive which sends
balanced high quality video and audio on a
single cat 5 wire. COPYRIGHT 1999-2003
ALL RIGHTS RESERVED
C
Knöll Systems
145 Tyee Drive
Point Roberts,
WA 98281
MR24
