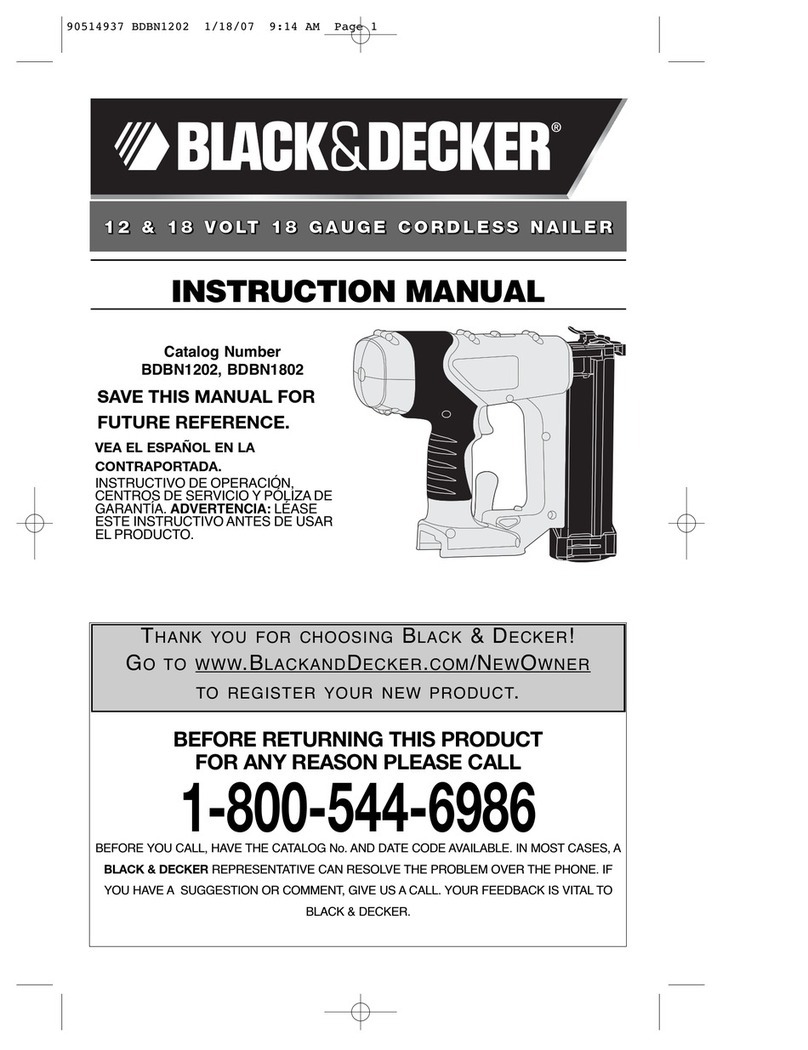
Knox KN-CBN18V User manual

KN-CBN18V Brad Nailer
Instruction Manual

Index
IndexIndex
Index
Warning Messages – Page 1
General Operation – Page 2 to 5
Safety Instructions – Page 6
Technical Specifications – Page 7
evice iagram – Page 7
Caution: Recharge using only the charger and battery packs
specified by the manufacturer. Ensure the power switch is
in the OFF position before inserting a battery pack. Never
open the battery itself and always protect it from heat
exposure to direct sunlight and fire.

General
General General
General Operation
OperationOperation
Operation
1. Intended Use: The machine is intended for the tacking of cardboard,
insulating material, fabric, foils, leather and similar materials on surfaces of
wood, or materials similar to wood.
2. LE Status Indicator:
a. Brad Nailer LE Statuses:
i. Flashing Red LE : Nail/Staple Jam
ii. Solid Red LE : Low Battery
iii. Solid Green LE : Out of Nails
b. Charger LE Statuses:
i. Solid Red LE : Battery Charging
ii. Solid Green LE : Battery is Fully Charged
3. Battery Charging:
a. Plug the charger’s power supply into an outlet, and then plug the
battery into the charger. The charger’s LE will turn solid red to
indicate the battery is currently charging.
b. Once the battery is fully charged, the LE will turn green. The
charging process takes appox. 1 to 1.5 hours.
c. New batteries or batteries that haven’t been used for an extended
amount of time, require up to 5 charge/discharge cycles to reach full
power capacity.
d. o not recharge batteries after use if they won’t be used for an
extended period of time.
4. Inserting and Removing a Battery Pack
a. Insert the battery pack into the grip until it clicks into place as seen in
image A
b. To remove the battery pack, press both Lock buttons simultaneously
and slide the battery out of the grip as seen in image B.

(image A) (image B)
5. The brad nailer offers LE lights on each side of the unit that can be turned
on when the device is in use to provide workspace illumination.
6. Checking the Contact Trip Mechanism
a. Remove all staples and nails from the magazine.
b. Press the safety nose/contact pin and pull the trigger. These pieces
should all move freely.
c. Reload the staples or nails into the magazine.
d. Place the contact pin on the area you’re working on and press down
on the brad nailer without pulling the trigger. The nailer should not
fire.
e. Release pressure from the brad nailer and lift it up. The contact pin
should spring back automatically.
f. Pull the trigger once to test it. The nailer should not fire.
7. Inserting Staples or Nails Into the Magazine
a. Remove the battery pack from the device
b. Press the release button and remove the magazine cover.
c. Tilt the brad nailer and place nails/staples into the track of the
magazine channel
i. Staples are placed against the profiled side of the rail. The legs
of the staples should be facing away from the body of the tool.
ii. Nails are placed against the profiled side of the rail with the
nail points facing downward.
d. Close the magazine cover and press until the release button locks.
e. Reattach battery pack to the brad nailer.
f. WARNING: Do not mix staples or nails of different lengths in the
magazine.

A. Loading staples: B. Loading nails:
9. Instructions For Use (Nailing or Stapling):
a. Prior to operation, make sure the battery pack is fully charged.
b. Check whether the nails or staples are placed in the magazine
correctly.
c. Hold the handle firmly with magazine flat on the work surface at a 90
degree angle.
d. The brad nailer has two firing modes: Single and Contact Firing
e. For Single Firing Mode:
i. Push the Firing Mode switch to the left.
ii. epress the safety contact pin agianst the work surface.
iii. Squeeze the trigger to fire the staple or nail. Release the
trigger and safety contact pin after firing.
f. For Contact Firing Mode:
i. Push the Firing Mode switch to the right.
ii. Press the safety contact against the work surface to fire a nail
or staple.
iii. With the trigger still depressed, raise the device and press it
against the next area you want to fire a nail or staple into.
iv. When the contact pin is pressed against the work surface the
device will fire.
v. WARNING: Do not keep the trigger depressed when the brad
nailer is not is use.
10. Instructions for epth Adjustment Wheel
a. epth adjustment helps protect work surfaces asnd allows proper
setting of nail heads.

b. Turn the epth Adjustment Wheel to the icon and the nail or
staple will be fired deeper into the work surface.
c. Turn the epth Adjustment Wheel to icon and the nail or staple
will be fired into the work surface at a shallower depth.
11. Removing a Jammed Nail or Staple
a. You must remove any jammed nail/staple before using the tool any
further. Otherwise, it could cause damage to the mechanism.
b. Remove the battery pack from the tool.
c. Open the magazine and remove the nails or staples in the channel.
d. Clear the jammed staple or nail.
e. If the nail or staple remains jammed after following the above
instructions, slightly loosen the hex screws on the nosepiece with the
wrench provided. Then remove the jammed pieces manually. Pliers
can be used if necessary.
i. Securely re-tighten the hex screws in the nose piece after the
jammed nail has been successfully removed.
f. Reload the staples or nails, close the magazine and insert it back into
the nailer.
12. Recycling Li-ion Battery Packs
a. The battery packs for the brad nailer are built to the highest quality
standards. However, rechargeable batteries eventually need to be
replaced.
b. Once a rechargeable battery can no longer hold a charge it should be
recycled or disposed of in an environmentally friendly manner.
c. WARNING: Do not attempt to destroy or disassemble the battery
pack or remove any of its components. Also never touch the
battery terminals with metal objects and/or body parts as a short
circuit may result. Keep away from children.

Safety
Safety Safety
Safety Instructions
InstructionsInstructions
Instructions
1.
Keep work area clean and well lit.
2.
Avoid dangerous environments. o not operate power tools near explosive
or flammable liquids, gases or dust. Power tools create sparks which may
ignite dust or fumes.
3.
Keep children and bystanders away while operating a power tool.
4.
Keep the tool pointed away from yourself and others.
5.
Always Use Safety Equipment – Especially Eye and Ear Protection. Safety
equipment such as a dust mask, non-skid safety shoes, a hard hat, or
hearing protection should always be used.
6.
Never modify the power plug in any way or use adapter plugs with
grounded power tools to avoid electric shock.
7.
Do not keep the trigger or safety depressed when loading fasteners.
Unintentional firing of a fastener could cause an injury to you or someone
else.
8.
Disconnect the tool from the power source before making any
adjustments changing accessories or storing the power tool.
9.
Do not fire if a nail or staple is jamed in the device. This will cause damage
to the driver blade and could invite accidents.
10.
Do NOT use on a unsupported hard surface such as rock concrete
masonry bricks or steel. Personal injury or damage to the power tool could
result.
11.
Do not drive nails or staples close to the edge of the work area.
12.
Do not drive nails or staples on top of previously driven nails or staples.
13.
Only use parts and accessories recommended by the manufacturer.

Model
KN
-
CBN18V
Battery Charge
100
-
240V, 50/60Hz
Input Voltage
18V C, 2000mAh
Firing Speed
Average 60 nails/min
Max Magazine Capacity
Holds up to 100 Nails/Staples
Max Length of Nails
50mm 18
-
Gauge Brad Nail
Max Length of Staples
40mm 18
-
Gauge Light uty Staple
Overall imensions
11.5”
x
10.2”
x
3.7”
Table of contents
Popular Nail Gun manuals by other brands

Senco
Senco 41 Parts reference guide

Campbell Hausfeld
Campbell Hausfeld CHN101 operating instructions

tacwise
tacwise GDA64V Operator's manual

Scheppach
Scheppach Aero2 Spade Original operating manual

Chicago Pneumatic
Chicago Pneumatic CP FL 0022 Safety and operating instructions

Cleco
Cleco 15ML-1.6B- 837 Operating instructions and service manual