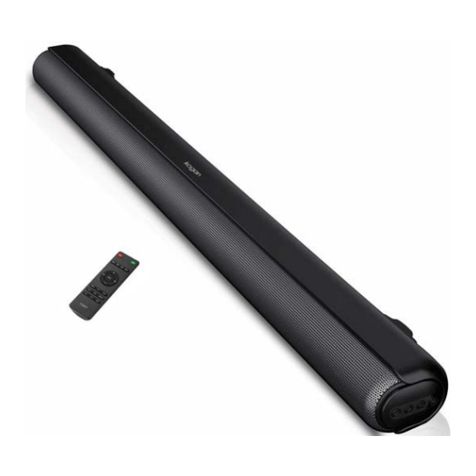
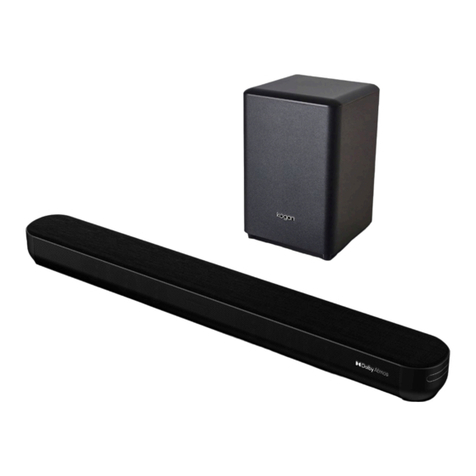
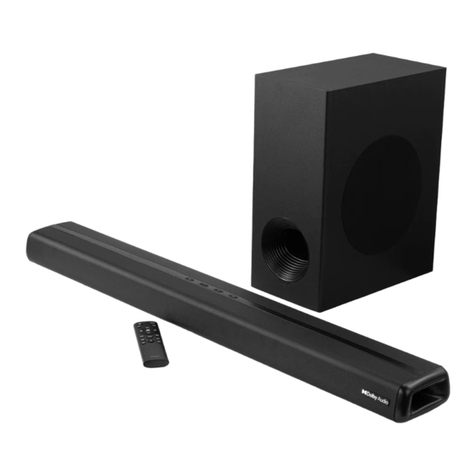
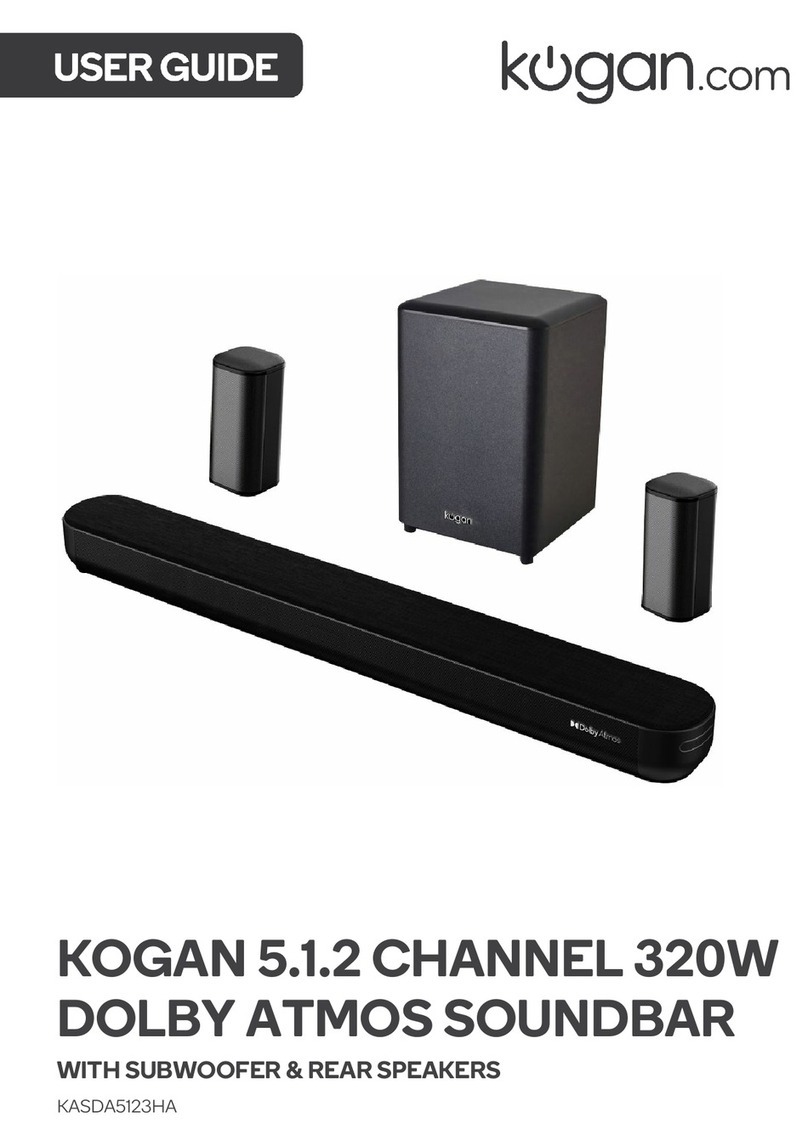
Kogan KASBD5123HA User manual

5.1CH 230W DOLBY
SOUNDBAR
(WITH SUBWOOFER & REAR SPEAKERS)
KASBD5123HA


Caution
To r e d u c e t h e r i s k o f e l e c t r i c s h o c k , d o n o t d i s m a n t l e t h e p r o d u c t a n d d o n o t e x p o s e t h e
apparatus to rain or moisture. No user-serviceable parts inside.
• Read the safety, installation, and operating instructions in this user guide before
operating the product.
• Power and speaker wired should be routed so that they are not likely to be walked on,
kicked, or pressed by items placed on or against them. Pay special attention to cords
from plugs, power receptacles and the point where they exit from the product.
• The product should be situated away from heat sources such as radiators, stoves, or
other products, including amplifiers that produce heat. Naked flames such as lighted
candles, should not be placed on this product.
• To r e d u c e t h e r i s k o f f i r e o r electric shock, do not expose the product to dripping,
splashing or excessive moisture such as in a sauna or bathroom. Do not use this product
near water, for example, near a bathtub, washbowl, kitchen sink, laundry tub, in a wet
basement or near a swimming pool (or similar).
• Never insert objects into this product through openings, as they may touch dangerous
voltage points or short-circuit parts that could result in a fire or electric shock.
• Do not use attachments or accessories not included with this product or recommended
by Kogan.com, as they may cause hazards.
• Do not place this product on an unstable cart, stand, tripod, bracket, or table. The
product may fall, causing serious injury and serious damage to the product. Any
mounting of the product should follow the instructions in this user guide and should use
a mounting accessory recommended by Kogan.com
• Do not attempt to service this product yourself, as opening or removing covers may
expose you to potentially dangerous voltage or other hazards. Refer all servicing and
repairs to qualified service personnel.
• If objects or liquids fall into the product enclosures, disconnect the power, cease use
immediately and contact help.Kogan.com for support.
SAFETY & WARNINGS

• Soundbar
• Rear speaker (x2)
• Wired Subwoofer
• Remote Control
• Power cable
• DC-DC cable
• Speaker connecting cable (x2)
• AC-DC Power Adaptor
• AUX Cable
• Wall-Mount Kit
COMPONENTS LIST

1
Rear speakers
7
Power input (subwoofer)
2
RS input
8
RS output
3
Soundbar
9
Power input (rear speakers)
4
Subwoofer input (from soundbar)
10
Power adaptor (rear speakers)
5
24V Output (to soundbar)
11
Power cord (subwoofer)
6
Subwoofer
12
Soundbar ports
OVERVIEW
1
6
3
12
10
11
1
2
9
4
5
7
8
5
4

Soundbar Ports
HDMI (ARC)
OPT
USB
AUX
COAX
SW OUT
DC IN
1
HDMI(ARC)
Use to connect compatible devices using a HDMI cable (not
provided).
2
OPTICAL IN
Use to connect compatible devices using an optical cable (not
provided).
3
USB IN
Use to connect a flash drive for direct MP3 playback (FAT32
format and 64GB max).
4
AUX IN
Use to connect compatible devices using the 3.5mm – 3.5mm
stereo jack cable (provided).
5
COAXIAL
Use to connect compatible devices using the coaxial cable
(not provided).
6
SW OUT
Use to connect the subwoofer.
7
DC IN
Use to connect the DC output jack of subwoofer.
LED display
1
RED LED
Standby mode
5
OPT
Optical mode
2
BT
Bluetooth mode
6
ARC
HDMI(ARC)mode
3
USB
USB media mode
7
COA
Coaxial mode
4
AUX
Auxiliary input mode

Remote Control

Button
Function
Power on/off
Mute or restore the volume
TREBLE+
Increase the Treble
TREBLE-
Decrease the Treble
BASS+
Increase the Bass
BASS-
Decrease the Bass
Previous Track
Pause/Play
Next Track
Increase the volume
Decrease the volume
MODE
Cycle between
BT/USB/AUX/OPTICAL/COAXIAL/HDMI(ARC)
BT
Switch to Bluetooth mode
USB
Switch to USB mode
AUX
Switch to AUX mode
OPT
Switch to Optical mode
HDMI
Switch to HDMI (ARC) mode
EQ
Switch between different EQ setting
3D
Switch to 3D EQ setting
Switch USB repeat modes

Connecting the Rear Speakers to the Soundbar
• Connect the power adaptors to the Subwoofer and Rear speakers. Plug both adaptors
into a power outlet.
• The red LED on the back of the rear speaker will flash.
• Press and hold the pair button on the rear speaker, the red LED will blink rapidly.
• Then press and hold the Play/Pause button on the remote control, ‘pair’ will show on
the soundbar display.
• After a few seconds, the soundbar will connect to the wireless rear speakers
automatically.
• Once pairing is successful, the red LED on the rear speaker will illuminate.
• Pairing does not need to be done again.
• Every time the unit is switched on, the soundbar and wireless rear speaker will connect
automatically.
INSTALLATION
Connect subwoofer to sound bar
using the speaker and power cables
Connect rear
speakers to
power outlet
Rear speakers
connect wirelessly
to soundbar
Connect rear speakers together
using the speaker cable
Connect
soundbar to
power outlet

Placing the Soundbar on an Entertainment Unit
If your TV is placed on an entertainment unit, you can place the soundbar directly in front of
the TV stand, centred with the TV screen. If the surface of the table is flat, the soundbar will
rest on its metal feet.
Wall Mounting the Soundbar
This soundbar can be mounted on your wall. Follow the instructions below:
Note: If you aren’t confident in mounting this product yourself, please seek advice from a
qualified trades person.
TV
<5m
720mm
720mm

1. Mark and drill two parallel holes, 720mm apart on the wall. Secure the supplied
anchors and screws into the holes. Ensure the screws are protruding 5mm from
the wall.
Note: Anchors are only required when mounting onto a solid wall.
2. Hang the Soundbar on the fastening screws.
3. Gently push the Soundbar in a downward direction to lock and secure in place.
Anchor
Solid wall (i.e., solid brick, solid concrete,
solid wood)
Drywall, plastered wall ect.

Power on/off
Press the Power on/off button on the remote control or soundbar control panel to turn the
unit on or switch it off.
HDMI (ARC)
Connect an HDMI ARC compatible device to the HDMI(ARC) port on the soundbar by a
HDMI cable (not supplied). Select HDMI(ARC) mode either by pressing the ARC button on
remote control or repeatedly pressing the MODE button on the soundbar control panel until
ARC display on the LED screen.
Ensure HDMI ARC is selected as the TV’s audio output, then adjust the volume of soundbar
by the Volume up and Volume down buttons on the remote control or soundbar control
panel.
AUX in
Connect a compatible device using a 3.5mm stereo jack cable (provided). Select AUX mode
either by pressing the AUX button on remote control or repeatedly pressing the MODE
button on the soundbar control panel until AUX display on the LED screen.
Ensure the connected device is producing audio signal, then adjust the volume of soundbar
by pressing the Volume up and Volume down buttons on the remote control or soundbar
control panel.
Coaxial in
Connect a compatible device to the Coaxial input on the soundbar using a coaxial cable
(not supplied). Select Coaxial mode either by pressing the MODE button on the remote
control or on the soundbar control panel until COA is displayed on the LED screen. Ensure
coaxial is selected as the TV’s audio output, and then adjust the volume on the soundbar
by pressing the Volume up and Volume down buttons on the remote control or soundbar
control panel.
OPERATION

Optical in
Connect a compatible device to the OPTICAL input on the soundbar by a digital optical
cable (not supplied). Select OPT mode either by pressing the OPT button on remote control
or repeatedly pressing the MODE button on the soundbar control panel until OPT display
on the LED screen.
Ensure Optical SPDIF is selected as the TV’s audio output, then adjust the volume of the
soundbar by pressing the Volume up and Volume down buttons on the remote control or
soundbar control panel.
Bluetooth
Press the BT button on the remote control or repeatedly pressing the MODE button on the
soundbar control panel until BT display on the LED screen. The LED display will flash to
indicate that the soundbar is in Bluetooth pairing mode.
Ensure that the device you wish to connect is also in pairing mode and search for Kogan
5.1Ch Soundbar in its device list. The LED display on the soundbar will stop flashing and
remain constant when the two devices pair. (The soundbar will now automatically re-pair
with this device whenever it is within range and has Bluetooth turned on.) Once paired, the
remote control can be used to play, pause and navigate between tracks on compatible iOS
and Android devices.
USB mode
The soundbar is compatible with USB flash drives up to 64GB in size and can play MP3 and
WAV audio files directly. Simply insert a compatible drive into the USB port on the back of
the soundbar and the soundbar will automatically switch to USB mode and play the first
compatible track. The media controls on the remote control can be used to play, pause and
navigate between tracks on the flash drive and the LED display will indicate the current
track time.
USB repeat mode (also accessed via the remote control) enables single track repeat (ONE),
all track repeat (ALL). The media player also has a memory function that will recall and
continue from the last-played point when a USB flash drive that has previously been used
with the soundbar is reinserted.
Equalizer modes
The soundbar has 3 equalizer pre-sets, tailored to complement various styles of music.
Press the EQ button on the remote to choose between Music (EQ1), Movie (EQ2), News
(EQ3).

NOTES


Need more information?
We hope that this user guide has given you
the assistance needed for a simple set-up.
For the most up-to-date guide for your product,
as well as any additional assistance you may require,
head online to help.kogan.com
Table of contents
Other Kogan Speakers System manuals

Kogan
Kogan KASBD513MA User manual

Kogan
Kogan KASBD80HA User manual

Kogan
Kogan KASBD21DWSA User manual

Kogan
Kogan KASBS2550WA User manual

Kogan
Kogan KASBR21DETB User manual

Kogan
Kogan KASBM30HA User manual

Kogan
Kogan KASBD16CB User manual

Kogan
Kogan KASBD180HA User manual

Kogan
Kogan KASBDA312HA User manual

Kogan
Kogan KASBD150HA User manual