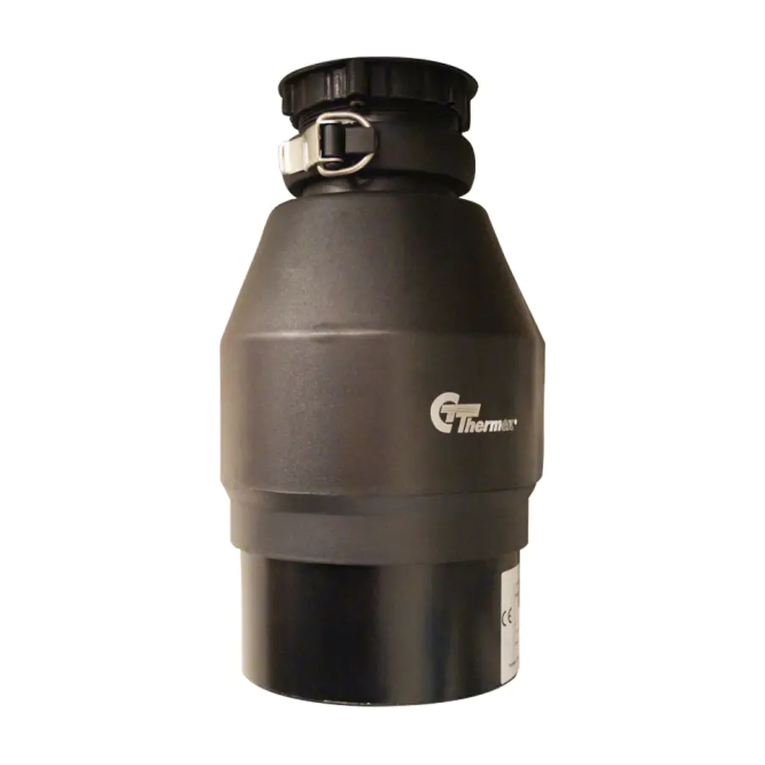
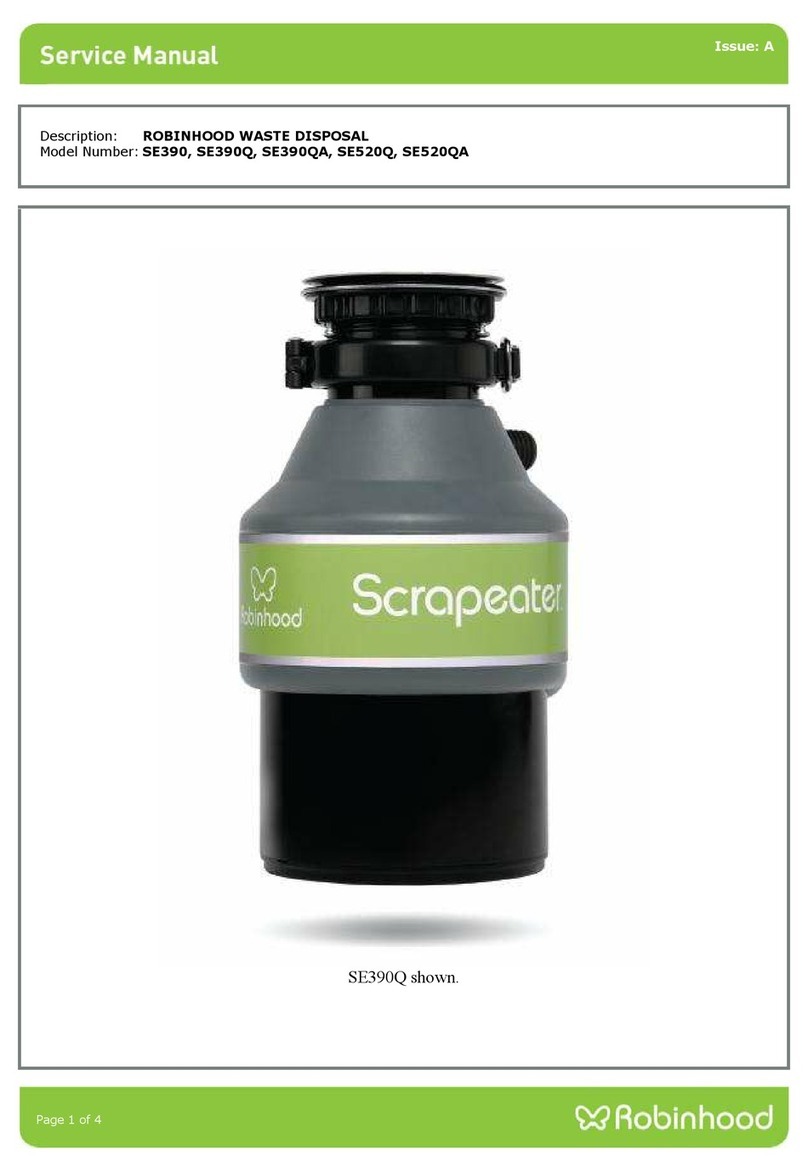
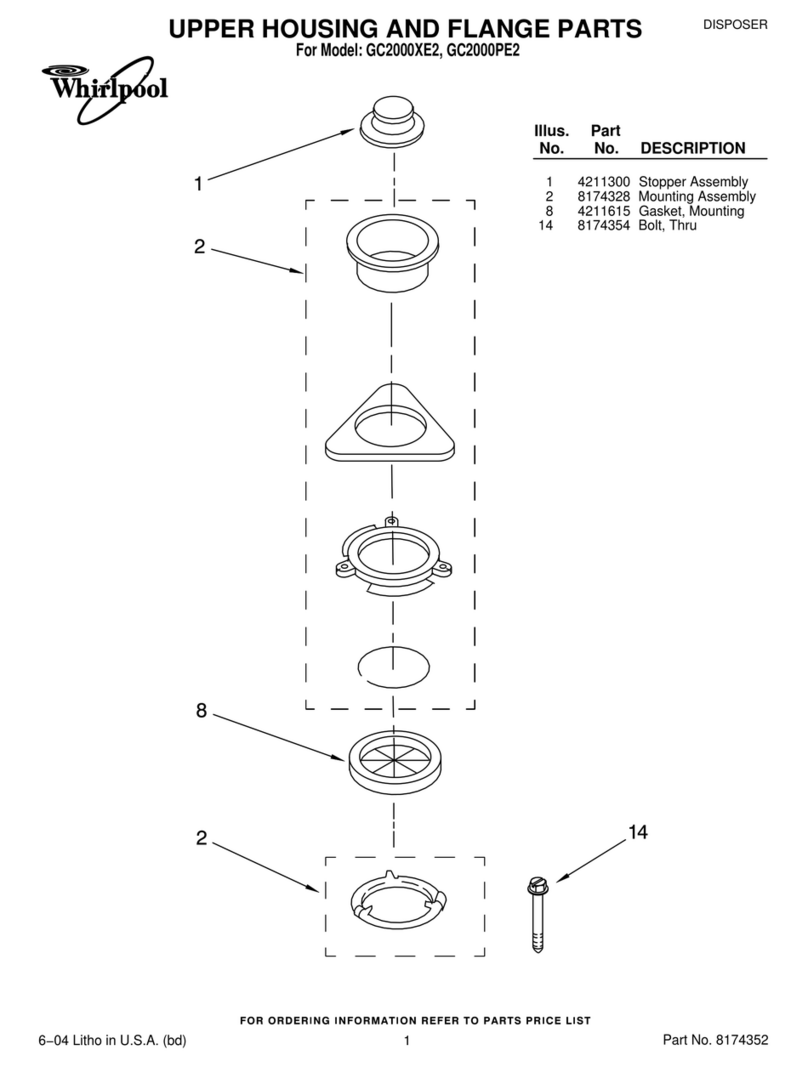
Kohler K-24486T User manual

1334585-T01-A
-1-
BEFORE YOU BEGIN 安装之前
© Copyright Kohler China Investment Co., Ltd. 2017
© 版权为科勒(中国)投资有限公司所有 2017
FOOD WASTE DISPOSER
废弃食物处理器(厨余处理机)
Operation Instructions
使用说明书
K-24486T/K-24487T/K-21559T
KOHLER CHINA INVESTMENT CO., LTD NO. 158, JIANG CHANG SAN ROAD,
JING’AN DISTRICT, SHANGHAI, PRC POST CODE: 200436
科勒(中国)投资有限公司 上海市静安区江场三路 158 号邮编:200436
1. SAFETY GUIDE 1. 安全指南
注意:在安装处理器之前,请务必阅读有关火灾、电击或
人身伤害的安全说明!
声明:在安装和使用本废弃食物处理器前,请务必阅读本手册,
并遵循手册中的建议,以避免操作中可能出现的故障,如果您有
任何问题,请与我们的分销商联系。
提示:请仔细阅读和保存说明书,以备需要时使用。
•
我们为您制造的废弃食物处理器是一台十分可靠的家电产品。
该产品独特的设计使您能够轻松自如地清除饭前、饭后厨房中
所产生的有机食物垃圾。处理器使用十分简便,您只需打开水
龙头,启动处理器,再倒入食物垃圾。处理器就会将食物垃圾
研磨成极细小的颗粒并冲入排水管道,不会产生任何问题。
• 本产品符合 GB4706.1-2005。
• 本产品符合 GB4706.49-2008。
Note: Please be sure to read the safety instructions
concerning fire, electric shock or personal injury before
installing the disposal!
Declaration: Before installing and using the food waste
disposal, please be sure to read the manual and adhere to the
recommendations therein in order to avoid any malfunction
possibly occurring during operation. If you have any queries,
please contact the local distributor.
Reminder: Please read the instructions carefully and retain
them for use as necessary.
• Our food waste disposal is a very reliable house-hold
electric appliance. The unique design of the product allows
you to easily and freely clean up organic food waste
produced in the kitchen before and after meals. The
disposal is very easy to use. You just need to turn on the
water, turn on the disposal and then place the food waste
inside. Then the disposal will grind the food waste into very
tiny particles and wash them down the drain pipes.
• The product complies with GB4706.1-2005.
• The product complies with GB4706.49-2008.
警告:请务必阅读安全指南,以免发生事故和故障。
在使用电器产品的时候,必须注意下列事项:
• 安装使用本产品时,如不使用配套的空气开关,需要在安装
台面下距离本产品0.5m处预留有与本产品匹配的墙面插座。
您可以在安装台面上增加一个墙面开关,以控制台面下部与
本产品连接的插座。如果您选用带外置式空气开关的产品,
安装方法请参看说明书的“空气开关的安装与使用”。
• 在使用本产品之前请通读本说明书。
• 如果正在使用的电器产品附近有小孩,请仔细照看,以免发
生人身意外伤害。
•
废弃食物处理器工作时,请不要将手指或手放入处理器。
• 准备清洗或从处理器中取出物体时,请将处理器的电源插头
拔出或关闭电源开关。
• 请用长柄的木勺或木棒来疏通堵塞的处理器,也可用盖子的
底部长柄疏通。在取出处理器内部的物体时,请使用长柄夹
子或钳子。
Warning: Please be sure to read this safety guide to
avoid any accident or malfunction.
Be sure to note the following items when using the electrical
appliance:
• When installing the product, you must reserve a wall outlet
that is suitable for the product, 0.5m away from the product
and under the installation platform if not using a matching air
switch. You can add a wall switch on the installation
platform to control the socket connecting the product under
the platform. If you choose to use a product with an external
air switch, please see "INSTALLATION AND USE OF AIR
SWITCH" for the installation method.
• Please read the instructions before beginning to use the
product.
• If a child is near the electric appliance while in use, please
watch them carefully to avoid any accidental body injury.
• Please do not put any fingers or hands into the food waste
disposal when it is working.
• Please unplug the electrical plug or shut off the power
switch of the disposal when preparing to clean up or take an
object from the disposal.
• Please use a long-handled wooden spoon or wooden stick
to clear a blocked disposal, or use the long handle at the
cap bottom to clear it. Please use a long-handled clamp or
pliers to remove objects from the disposal.

2. STRUCTURAL ILLUSTRATION OF DISPOSAL
2. 处理器的结构说明
1334585-T01-A
-2-
1. 不锈钢法兰
2. 装配环
3. 隔音罩壳(520W、550W)
4. 洗碗机接口(如需要)
5. 研磨腔
6. 研磨齿环
7. 旋转刀片
8. 转盘
9. 排水口
10. 防水密封橡胶垫
11. 电机
12. 热保护器复位按钮
13. 电源线
1. Stainless Steel Flange
2. Mounting Ring
3. Sound-insulating Housing (520w, 550w)
4. Dishwasher Interface (If Necessary)
5. Grinding Chamber
6. Grinding Gear Ring
7. Rotating Cutter
8. Rotary Plate
9. Outlet
10. Waterproof Seal Rubber Pad
11. Electric Motor
12. Reset Button Of Thermal Protector
13. Power Line
1
2
5
6
8
9
11
13
4
3
7
10
12
• 为了减少特殊物品对处理器造成不必要的伤害,请不要将下
列物品倒入处理器。
a. 蛤壳和牡蛎壳
b. 管道清洁用品
c. 玻璃、瓷器或塑料、编织袋、塑料袋
d. 整根的大骨头
e. 金属,如瓶杯、听罐或铝箔
f. 整根的玉米棒子
• 在不使用处理器时,请将水槽塞子盖好,以免处理器内掉入
其它物体。
• 请在装好防溅橡胶圈后再使用处理器。
•
请详细阅读本手册的接线部分,以保证处理器良好接地。
• 如果您不熟悉电器知识,请查阅电工手册或向有资格的电工
咨询。
• 该产品装有过载保护器,保护器复位按钮在该产品的底部,
电源线180°的位置,使用类似于筷子粗细的木棒,可以轻易
触及到。
• In order to reduce damage caused by any special item to
the disposal, please do not place the following articles into
the disposal.
a. Clam shells and oyster shells
b. Pipe cleaning products
c. Glass, porcelain or plastic, woven bags or plastic bags
d. Large whole bones
e. Metal such as bottles, cups, tin cans or aluminum foil
f. Whole corn cobs
• When the disposal is not in use, please cover the sink plug
to prevent other articles from falling into it.
• Please first install the splash-proof rubber ring before using
the disposal.
• Please read the wiring content of the manual to guarantee
good grounding of the disposal.
• If you are not familiar with electrical knowledge, please
check the electric manual or consult a qualified electrician.
• The product is equipped with an overload protector that has
a reset button at the position of 180° to the power line on the
bottom of the product. A wooden stick with the thickness of
a chopstick can be used to access it easily.

1334585-T01-A
-3-
3. INSTALLATION OF COMPONENTS 3. 组件的安装
Diagram of product structure: 产品组成结构图:
3A1
快捷安装方式
注意:处理器已在出厂前组装好,因此请您在安装前仔细
观察各部件及固定装置的安装程序。
A. 顺时针拧动装配环(参看图3A1),使装配环与处理器分离
(参看图3A2)。
Quick installation method
Note: the disposal has been assembled before
shipment. Please carefully check the installation
procedure of various components and the fixing devices
before starting installation.
A.
Turn the mounting ring clockwise (see Figure 3A1) to
separate the mounting ring and the disposal (see Figure 3A2).
3A2
Latch
卡锁
Locking Slot
卡槽
Plug
塞子
Removable Splash Guard
可拆卸防溅罩
Sink Flange
水槽凸缘
Rubber Washer
橡胶垫圈
Fiber Washer
纤维垫圈
Drain Elbow
排水弯管
Screw
螺丝
Dishwasher Drain
洗碗机排水口
Position To Post SN
序列号张贴位置
Elastic Washer
弹性垫圈
Internal Slot
内槽
Latch
卡锁
End Cover
端罩
Elbow
弯 管
Support Ring
支撑环
Note: The Arrow Points Upward
注意:箭头向上
Sink
水槽
Mounting Ring
装配环
Fastening Lug
紧固吊耳
Elbow Washer
弯管垫圈

1334585-T01-A
-4-
3B
B. 将装配环升至水槽凸缘,移出弹性垫圈,再取出装配环
(参看图3B)。
C. 将螺口支撑环从水槽凸缘上拧下,再取下纤维垫圈
(参看图3C)。
D. 橡胶垫圈可以用来取代不锈钢水槽上的油腻子。但对其他水
槽可能还要求使用油腻子。
E.
在不使用油腻子的情况下,可直接将水槽凸缘套上橡胶垫圈。
插入到水槽的排水孔中(参看图3E)。
F. 如果您使用腻子(油灰)密封,就在水槽凸缘的下部涂满一
圈腻子,再插入到水槽的排水孔中,使劲向下压,挤出多余
的腻子,并将水槽的排水孔下面清理干净(参看图3F)。
B. Lift up the mounting ring to the sink flange, move the elastic
washer and then remove the mounting ring (see Figure 3B).
C. Screw down the screw support ring from the sink flange and
then remove the fiber washer (see Figure 3C).
D.
The rubber washer can be used to replace putty on a
stainless steel sink. However other sinks may still need putty.
E. If no putty will be used, the rubber washer can be put
directly onto the sink flange. Insert into the sink plughole
(see Figure 3E).
F. If you will use a putty sealing, apply a complete round of
putty on the lower surface of the sink flange, then insert it
into the sink plughole and press down forcibly to squeeze
out any excess putty. Also clean the underneath of the sink
plughole (see Figure 3F).
3C
Fiber
Washer
纤维垫圈
Support Ring
支撑环
3F
Sink Plughole
水槽排水孔
3E
Sink Plughole
水槽排水孔
Rubber Washer
橡胶垫圈

1334585-T01-A
-5-
G.
从水槽下面装上纤维垫圈和螺口支撑环到水槽凸缘,并按箭头
指向上用手拧紧。直至水槽凸缘不再晃动为止(参看图3G)。
此时,您可以盖上水槽塞子,并在水槽中灌满水,检查水槽密
封情况,以免滴漏。
H.
在安装弹性垫圈的时候,请提起装配环,将弹性垫圈(大头向
下)的内槽与水槽凸缘底部凸边卡住(参看图3H1),手指沿
弹性垫圈边缘轻轻压下,不要太用力。弹性垫圈装好后,可
将装配环放下,盖住弹性垫圈并可以轻松转动。请参看图3H2
表示的正确的安装位置。
* 可参见“弹性垫圈详图”,更好的帮助安装。
G. Install the fiber washer and the threaded support ring onto
the sink flange from under the sink. Then screw it on tightly
by hand in the direction as shown by the arrow until the sink
flange will not shake (see Figure 3G). Then, you can cover
the sink plug and fill the sink with water to check the seal to
avoid any leakage.
H. To install the elastic washer, please lift up the mounting ring
and jam the inside groove of the elastic washer (large end is
downward) onto the bottom rim of the sink flange (see
Figure 3H1). Then gently press the edge of the elastic
washer with your finger. Do not force it too much. After the
elastic washer is installed, put the mounting ring down to
cover the elastic washer so that it can rotate easily. Please
see Figure 3H2 for the correct installation position.
* See "Detailed view of elastic washer" to facilitate installation.
3G
3H1 3H2
Internal Slot
内槽 Top
顶部
Bottom
Beads
底部珠子
Detailed View Of Elastic Washer
弹性垫圈详图

Note: To install the food waste disposal, you must
reserve a power outlet and switch when remodeling the
kitchen. Before installation, please do not connect the
power supply to the disposal. Please shut off the power
or remove the fuse.
Please note: The service voltage of the disposal is indicated on
the bottom cover plate. Meanwhile, other related information is
marked on the label of the bottom cover nameplate.
A. The disposal uses only AC.
B. The disposal uses a power supply connected by a plug. For
safety and operating convenience, it is recommended to
use a separate power junction box for the disposal and to
add a power switch to control the connection of the power
supply.
C. If a power line fails and it needs to be replaced, the custom-
er should not replace it by himself/herself but should have a
professional maintenance personnel replace it or send it
back to the service station designated by the manufacturer
to replace it.
1334585-T01-A
-6-
1334585-T01-A
-6-
5. CONNECTION TO DISHWASHER
(IF NECESSARY)
5. 洗碗机的连接
(如需要时)
如果您使用洗碗机,请按照图5A指示进行连接。如果不连接洗碗
机,则直接进行第6步的安装。
连接时,请用一个钝的工具(钳子或木棍)敲掉处理器的塞子
(见图5A)。不要使用螺丝刀或其他较为锋利的工具。当敲下的
塞子落入处理器时,您可取出,或当处理器工作时将其搅碎。不
会对处理器产生任何损害。
只需将洗碗机的软管同处理器的洗碗机接口相连接即可。
If you use a dishwasher, please connect it as per the
instructions in the figure 5A. Or continue the step 6 if you have
no dishwasher to connect.
Use a blunt tool (pliers or wooden stick) to knock off the plug of
the disposal (see Figure 5A). Do not use a screwdriver or other
sharp tools. When the knocked off plug falls into the disposal,
you can take it out or grind it once the disposal works. It will not
pose any damage to the disposal.
Just connect the hose of the dishwasher with the interface of
the dishwasher.
4. WIRING OF POWER LINE 4. 电源线接线
注意: 安装使用废弃食物处理器,需要您在厨房改造中
预留电源插座及开关。在安装前,请不要将电源连接到处
理器上。请将电源关闭或拿掉保险丝。
请注意:本废弃食物处理器的使用电压已标明在处理器底部盖板
上。同时底盖铭牌标签上还标明了其它相关信息。
A. 本处理器仅使用交流电。
B. 处理器电源连接采用插头的连接方式。为了安全和操作方便
建议给处理器单独使用一个电源接线盒,并增设一个电源开
关控制电源的接通。
C. 当电源线因损坏需要更换时,请客户不要自行更换,应请专
业的维修人员更换或者寄回厂家指定的维修站点进行更换。
5A
Tap Out The Plug
将塞子敲出

1334585-T01-A
7. 处理器和组件的连接
快捷连接方式
第一步连接:
将处理器对准固定装置的下端,再将处理器的卡锁插入装配环
(见图7A),向右转动装配环大约6mm,使处理器暂时卡住。
第二步连接:
转动装配环和处理器,直至处理器的污物排出口与排水管道对准
(见图7B)。
Quick connection method
Connection step I:
Align the disposal with the lower end of the fixing device, then
insert the latch of the disposal into the mounting ring (see
Figure 7A). Turn the mounting ring about 6mm to the right and
temporarily jam the disposer.
Connection step II:
Rotate the mounting ring and disposal until the sewage outlet is
aligned with the drain line (see Figure 7B).
6A 6B
6. FIXATION OF DRAIN ELBOW 6. 排水弯管的固定
A. 将排水弯管接到处理器上(见图6A)拧紧螺丝。
B. 确认所有的管件已接连牢固。
A. Connect the drain elbow to the disposal (see Figure 6A) and
tighten the screw.
B. Confirm all the pipe fittings are connected firmly.
7. CONNECTION OF DISPOSAL AND
COMPONENTS
7A
Locking Slot
卡槽 Latch
卡锁
7B
Outlet
排出口
Drain line
排水管道
-7-

1334585-T01-A
-8-
第三步连接:
向右转动装配环,直至拧紧(见图7C)。处理器的卡锁拧入装配
环最左端卡锁槽内。
第四步:
如果装配环拧起来非常费力,请您在卡锁上涂抹一些润滑剂,
如肥皂水等。打开水龙头检查是否有渗漏现象。
第五步:
将处理器的排水弯管与排水管进行连接。
Connection step III:
Turn the mounting ring to the right until it is tightened (see
Figure 7C). Screw the latch of the disposal to the leftmost slot
of the mounting ring.
Step IV:
If it is very difficult to screw the mounting ring, please apply
some lubricant such as soapy water, etc. on the lock. Open the
water tap to check whether there is any leakage.
Step V:
Connect the drain elbow of the disposer with the sewer pipe.
8. INSTALLATION AND USE OF AIR SWITCH
8. 空气开关的安装与使用
说明:如果您选择了外置式空气开关配置的产品,请按照以下操
作说明进行空气开关组件的安装与使用。
8.1 空气开关的安装
Remarks: If you select a product with an external air switch,
please install and use the air switch assembly as per the
following operating instructions.
8.1 Installation of air switch
-7-
7C
7D
Latch Is At The "Supporting" Position
卡锁处于“支撑”位置
Detailed View Of Lock
卡锁详图
Latch Is At The
"Locked" Position
卡锁处于“锁闭”位置
Mounting Ring
装配环
Mounting Hole To Fix Socket
插座定位安装孔
Socket For Air
Switch Used
To Connect
The Power
Line Of The
Disposal.
空气开关插座,
用于处理器的
电源线连接。
Button For Air Switch And
Rubber Ring
空气开关按钮及橡胶圈
Plug For Air Switch
To Connect To The
Reserved Wall
Switch Under The
Platform.
空气开关插头,与
预留在台面下部的
墙面开关连接。 Connecting Tube
连接导管
Plastic Nut
塑料螺母

1334585-T01-A
-9-
9. OPERATING INSTRUCTIONS 9. 操作说明
说明:本产品使用防阻塞旋转刀片,在启动时可能会产生
“咔咔”的声音,这属于正常现象。
连续处理型处理器操作说明
• 取出水槽塞子,打开冷水龙头,使水流适中。
•
未使用外置式空气开关时,将电开关拨到
“
开
”
的位置;或
使用外置式空气开关时,将空气开关按钮按下,此时您的处理
器已在高速旋转,并可以使用了。
• 倒入食物垃圾。为保持废弃食物处理器高效工作,请将大块
的骨头、瓜皮、玉米棒等切碎成小块投入处理器,但这些东
西可能会使处理器的工作时间延长。当处理器粉碎食物的时
候,可能速度会慢下来,这属于正常现象,因为处理器正在
自行调整转矩(粉碎功率)。
• 在关闭处理器以前,应使水和处理器再工作25秒左右。这样
可以保证所有的污物被水冲洗干净。
• 在处理器工作的时候,不建议您使用热水。冷水可以保证食
物垃圾和油脂处于固态并被冲洗干净。
• 家庭厨房用食物处理器仅用来间断使用,不能作为连续使用
的商用型处理器。
Remark: The product uses an anti-blocking rotary cutter which
may make a swishing sound. This is a normal phenomenon.
Operation instructions of continuously-processing disposal
• Take out the sink plug, turn on the water tap and adjust the
water flow appropriately.
• When not using an external air switch, dial the electric
switch to the OPEN position; or when using an external air
switch, press the air switch button, now the disposal is
rotating at a high speed, so you can use it.
• Place the food waste inside. In order to maintain efficient
operation of the food waste disposal, please first cut large
bones, melon rinds and corn cobs into small pieces before
placing them into the disposal. Otherwise, they will lengthen
the working duration of the disposal. When the disposal is
grinding food, it may decelerate. This is a normal
phenomenon because the disposal is automatically
adjusting torque (grinding power).
• The water and disposal should run for at least 25s or more
before the disposer is closed. This will ensure all the waste
will be washed down cleanly.
• It is not recommended to use hot water when the disposal is
working. Cold water can ensure that food waste and grease
will remain in a solid state and will be washed down.
• A food waste disposal for the family kitchen can only be
used intermittently and can not be used as a commercial
disposer to be used continuously.
第一步:
在水槽底部的墙壁上或其他可用的位置使用钉子或其他连接件将
外置式空气开关插座固定,并保持插座离地面不得小于300mm;
第二步:
在水槽边缘或水槽台面上适当的位置打一个直径为35mm或
26mm的圆形(根据选用空气开关按钮直径的不同进行选择),
作为空气开关按钮的安装孔;
第三步:
将空气开关按钮上的塑料螺母旋下,将单独的空气开关按钮及按
钮帽下方的橡胶圈一同放入圆孔内,保持橡胶圈处于水槽表面
(或水槽台面表面),并从台面下方使用螺母将空气开关按钮固
定住;
第四步:
将连接导管的两端分别与空气开关按钮的导管接头盒插座盒上的
导管接头连接。连接完成后用手按动按钮,会听到插座盒内有轻
微的“哒哒”的声音,说明开关可正常工作;
第五步:
将装好的废弃食物处理器的电源线插头插在空气开关插座上,
然后将空气开关插座的插头插在临近的可用墙壁电源插座上;
第六步:
此时整个空气开关组件已经安装完成并可正常工作,请按动空气
开关按钮试验整个系统是否工作正常,如不正常请联系相关经销
商进行处理。
8.2 空气开关的使用
完成上述安装过程后,整个废弃食物处理器的工作系统已经可以
正常使用,请按动空气开关按钮试验整个系统是否正常,如不正
常请联系相关经销商进行处理。
Step I:
Fix the socket for the external air switch onto the wall at the sink
bottom or other available position with nails or other connecting
parts. The socket should be at least 300mm away from the
ground;
Step II:
Punch a circle with a diameter of 35mm or 26mm at the
appropriate position on the sink edge or sink platform (the
diameter is selected as per the diameter of the button for the air
switch) to be used as the mounting hole of the button of the air
switch;
Step III:
Screw off the plastic nut on the button for the air switch and
place the button for the air switch and the rubber ring under the
button cap together into the circle. Maintain the rubber ring on
the sink surface (or the platform surface of the sink) and fix the
button for the air switch with a nut from below the platform;
Step IV:
Connect the two ends of the connecting tube respectively to the
tube connectors on the outlet box of the tube connector box of
the air switch button. After the connection is finished, press the
button and a slight tone will sound from the outlet box, indicating
the switch is working normally;
Step V:
Insert the assembled power plug of the food waste disposal into
the socket for the air switch. Then insert the plug of the air
switch into the available adjacent wall socket;
Step VI:
Now, the whole air switch assembly is installed completely and
can work normally. Please press the button for the air switch to
test whether the whole system can work normally. If not, please
contact the distributor to handle it.
8.2 Use of air switch
After the installation process above is finished, the whole food
waste disposal system can be used normally. Please press the
button for the air switch to test whether the whole system is
normal. If not, please contact the distributor to handle it.
1334585-T01-A
-10-
提示:
• 为了排水系统畅通,请您在使用洗碗机之前确认处理器内无
食物垃圾。
• 在不使用处理器的时候,请将水槽塞盖好,以防止厨具或其
他物品掉入处理器。
• 正确的操作可以延长处理器的使用寿命。它可以处理所有常
规的食物垃圾,但不能粉碎或处理罐头、玻璃瓶子,瓶盖、
陶瓷类、皮革、布、橡胶、线、蛤蛎壳、羽毛等物。这些垃
圾应丢入垃圾箱,不要使用处理器处理。
•
饭前、饭后使用处理器!备餐时打开处理器和冷水,将池内的
蔬菜叶等清理干净。饭后,可直接将食物垃圾投入处理器。
•
为保证处理器的工作效率,请将大块的食物垃圾切碎后再处理,
如骨头、芒果核、玉米棒心。这些垃圾的处理可能会延长处理
器的工作时间。或者将这些垃圾丢到垃圾箱或垃圾袋里。
• 水流量最好不低于4升/每分钟。
Reminder:
• In order to maintain a smooth drainage system, please
confirm that there is no food waste in the disposal before
using the dishwasher.
• When the disposal is not in use, please cover the sink plug
to prevent kitchenware or other articles from falling into the
disposal.
• Proper operation can extend the service life of the disposal.
It can process all ordinary food waste, but cannot grind or
process cans, glass bottles, bottle caps, ceramics, leather,
cloth, rubber, wires, clam/oyster shells and feathers, etc.
These types of waste that cannot be processed by the
disposal should be thrown into the garbage.
• Use the disposal before and after meals! While preparing
the meals, turn on the disposal and cold water to clean up
vegetable leaves in the sink. After the meal, food waste can
be directly placed into the disposal.
• In order to ensure the working efficiency of the disposal,
please first cut up bulky food waste such as bones, mango
stones and corn cobs before placing them into the disposal.
The processing of such waste may lengthen the working
duration of the disposal. Alternately, throw these types of
waste into the trashcan or garbage bag.
• The water flow rate is best at no less than 4L/min.
10. TROUBLE SHOOTING 10. 故障检修
当您遇到如下问题需要修理或更换零配件时,我们建议您进行如
下检查:
噪音过大
比如处理骨头或果核过大时,也有可能会勺子等物体掉入处理器。
此时应关闭电源,待处理器完全停止后,取下防溅罩,用长柄工具
将物体取出,再盖回防溅罩。
无法启动
关闭电源,取出防溅罩,用长柄工具拨动转盘,查看是否转动自
如。如果转盘转动自如,盖回防溅罩,再检查“热保护器复位按
钮”是否弹出,“热保护器复位按钮”是红色的,在电源线引出
端的正背面,接近底座的位置,使用类似于筷子粗细的木棒可以
直接触及到(见下图10A),如弹出将其按下即可复位,然后再
接通电源启动。
If you encounter the following problems and need to repair or
replace spare and accessory parts, we recommend you conduct
the following inspection:
Excessive noise
For example, when the size of the bones or fruit stones are too
large, or spoons may also fall into the disposal. At this time, the
power should be shut off. Once the disposal stops completely,
take off the splash guard and remove the object with a
long-handled tool, then cover with the splash guard again.
Failure to start up
Shut off the power, take off the splash guard and dial the rotary
plate with a long-handled tool to check whether it can rotate
freely. If the rotary plate can rotate freely, then cover with the
splash guard again and check whether the "Thermal protection
reset button" is popped up. The "Thermal protection reset
button" is red and located on the back surface of the leading-out
terminal of the power line near the base. It can be accessed with
a wooden stick the thickness of a chopstick (see Figure 10A
below). If it is popped up, press it to reset and then switch on the
power to start up.
Reset Key
恢复键
SN
序列号
10A

If the "Thermal protection reset button" is not popped up, please
check the connecting power line or power switch, emergency
capacity gate or power breaker of the disposal. If the
connection of the power line and the electric appliance are both
normal, it may be a problem inside the disposal. You must
contact the distributor to repair or replace it.
Rotary plate cannot rotate freely
Please check whether there is any foreign body in the impellers
and grinding chamber of the disposal. Use a long-handled tool
to dial the rotary plate to take out the foreign body (see Figure
10B below). If there is no foreign body, it may be a problem
inside the machine.
Leakage
A leakage from the machine may be the result of one of the
following reasons:
• Inappropriate installation of the sink flange (washer, putty
and whether it is properly tightened);
• Inappropriate installation of the supporting ring;
• Failure of the elastic washer;
• If a leakage occurs from the drain elbow of the machine, it
may be because the screw there is not tightened up.
1334585-T01-A
-11-
如果“热保护器复位按钮”未弹出,请检查处理器的连接电源线,
或电源开关、保险闸门、电源断合器等。如果电源线的连线和电器
部分都完好,有可能是处理器内部的问题,需要与分销商联系修理
或更换。
转盘不能自如转动
请检查处理器的叶轮与粉碎腔内是否有异物存在。用长柄工具拨
动转盘取出异物(见下图10B)。如果没有异物,就可能是机器
内部的问题。
渗漏
如果机器发生渗漏,有可能是下列原因导致:
• 水槽凸缘安装不合适(垫圈、腻子及是否拧紧);
• 支撑环安装不合适;
• 弹性垫圈失效;
• 如果机器从
排水弯管处渗漏,那可能是此处的螺丝未拧紧。
11. CLEANUP AND MAINTENANCE 11. 清理和维护
处理器电机已有终身润滑剂,请勿另行添加润滑剂!机器自身也
可自行清洗。
处理器都配有可拆卸的防溅罩。其清洗及更换十分容易。您只须
从水槽上方将其取出即可,清洗后再放回原处。
防溅罩在长期使用中容易损件,如需更换请与销售代理商联系。
用户在使用过程中,如有发现在转盘上有黑色胶状物时,请不要担
心。那是余量的转盘螺纹密封胶由于电机的高速旋而产生的飞溅,
不影响产品的使用。
严禁将碱液和化学制剂倒入处理器,以免内部的金属件受到腐蚀。
The disposal motor already has lubricant added, please do not
add any more! You can clean the machine by yourself.
The disposal is equipped with a removable splash guard. It is
very easy to clean and replace. You just need to remove it from
above the sink, clean it and then put it back.
The splash guard tends to get damaged after long-term use,
please contact the distributor if it needs a replacement.
Please don't worry if any black gel appears on the rotary plate
during the usage. This is rotary plate thread sealant splashed
out due to the high-speed rotation of the motor and will not
influence the usage of the product.
To prevent the interior metal parts from being corroded, it is
strictly prohibited to pour any lye or chemical preparation into
the disposal.
10B
Take Off The Splash Guard
取下防溅罩
Rotary Plate
转盘

XXX
1334585-T01-A
-12-
12. PRODUCT INFORMATION 12. 产品信息
产品的结构尺寸(单位:厘米)
Structure size of existing product (unit: cm)
Model
型号
Dimension
(cm)
尺寸
(厘米)
A
B
C
D
E
F
24486T-NA
475W
34.13
17.62
17.62
11.43
13.65
3.81
21559T-NA
520W
36.83
21.59
18.14
11.43
14.13
3.81
24487T-NA
550W
40.80
21.59
18.14
11.43
14.13
3.81
This manual suits for next models
2
Table of contents
Other Kohler Garbage Disposal manuals
Popular Garbage Disposal manuals by other brands

InSinkErator
InSinkErator Badger 100 Specifications

Kenmore
Kenmore Compactor owner's manual

Fayat
Fayat BOMAG BPR 35/42 D operating instructions

Franke
Franke RODX605E Installation and operating instructions

disperator
disperator EXCELLENT Series user manual

InSinkErator
InSinkErator Evolution Excel owner's manual

Leafield Environmental
Leafield Environmental Envirobank 140 Installation guidelines

Scheppach
Scheppach HP3000S Translation from the original instruction manual

Mistral
Mistral Ultra 10504 Specifications

Atlas Copco
Atlas Copco HC 150 Safety and operating instructions

GE
GE ZCGP150LII INSTALL owner's manual

Reencle
Reencle Prime manual