UAB KOMFOVENT we reserve the right to make changes without prior notice 3
V2-C5.1-17-07
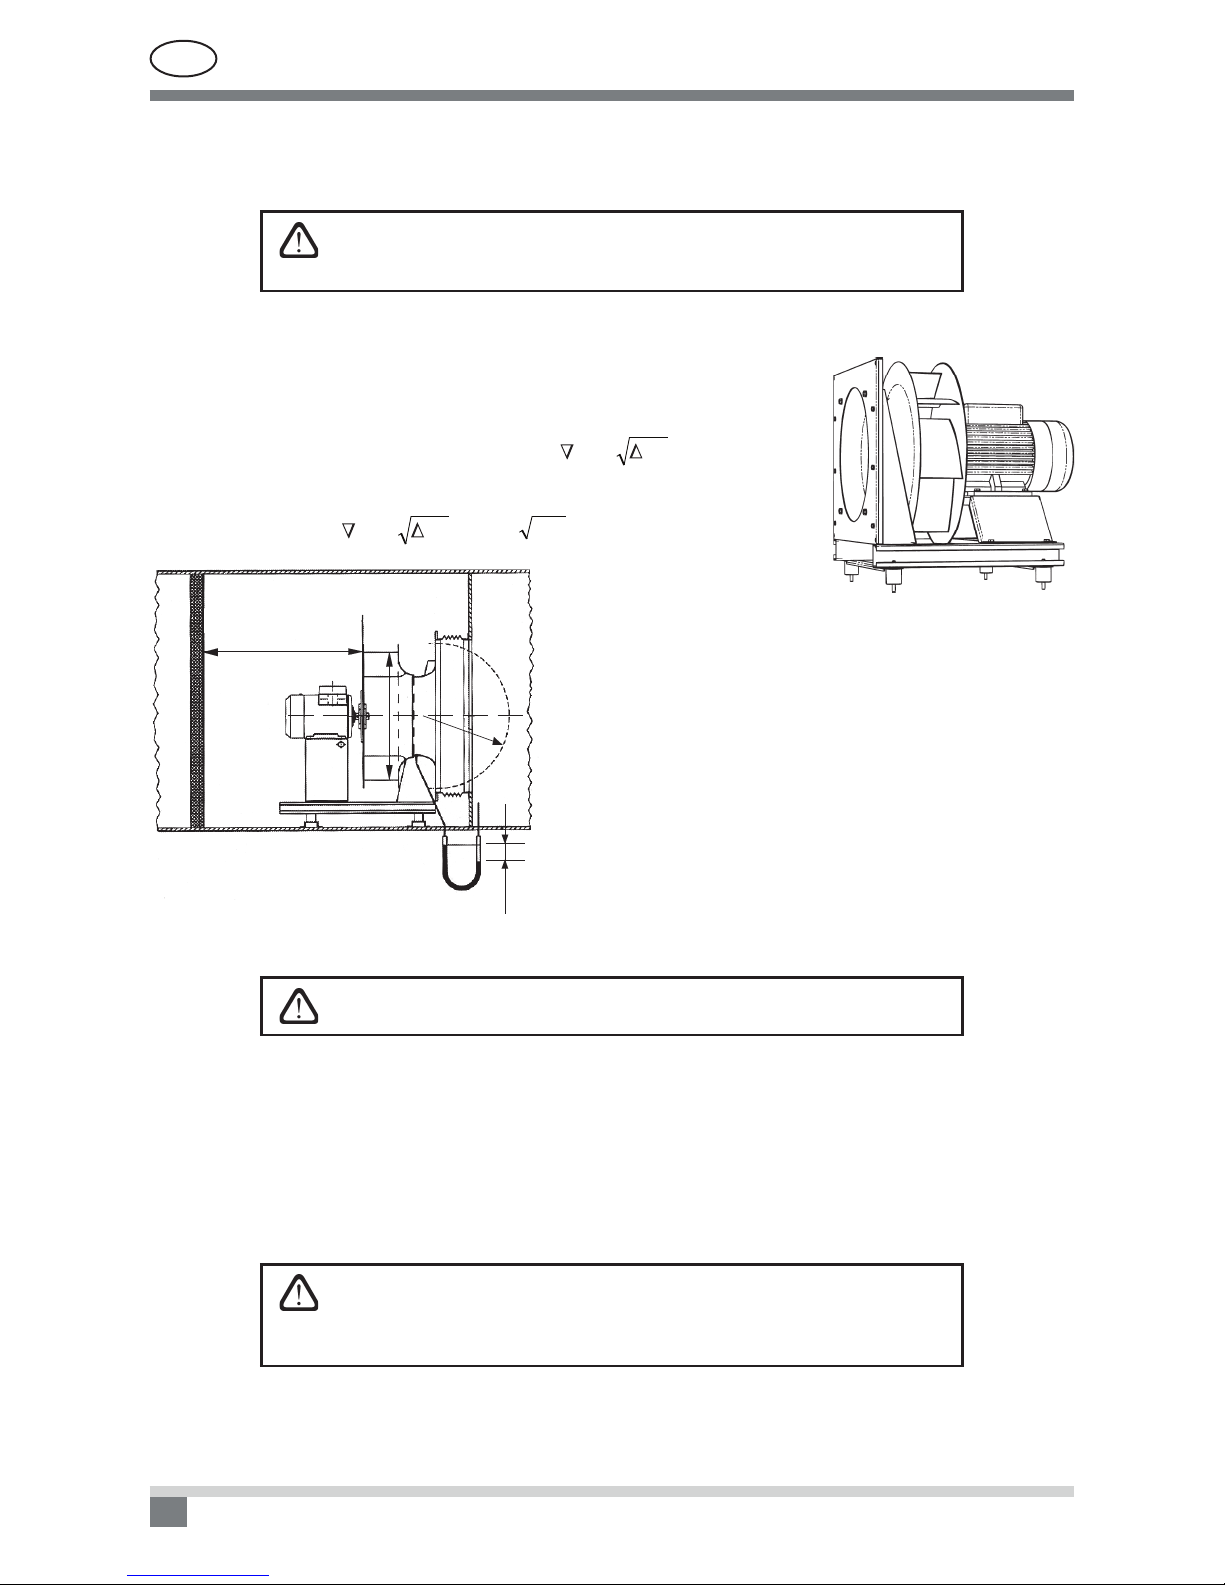
Content
1. VERSO AIR HANDLING UNITS .................................................................................................................... 5
1.1. VERSO Air Handling Units marking.......................................................................................................... 6
1.2. VERSO-S – Air Supply Units .................................................................................................................... 7
1.3. VERSO-P/PCF – Air Handling Units Equipped with Plate Heat Exchanger ............................................. 7
1.4. VERSO-R/RHP – Air Handling Units Equipped with Rotary Heat Exchanger .......................................... 8
1.5. Brief Description of the Unit...................................................................................................................... 8
1.6. VERSO Air Handling Units Composing Options....................................................................................... 9
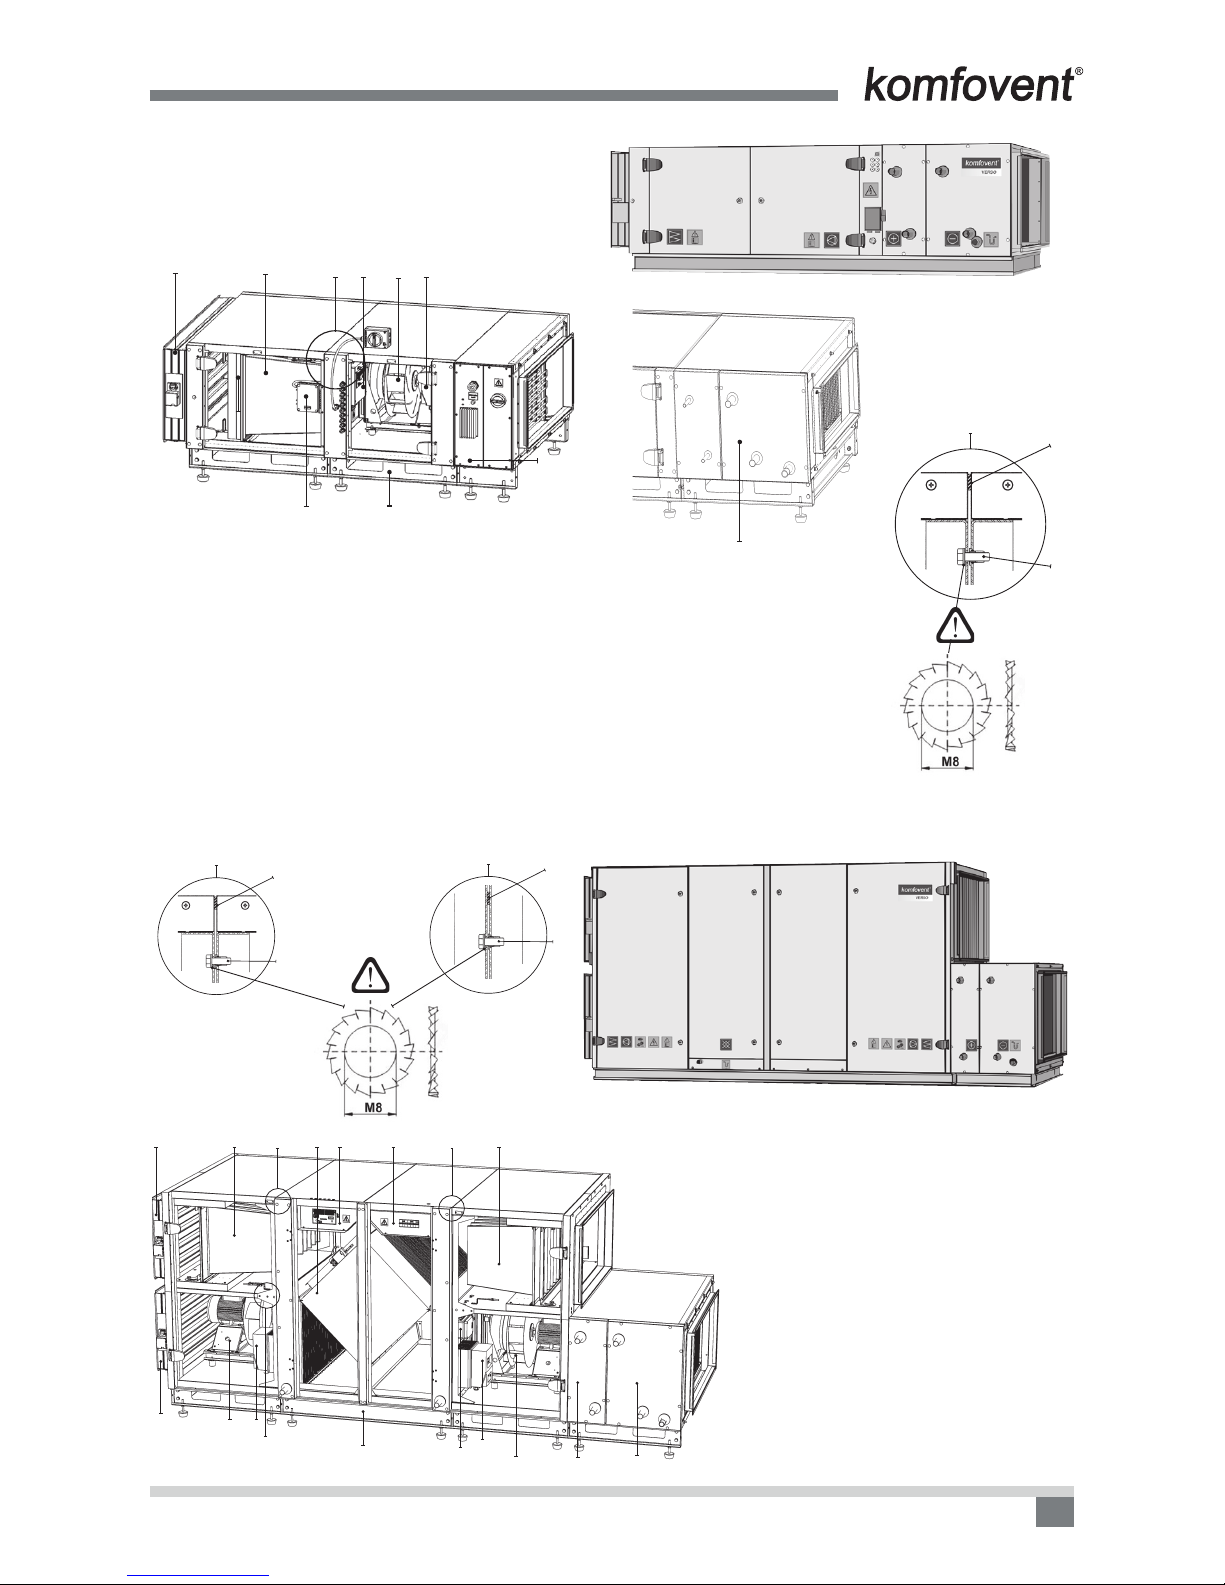
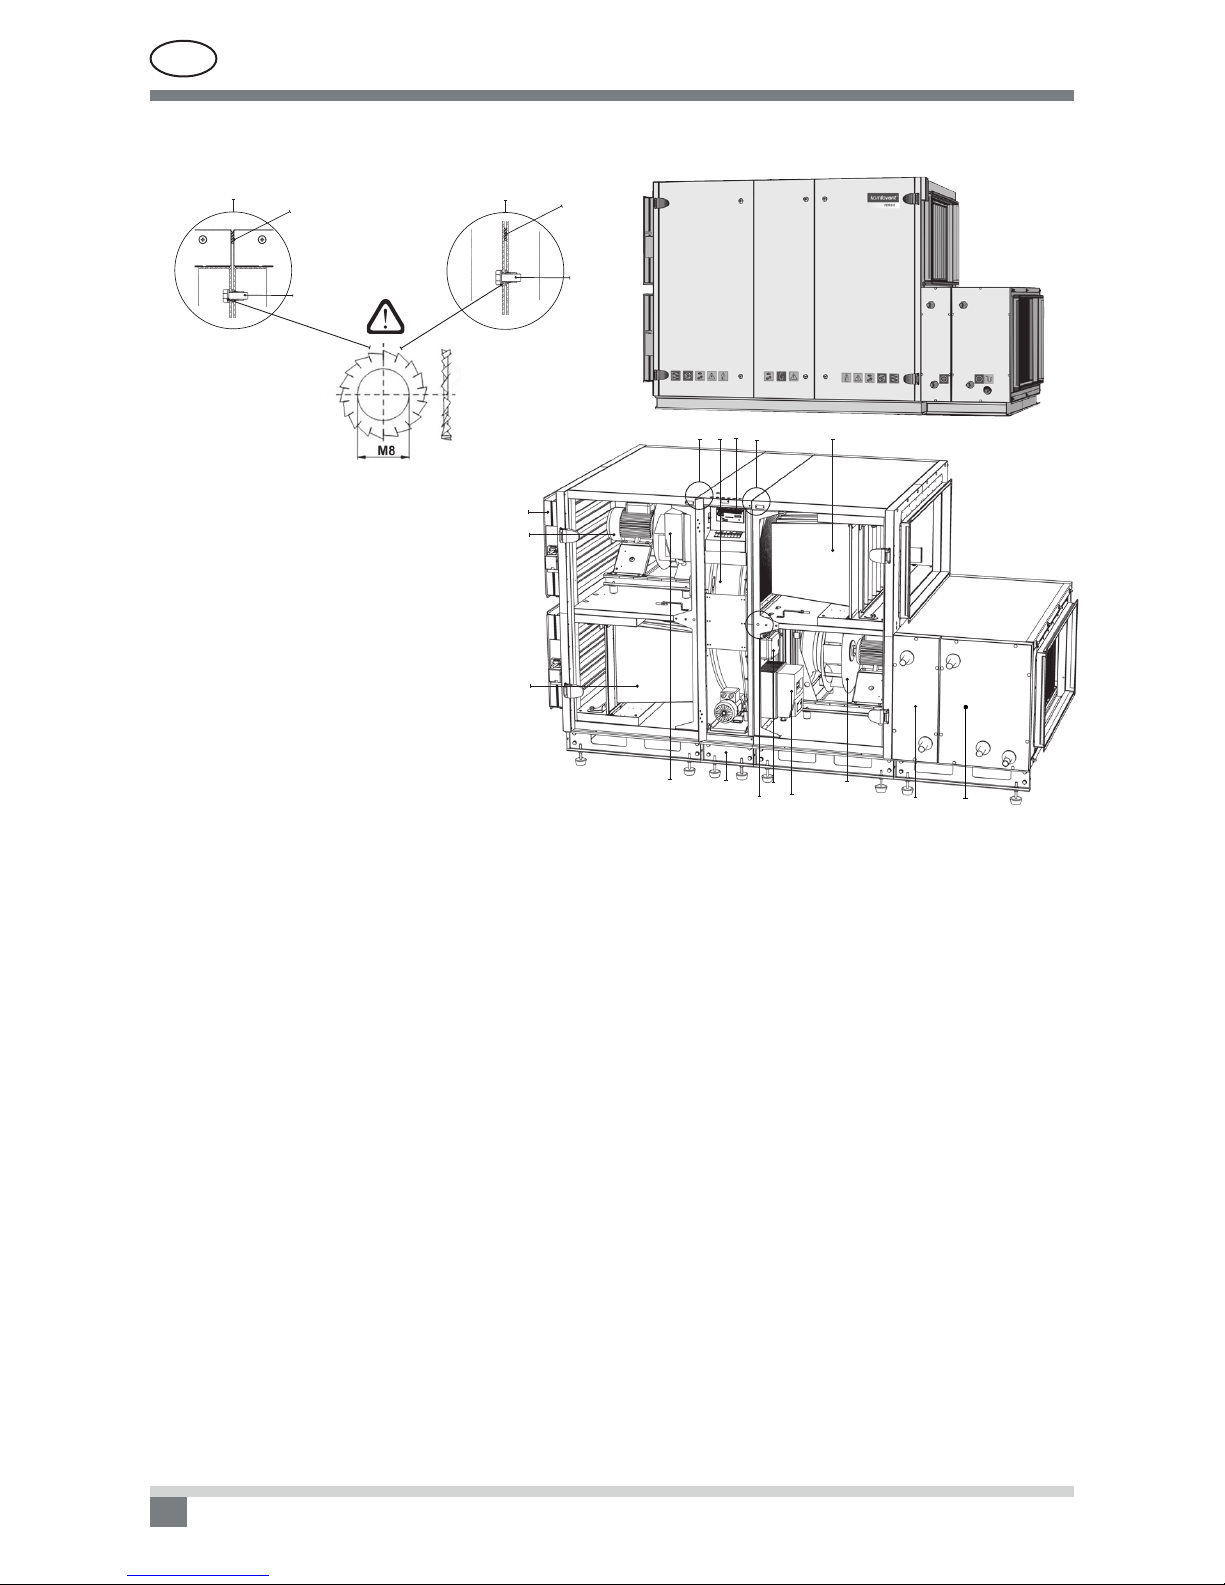
2. VERSO AIR HANDLING UNITS CONSTRUCTION................................................................................... 10
2.1. Fans........................................................................................................................................................ 10
2.2. Plate Heat Exchanger in VERSO-P/PCF Air Handling Units.................................................................. 10
2.3. Rotary Heat Exchanger in VERSO-R/RHP Air Handling Units ............................................................... 12
2.4. Verso RHP units ..................................................................................................................................... 13
2.5. Air Dampers............................................................................................................................................ 16
2.6. Air Filters and Filter Change Procedure.................................................................................................. 16
2.7. Water Air Heaters, Air Coolers, Direct Evaporation Air Coolers.............................................................. 17
2.8. Electric Air Heaters in VERSO-S Series Air Handling Units ................................................................... 21
2.9. Electric Air Heaters in VERSO-P/PCF and VERSO-R/RHP Series Air Handling Units .......................... 21
2.10. VERSO Series Air Handling Units Designed for the Outdoor Use ....................................................... 23
3. VERSO AIR HANDLING UNITS TRANSPORTATION............................................................................... 24
4. VERSO AIR HANDLING UNITS INSTALLATION ...................................................................................... 25
4.1. VERSO Air Handling Units Maintenance Space..................................................................................... 25
4.2. Setting and Installing VERSO Air Handling Units ................................................................................... 26
4.3. Connection to the air duct....................................................................................................................... 27
4.4. VERSO Air Handling Units Sloping Drain Tray....................................................................................... 27
4.5. Check-up before turning on VERSO Air Handling Unit........................................................................... 28
5. ELECTRICAL INSTALLATION MANUAL................................................................................................... 29
5.1. Air Handling Units Sections Connection ................................................................................................. 29
5.2. Electric Power Supply Connection.......................................................................................................... 29
5.3. External Elements Connection ............................................................................................................... 29
5.4. Temperature Sensors Installation ........................................................................................................... 31
5.5. Requirements for the installation of the control panel ............................................................................ 31
5.6. Control panel connection........................................................................................................................ 31
6. OPERATION MANUAL................................................................................................................................. 32
6.1. Unit Control............................................................................................................................................. 32
6.2. Control panel indication .......................................................................................................................... 32
6.3. Parameters overview.............................................................................................................................. 33
6.4. Operation modes selection..................................................................................................................... 33
6.5. Menu....................................................................................................................................................... 33
6.5.1. Overview ...................................................................................................................................... 34
6.5.1.1. Alarms ............................................................................................................................. 34
6.5.1.2. Operation counters.......................................................................................................... 34
6.5.1.3. Efciency status .............................................................................................................. 34
6.5.1.4. Detailed information ........................................................................................................ 34


-B-AC/EC Manual")