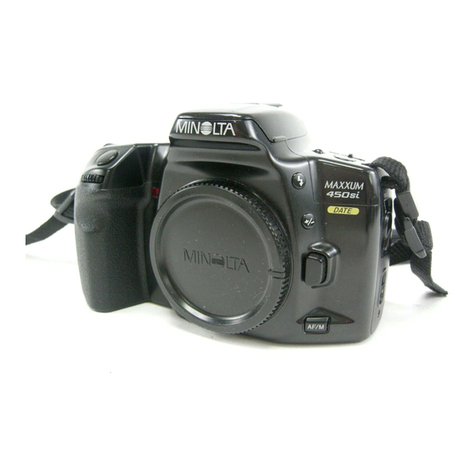
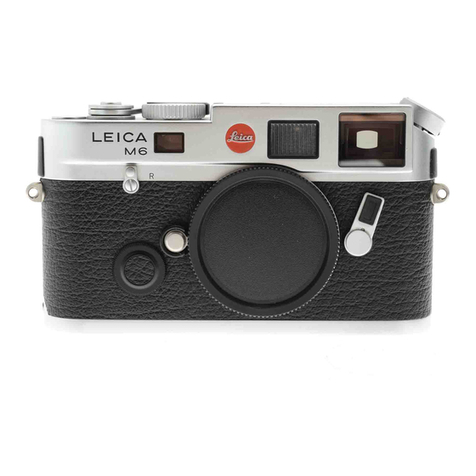
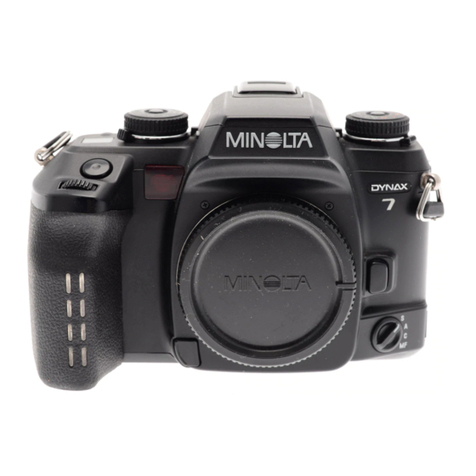
Konica Minolta HEXAR RF User manual

.
English
.
Deutsch
.Frangais
.
Svenska
.
Espafrol
.ltaliano
.+t
.
Pyccrnfr
www.orphancameras.com

NAMEOFPARTS
OHot Shoe
@ ISO/Exposureadjustmentdial
@ shutter Dial
@ Shutter Dial unlock button
@ vain Switch Lever
@ Shutter
ReleaseButton
@ Strap attachment clip
@ Self-timerlamp
@ Lens attachment/removal button/Lens index
@ FinderBrightnessWindow
@ Display panel/Film counter
@ Vier-finderWindow
@ View frame switching lever
@ Rangefinder
window
@ View finder eyepiece
@ CaUte
release
socket
@ Back coverrelease
knob
@Manual Rewind Switch
@fim CheckWindow
@ Back cover
@ Batterychambercover
@ Tripod Socket
30
i:;; r;:.r ijri i;.1; ., ili.]!j!r,f;: ,.,j#J;[#

Bezeichnungder D6signation Delarnas
namn
Gerdteteile lfl crlre d'allumage Q Blixtutlosare
Q Blitzschuh @ Bagueder6glageISO/exposition @ ISO/exponeringsratt
@ tSO-leetlchtungseinstellring @ Baguede vitessed'obturation @ Slutaratt
@ VerschluBzeiten-Einstellring @ Bouton ded6blocagedela bague @ Upplisningsknappfcirslutarratten
@ Veniegelungsknopffiir desvitesses @ Huvudomkopplare
Verschlu8zeiten-Einstellring @Levier d'interrupteurprincipal @Avtryckare
@ Hauptschalter-Hebel @ D6clencheur @ Klamma fcirremfdste
@ Ausl<iser @ Oeittetd'attachedecourroie G) Sjalvutldsarlampa
@ Befestigung fiir Tragriemen @ Voyant du retardateur @ OU.lettivfaste/frigcirningsknapp/
@ Anzeigefiir Selbstausliiser @ Bouton defixation/d6pose objektivindex
@ Knopf zumAnbringen/Abnehmendes d'objectif/Repbre
d'objectif @ I-jusstyrkascikare
Objektivs/Objektiv-Index (E Illuminateur du viseur @ eitAsmrdFilmriikneverk
@ Sucher-Helligkeit @ Panneaud'affichage/Compteur de @ Scikare
@ Fli.issigkristall-Display/Bildziihlwerk vues @ Ramensomkopplingsspak
@ Sucherfenster @ FenOtredeviseur @ Avstindsmdtarruta
@ Sucherrahmen-Umschalthebel @ Levier de s6lection de cadredu @ Scikarensokular
@Entfernungsmesserfenster viseur @ Avtryckarens vajerfattning
@ Sucherokular @Fen0tre det6l6mdtre @ Bakstycketsfrigcirningsknapp
@ Drahtausloser-AnschluB @ Oculaire
du viseur @ Knapp fcirmanuellreturspolning
@ Ruckwandverriegelung @ Priseded6clencheursouple (D Filmkontrollruta
@ Tastefiir manuell gesteuerte (D Bouton delib6ration du dos @ Bakstycke
Rtickspulung @ Bouton der6embobinagemanuel @ Batterilock
@ Filmfenster @ Fen€tred'indentification dela @ Stativfriste
@ Ruckwand pellicule
@ Batteriefachdeckel @ Porte
du boitier pellicule
@ Stativgewinde @ Couvercle depile
@ Embasedetr6pied 31
. 5*-a#iira;-ror-ri$x;*, - ibi'.J,o,, , "-. .. :i.. ;,L-.. , . *
www.orphancameras.com

..,'w
\)5
Simplified steps in taking pictures
* For moredetailed
information,seetheFigurenumbers
given
Insertinsthebatteries
(Fis. 2)
Attilchirie
thelens
tFie.3)
Openth6 backcover"@ andinsert the film roll, then close the
backcover.
(Fig. l3)
Turn main switchlever
@ andsetthe
index to "S". (Fig. 5)
Turn shutterdi4l@ to settheexposure
modeto'AE". (Fig. 23)
Pull out hood@)
andsetthefbcus viilue (b).
After determining the
picture
structure,
turnfbcusring Q toplacethecamerain shalp
focus.
(Fis. 17and23)
Z Presstheihutter releasebutton
@ partially down. Shutterspeecl
will now be displayed
insidethe finder.Now press
theshutter
releasebuttonall theway down to take
thepicture.
(Fig 23)
Vereinfachte Vorgehensweise beim Aufnehmen
;t Fijr weitere Informationen sich auf die angegebenen
Abbildungsnummern
beziehen.
EinlegenderBatterien
(Fig.
2)
EinsetzendesObjektive
tFig.
.l)
Die Rtickwand
offnen
@. OanndieFilmspuleeinlegen
unddie
Rtickwand
wiederschlieBen
(Fis. l3).
V Den Hebel desHauptschalters
@ drehen,dann<len
Index auf
"S" stellen
(Fie.
5).
V Den VerschllBzeiten-Einstellring
@ drehen,
um den
Belichtungsmodus
auf
"AE" ginzustellen
(Fig.
23).
Y Die Gegenlichtblende
G) herausziehen,
dann den
Schdrfeneinstellwert
(b)fixieren. Nach dem Festlegendes
BildausschnittsdenSchdrfeneinstellring
Ql drehen,
um dasBild
scharfzustellen
(Fis. l7 und23).
V Den Ausldserknopf
@ zur Hiilfte niederdrticken.
Die
VerschluBzeit
wird nun im Sucher
angezeigt.Um dasBild
aufzunehmen,
den Ausldserknopf nun vollkommen
niederdriicken
(Fi
e.23)
34
www.orphancameras.com

a^\
a^l
\Y,
Etapes simplifi6es de la prise de vues
* Pour
desinformations
d6taill6es,
consultezlesnum6ros
defigure
indiqu6s.
T Metiez lespilesenplace.
(Fig. 2)
V Fixet
l'obiecril'.
rFig.3.1
V (hvrez ledos
@, initallezunrouleau
defilm etrefermez
ledos.
(Fig.
l3)
Tournez
lelevier
d'interrupteurprincipal
@ etr6glez
sonrepdre
sur
"S". (Fig.
-5)
Tournezla baguedevitessed'obturation
@ pourr6glerle mode
d'exposition
e'AE" (exposition
automatique).
(Fig.
23)
D6posez
le paresoleil
l.f et r6glezla valeurde diaphragme
($.
Apris lvoir composd
l'image.
lournezlabague
demise
uu
poinr
c p()ur
obtenir
uneimage
nette.
(Fig.
l7 er23t
Acfionnezled6clencheui@
i mi-couise.
La vitesse
d'obturation
s'afllchealorsdansle viseur.
Appuyez ensuite
i fond surle
d6clencheurpour
prendre
laphoto.
(Fig 23)
F<irenklade steg att ta bilder.
t Fcirmera
detaljeradinfbrmation,se
bilden varsnummerges.
[/ Iszittningavbatterier
(Fig. 2)
V Att sdrafastobjektivet(Fig. 3)
V 6ppna bakstycket
@ och lidda en frlm, srdng
sedanbakstycket
ordentligt.
(Fig. l3)
Vrid pi huvudomkopplaren
@ ochstrill
in indexpi "S".(Fig.
5)
Vrid pi slutarratten
€) for attstdltain exponeringsfunktionpi
'AE"
tFis.2-1).
V Dra ut klpan 4 och stiill in bliindarviirdet
@. Efter att ha
komponerat
bilden,vrid pirskiirpeinstiillningen
(c-)
for attsHlla
inskrirpan
tFig.
l7 och2.31.
Z Tryck'in avtryckaren
@ halvvrigs.
Slutatticlenkommer
nu att
visasi scjkarcn.Tryck nu neravtryckaren
heltfor attkniippa
bilden
(Fig.
23).
35
www.orphancameras.com

Fig.2
38
www.orphancameras.com

Fig.4
il
I
(2)
H
I
(1)
Fig.3
Fis.
6
\.:h(t' \\\ o
Fig.5
39
www.orphancameras.com

Fig.7 Fig.
8
r---l
] ;1 1-1 1:
"+H+=
Fis.9 View-framefor 28mm View-frame for 50mm View-framefor 35mm
View-frame for 90mm View-frame for 75mm View-framefor l35mr
90mm 75mm
28mm 50mm

Fig.11
{000
2000
I000
500
250
t25,
60
30
I!
!
I
t/
r: -I
E
t- -n
50mm,75mm
Fig.10
4000
2000
1000
500
25C
1?5t
00
t0
8
t/
i-l
lrrl
28mm,
90
mm
Fig.12
ilil ll
rooo ll
;illl
i:ll
;ll
,;
oEn
[,J
35
mm,
135mm
G^^
;.' ,,
rrlbid., .. l"r"r*;idu.. ". ri-Y!'i'^r., ;.r*t*;t;:**...,,";**i *;:i'l*"d;*&**r*lbr;;
www.orphancameras.com

Fig.
13
Fig.
14
E]

Fig.15
Fig.17 Fig.18
Fig.
16
www.orphancameras.com

Fig.20
Fig.
19
Fig.22
Fig.21
N
tzl
-- -) P')

Fig.23
Fig.24
1
45
www.orphancameras.com

Fig.25
_250_
(tlz'
- r25
,-
Fig.26
I
-_ 250
__ _(B)
Izs, -(a)

Fig.27
Fis.28
t6 ll 8{ 2 {8ll l0
Fis.29
2 2 8 4 5.6 E
3 3,s 5 b l0
0.E I t2 t5 2 3 l.,Il"' o
16 ll 8{ 2 {8ll l0
www.orphancameras.com

Fis.30
tl
o
J.]-
:. 1.2
- +t_-
(r0 EV) (r0 EV)
trr
+Exposure
Compensation
48
-Exposure
Compensation

Fis.32
Fig.31
"nt \\
og'
00
''/,
c,/f
I
Fig.34
Fig.33
49
www.orphancameras.com

Fig.35
e)
. (GUID
G
No18
0so100)
50
.:*.t'. *'*,.. -. -Ut*:il -il I :r .11;i*.'r.;i,l ,,*l*;*.rii#f;r,,i: ..r.ri,
L.,,
. .,r.,.d&#*

(2)Low power (Battery power symbol is 2/3 blank, 1/3black)' Time
to replace
the
battery.
t:fi{" ;o* p;*ei tr/'3black portion.ofBattery qoy"t tllb:l
' 'blinks, thenturnscompletelyblank)' No more prctures
can De
taken.
* Wnen the Battery power symbol is 213
blank' enoughpower
remains to finish aioll of fiim before replacing thebattery'
Note on replacing batterY
;-wh;;-t;p[.ing tfr" uutt".l,is, make sure
to tum thepower switch
OFF first.
* Wf"t"n
replacingthebatteries
with afilm loaded
in thecamera'
do
it
quiikly (within
30
seconds).
Howto use
the straP
(Fig.
1)
DamaseprotectioncoverG) fits onio strap
attachment
clip @ '
lnr.ti?itting @ between
themetalclasp
andsqueeze
theclasp
to
.*ounO
it, tfien
pass
through
the
opening
in the
strap
atlachment
.iiile,,^.tt uv dtt*ing the"strap
thioughlheringin the
fittingand
thehole on thedamage
preventlon
cover'
;*U;;ih" p;;trusiofi on theplasticpieceof thestrap
for ease
of
pushing
ihe
Manual
Rewind
Switch
@'
1.
Loading
the BatterY
(Fig'
2)
This camera
w-ill
notoperate
without abattery
loaded'
* i*" "tt the main switch first before installing new batteriesor
replacing
oldones.
Z i?il.; t;"in or similar object into the groove on the battery
compartment cover @ and-turn in the direction of the arow to
ooen
the
battery
compaflment
cover.
Z i'Gn ift" Uun.ii.t so
that
they
are
correctly
placed
with positive
O;;,i ";gative O terminali in thedirectionsindicated
by the
Oiagram
ifrside
thebattery
compartment'.then
close
thebattery
compartment
cover
intoits
original
position-
.
* If tlie batteries are incorreitly inserted into the battery
" ;;;p;ft.";t, not only will thecamera
fail to function correctly'
such
incorrect
placement
muy damage
thecaqera'
V i;;, main
swiich
lever@ to turn
po*eron (Fig 5) and
check
displaypanel
@. If theblack batterymark is on thenthebattenes
are
fullv charged'
V tJse
t*o.rV lithium
batteries
tCR2).
(l)Adequate powersupply(Batterypower symbol is black)'
52
2.
Attaching
andremoving
lenses
Th" "t.h"tg""bte lenses
that canbeused
with this camera
ui. ttt" M-liexanon Lenses
of the KM mount type that cre
made bv Konica. Konica will not guarantee
correct
iun.tioning and performance
if lenses
otherthan these
are
ur"O. foni"u wiil accept
no responsibility wiatsoever for
;;;g; and malfunctions thatbccur from the useof any
otherlenses.
Cautions
in removing
and
attaching
lenses
* First turn off the camera's
nllin switch betorc removtngor
attaching
lenses.
* When rJmoving or attachingalens, make surethat you hold the
-"in bodyof linses,otherwise
remove
andattachment
maynot
becorrect.
* S" .*"i"i to ensure
that no dustor dirt getsinto the body of the
G". "tO iftat you do not touch the suiface of the lens or the
"tttuitt inside.
Do nottouchthe
lens
or getfinger
printson it in
;;t1;;. ih" tafestway is to keep
thelenscapon whenremoving
or attaching
lenses.
* Avoid any.-.ou.."s of strong ligh^t,
such.as
sunlight when
i"-ouing or attaching
lenses
with film in the camera'Do not
leave
thJcamerain stiong sunlightwith thelens
removed'
www.orphancameras.com
Table of contents
Other Konica Minolta Film Camera manuals

Konica Minolta
Konica Minolta AUTOREFLEX A User manual

Konica Minolta
Konica Minolta Auto 52 User manual

Konica Minolta
Konica Minolta BIG MINI BM-201 User manual

Konica Minolta
Konica Minolta Instant Press User manual

Konica Minolta
Konica Minolta POP Junior User manual

Konica Minolta
Konica Minolta auto s2 User manual