Konig HAV-SDC10 User manual

HAV-SDC10
Portable
Micro System

1
Packaging contents
1x HAV-SDC10 Digital Music Box
1x USB cable
1x USB Driver CD for Windows
®
98SE
1x Manual
(Power adapter optional, article number P.SUP.USB400)
Location of controls
FRONT PANEL
LCD DISPLAY
VOLUME_UP
BACK/
FASTBACKWARD
SETTING KEY
VOLUME_DOWN
PLAY/PAUSE
NEXT/FASTFORWARD
ALARM KEY
2
LCD display
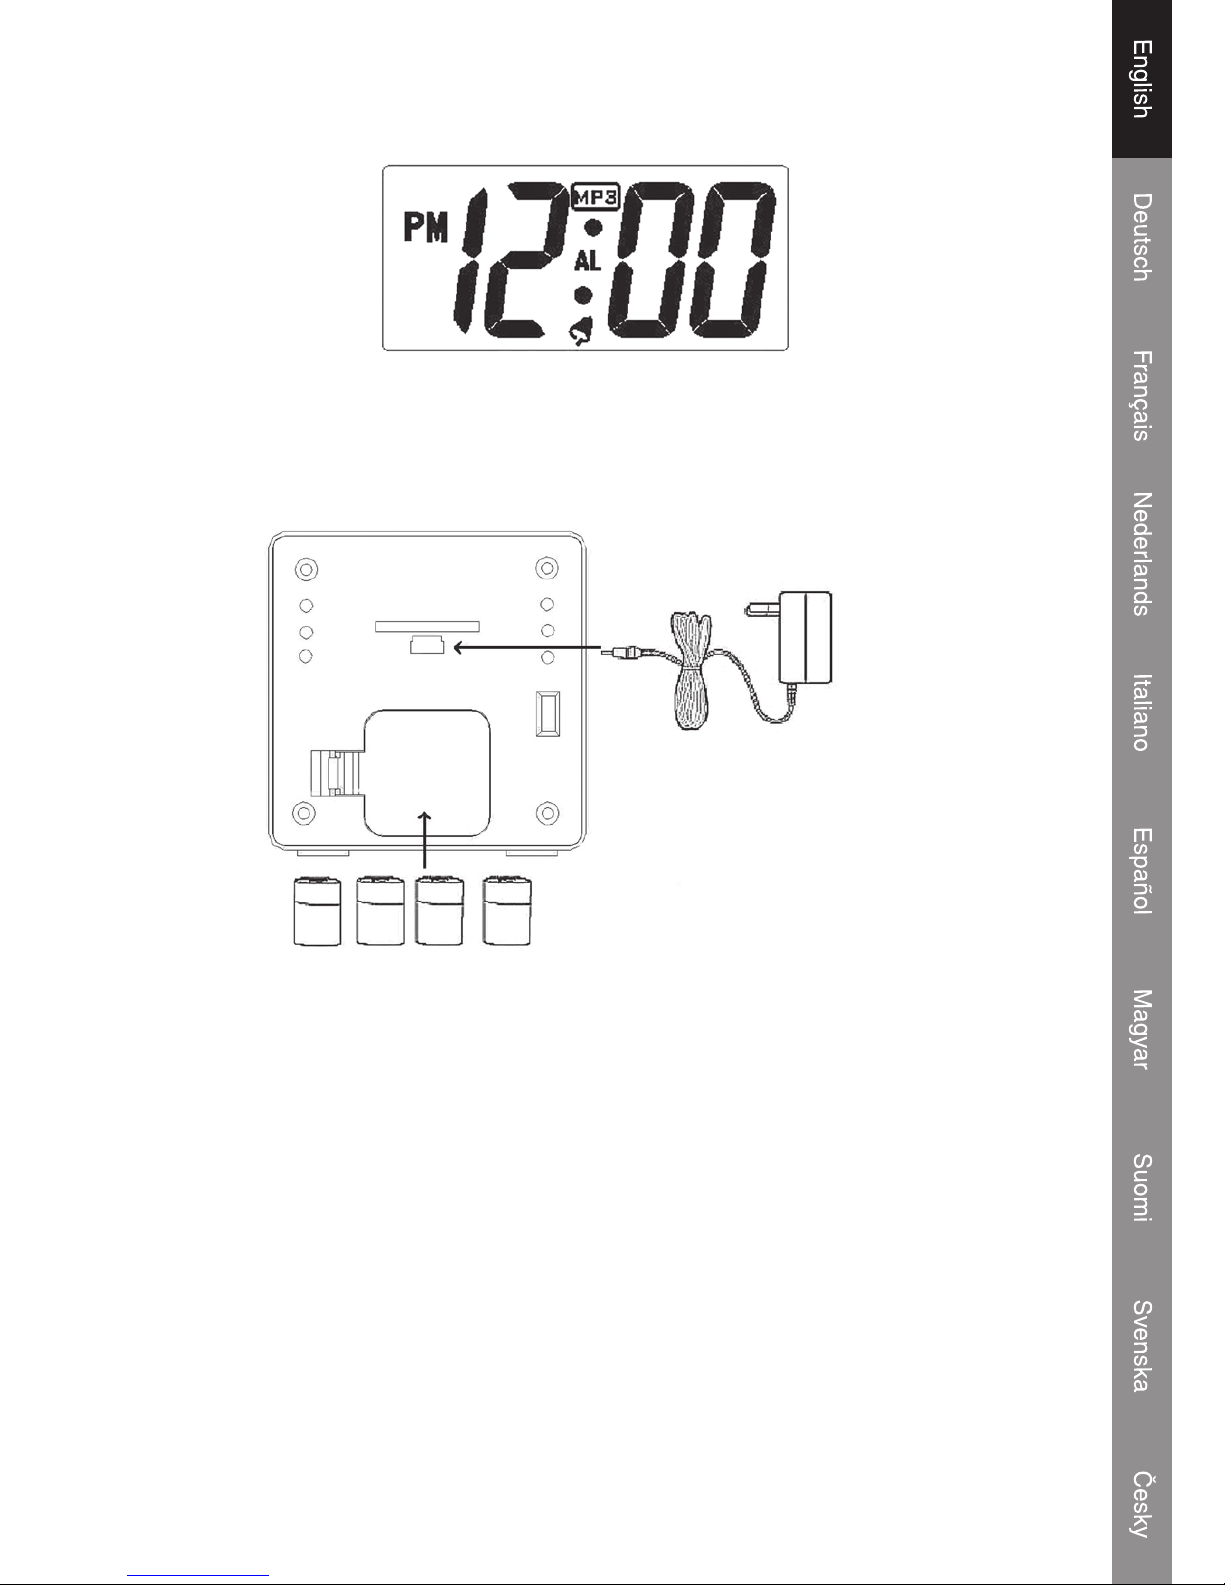
Battery operation
Open the battery compartment and insert 4x AA batteries (Alkaline batteries are recommended) as
shown in the diagram inside the battery compartment.
4 x AA Baterry
Power
Adapter
Power adapter operation
The connection for the power adapter is the same as the USB connection. Connect the mini plug to
the USB (5V) connection and the power plug to a 220~230V wall outlet.
Note: When the power adapter is connected the LCD backlight will turn on and remain lit until the
power adapter is unplugged.
Low battery indication
When the battery is almost nish and the red LED will blink to show a nal warning.
3
Power from USB port
The system can get power from the PC USB port for play mode if the “mass storage” icon is removed
from PC.
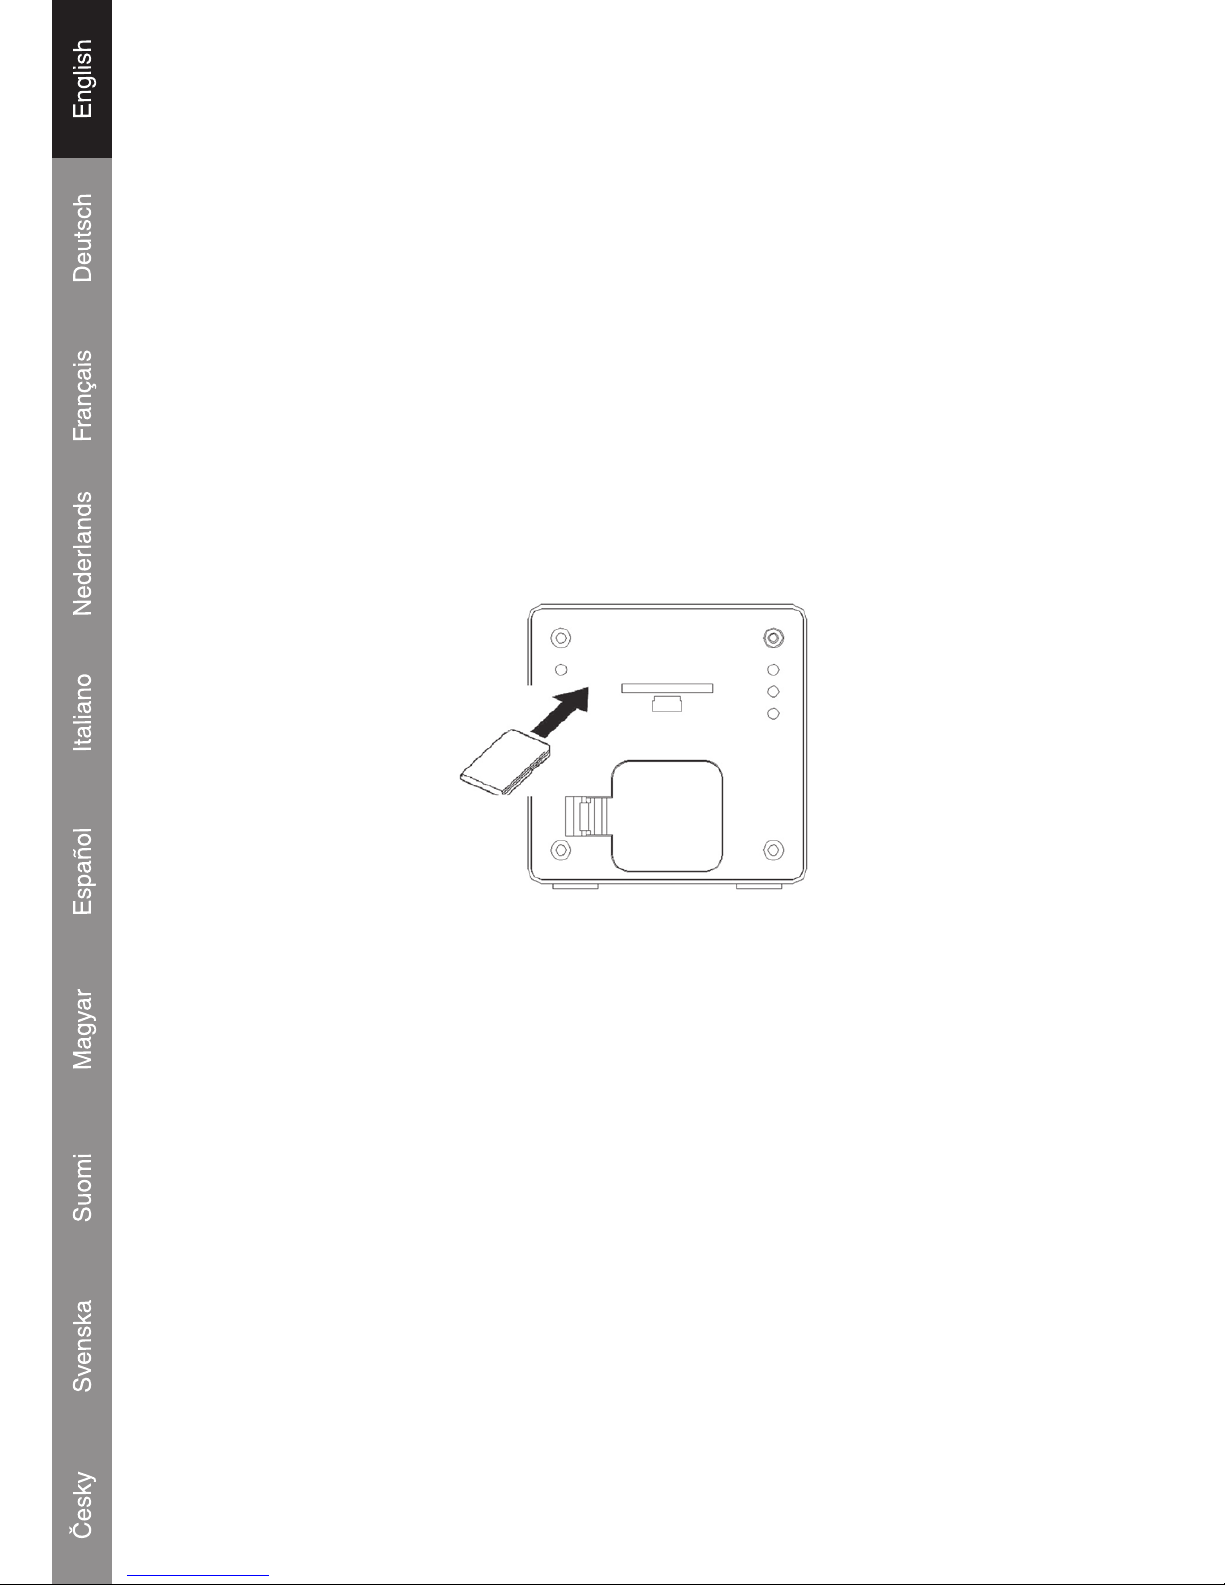
SD/MMC card installation
The integrated SD/MMC card slot lets you upgrade the player’s memory capacity easily with additional
SD/MMC cards.
To install an SD/MMC card:
1. Insert the card of the rear of the system in the direction of the arrow.
2. Press the card in until a click is heard.
3. To remove the SD/MMC card, press the card in and it will jump out.
Important notice: Press the card in the slot exactly conforms below gure. Trying in another way
will damage the slot.
Connect to a computer
USB Driver Installation
It is not necessary to install the USB driver if your computer is running Microsoft Windows ME/2000/
XP or newer. Computers running these operating systems will recognize the system automatically
when the USB cable is connected.
Microsoft Windows 98 SE
For Windows 98 SE it’s necessary to install the USB driver.
1. Navigate to MY COMPUTER and double-click on the CD drive icon.
2. Double-click on the le “iSetup98” to start the USB driver installation program.
3. Follow the on-screen instructions to complete the installation and then restart the computer.

Connecting the USB cable to a computer
Connect the USB cable to the system and a computer.
Turn the system and press the “Play”
s
/II button to wake-up the system.
The red LED will turn on and wink.
The computer will recognize the system as a Removable Disk.
If a SD/MMC card is installed in the system. The computer will recognize the card as a Removable
Disk.
Transferring les
The USB connection makes it easy to transfer music les (MP3/WMA) between the system
and a computer. Do not disconnect or interrupt the system.
Transferring les with Microsoft Windows
1. Locate the les or folders you would like to transfer from the computer.
2. Select the les or folders with the mouse and press CTRL-C (copy) on the keyboard.
3. Navigate to MY COMPUTER and double-click on the Removable Disk icon. The computer will
display all les and folders currently stored in the player.
4. Press CTRL-V (paste) on the keyboard to transfer the les you selected to the system.
Note: It’s also possible to use the mouse to drag-and-drop les between the system and the
computer.
4
Table of contents
Languages:
Other Konig MP3 Player manuals


