manuals.online logo
Brands
  1. Home
  2. •
  3. Brands
  4. •
  5. KoolScapes
  6. •
  7. Water Pump
  8. •
  9. KoolScapes KSPK84 User manual

KoolScapes KSPK84 User manual

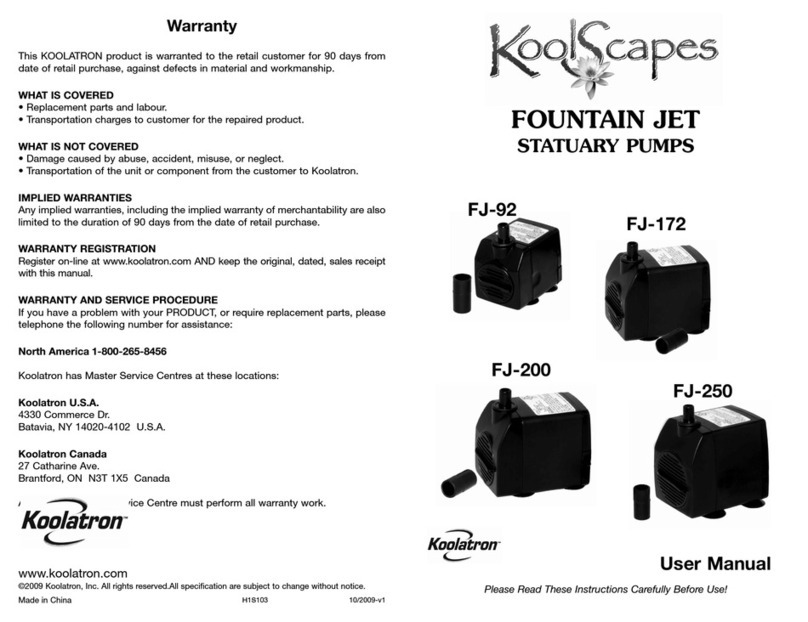
Warranty
This KOOLATRON product is warrant d to th r tail custom r for 90 days from
dat of r tail purchas , against d f cts in mat rial and workmanship.
WHAT IS COVERED
• R plac m nt parts and labour.
• Transportation charg s to custom r for th r pair d product.
WHAT IS NOT COVERED
• Damag caus d by abus , accid nt, misus , or n gl ct.
• Transportation of th unit or compon nt from th custom r to Koolatron.
IMPLIED WARRANTIES
Any impli d warranti s, including th impli d warranty of m rchantability ar also
limit d to th duration of 90 days from th dat of r tail purchas .
WARRANTY REGISTRATION
R gist r on-lin at www.koolatron.com AND k p th original, dat d, sal s r c ipt
with this manual.
WARRANTY AND SERVICE PROCEDURE
If you hav a probl m with your PRODUCT, or r quir r plac m nt parts, pl as
t l phon th following numb r for assistanc :
North America 1 800 265 8456
Koolatron has Mast r S rvic C ntr s at th s locations:
Koolatron U.S.A.
4330 Comm rc Dr.
Batavia, NY 14020-4102 U.S.A.
Koolatron Canada
27 Catharin Av .
Brantford, ON N3T 1X5 Canada
A Koolatron Mast r S rvic C ntr must p rform all warranty work.
www.koolatron.com
©2009 Koolatron, Inc. All rights r s rv d.All sp cification ar subj ct to chang without notic .
Mad in China 02/2009-v1H1S087
Please Read These Instructions Carefully Before Use!
Owner’s Manual
84-GALLON POND KIT
KSPK84
ASSEMBLING YOUR PUMP
1
2
4
7
5
6
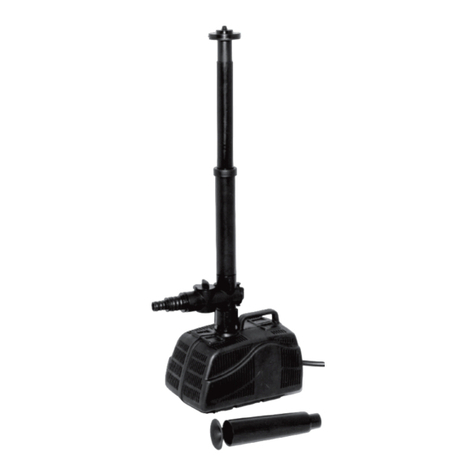
3Plac d sir d fountain h ad (1) on ris r (2)
pushing down until snug.
Adjust th siz of th wat rb ll by turning
th round pi c (3) on top.
Put ris r (2) into div rt r (4), pushing down
until th hol is no long r visibl .
Som light forc may b r quir d.
Adjust th flow of wat r to your fountain
h ad by turning th div rt r knob (5).
Attach all to th pump (6) by pushing
down th div rt r into th hol locat d on
top of th pump (6).
FOR A HIGHER FOUNTAIN HEAD
• Ext nd th tub xt ntion (7) found
insid th ris r (2).
FOR A WATERFALL
• Plac clamp ov r tubing.
• Fit tubing ov r div rt r.
• Tight n clamp ov r tubing with a Flat
H ad Scr wdriv r.
Note
Do NOT plug in your pump until it is fully imm rs d in wat r. N v r run your pump dry!
FEATURES
Th popularity of backyard ponds continu s to grow at a vigorous pac . This Kit includ s
v rything you n d to construct a b autiful, low maint nanc wat r gard n.
- 6ft x 6ft non-toxic Pond Lin r
- 200gph Filt r Fr Pump
with prot ctiv sh ll
- Wat r-b ll Fountain H ad
- 3-ti r Fountain H ad
- T l scopic Ris r
- 2 silk Wat r Lili s
- Installation Manual
LINER INSTALLATION
YOU WILL NEED
Flat H ad Scr wdriv rRop Edging Mat rial Long Nails Gard n Shov l
(i. .rock)
TO START
Onc you gath r d v rything you n d, it is tim to
start. It is important to tak th tim to d sign your
pond b for b ginning. K p in mind th d pth and
width of your pond compar d to th siz of lin r you
hav to work with. Onc you hav a styl and siz in
mind mark th shap using h avy rop . B mindful of
buri d wir s and pip s. Ensur l ctric cabl will
r ach pump.
LINER KIT INSTALLATION (cont.) LINER KIT INSTALLATION (cont.)
ADDING WATER
Your pond is now r ady to fill with wat r. As th pond
is filling you may want to smooth major wrinkl s in
th lin r by pulling and shifting th lin r. Onc th
pond is about half full r mov som of th anchor
ston s to allow th lin r to sink to th bottom of th
hol .
CARE AND MAINTENANCE
With th prop r car and maint nanc this pond will last a v ry long tim and look mor
b autiful with ach y ar. Simpl st ps can b tak n to nsur a long lif from your pond.
Cl an your pump r gularly to pr v nt build up. If your pump stops working, unplug it and
tak it out of th pond. Follow th car instructions giv n in your pump kit box. If th r is
a lot of calcium build up on your pump it may stop working. To cl an this simply plac th
pump motor (r mov filt r with cas and Fountain H ad) in vin gar wat r th n plug it in.
L t th pump run for about 30 s conds. Onc cl an d rins your pump with wat r and
plac back in pond.
WINTER CARE
G tting r ady for wint r may s m lik an arduous task, but if th right st ps ar tak n it
can b v ry b n ficial to your pond and any lif within it. During th fall months th pond
should b k pt fr from fall n l av s and oth r d bris that may rot and caus harmful tox-
ins in your pond. Onc th t mp ratur r ach s 43°F (6°C) outsid , it is tim to wint riz
your pond. Th first st p is to r mov any subm rsibl pumps and cl an th m for wint r
storag . If you hav fish th n xt st p is to add a Pond Br ath r or Floating Pond H at r
to circulat oxyg n and r l as toxic gas s. Aft r th pond has b n wint riz d and th
ic has form d, th r isn’t much work to b don during th wint r months. Th fish will
naturally go to d p r d pths of th pond wh r th wat r is warm r and r quir no f d-
ing during th s cold months. N v r allow wat r to fr z in th pump.
FINISHING
Onc your pond is full you should us som long
nails to s cur th lin r in plac . Cut off any xc ss
lin r. Using d corativ rocks around th dg will
h lp hold th lin r in plac and giv your pond a
mor natural look. Plac th pump in your pond, th n
plug it in. If adding plants to your pond you should
wait 48 hours aft r compl tion, and if adding fish you
should wait 72 hours aft r compl tion.
DECORATE AND ENJOY.
DIGGING
Start by r moving th sod in th ar a you hav
mark d with th rop . It is b st to start digging from
th middl out. This will allow you to asily r mov
dirt with a wh lbarrow. Wh n digging, k p in mind
that most ponds hav plant sh lv s. Th s sh lv s
ar traditionally 9"-12" b low wat r l v l and should
b at a 20° angl for support.
PREPARATION
To pr par th hol for th lin r you must r mov any
sharp ston s or roots. Sharp obj cts could punctur
or ruin your lin r. You may put 5-8cm (2-3in) of sand
at th bottom of th pond, but it is not n c ssary.
Onc th ar a is cl ar, plac th provid d und rlay
insid th hol . Th und rlay may not cov r th
ntir hol , but as long as th bottom is cov r d it is
okay. Now you can put th lin r ov r th hol , fri nds
or family may b r quir d for h lp. Hold th lin r in
plac using som of th rocks for th dging.

Other KoolScapes Water Pump manuals

KoolScapes POND JET 200 User manual

KoolScapes

KoolScapes POND JET 200 User manual

KoolScapes FJ-92 User manual

KoolScapes

KoolScapes FJ-92 User manual

KoolScapes POND JET 340 User manual

KoolScapes

KoolScapes POND JET 340 User manual

Popular Water Pump manuals by other brands

Ingersoll-Rand ARO 66605 Series Operator's manual

Ingersoll-Rand

Ingersoll-Rand ARO 66605 Series Operator's manual

North Star 1572214 owner's manual

North Star

North Star 1572214 owner's manual

Truper PRES-1 manual

Truper

Truper PRES-1 manual

WDM ME Series Operation manual

WDM

WDM ME Series Operation manual

BUSCH MV 1202 B instruction manual

BUSCH

BUSCH MV 1202 B instruction manual

Seastar Solutions HH4311 installation instructions

Seastar Solutions

Seastar Solutions HH4311 installation instructions

GORMAN-RUPP SUPER T SERIES Installation, operation, and maintenance manual with parts list

GORMAN-RUPP

GORMAN-RUPP SUPER T SERIES Installation, operation, and maintenance manual with parts list

Ferro CP15-1.5 Installation and operation manual

Ferro

Ferro CP15-1.5 Installation and operation manual

Gormann-Rupp Pumps 14D2-LPA2 S/G manual

Gormann-Rupp Pumps

Gormann-Rupp Pumps 14D2-LPA2 S/G manual

Grundfos UP 15 series instructions

Grundfos

Grundfos UP 15 series instructions

Ecotech Marine VorTech MP40w instruction manual

Ecotech Marine

Ecotech Marine VorTech MP40w instruction manual

IWAKI WALCHEM MX-70 manual

IWAKI WALCHEM

IWAKI WALCHEM MX-70 manual

Pond Boss PW1250 manual

Pond Boss

Pond Boss PW1250 manual

Graco 237-004 Instructions-parts list

Graco

Graco 237-004 Instructions-parts list

Everbilt THD1095 Use and care guide

Everbilt

Everbilt THD1095 Use and care guide

Edwards A373-30-940 instruction manual

Edwards

Edwards A373-30-940 instruction manual

Gormann-Rupp Pumps 10 Series Installation, operation, and maintenance manual with parts list

Gormann-Rupp Pumps

Gormann-Rupp Pumps 10 Series Installation, operation, and maintenance manual with parts list

Reefe VSRM Series user manual

Reefe

Reefe VSRM Series user manual

manuals.online logo
manuals.online logoBrands
  • About & Mission
  • Contact us
  • Privacy Policy
  • Terms and Conditions

Copyright 2025 Manuals.Online. All Rights Reserved.