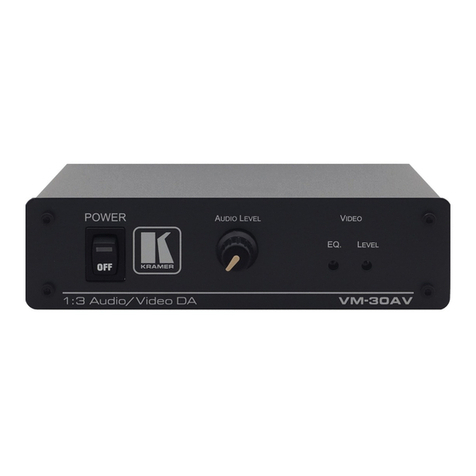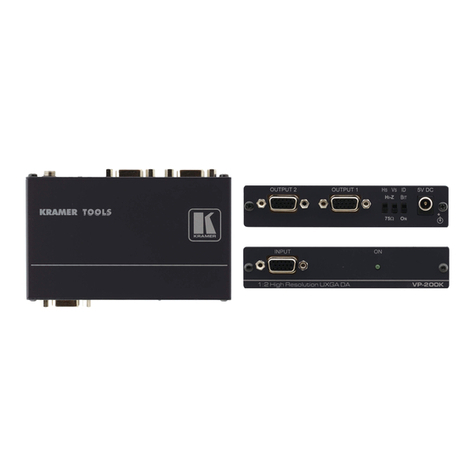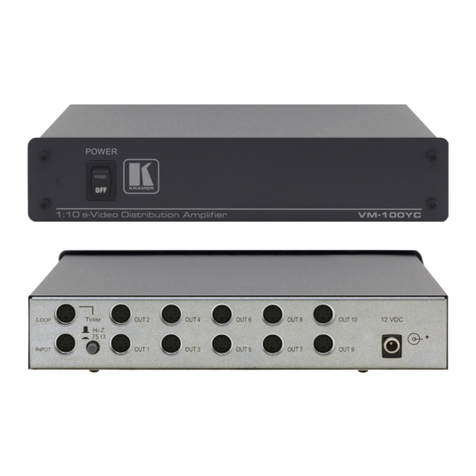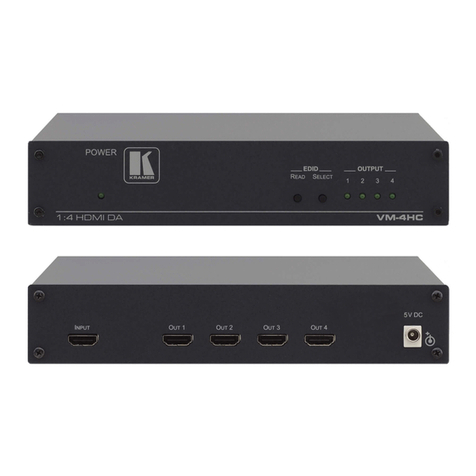
Step 3: Install the VM-10H2
To rack mount the machine attach both ear brackets to the machine (by removing the three screws
from each side of the machine and replacing those screws through the ear brackets) or attach the
rubber feet and place the machine on a table.
Step 4: Connect the inputs and outputs
Always switch OFF the power on each device before connecting it to your VM-10H2. For best results, we recommend that you
always use Kramer high-performance cables to connect AV equipment to the VM-10H2.
Step 5: Connect the power
Connect the power cord to the VM-10H2 and plug it into the mains electricity.
Safety Instructions:
There are no operator serviceable parts inside the unit.
Use only the power cord that is supplied with the unit.
Do not open the unit. High voltages can cause electrical shock! Servicing by qualified personnel only.
Disconnect the power and unplug the unit from the wall before installing.
See www.KramerAV.com for updated safety information.
Step 6: Operate the VM-10H2
Initially the VM-10H2 operates with the factory default EDID stored in the non-volatile memory. The source reads the EDID from the
device when the device is plugged in or powered on.
If required, acquire the EDID:
•Connect the output from which you want to acquire the EDID.
•Select the required EDID by pressing the EDID SETUP button to cycle through the outputs. The selected output lights
green. When no output acceptor is connected, the default EDID is selected and all LEDs flash slowly.
•When you reach the desired output, press the EDID READ button to acquire the EDID.
DIP-switch Settings
Support HDCP On/Off (Mac Mode)
Use stored EDID and force source RGB support
Use and store EDID of connected output 1 monitor;
otherwise, use stored EDID
Force non-deep color on EDID
Use stored EDID and force source non-deep color
support
(mute all video outputs until all are
ready)
