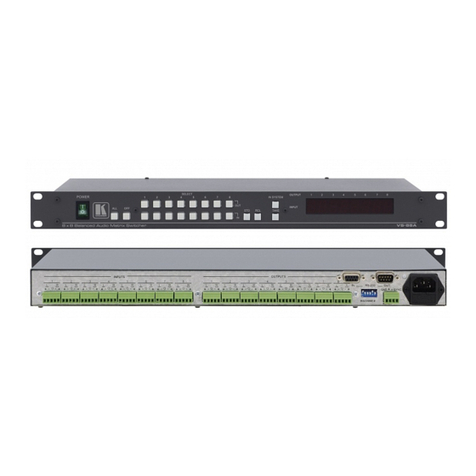
Connect the audio output:
To a balanced stereo audio
acceptor:
To a unbalanced stereo
audio acceptor:
Step 5: Connect the power
Connect the 48V DC power adapter to the VS-62DT and plug it into the mains electricity.
Step 6: Acquiring an EDID
To copy the EDID from an Output to one or more
Inputs:
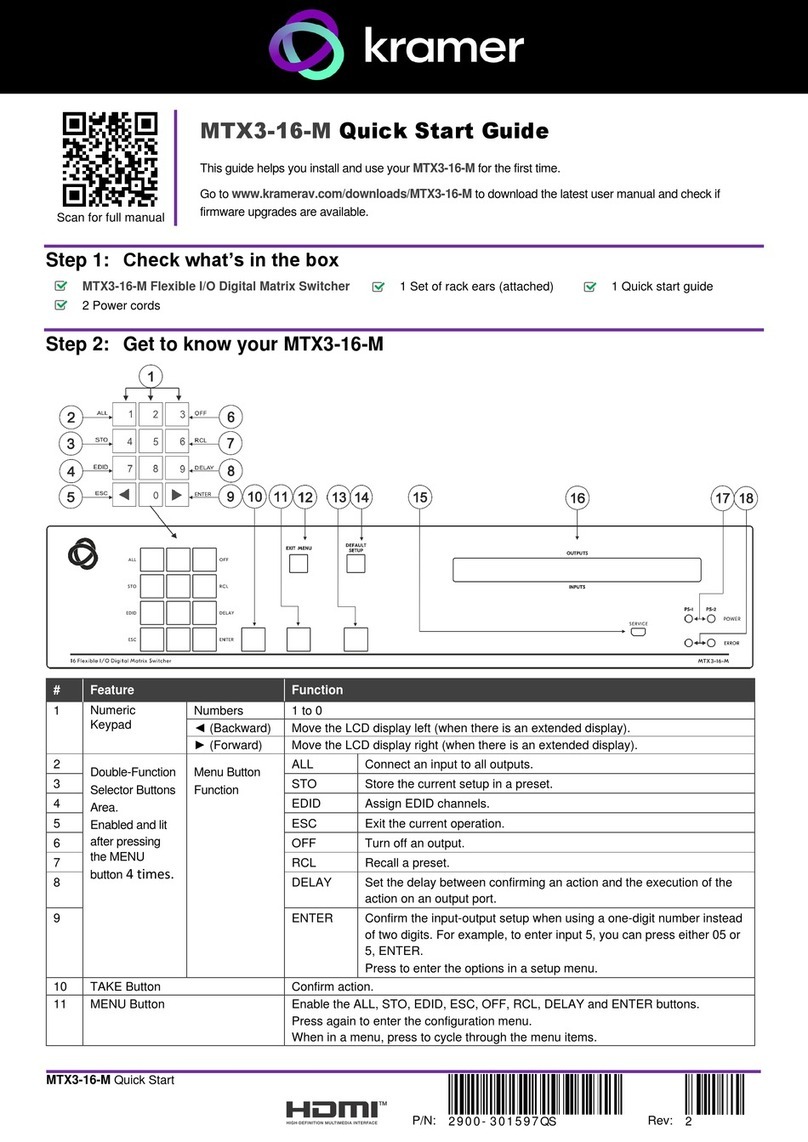
1. Press the EDID button to enter the EDID setting mode.
The EDID button lights.
2. From the To OUT 1 (top) row, press each of the Inputs
to which you want to copy the EDID from Output 1.
Each selected Input LED lights.
3. From the To OUT 2 (bottom) row, press each of the
Inputs into which you want to copy the EDID from
Output 2.
Each selected Input LED lights.
4. Press the EDID button.
The button no longer lights and the EDID changes are
saved.
To copy the default EDID to one or more Inputs:
1. Press the EDID button to enter the EDID setting mode.
The EDID button lights.
2. For each Input to which you want to copy the default
EDID, press both the To OUT 1 and To OUT 2 buttons
simultaneously.
Both top row and bottom row Input LEDs light.
3. Press the EDID button.
The button no longer lights and the EDID changes are
saved.
Step 7: Set the DIP-switches
Use the DIP-switches to set the device configuration
On (down)—Disable HDCP support on all inputs
Off (up)—Enable HDCP support which is defined by P3000 commands
Video mode switching
Output 1
On (down)—Auto
Off (up)—Manual
Last connected/Priority
mode Output 1
When DIP-switch 2 is set to Auto (ON):
On (down)—Enable Last Connected mode
Off (up)—Enable Priority mode where the priority of each input is defined
bythe input number, (1 is the highest priority)
Video mode switching
Output 2
On (down)—Auto
Off—Manual
Last connected/Priority
mode Output 2
When DIP-switch 4 is set to Auto (ON):
On (down)—Enable Last-connected mode
Off (up)—Enable Priority mode where the priority of each input is defined
bythe input number, (1 is the highest priority)
