We strongly suggest you have the active subwoofer professionally installed,
but if you are doing it solo, please read this manual before you install the
subwoofer in your vehicle.
Warning
Note
Continuos listening at high sound level (above 110dB) can durably damage
your hearing.
Listening above 130dB can damage your hearing permanently.
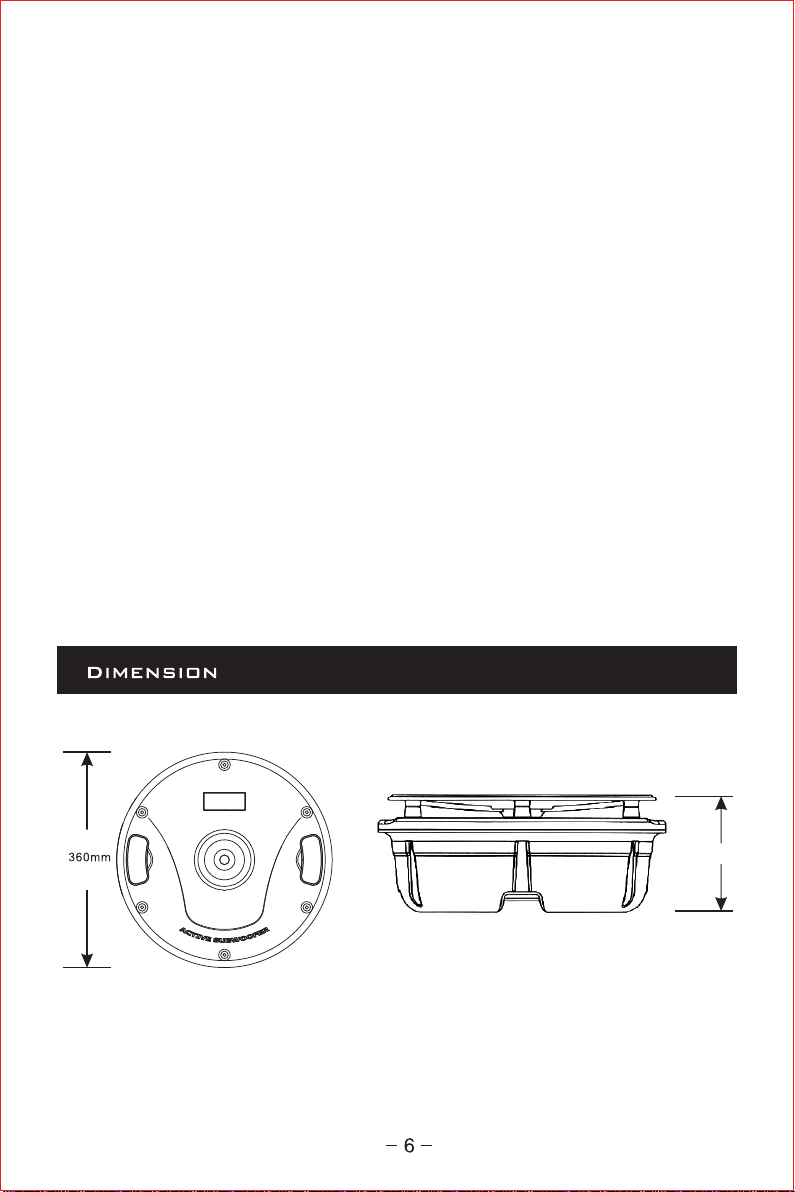
This subwoofer maybe installed only in the spare wheel well,and it is designed
to fit inside an above 15-inches rim spare tire.
1. Use the supplied cable and wire harness and connect the outputs properly as
shown in the High-Level & Low-Level inputs wiring diagram as following.
Use only one of the audio inputs, otherwise, it may lead to audio interference.
Wiring Diagram1 (High level input)
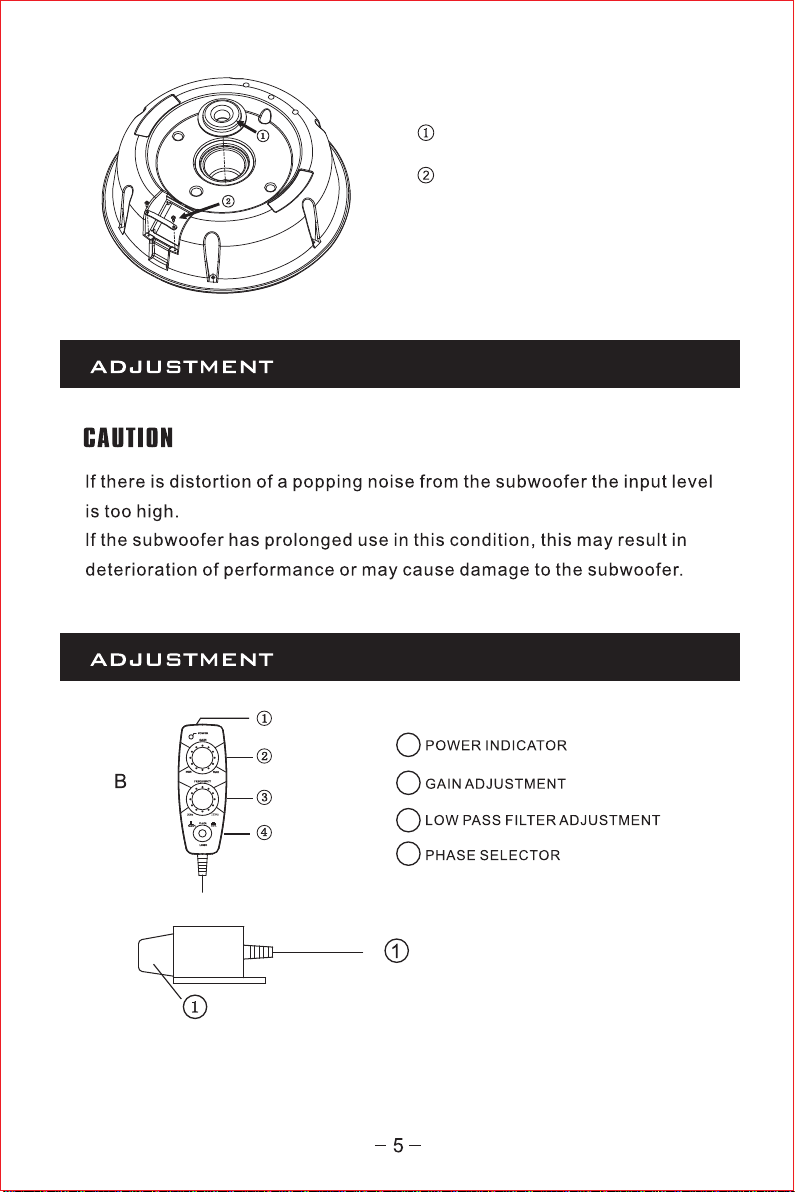
B] With control via the Low Level lnputs (also referred to as RCA lnputs), connect
the blue color remote wire from the subwoofer to the vehicle’s head unit so
subwoofer will turn on and off with systems.
A] With control via the High Level lnputs, first the speaker harness will need to be
spliced the wire side of the splitter.Then connect the white wire to the left (+),
white/black wire to the left (-) (it can be identified whether the left or right
channel via the attached harness label), grey to the right (+), and grey/black
to the right(-) corresponding vehicle wires, and finally plug the supplied harness
into the High-Level lnputs/power matching connector on the amplifier panel of
the subwoofer.
Wiring Diagram2 (Low level ‘RCA’ input)
2. Securely mount the subwoofer to chassis with the provided bolt.
The purpose of the alignment part allows you to make the gap width of the
hole (where the threaded rod for spare wheel support is going to access)
narrower if the subwoofer is unstable due to interference with the wheel or
lf the raised threaded rod for supporting in the trunk floor is too thin to secure
the active subwoofer. This part could make sure the spare tire subwoofer
mount stabler on the ride and keep your screw (which to fix the stock spare
wheel location) aligned in the right direction.
1. For perfect results, ensure the surface being bonded is clean of all dust and
dirt before operation.
2. Fix the alignment part on the recessed location by the self-adhesive tape (as is
shown at the below figure), press it firmly to ensure the maximum adhesion,
A.C
A.C