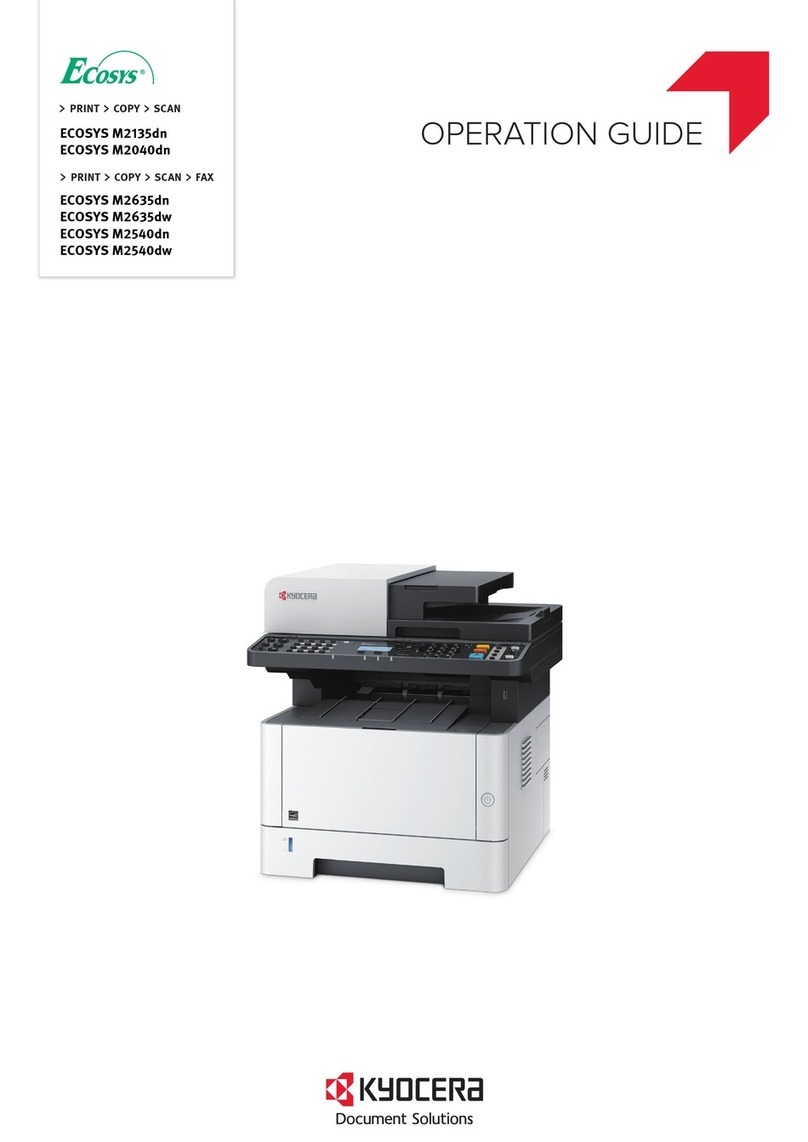
Kyocera FS-C1020MFP User manual
Other Kyocera All In One Printer manuals
Kyocera
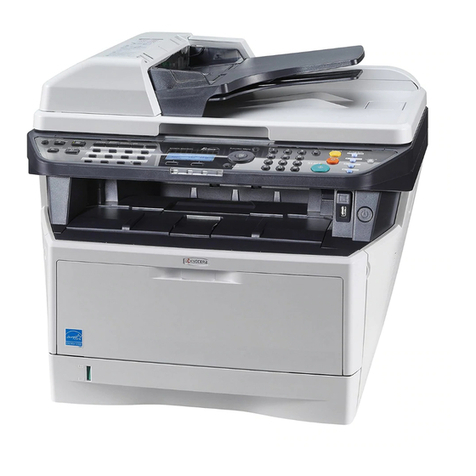
Kyocera ECOSYS M2030dn/PN User manual

Kyocera
Kyocera KM-C3130 User manual
Kyocera
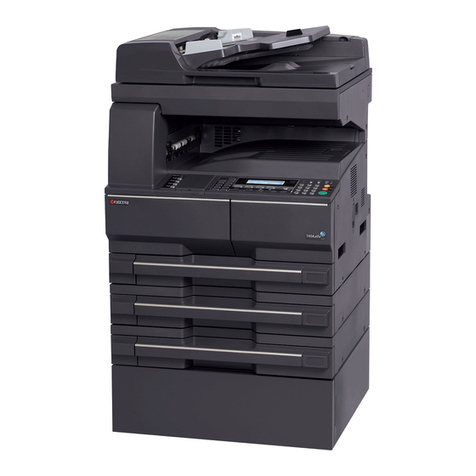
Kyocera TASKalfa 181 User manual
Kyocera
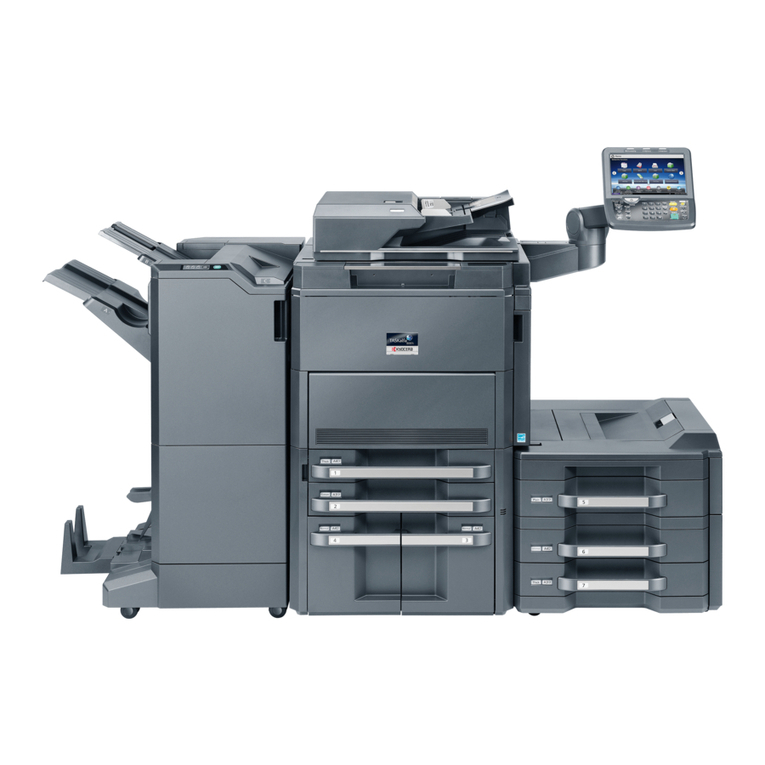
Kyocera TASKalfa 6501i User manual
Kyocera
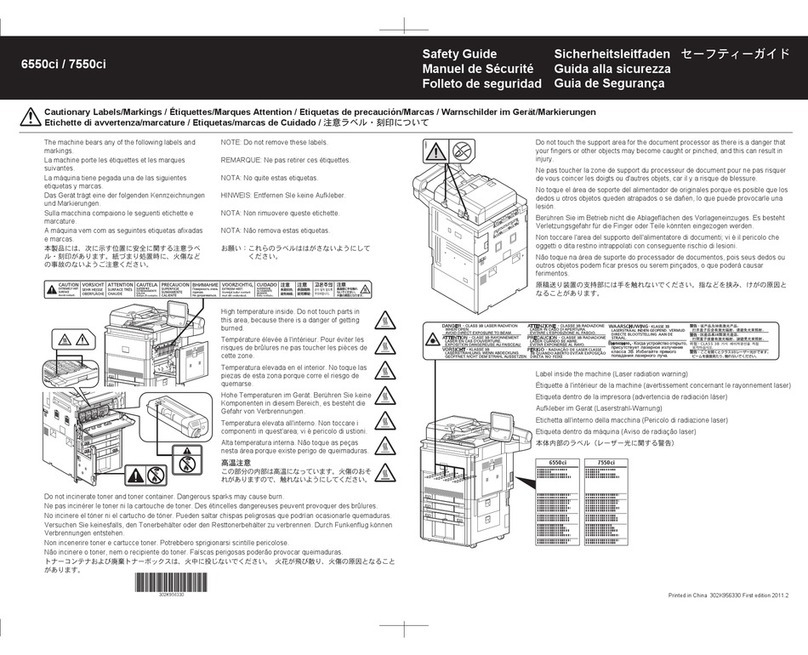
Kyocera TASKalfa 6550ci Installation and operating manual

Kyocera
Kyocera TASKalfa 250ci User manual
Kyocera
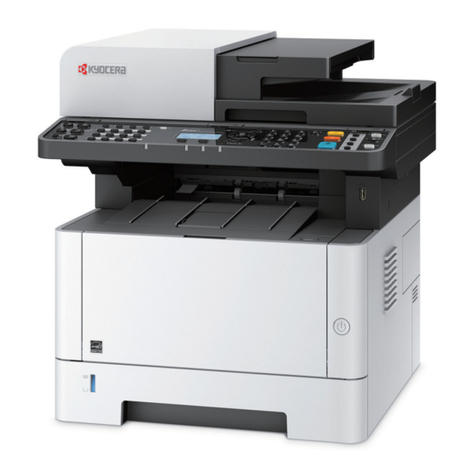
Kyocera Ecosys M2235dn User manual
Kyocera
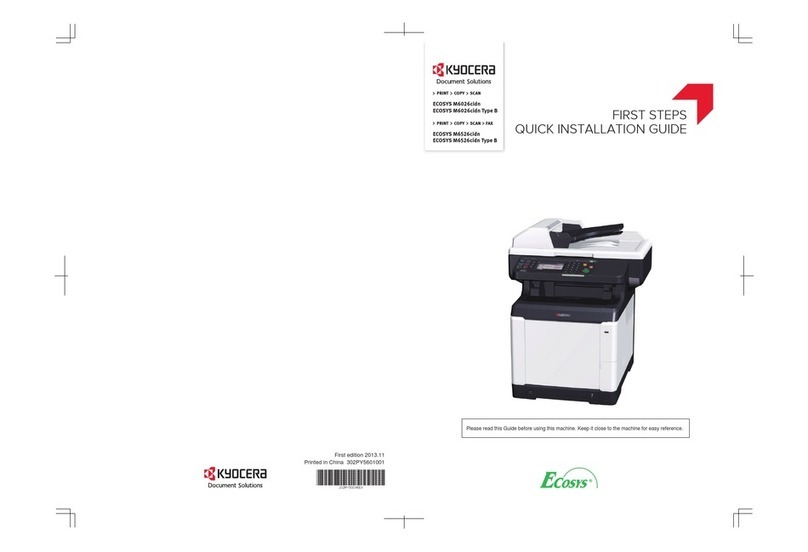
Kyocera ECOSYS M6026cidn User manual
Kyocera
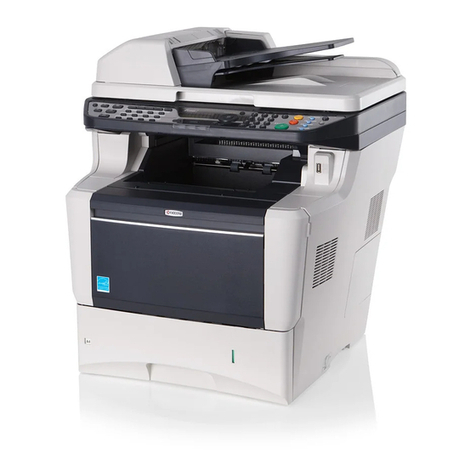
Kyocera FS-3040MFP User manual

Kyocera
Kyocera TASKalfa 3050ci User manual

Kyocera
Kyocera TASKalfa 6501i User manual
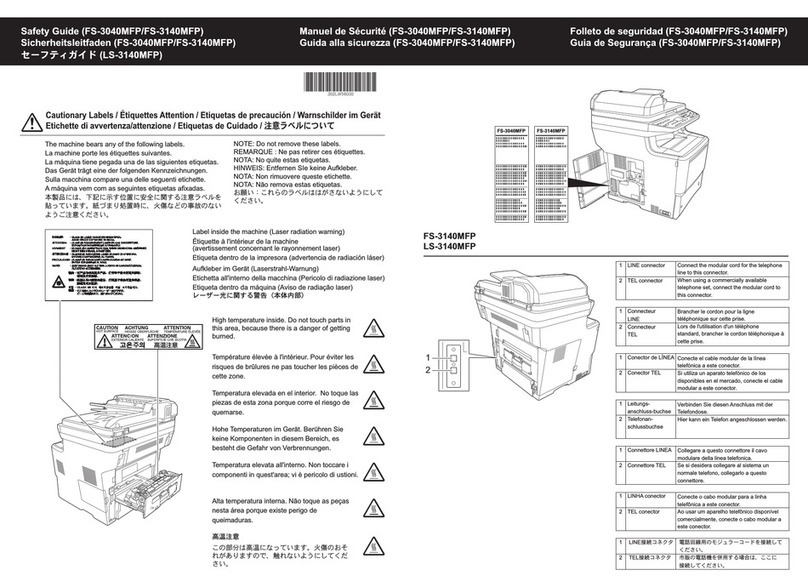
Kyocera
Kyocera FS-3040MFP Installation and operating manual

Kyocera
Kyocera TASKalfa 620 User manual

Kyocera
Kyocera Taskalfa Pro 15000c User manual
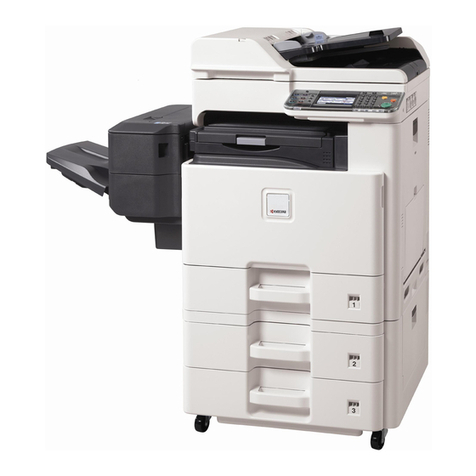
Kyocera
Kyocera TASKalfa 205c User manual
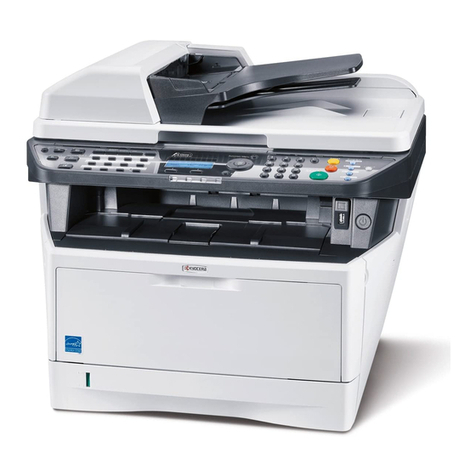
Kyocera
Kyocera ECOSYS FS-1135MFP User manual
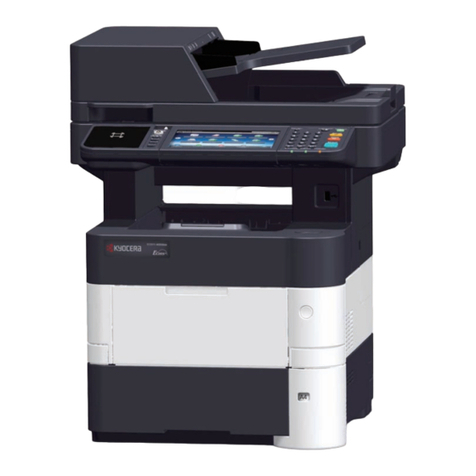
Kyocera
Kyocera ECOSYS M3040idn User manual
Kyocera
Kyocera KM-3035 User manual

Kyocera
Kyocera TASKalfa 3051ci User manual

Kyocera
Kyocera Copystar CS 300ci Service manual

