L.B.Spinner Spinner User manual

1
Dear customer,
We would like to thank you for purchasing the
“Spinner”.
A great deal of thought and planning was invested
in the process of creating our Spinner and we’re
positive that following the instructions in the user
manual will benet you most.
We recommend reading the instruction manual
before operating the “Spinner”.
2
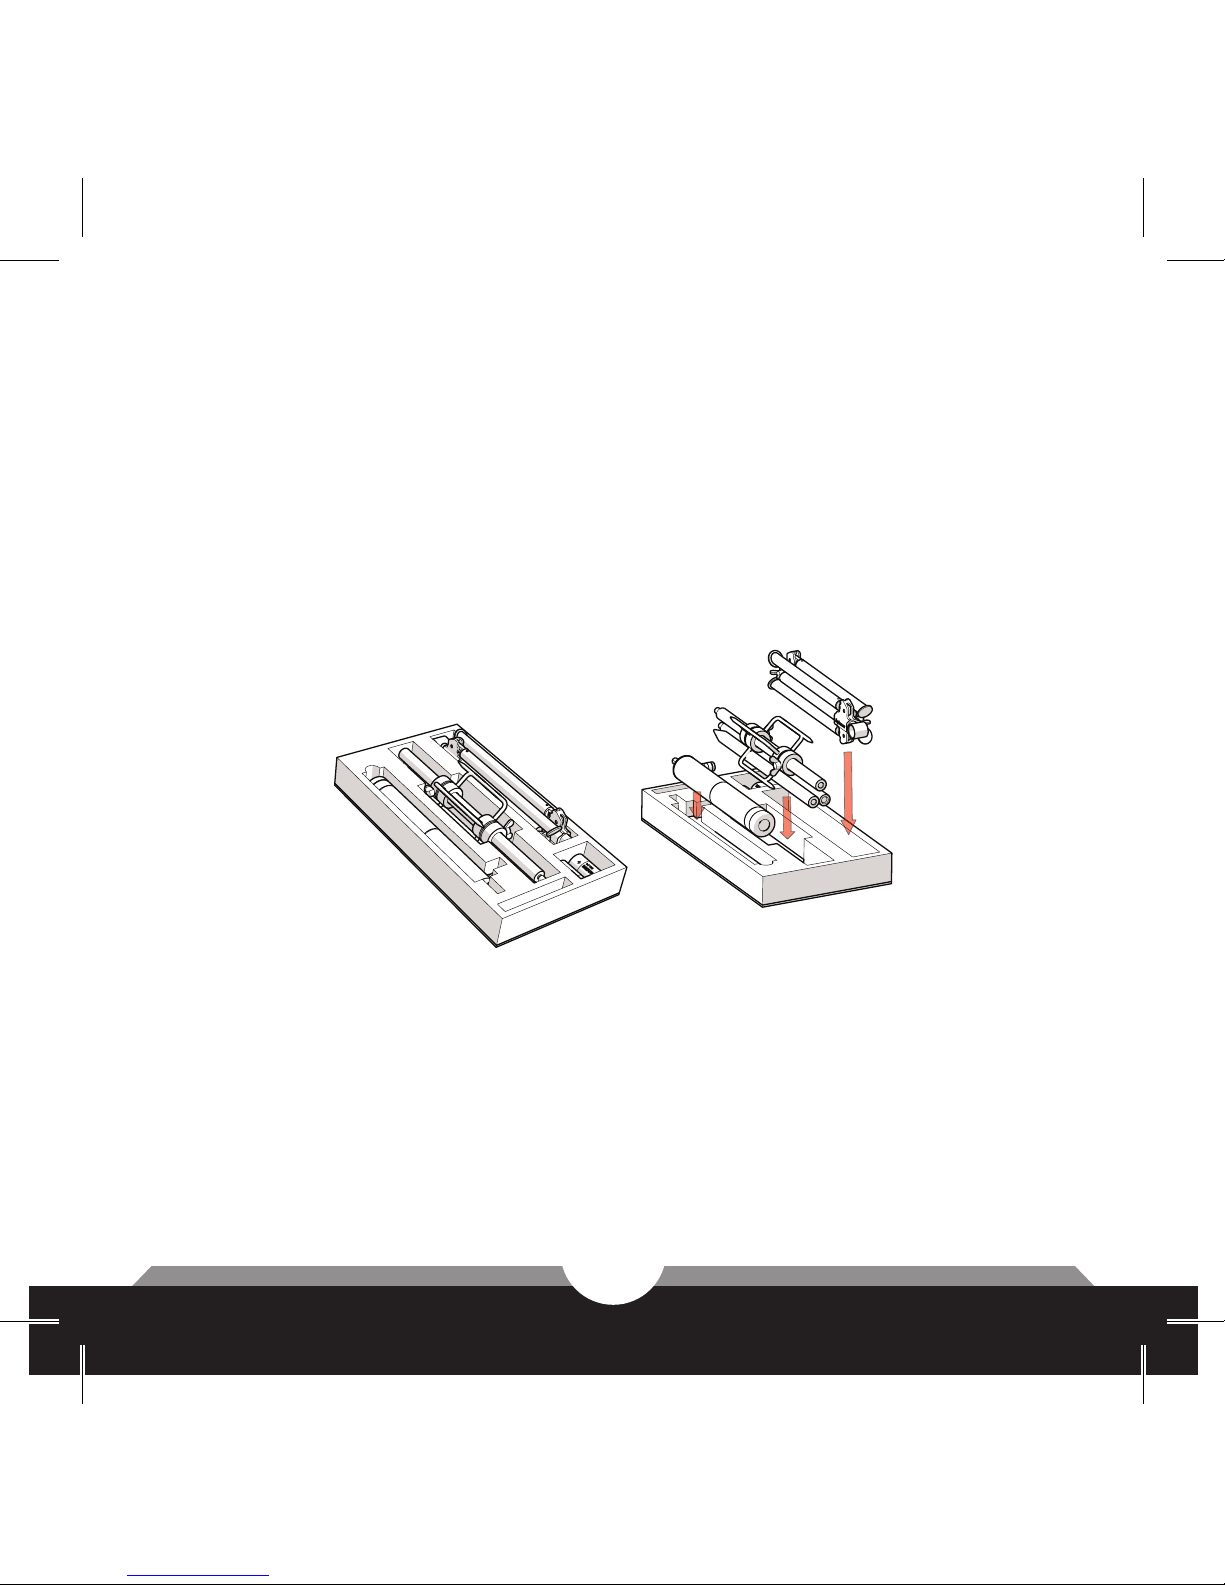
Prior to initial use, rinse out thoroughly the parts
of the product that come into contact with meat
(all parts except the motor).
After usage, we recommend using the original case
arrangement in order to enable easy and proper
locking and arrangement of the case.
The tripods must be attached to each other in
an opposite direction, with one screw located in
between the “legs” of the other tripod. In the middle
compartment, place the two spit forks threaded
on one of the skewers in order to achieve minimum
height.

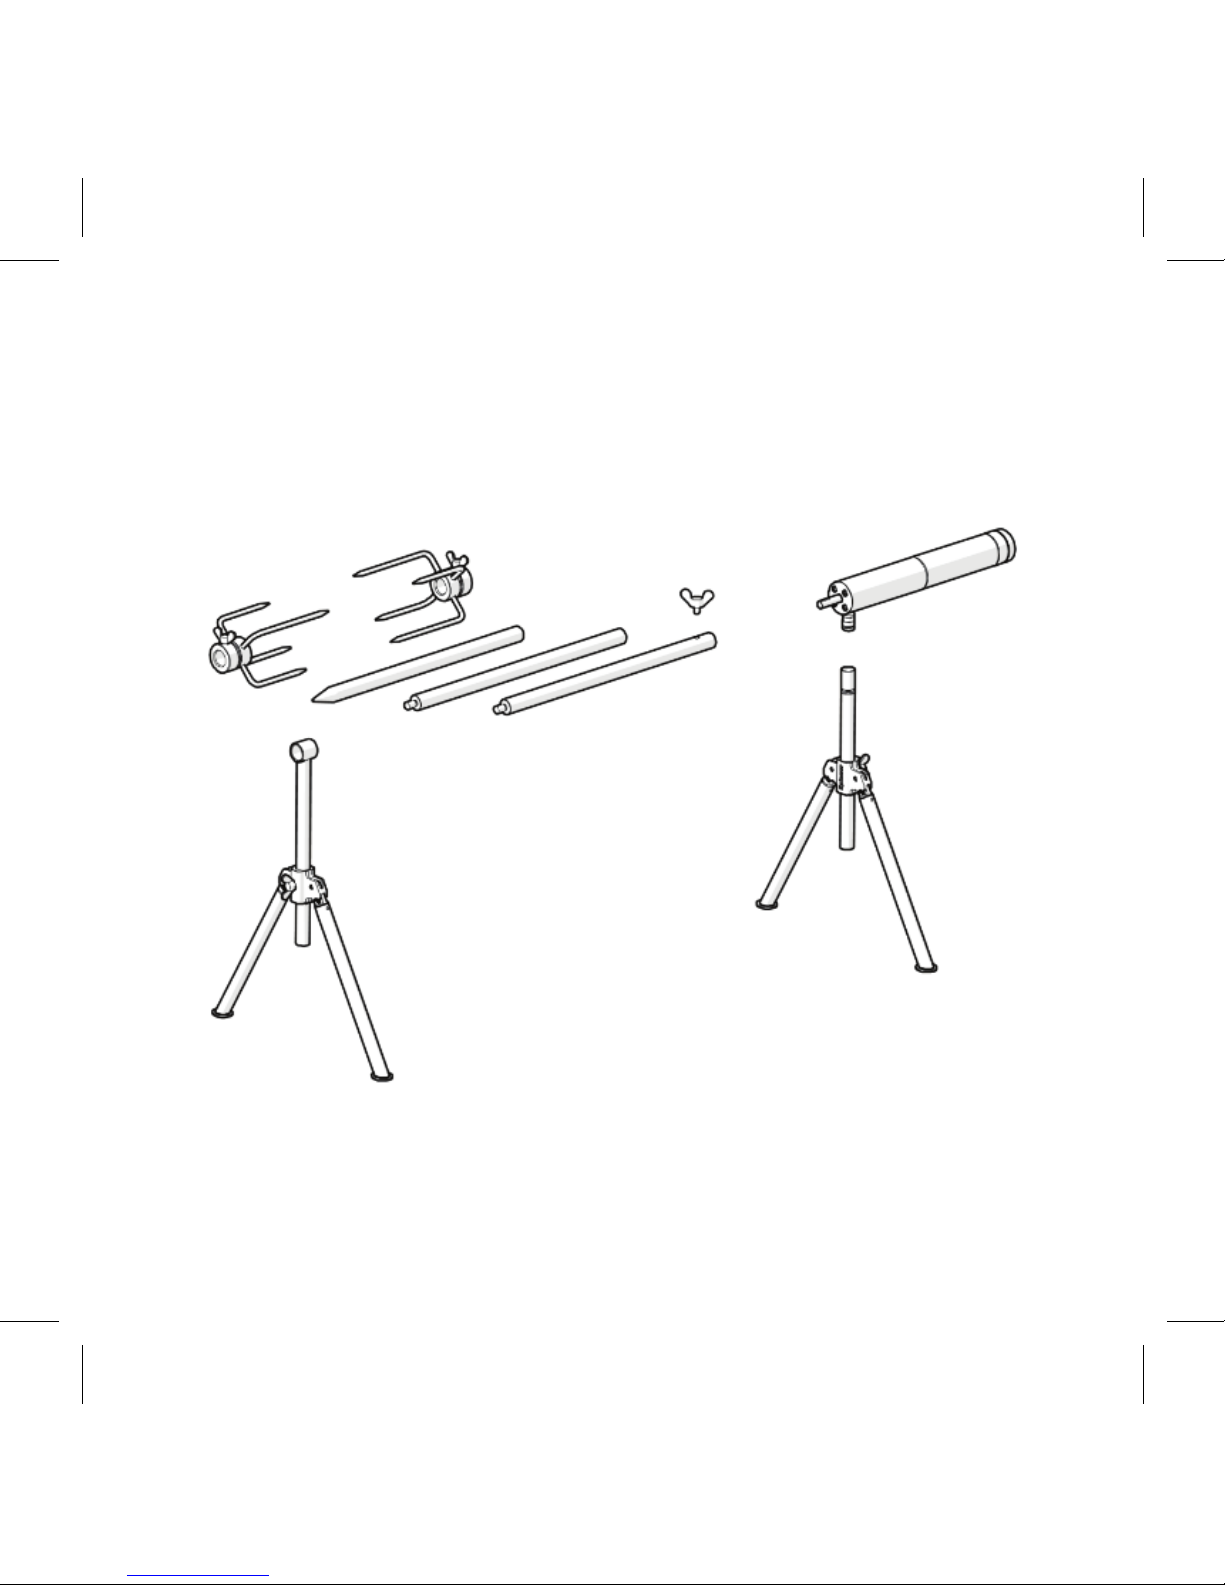
3
Assembly Instructions
1. Connect the motor to the rst rod (1) and
tighten the screw. The screw should be laid on
the motor’s axis’s at side.
2. After doing so, connect the rest of the rods
(2+3) in the order shown below.
1
1
2
3
4
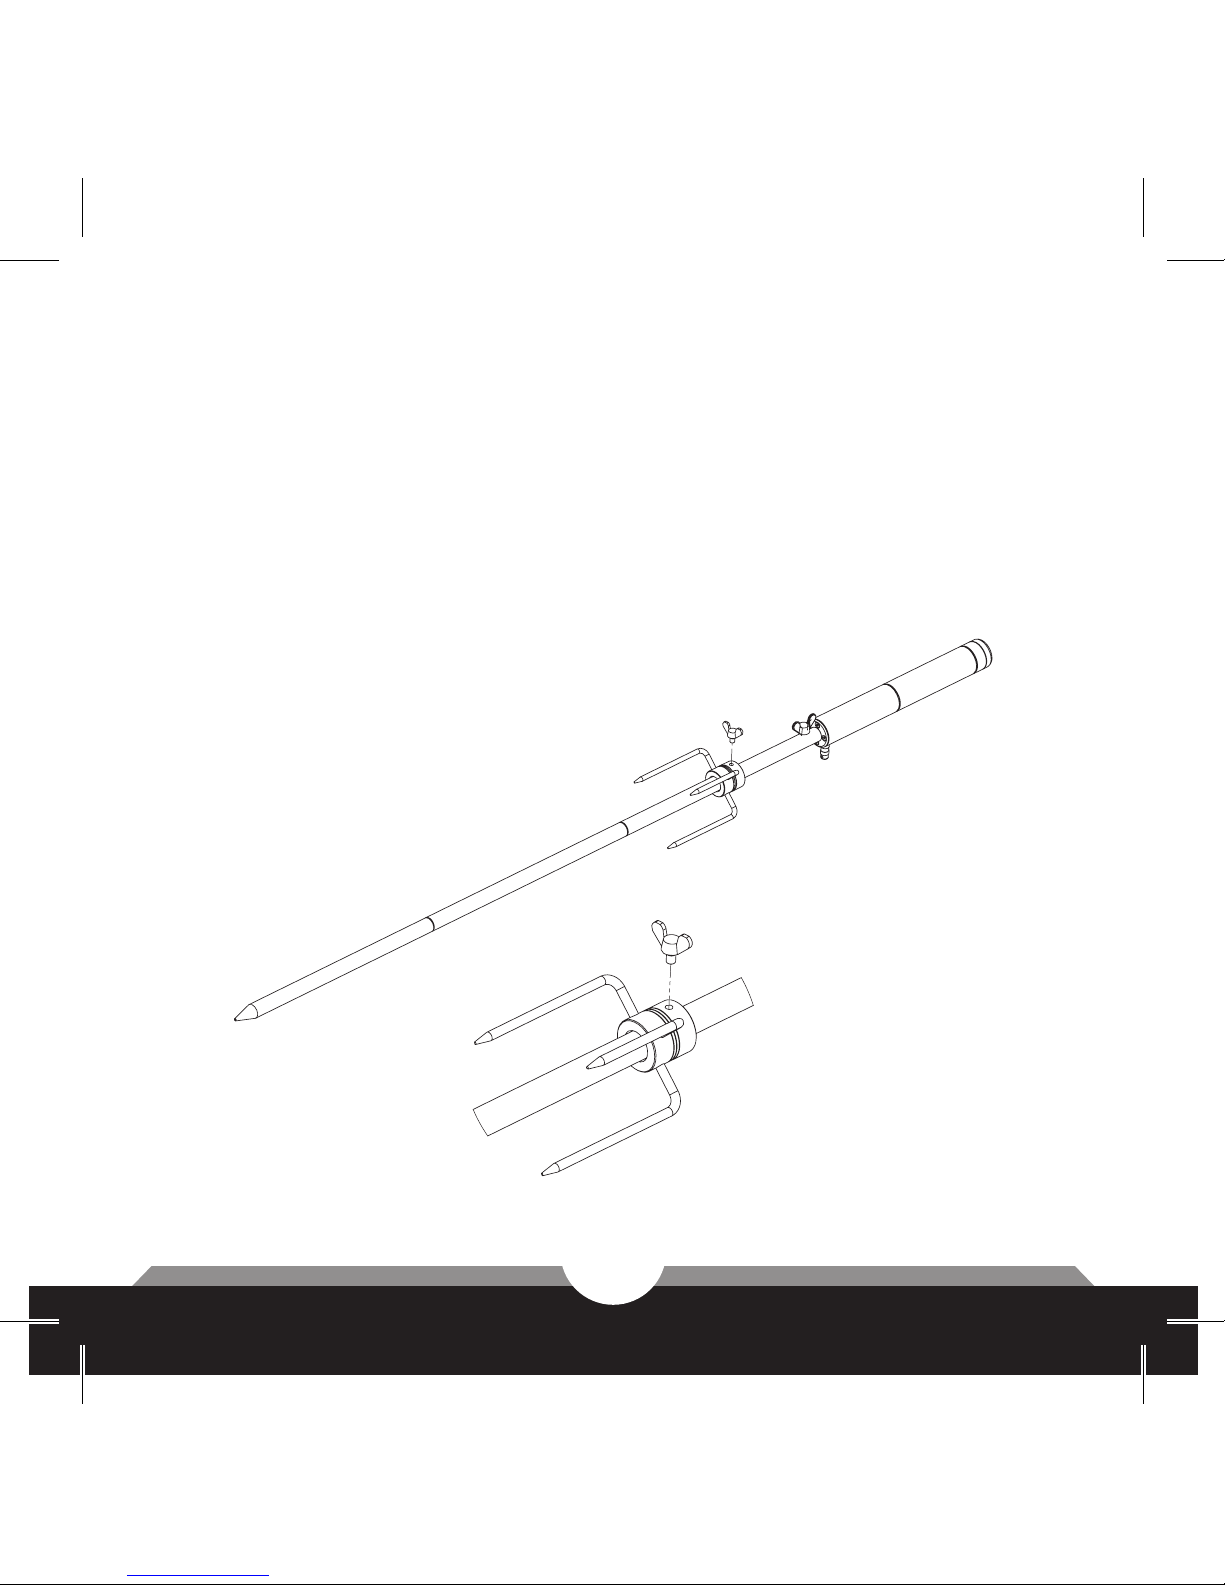
3. Pull one of the forks through the rst spit (1);
Make sure that the fork is located at least
20 cm / 8 in away from the motor.
Skewer the meat on the skewer. Keep horizontal
for optimal roasting.
1
5
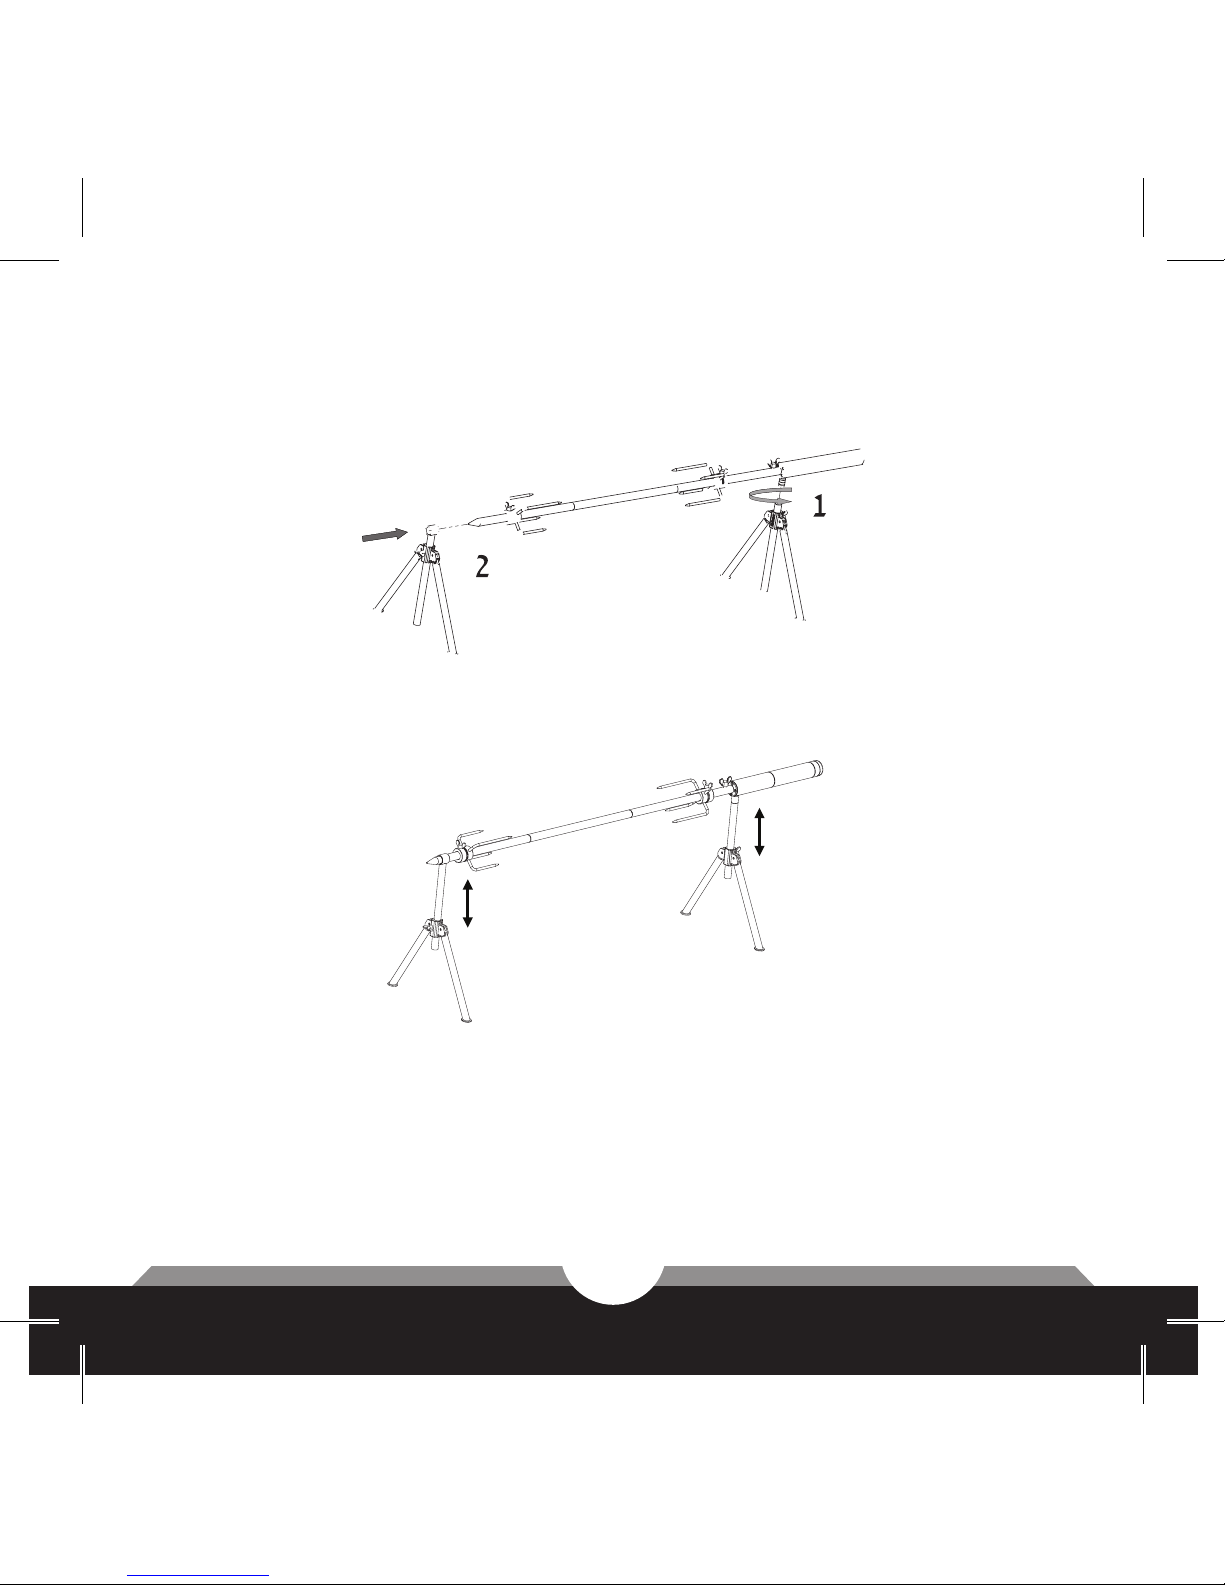
4. Screw the rst tripod (1) to the motor’s
connecting pin. Connect the other tripod (2) to
the skewer’s edge.
5. Change “Spinners” height using the screw
located in the center of the tripod.
6. Turn the motor on and test proper rotation of
the skewer. The screw between the motor and
the skewer can be tightened again to ensure
smooth rotation.

6
Usage Instructions
• Properly assembling the product is crucial.
• Use two type C alkaline batteries. The batteries should
be placed into the gripping handle with the positive
(+) side facing the direction of the skewer while the
negative (-) side facing towards the button (you can nd
a sticker showing the direction on the gripping handle).
• Do not lift the“Spinner” by holding the handle only, but
by supporting both the motor and the skewer’s tip.
• Meat must be placed near or above the heat source.
• Proper roast is done by using hot coals. Roasting over
ames may result in overcooking and thus ruin the
meat.
• Place the spit fork nearest to the handle (motor) at
least 20 cm / 8 in away from it.

7
• Leave a gap of at least 10 cm / 4 in between the coals
and the tripod (on the side of the motor).
• Maintain the skewer balanced by adjusting and matching
between the two tripods height, so the skewer is
parallel to the grill or to the ground.
The “Spinner” carries up to 10Kg/22lbs.
• Working according to the instructions will ensure that
the motor and the tip of the skewer temperature is just
right for you to hold it using your bare hands without
getting burned.
8 in
4 in4 in

8
• High quality batteries should last for about 4 uses
of approximately 6 kg / 13 lb per use. We recommend
using high-quality alkaline batteries and carrying an
extra pair.
• After using the “Spinner”, do not leave the batteries
inside the motor, remove and return them to their
designated place in the case.
• For quick cleaning and easy operation, we recommend
placing the tripods away from the coals.
• When done using, be sure to clean the handle (motor)
with a damp cloth only.
These instructions will help ensure the product’s
functionality for years.

9
Warnings
• Keep away from children.
• The “Spinner” contains sharp objects such as forks
and a skewer.
• Skewer the meat carefully and gently by holding the
base of the fork.
• Under no circumstance should the forks be placed
on the ground due to the risk of stepping on sharp
edges.
• Do not use the “Spinner” for any purpose other
than the purpose for which it was created.

10
• Do not overload or apply excessive pressure on the
skewer.
• Fire safety rules must be followed and when done
roasting, re must be extinguished completely.
• The “Spinner” is designed for manual assembly and
handling only. Tools of any kind are not to be used at
any time with the product.

11
Product Warranty
• L.B. Spinner Inc. (“The Manufacturer”) commits at
its discretion to repair or replace, free of charge,
any part or parts of the product, should it be found
defectiveon account of material defects or on account
of the Manufacturer’s workmanship, throughout
the Warranty Duration detailed below, and which
was caused despite proper use in accordance with
the Manufacturer’s instructions.
• The Manufacturer’s warranty applies solely to the
original buyer, and is not transferable to any other
party. Manufacturer’s warranty does not apply in
the following cases:
1. The defect found in the product has originated
from improper storage, transportation, handling,

12
maintenance or any incorrect or unreasonable
use of the product, or the result of negligence
or accidental damage.
2. Any alterations or repairs made or handled by
anyone other than a representative authorized
by the manufacturer.
Warranty period
Motor warranty: 12 months from the date of
purchase.
Product body warranty: 24 months from the date
of purchase.

13
Warranty does not cover:
1. Any damage caused due to direct contact of the
motor/power button with water.
2. Erosion of screws due to over-tightening.
3. Dents in motor axle or any failure caused due to
improper handling.
4. Batteries in general or battery leakage causing
damage to the motor.
5. Damage caused by dropping the product or other
external damage.
6. Motor overheating due to improper use.
7. Any damage caused by improper use,
maintenance or inadequate storage of the
product.
8. Any damage caused by handling the product using
tools.
9. Quality of the meat or its cooking.

14
The warranty statement detailed here is the
sole responsibility that applies to the Company.
L.B. Spinner Inc. shall not bear any liability,
neither direct and/or indirect, with regards to
the product or any of its parts, including any
liability for indirect damages and losses of any
kind sustained by the buyer or any 3rd party.
The Company’s liability, should it be applicable,
will be conned in any instance to the cost of the
product only.

15
Visit our website:
www.lbspinner.com
Like us on Facebook:
L.B.Spinner-Portable
Rotisserie
Follow us on Instagram:
#Thelbspinner
For your convenience,
a video tutorial is available at YouTube
Search for LB Spinner Assembly