L.T. Rich Products 135LB User manual

2018
AES
L. T. RICH PRODUCTS
11/2/2018
OWNER'S MANUAL FOR 135LB
STAINLESS STEEL SPREADER
SNOWRATOR

REV5
For any questions please contact us at toll free (877) 482-2040 Mon-Fri 8 a.m. to 4:30 p.m. 1
135lb Stainless Steel Spreader Installation
TABLE OF CONTENTS
1.0 SHIPPING CONTENTS .................................................................................................................................... 2
2.0 IMPORTANT INFORMATION ......................................................................................................................... 3
2.1 ABOUT THIS MANUAL ............................................................................................................................................3
2.2 OVERVIEW .......................................................................................................................................................3
2.3 SAFETY .............................................................................................................................................................3
2.4 MAINTENANCE .....................................................................................................................................................4
2.5 RELATED DOCUMENTS ...........................................................................................................................................4
3.0 INSTALLATION .............................................................................................................................................. 5
3.1 TOOLS &EQUIPMENT......................................................................................................................................6
4.0 INSTALLATION .............................................................................................................................................. 7
4.1 FERTILIZER BOXES.................................................................................................................................................7
4.2 SPREADER.........................................................................................................................................................11
4.3 SPEED CONTROL UNIT.........................................................................................................................................14
4.4 AUX CONTROL PANEL .........................................................................................................................................15
4.5 TEST ...............................................................................................................................................................17
5.0 OPERATION ................................................................................................................................................ 18
5.1 OPERATIONAL CONTROLS ....................................................................................................................................18
5.2 SPREAD PATTERN ADJUSTMENT CONTROLS .............................................................................................................20
5.3 SPREAD PATTERN SET-UP....................................................................................................................................24
6.0TROUBLESHOOTING ................................................................................................................................... 26
7.0 PARTS LIST .................................................................................................................................................. 29
8.0 AUX ELECTRICAL WIRING HARNESS DIAGRAM............................................................................................ 33

REV5
For any questions please contact us at toll free (877) 482-2040 Mon-Fri 8 a.m. to 4:30 p.m. 2
135lb Stainless Steel Spreader Installation
1.0 SHIPPING CONTENTS
SR-HOPPER KIT (135) SHIPPING LIST
LTR P/N
Toro P/N
Description
Qty
Unit
30679
143-0012
KNOB
2
EA
80239-PUMP
143-0539
AUX ELECTRICAL HARNESS
1
EA
90205
142-0216
SPINNER SPEED CONTROLLER
1
EA
CB-381SS
126-0980
CARRIAGE BOLT, 3/8" x 1"
4
EA
CB-5161SS
HDW17294
CARRIAGE BOLT, 5/16" x 1"
4
EA
CB-51634SS
126-0695
CARRIAGE BOLT, 5/16" x 3/4"
2
EA
FWSS-516
HDW14535
WASHER, 5/16
4
EA
HFNCS-10S
142-0542
SERRATED FLANGE LOCK NUT, 10-32
4
EA
HFNCS-38S
135-2882
HEX FLANGE NUT, 3/8
4
EA
N/A
N/A
RED ROCKER SWITCH ASSEMBLY
1
EA
N/A
N/A
AUX CONTROL PANEL ASSEMBLY
1
EA
N/A
N/A
135LB STAINLESS STEEL SPREADER
1
EA
SC1-0500-SS
142-1450
1/2" SPLIT SHAFT COLLAR
2
EA
SM10193 TSSR
143-0090
HOPPER MOUNTING LATCH
2
EA
SM10401
143-0366
LEFT FERTILIZER BOX PLATFORM
1
EA
SM10402
143-0367
LEFT FERTILIZER BOX UPRIGHT
1
EA
SM10402-R
143-0368
RIGHT FERTILIZER BOX UPRIGHT
1
EA
SM10403
143-0369
RIGHT FERTILIZER BOX PLATFORM
1
EA
TRCP-1012S
143-0542
TRUSS SCREW, 10-32 x 1/2
4
EA
ZB200305-L
135-5470
LEFT FERTILIZER BOX
1
EA
ZB200305-RW
142-1953
RIGHT FERTILIZER BOX
1
EA

REV5
For any questions please contact us at toll free (877) 482-2040 Mon-Fri 8 a.m. to 4:30 p.m. 3
135lb Stainless Steel Spreader Installation
2.0 IMPORTANT INFORMATION
2.1 ABOUT THIS MANUAL
The purpose of this manual is to assist you in properly and safely operating and maintaining the
135lb Stainless Steel Spreader. Read and understand this entire manual before attempting to set-
up, operate, adjust, perform maintenance on, or store this attachment. This manual provides
essential information and instructions, which will help you enjoy years of dependable
performance.
The designed and tested safety of the 135lb Stainless Steel Spreader is dependent upon its
operations within the parameters and limitations explained in this manual. Be familiar with and
follow all safety rules in this manual as well all safety rules for any related equipment, including
the Snowrator.
Although these instructions have been complied through extensive field experience and
engineering data, some information presented herein may be generated in the nature due to
unknown and/or varying operating conditions. However, these instructions, combined with your
increased experience with the Snowrator, will enable you to develop procedures suitable to your
particular application.
The illustrations and data used in the manual were current at the time of printing, but the
Snowrator and 135lb Stainless Steel Spreader may vary slightly due to ongoing engineering
changes. L. T. Rich Products, Inc reserves the right to implement engineering and design
changes to the Snowrator as may be necessary without prior notification.
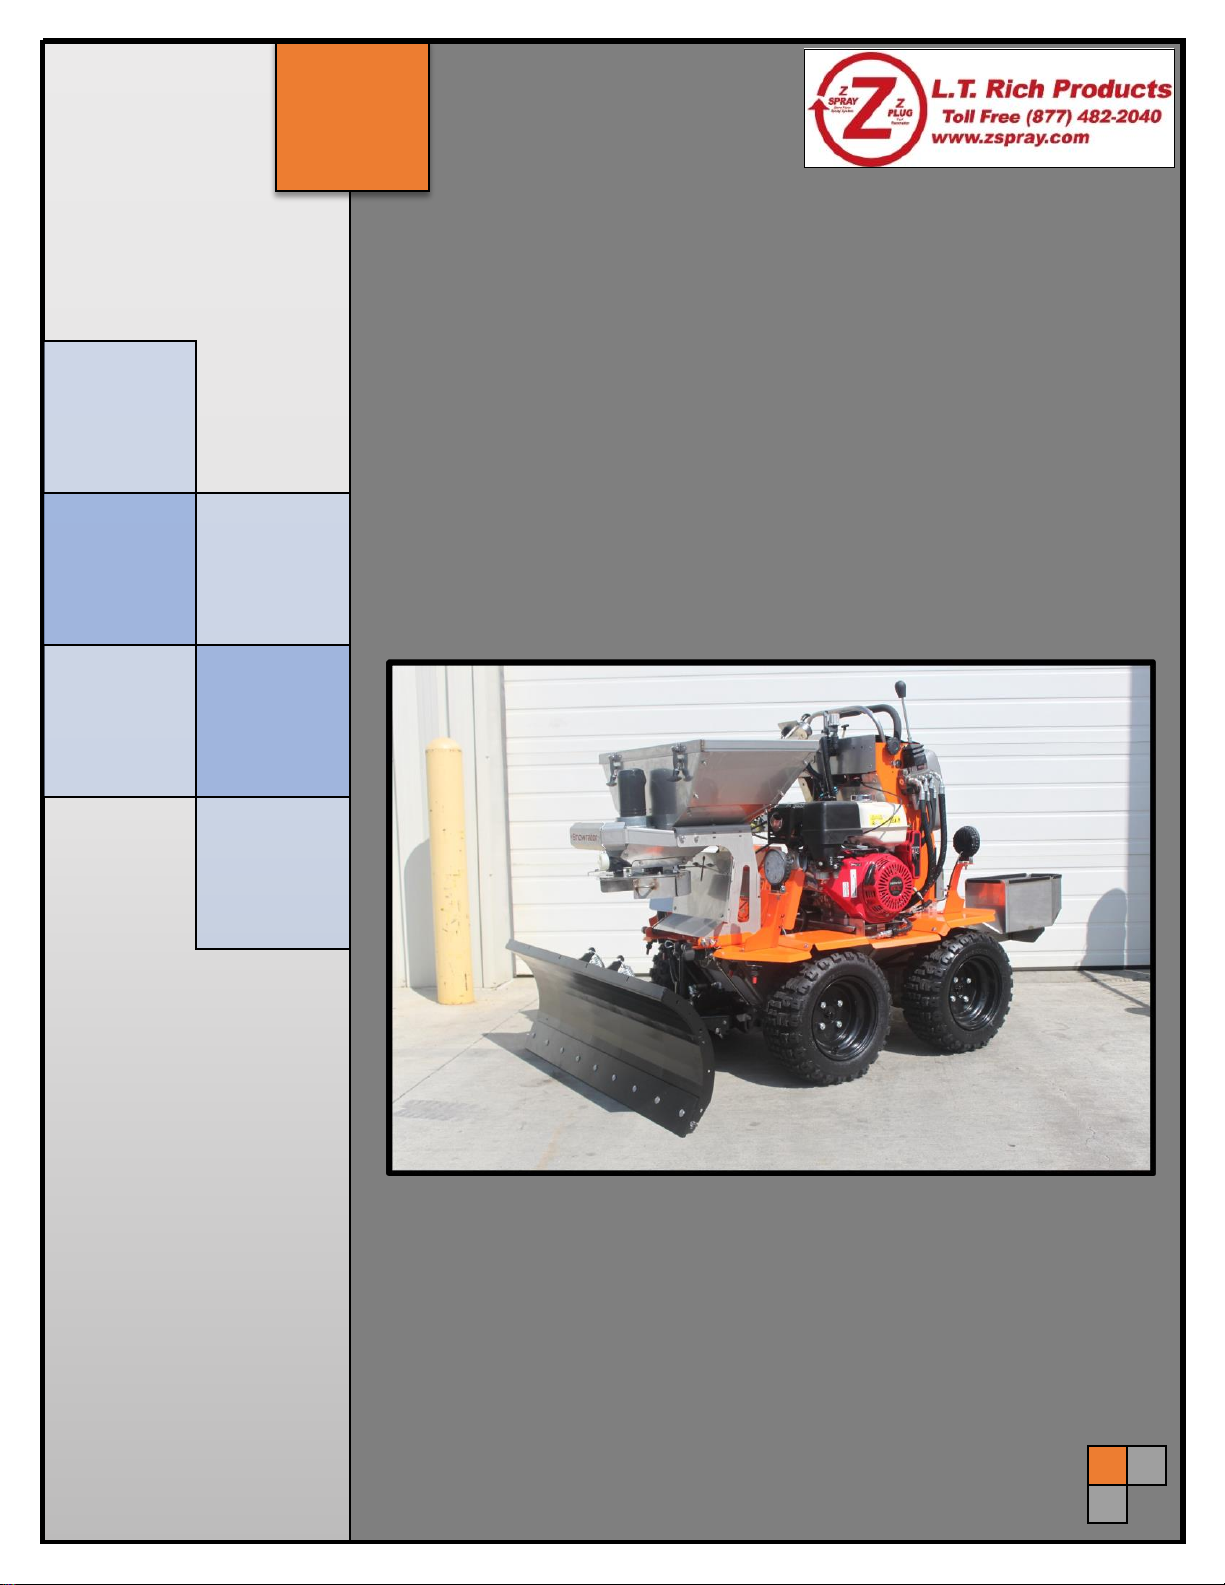
2.2 OVERVIEW
The 135lb Stainless Steel Spreader is an optional attachment that can be mounted to the
Snowrator and used to spread salt/granular product. It has a variable speed electric motor which
allows variable spread distances from 6 to 25 feet. This depends on volume/density, particle size
and rate of travel, and weather conditions. The pattern can be increased or decreased while
spreading depending on needs. Travel at a constant speed for consistent results.
The 135lb Stainless Steel Spreader Attachment features stainless steel construction, electronic
speed control, vibrator, rate control and directional control.
2.3 SAFETY
Safety is a primary concern in the design and manufacturing of all L. T. Rich Products.
Unfortunately, our extensive efforts to provide safe equipment can be negated by a single
careless act of an operator. In addition to the design and configuration of the 135lb Stainless
Steel Spreader, hazard control and accident prevention are also dependent upon the awareness,
condition, maintenance, and storage of the Snowrator and all optional attachments. This section
is only for the 135lb. Stainless Steel Spreader. Please refer to the Owner's Manual for applicable
safety information for the Snowrator. Additional safety tips are provided throughout this
document.

REV5
For any questions please contact us at toll free (877) 482-2040 Mon-Fri 8 a.m. to 4:30 p.m. 4
135lb Stainless Steel Spreader Installation
Safety Cont…
2.3.1 Safety Equipment
When using or performing maintenance on the 135lb Stainless Steel Spreader, it is recommended
that the operator wear gloves and safety glasses.
2.3.2 Mounting and Dismounting
Two people using proper lifting techniques are required to mount and dismount the 135lb.
Stainless Steel Spreader. The risk of injury and/or damage to the unit is significantly increased if
only one person is performing this activity.
2.3.3 Spinner
Turn off the spinner before adjusting spread pattern settings. ALWAYS keep fingers, hands,
loose clothing, etc. clear of this area when it is in use.
2.3.4 Operation
Always scan the environment to ensure the product being spread does not come into contact with
other people and animals. Do not spread within 25 feet of people or animals. Follow all
guidelines provided in the Snowrator Owner's Manual.
2.4 MAINTENANCE
Follow all safety guidelines when performing maintenance on the 135lb Stainless Steel Spreader.
In order to ensure the 135lb. Stainless Steel Spreader is kept in optimum condition, perform the
following maintenance activities on a regular basis.
DO NOT USE WATER WHEN CLEANING HOPPER
Daily
•Clean debris and product from Hopper daily USING COMPRESSED AIR ONLY, to
eliminate build up.
•Check daily to make sure guides (4) are not damaged to allow the hopper door to slide
freely.
Weekly
•Lubricate Hopper cables with Silicone Spray weekly.
2.5 RELATED DOCUMENTS
•Snowrator Owner’s Manual
•Installation Guide for 135lb Stainless Steel Spreader Conversion Kit (SRA-10020)

REV5
For any questions please contact us at toll free (877) 482-2040 Mon-Fri 8 a.m. to 4:30 p.m. 5
135lb Stainless Steel Spreader Installation
•Please note that this installation guide is for a standard machine
only.
•
The hose and electrical harness routing may be different depending on
the attachments that may already be installed on your machine.
•A SNOWRATOR machine is shown for all assembly photos.
•
For any questions please contact us at toll free (877) 482-204 Mon-Fri
8 a.m. to 4:30 p.m.
3.0 INSTALLATION
WARNING
Before Working on This Machine
•Switch Engine to OFF

REV5
For any questions please contact us at toll free (877) 482-2040 Mon-Fri 8 a.m. to 4:30 p.m. 6
135lb Stainless Steel Spreader Installation
3.1 TOOLS & EQUIPMENT
ITEM QTY DESCRIPTION PHOTO
1 1 DRILL
2 1 DRILL BIT, 3/8"
3 1 RATCHET
4 1 SOCKET, 13/16"
5 1 EXTENSION, SOCKET, 1-1/2"
6 6 WRENCH: 3/8", 1/2", 5/16", 7/16", 9/16", 13/16"
7 1 ALLEN WRENCH, 1/8"
8 1 SCREWDRIVER, PHILLIPS, NO. 2
9 1 UTILITY KNIFE
10 1 JACK, 1 TON
ITEM QTY DESCRIPTION PHOTO
1 1 GLOVES
2 1 SAFETY GOGGLES

REV5
For any questions please contact us at toll free (877) 482-2040 Mon-Fri 8 a.m. to 4:30 p.m. 7
135lb Stainless Steel Spreader Installation
4.0 INSTALLATION
4.1 FERTILIZER BOXES
4.1.1 Remove Rear Tires.
Raise the machine using a Jack and Jack Stands (not shown).
Remove both Rear Tires.
4.1.2 Remove Rear Light Bracket.
Remove the two Bolts connecting the Rear Light Bracket to the Frame.
Lay Rear Light Bracket gently on the Frame (not shown).
Tools:
Ratchet with 13/16”
Socket
B
B
Tools:
Ratchet with 1/2” Socket
A

REV5
For any questions please contact us at toll free (877) 482-2040 Mon-Fri 8 a.m. to 4:30 p.m. 8
135lb Stainless Steel Spreader Installation
Fertilizer Boxes Cont…
4.1.3 Remove Battery Box.
Remove battery cover by unhooking strap.
Detach the Negative (black) and Positive (red) Wires from battery.
Remove bolts that attach the Battery Box Bracket to the Frame.
Remove Battery Box Bracket from Frame.
Tools:
Ratchet with 1/2” Socket
D
C
3c
A
B

REV5
For any questions please contact us at toll free (877) 482-2040 Mon-Fri 8 a.m. to 4:30 p.m. 9
135lb Stainless Steel Spreader Installation
Fertilizer Boxes Cont…
4.1.4 Attach the Right Fert Box Platform
Insert (2) 3/8” x 1” Bolt into Footplate Bracket
Line up Slot in Fert Box Platform with Bolts
Fasten with (2) 3/8” Flange Nuts.
4.1.5 Attach the Battery Box Bracket
Replace 5/16” x ¾” Bolts in Battery Box Bracket with 5/16” x 1” Bolts
Align Fert Box Platform to Fender and Battery Box Bracket
Tighten all (4) Bolts to Foot Plate Bracket and Fender
Re-Connect the Red Battery Cable (not shown)
*** DO NOT CONNECT NEGATIVE (BLACK) BATTERY CABLE
UNTIL READY TO TEST! ***
Tools:
Ratchet with 9/16” Socket
A
B
C
Hand Tighten
Tools:
Wrench, 1/2”
Wrench, 9/16
A
B
C

REV5
For any questions please contact us at toll free (877) 482-2040 Mon-Fri 8 a.m. to 4:30 p.m. 10
135lb Stainless Steel Spreader Installation
Fertilizer Boxes Cont…
4.1.6 Attach the Left Fert Box Platform
Insert (2) 3/8” x 1” Bolt into Footplate Bracket
Line up Slot in Fert Box Platform with Bolts
Fasten with (2) 3/8” Flange Nuts
4.1.7 Attach Rear Light Bracket
Insert (2) 5/16” x 1” Bolt into Rear Light Bracket
Align Fert Box Platform to Fender and Rear Light Bracket
Tighten all (4) Bolts to Foot Plate Bracket and Fender
Tools:
Ratchet with 9/16” Socket
A
B
C
Hand Tighten
A
B
C
Tools:
Wrench, 1/2”
Wrench, 9/16

REV5
For any questions please contact us at toll free (877) 482-2040 Mon-Fri 8 a.m. to 4:30 p.m. 11
135lb Stainless Steel Spreader Installation
Fertilizer Boxes Cont…
4.1.8 Attach Rear Tires
Attach Rear Tires.
Lower Machine and remove Jack.
Fertilizer Boxes Cont…
4.2 SPREADER
This section requires TWO people in order to install it safely. Always use safe lifting
techniques. Take care not to pinch fingers or drop the spreader during installation.
4.2.1 Mount 135lb Stainless Steel Spreader
Drill out the quick-release pin hole on the Mounting Plate of Snowrator
With one person on each side, lift the 135lb Stainless Steel Spreader by the
Back Shield and the rear of the Hopper.
Tools:
Ratchet with 13/16”
Socket
Tools:
Drill, 3/8” bit
Front
B
A
B
Back

REV5
For any questions please contact us at toll free (877) 482-2040 Mon-Fri 8 a.m. to 4:30 p.m. 12
135lb Stainless Steel Spreader Installation
Mount Spreader Cont...
Rest the rear of base on the Mounting plate with the front at a slightly elevated
angle.
Slide the Hopper Hinge Rods down into the rear Mounting Plate hooks.
Set the front of base down so the Hopper Latch Rods are in the front Mounting
Plate Hook.
Attach Latches to the Hopper Latch Mounting Rods.
C
D
D
E
E
E
F
F
F

REV5
For any questions please contact us at toll free (877) 482-2040 Mon-Fri 8 a.m. to 4:30 p.m. 13
135lb Stainless Steel Spreader Installation
Mount Spreader Cont...
Secure both Latches with a 1/2” Split Shaft Collar.
Align 1/2” Split Shaft Collar so it is flush with the outer edge of the Hopper
Latch Rod and tighten.
Insert a 3/8” Bolt through Hopper Latch, Base and Mounting Plate on both
sides of the Hopper Base.
Set the Hopper Cable, Vibrator, Connector and Spinner Motor Connector
off to the side (Not shown). These will be connected in the next section.
Tools:
Allen Wrench, 1/8”
G
G
H
I
I

REV5
For any questions please contact us at toll free (877) 482-2040 Mon-Fri 8 a.m. to 4:30 p.m. 14
135lb Stainless Steel Spreader Installation
4.3 SPEED CONTROL UNIT
4.3.1 Speed Control Unit, Mechanical
Rub Slot Edges to reveal Cut location
Cut into Main Control Panel using utility knife and use a Die Grinder with
cut-off wheel to cut tabs.
Insert Speed Control Unit in the Main Control Panel Cutout.
Insert (4) 10-32 x 1/2” Phillips Screws in Mounting Holes on Speed Control
Unit
Fasten to Main Control Panel with (4) 10-32 Flange Nuts
Tools:
Utility Knife
A
B
b
C
D
b
E
Under Control Panel
Tools:
Ratchet with 11/32 Socket
Phillips Screwdriver

REV5
For any questions please contact us at toll free (877) 482-2040 Mon-Fri 8 a.m. to 4:30 p.m. 15
135lb Stainless Steel Spreader Installation
Speed Control Unit cont…
4.3.2 Speed Control Unit, Electrical
Power and Ground
1. Attach the connector labeled POWER to the Power Ground Harness
Connector labeled SPINNER.
2. Attach the connector labeled MOTOR to the Spinner Motor Connector
4.4 AUX CONTROL PANEL
4.4.1 Aux Control Panel, Mechanical
Insert (1) 5/16” x 3/4” Carriage Bolt in the top Aux Control Panel mounting
location.
Position the Aux Control Panel on the bolt.
Fasten with (2) 5/16” Washers and (1) Hand Knob.
Insert (1) 5/16” x 3/4” Carriage Bolt in the bottom Aux Control Panel
mounting location.
Fasten with (2) 5/16” Washers and (1) Hand Knob.
B
4
A
4a
C
D
Completed Installation
E

REV5
For any questions please contact us at toll free (877) 482-2040 Mon-Fri 8 a.m. to 4:30 p.m. 16
135lb Stainless Steel Spreader Installation
Aux Control Panel Cont…
4.4.2 Aux Control Panel, Electrical
Switch Connector
1. Connect the Switch Connector on the Electrical Harness to the connector
on the back of the Vibrator Switch.
Power and Ground
1. Attach the Vibrator Power & Ground Connector to the Power/Ground
Harness Connector labeled VIBRATOR.
Vibrator Switch Connector
1. Connect the Vibrator Switch Connector from the Aux Electrical Harness
to the Vibrator Motor.
A
All Black
D
Green Trim

REV5
For any questions please contact us at toll free (877) 482-2040 Mon-Fri 8 a.m. to 4:30 p.m. 17
135lb Stainless Steel Spreader Installation
4.5 TEST
Connect the Negative (black) Battery Cable before testing. Refer to section 5 for Operating
Instructions.
4.5.1 Vibrator
Verify the electrical connections have been made properly.
Turn on the Vibrator. Listen for vibration.
Turn off the Vibrator.
4.5.2 Speed Control Unit
Verify the electrical connections have been made properly.
Press the top right button to start the spinner.
Press the top left button to turn off the spinner.
4.5.3 Plow Clearance
Move the lift cylinder lower pin to the upper hole in the A-Frame then, check for clearance
between the plow and the Directional Control after each step. The plow should have clearance
when the Directional Control is open at its minimum and maximum positions (See Section
5.2.2). Refer to the Snowrator Owner’s Manual for instructions on moving the plow.
Raise the plow to its maximum upward position.
Adjust the plow all the way to the left.
Adjust the plow all the way to the right.
Return the plow to the center position.

REV5
For any questions please contact us at toll free (877) 482-2040 Mon-Fri 8 a.m. to 4:30 p.m. 18
135lb Stainless Steel Spreader Installation
5.0 OPERATION
5.1 OPERATIONAL CONTROLS
The 135lb Stainless Steel Spreader has four controls. These are the Vibrator Switch, Spinner
Switch, Spinner Speed Control, and Hopper Cable. These controls can be operated while the
spreader is in use.
5.1.1 AUX Control Panel
The Hopper Cable is located to the left of the Vibrator Switch. This Cable opens the Hopper
Door when pulled upward and closes the Hopper Door when pushed downward. The Hopper
Cable will only open as far as the Rate Control setting will allow.
The Vibrator Switch is located to the right of the Hopper Cable. It has a built-in light that
indicates when it is on. Pressing the top of the switch will turn on the Vibrator mounted behind
the Hopper. Pressing the bottom will turn it off.
Hopper Door Cable
Vibrator
Figure 1. Hopper Door Cable and Vibrator Switch location

REV5
For any questions please contact us at toll free (877) 482-2040 Mon-Fri 8 a.m. to 4:30 p.m. 19
135lb Stainless Steel Spreader Installation
Operational Controls Cont…
5.1.2 Main Control Panel
The Main Control Panel is where the Speed Control Unit for the Spinner Motor is located. The
unit has an ON/OFF button, speed adjustment controls and an LED indicator strip. The LED
indicators alert the operator of malfunctions when they flash in specific patterns. See the
troubleshooting section for more information.
Power is applied to or removed from the unit by pressing the ON/OFF button. Speed Control is
adjusted via the TURTLE and RABBIT buttons on the Speed Control Unit. Pressing the
TURTLE button reduces Spinner speed and pressing the RABBIT button increases it. See
section 5.2.2.
In extreme cold the grease in the spinner motor gearbox may cause the controller to error out due
to too high of a current draw. The controller has a cold start sequence that will warm the motor
up and allow the user to run the spreader normally in these conditions. If at any time you need to
exit the COLD START SEQUENCE press the OFF button. The next time the controller is
started it will be in normal operating mode.
1. Close the feed gate to prevent material loss.
2. Turn off the spreader
3. Check to make sure there are no obstructions around the spinner disk.
4. To activate the COLD START SEQUENCE, press and hold the turtle and rabbit then
press the power button and release all three. The LED lights will scroll across the
controller from left to right letting you know the COLD START SEQUENCE is
activated.
5. During the COLD START SEQUENCE the motor will ramp up to full speed and stay
there until the amp draw decreases to a specific limit. Then the controller will drop the
speed down to half speed until the amp draw decreases to a specific limit. Then the
controller will drop the speed down to the lowest setting until the amp draw decreases to
a specific limit. Once the controller senses the current is within range the controller will
exit the COLD START SEQUENCE. The LED lights will stop scrolling and only the
first light will remain on.
6. The controller is now out of the COLD START SEQUENCE and can be operated
normally.
Figure 2. Spinner Speed Control Unit
LED Indicators
On
Off
Slower
Faster
Table of contents
Popular Spreader manuals by other brands

Agri-Fab
Agri-Fab 45-0313 owner's manual

H&S
H&S 125 PTO Operator's manual

Earth Way
Earth Way 2170 Assembly and operating instructions

Salt Dogg
Salt Dogg WB100B Assembly instructions

Earth Way
Earth Way PolarTech 90399 Assembly & operation

Earth Way
Earth Way EV-N-SPRED GT 3100 Assembly and operating instructions

Vogal
Vogal SPREADMAX EX120 Operation Maintenance & Parts Manual

Trynex
Trynex SnowEx V-MAXX SP-2400 H Owner's/operator's manual

Texas A/S
Texas A/S Centrifugal Spreader 60 L manual

Western
Western PRO-FLO owner's manual

Talet Equipment
Talet Equipment Sand Kicker PARTS & OPERATORS MANUAL

Amkus
Amkus AMK-30CRT Series manual