La Hacienda Murcia XL Chimenea User manual

UserInstructions-Pleasekeepforfuturereference
MurciaXLChimenea 56063BUS
V1.0
ProducedinChinaforLaHaciendaUKLtd
Hangar 27, Site C, Aston Down Airfield, Nr Stroud,Glos,GL68HR,UK
www.lahacienda.co.uk
Toolslist
Toolsrequired(notincluded)
IMPORTANT – Carefully remove any packaging before use, but retain the safety instructions.
These instructions form part of the product.
Please take note of all of the safety warnings listed in these instructions.
Please read these instructions in their entirety and retain them for future reference.
These instructions should be stored with the product.
This product is for domestic use ONLY and should not be used commercially or for contract purposes.
La Hacienda
®

2
Careandsafeuseguidelines
DANGER Plastic bags can cause
ce the
y
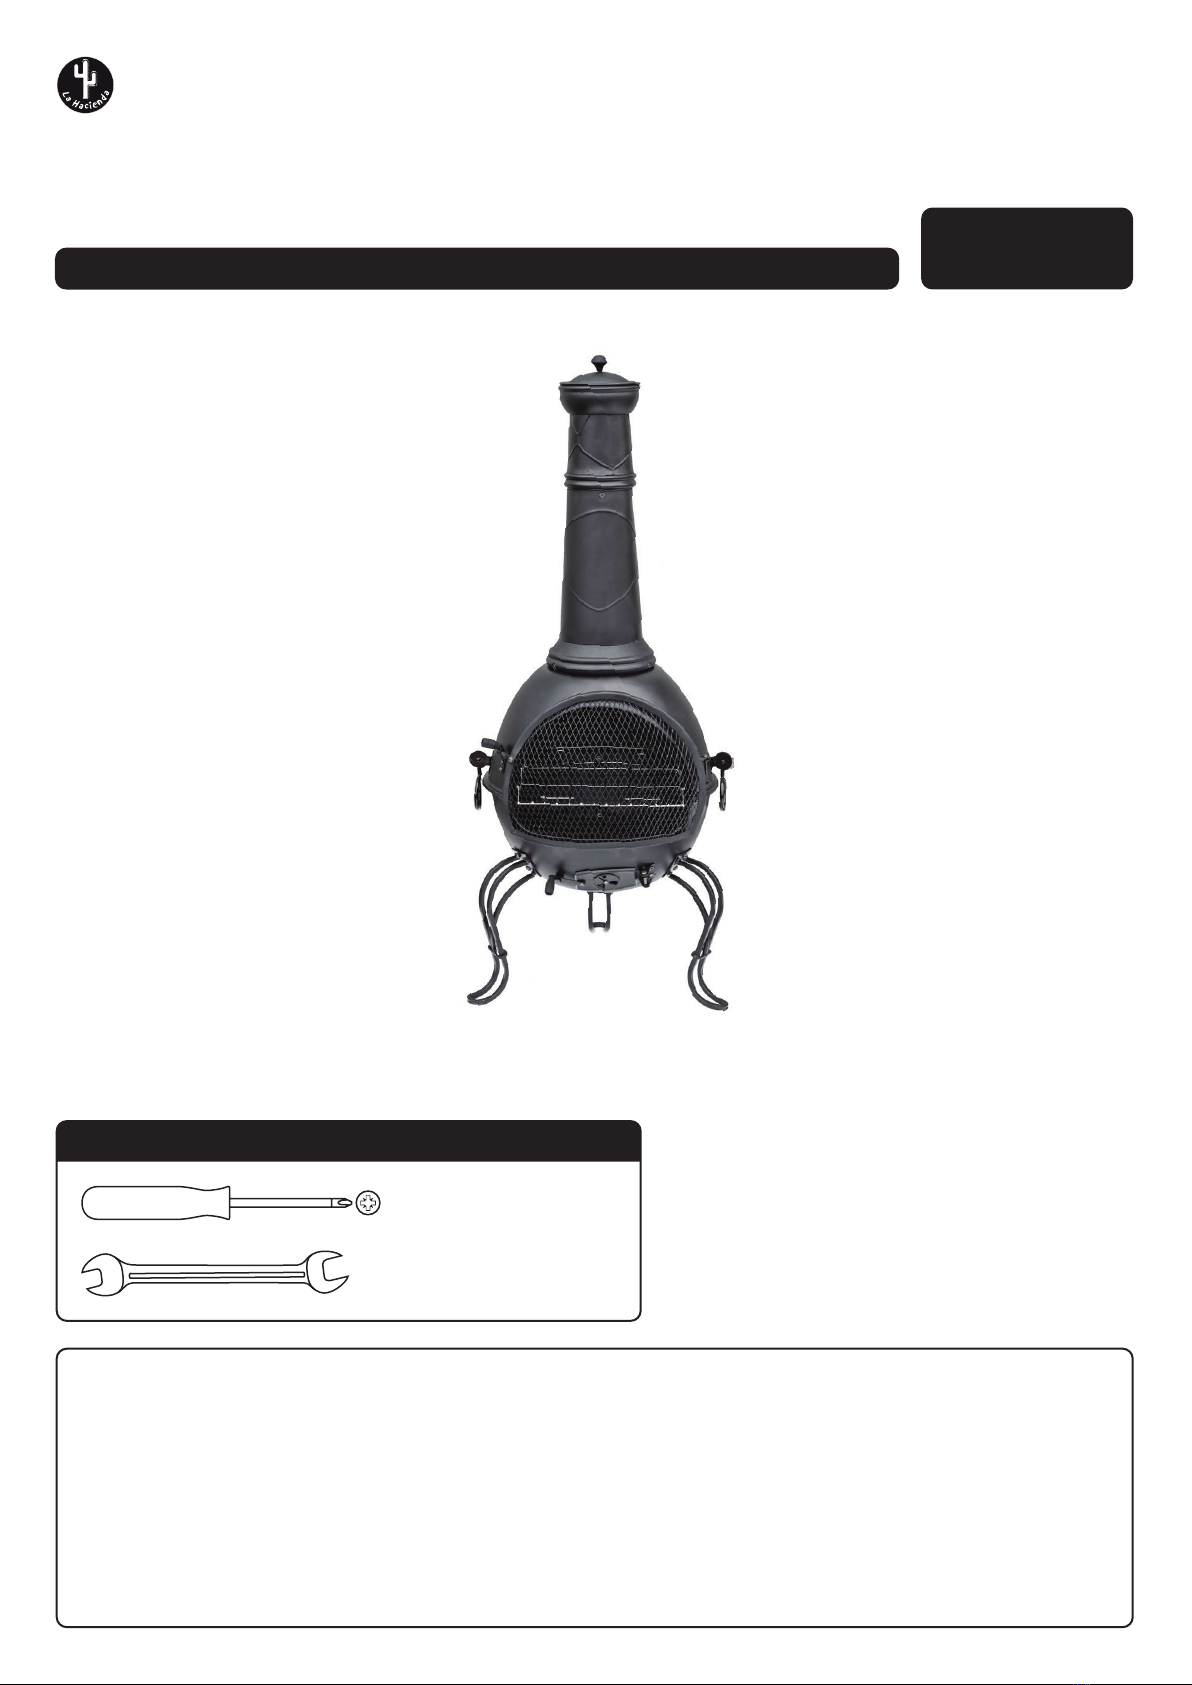
This product is intended FOR OUTDOOR
USE ONLY.
DANGER Failure to read and observe all
warnings, directions for use and
extinguishing may result in unsafe conditions
leading to damage to property, injury or
death.
WARNING: This product MUST NOT be
used with the lid on.
ALWAYS keep children and pets at a safe
distance from the chimenea when in use. Do
not allow children to use the product.
NEVER leave a burning fire unattended.
DANGER of carbon monoxide
poisoning - NEVER light this product or
let it smoulder or cool down in confined
spaces.
DO NOT use this product in a tent,
caravan, car, cellar, loft or on a boat.
DO NOT use this chimenea under
any outdoor awnings, parasols, sun
umbrellas or gazebos.
DO NOT use coal in this product.
DO NOT use this chimenea on decking or
any other flammable surfaces such as dry
grass, wood chips, leaves or decorative bark.
Ensure chimenea has a minimum of 7ft
overhead clearance and has a minimum of
7ft clearance from any combustible materials
or items.
DO NOT use this chimenea as a
furnace - ONLY use as a patio heater.
DO NOT handle or move the chimenea
whilst alight as it will be hot.
ALWAYS USE the safety tool provided and
heat resistant gloves to open the door when
in use as the door will be hot.
Ensure that the chimenea is positioned on
a permanent flat, stable, heat resistant
non-flammable surface away from flammable
items.
The assembled product is heavy and once
positioned must not be moved whilst in use.
If it is necessary to move it once cooled, use
two persons to lift (DO NOT drag) the product.
As this model is made from steel, the surface
will age and develop surface rust as soon as
it is exposed to the natural weather elements
and also from first use.
To help reduce surface rust, on
chimenea is cool rub it with an oil
rag (vegetable oil).
If the chimenea surface becomes scratched
or chipped, the damaged area should be
re-coated with a suitable non-toxic high
temperature paint.
For safety reasons, always inspect your
chimenea prior to use for signs of fatigue
and damage and replace your model as
and when necessary.
A chimenea lid should be used to protect the
interior from rain water ingress when not in
use.
Ensure the lid is removed prior to use.
FIRE HAZARD – Hot embers may emit
while in use. Always keep fire suppression
tools nearby.
DO NOT use gasoline, kerosene, white spirit,
lighter fluid,alcohol or other similar chemicals
for lighting or re-lighting the fire.
ONLY use methods of ignition which are
acceptable in accordance with your local
fire safety codes.
This product is ONLY suitable for use with
untreated wood, logs or charcoal.
DANGER Plastic bags can cause
suffocation. Dispose of all packaging
materials properly.
The unit may be left outside all year if a
chimenea cover is used to help protect it
from bad weather.

LIGHTING & REFUELLING
•Ensure the lid is removed prior to use.
•This product is ONLY suitable for use with charcoal, untreated wood or logs.
•Prepare a stack of loosely crumpled newspaper and place on top of the fuel grate.
• Pile finely split dry firewood or kindling on top of the paper.
• To light the newspaper, use long safety matches or a long nosed lighter.
• Once sufficiently alight, add logs or larger pieces of untreated wood to the unit to increase the heat slowly.
• DO NOT overload with fuel, only one or two logs is sufficient.
•ALWAYS use heat resistant gloves when adding fuel and repositioning the door as the unit will become very hot.
•ALWAYS ensure that the door is closed when in use. Always use the safety tool to open and close the door.
•ALWAYS ensure that fuel does NOT protrude from the front opening of the product.
COOKING ON YOUR GRILL
• Add 0.5 kg of charcoal on top of the fuel grate and light according to the instructions.
• It is recommended that the unit is heated up and the fuel kept red hot for at least 30 minutes prior to first cooking on the unit.
•Using heat resistant gloves, place the grill into the product ensuring it is stable.
•If refuelling is required, ALWAYS use heat resistant gloves to remove the grill as this will be very hot.
•When finished DO NOT remove the grill until the unit has completely cooled.
FOOD COOKING INFORMATION
•DO NOT cook before the fuel has a coating of ash.
•ALWAYS wash your hands before and after handling uncooked meat and before eating.
•ALWAYS keep raw meat away from cooked meat and other foods.
•Before cooking ensure grill surfaces and tools are clean and free of old food residues.
•DO NOT use the same utensils to handle cooked and uncooked foods.
•Ensure all meat is cooked thoroughly before eating.
•CAUTION – eating raw or under cooked meat can cause food poisoning (e.g. bacteria strains such as E.coli).
•To reduce the risk of under cooked meat cut open to ensure it is cooked all the way through.
•CAUTION – if meat has been cooked sufficiently the meat juices should be clear and there should be no traces of pink/red juice
or meat colouring.
•Pre-cooking larger pieces of meat and joints is recommended before finally cooking on your grill.
•After cooking ALWAYS clean the grill cooking surfaces and utensils.
EXTINGUISHING
• To extinguish, stop adding fuel and allow fire to die or douse with sand. DO NOT use water as this may damage the
product.
STORAGE
• When not in use, and if stored outside, cover the product once it has cooled completely with a chimenea cover.
• Remove loose paint and rust with a wire brush when needed and re-paint the product using high temperature paint.
•When cooking on your grill, ensure that the food is cooked thoroughly prior to consumption.
3
Careandsafeuseguidelines
Always use heat resistant gloves during use
and when adding fuel.
Once the fire is alight close the safety door.
Only open the door to re-fuel.
To extinguish unit – stop adding fuel and
allow fire to die or douse with sand.
DO NOT use water as this may damage
the chimenea.
If using an outdoor cover, only position once
the fire has died and the unit has completely
cooled.
Always use the safety tool provided and
heat resistant gloves when handling the
mesh door.
NEVER touch the ground/surface or leave
fuel or other objects directly under this
product, as the ground/surface will be very
hot and may remain so for some time even
after the product has been extinguished.
DO NOT overload the unit with fuel, only one
or two small logs is sufficient. If the flames/fire
emits from the front opening or the chimney
there is too much fuel in the unit.
DO NOT use alcohol, intoxicants, narcotics
or any form of non-prescription drug when
handling the product as the ability to safely
assemble and operate will be impaired.
Use care when working near fire, do not stand
over fire when lighting or during use, loose
clothing can catch fire easily. If clothing catches
fire always remember to stop, drop and roll.

4
Parts list
WARNING - DO NOT over tighten bolts; only tighten with moderate pressure to avoid damaging the bolts or
components of the product.
Prior to assembly, read the instructions carefully. Check all parts against the parts list.
Carry out assembly on a soft surface to avoid scratching the paint. Please retain this information for future reference.
For ease of assembly only loosely tighten bolts and then tighten fully when assembly is complete.
Assembly diagram
16 (1x)
14 (1x)
15 (3x)
B (9x)
A (6x)
1 (1x)
3 (1x)
2 (1x)
4 (1x)
6 (1x)
5 (1x)
7 (2x)
9 (1x)
8 (2x)
10 (1x)
12 (1x)
13 (1x)
M6 x 20mm set
M6 x 15mm Set
1
8
15
B
10
6
8
4
14
16
9
13
12
11
2
3
5
B
7
A
C
11 (1x)
LR
C (3x)
M6 x 25mm set

AssemblyInstructions
5
IMPORTANT - Remove any packaging before use, but retain the safety instructions and store them with this
product.
ASSEMBLY
STEP 1 - Attach the 3 legs (15) to the bottom bowl (13), using 2 sets of M6 x 15mm bolts, washers and nuts
(A) per leg.
STEP 2 - Attach the top bowl (6) to bottom bowl (13) using bowl/grill brackets (10 &11). Use 2 sets of M6
20mm bolts, washers and nuts (B) per bracket. Make sure the brackets are positioned correctly as
these are also used to support the grill. The longest edge of the side brackets (10) need to face
towards the front of the chimenea.
STEP 3 - Attach flue (5) to top bowl (6) using 3 sets of M6 x 25mm bolts, washers and nuts (C). Push all
screws through the holes fully before tightening.
STEP 4 - Attach top flue (3) to the bottom flue (5) using 3 sets of M6 x 20mm bolts, washer and nuts (B).
Attach air vent latch (8) to left side of bottom bowl (13) vent opening using bolts attached.
STEP 5 - Attach door latch (8) to left side of top bowl opening using bolts attached.
STEP 6 - Attach carry handles (7) to the side of top bowl (6) using pre-attached bolts, washers and nuts.
STEP 7 - Attach the door handle to the door using pre-attached nut and bolt. Attach the mesh safety door (9)
to right side of top bowl using bolts attached.
Note: A little pressure on the door handle may be needed to locate this within the door latch. This
secure fitting is to ensure the door can not accidentally be opened during use.
STEP 8 - Attach air vent (14) to right side of bottom bowl (13) using bolts attached.
STEP 9 - Place log grate (12) into base of chimenea.
STEP 10 - To use slide in grill (4), first attach grill handles to the grill by locating the handle ends onto the bars
at the front of the grill. We recommend squeezing the handles first to ensure a good fit. The grill can
now slide onto the chimenea on the left and right brackets (10) and slot over the rear bracket (11) to
secure it.
STEP 11 - Place flue spark guard (2) and rain lid (1) on flue (note rain lid to be removed when in use).
The product is now ready to use but please ensure you have read these instructions thoroughly prior to
use.
Note A large fire can damage or shorten
the life of the unit.
Note The unit is manufactured with high
temperature paint. However, due to the
nature of steel, some rusting can occur. This
is not a cause for concern and will not affect
the performance of your chimenea.
WARNING Do not leave the unit unattended
while the fire is burning.
Note Check the product for any signs of
damage or disrepair before each use.
Note Follow all local, state and national
codes when using this unit. Contact your
local fire department for information on
outdoor burning.
This manual suits for next models
1
Table of contents
Other La Hacienda Grill manuals