2
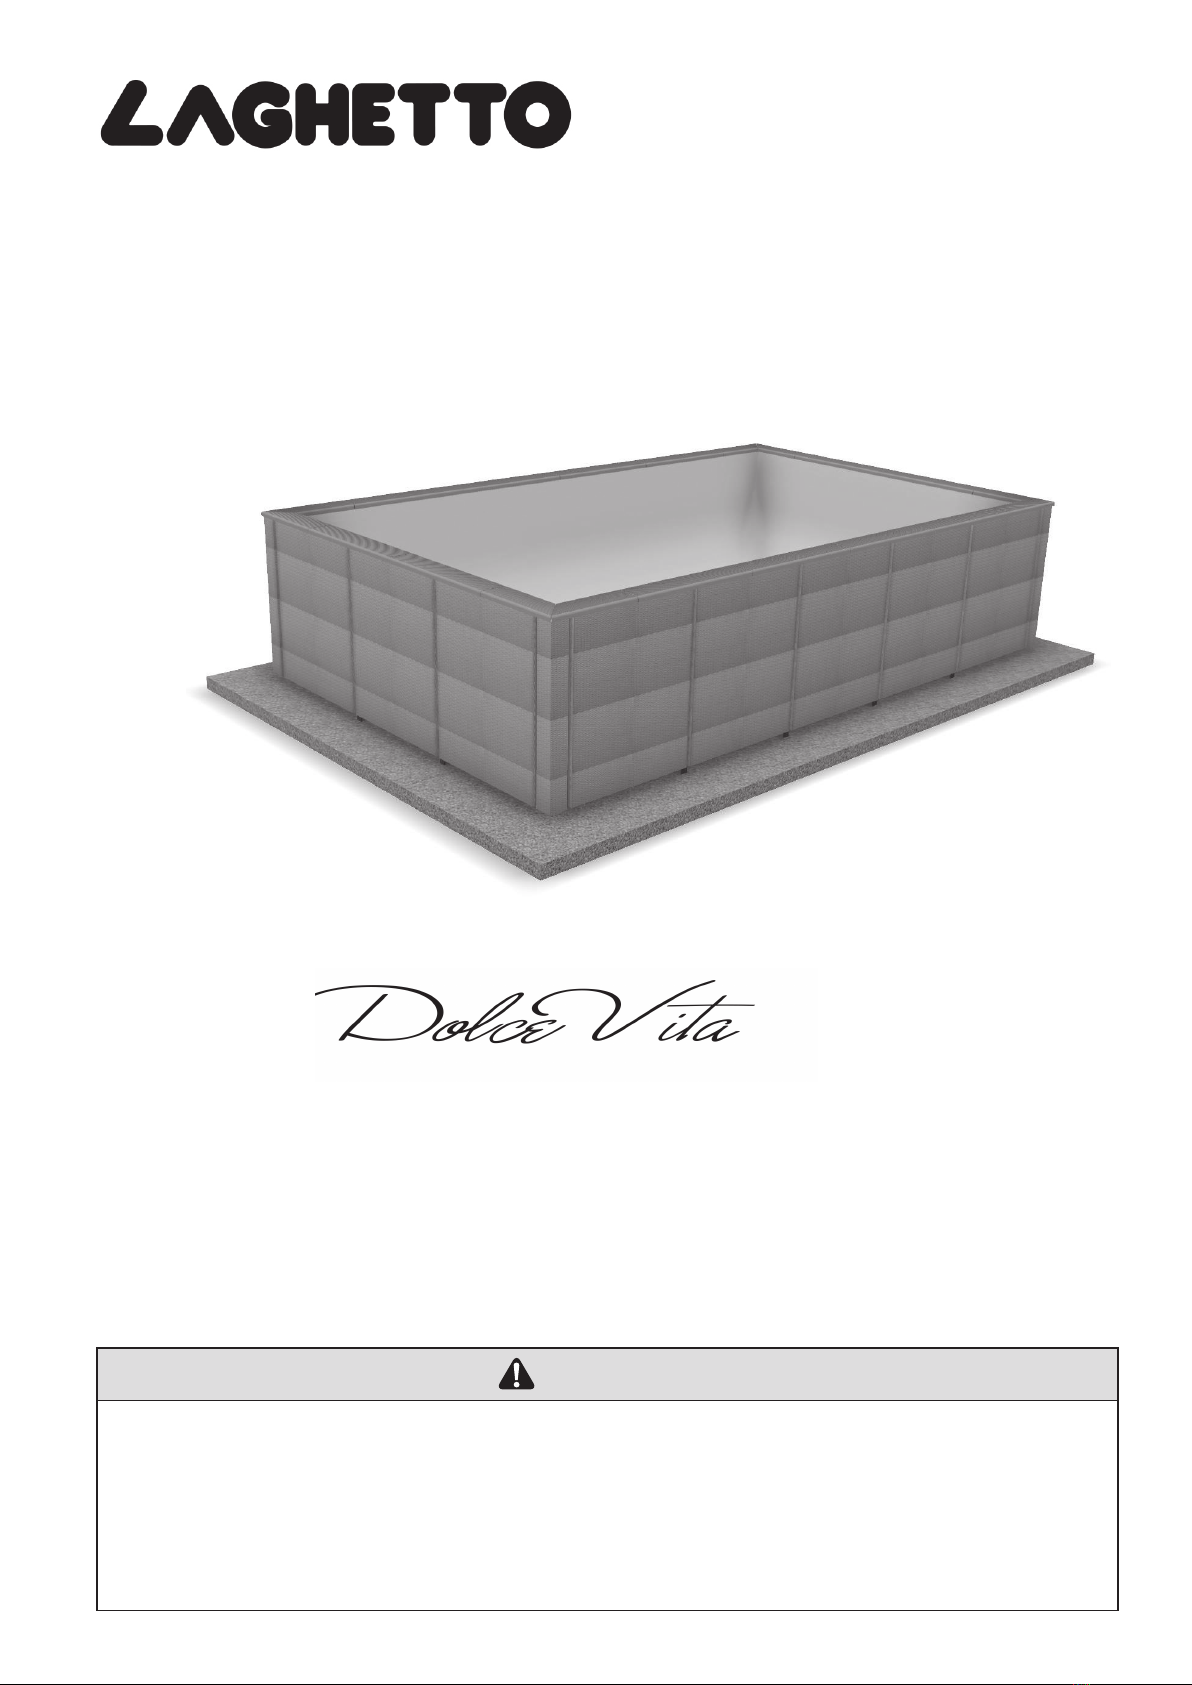
Dolce Vita | R AT TA N above ground pool Assembly Instructions & Owner’s Manual
Table of Contents
Section 1. Important Safety Instructions..... 3
Section 2. Assembly on a Concrete Slab ...... 5
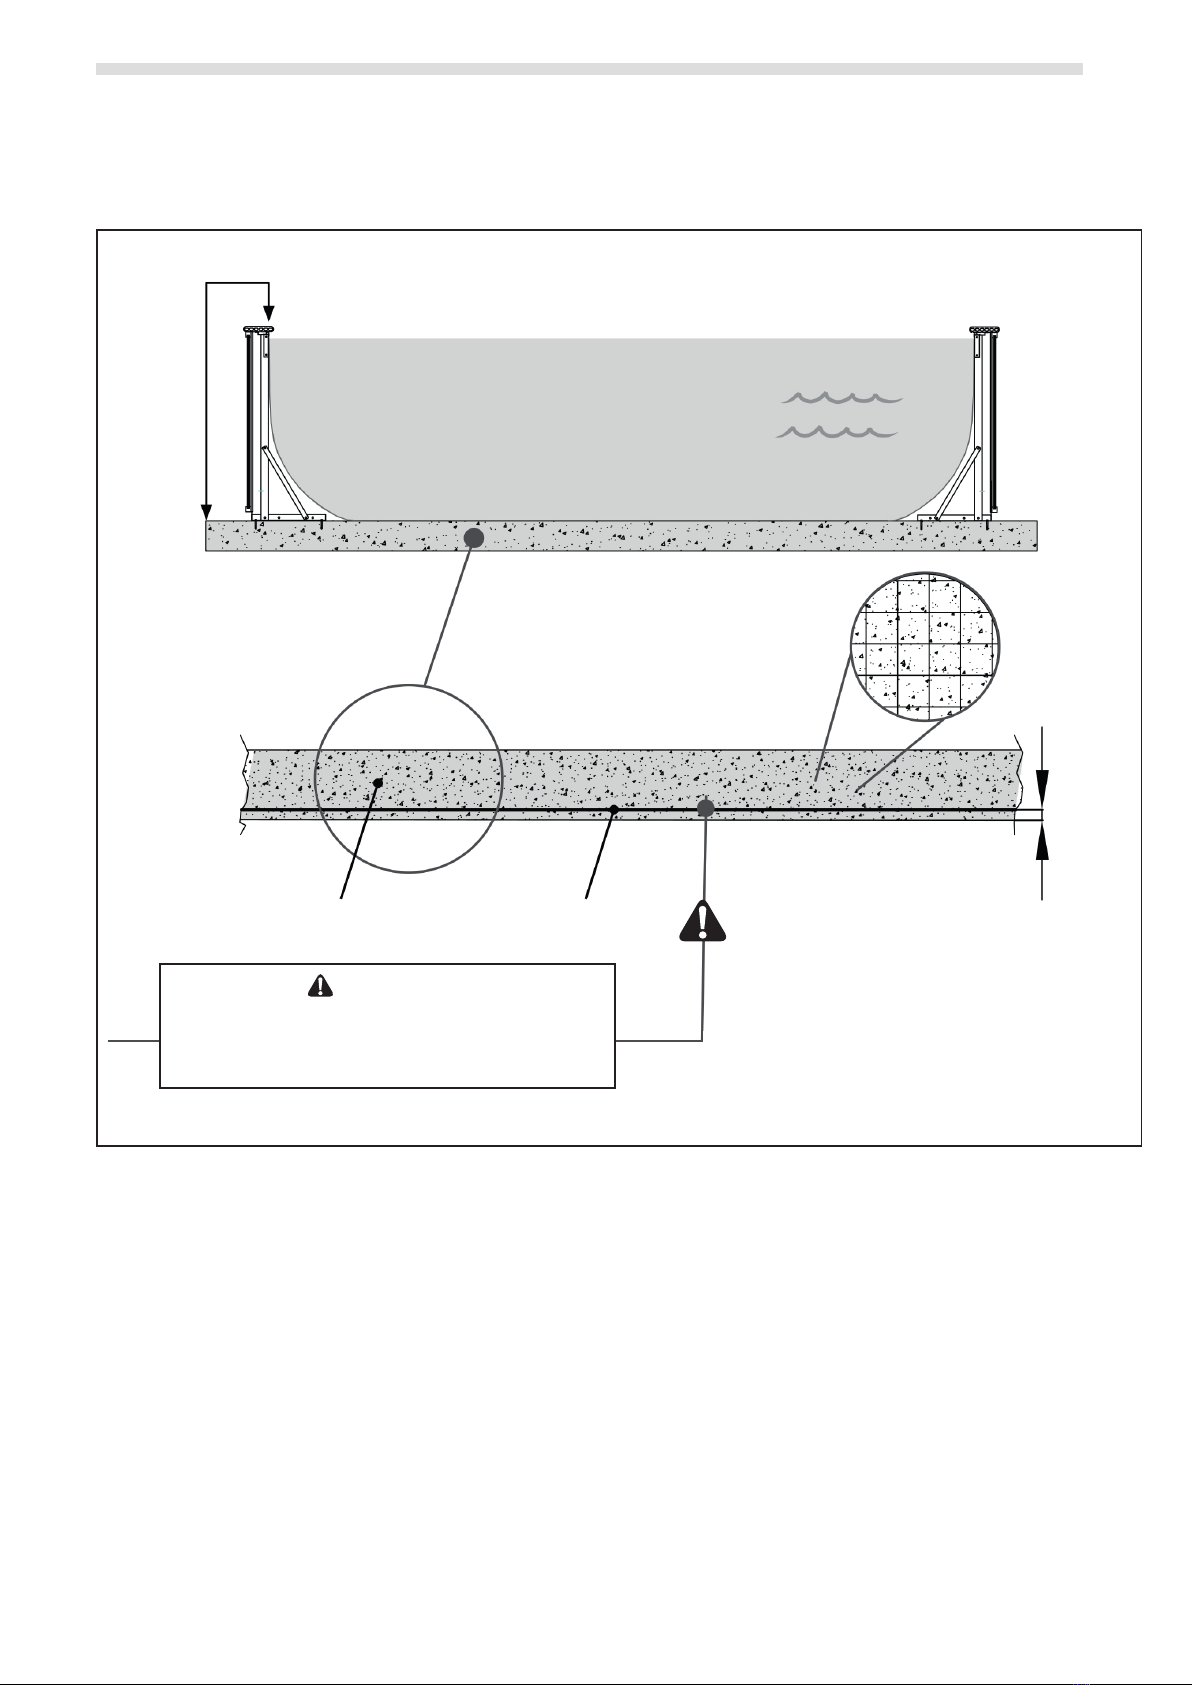
2.1 Concrete Slab.............................................................................5
2.2 General Requirements............................................................5
2.3 Slab Requirements...................................................................6
2.4 Concrete Slab Sizes..................................................................6
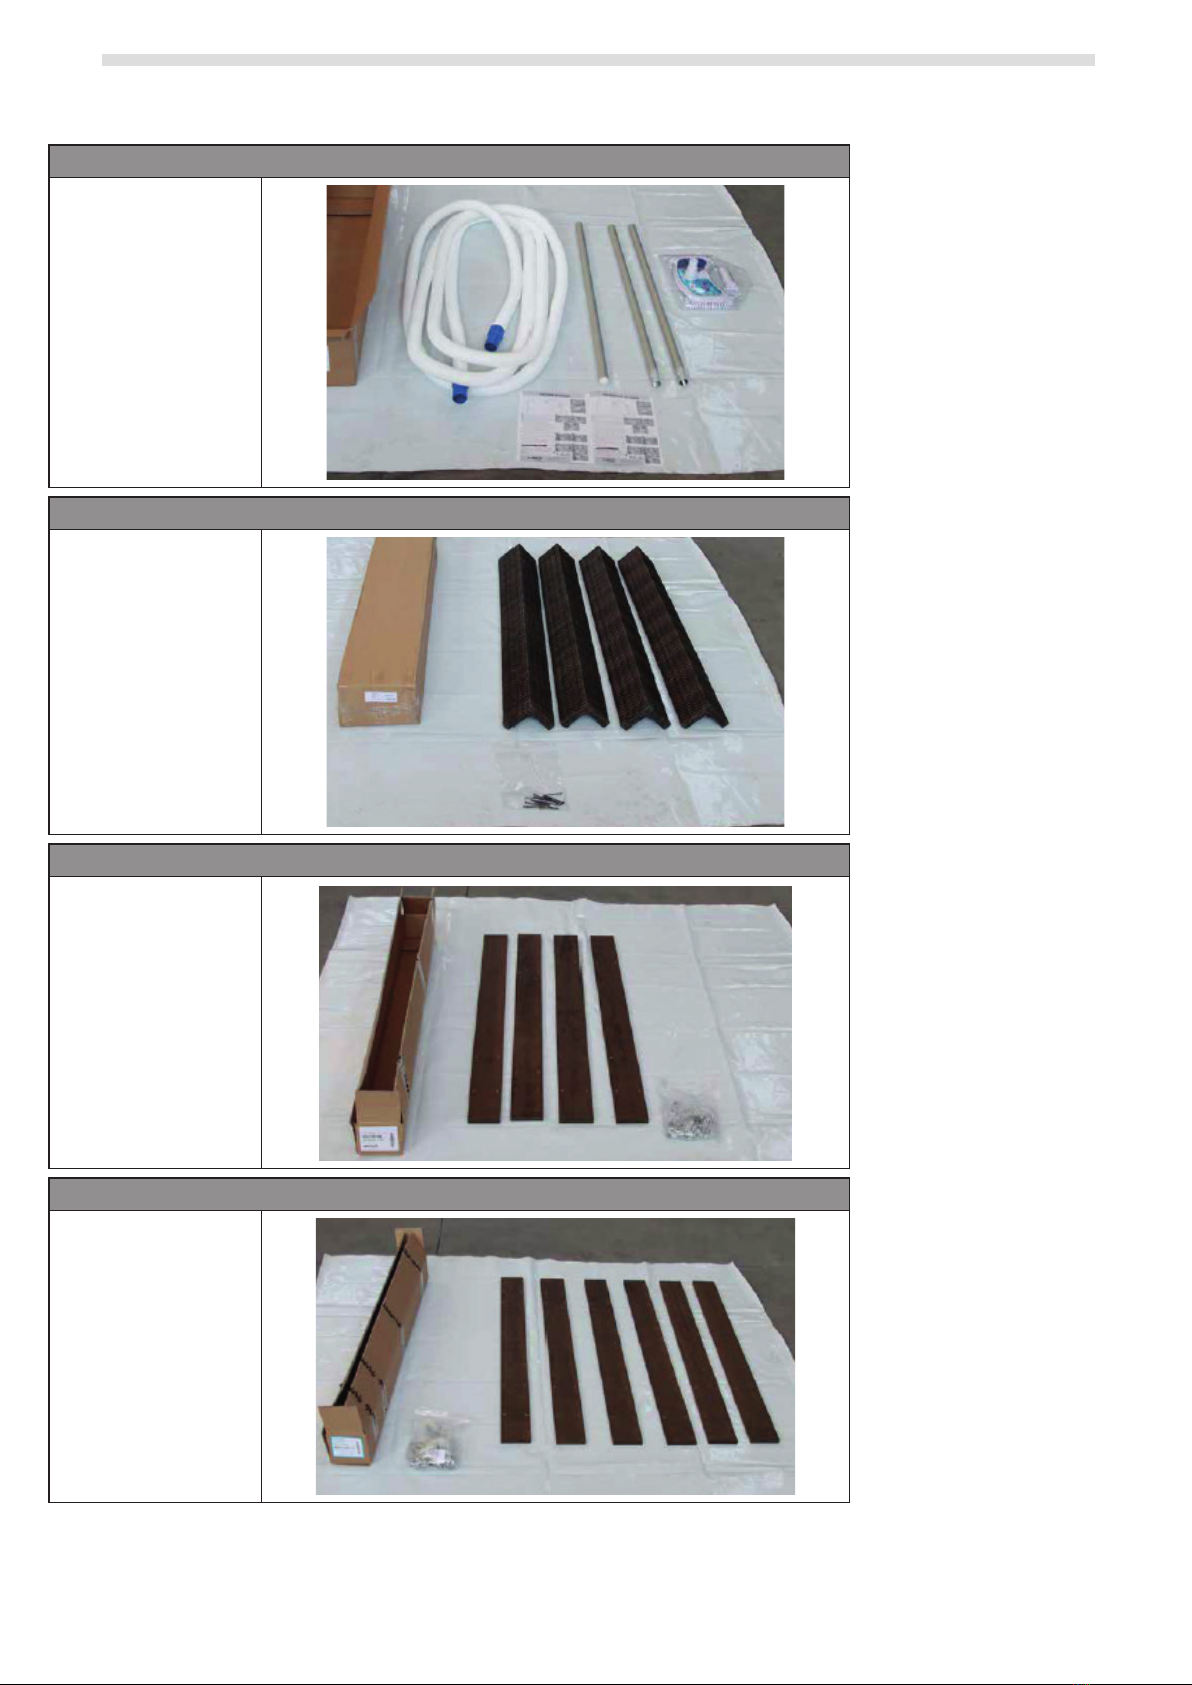
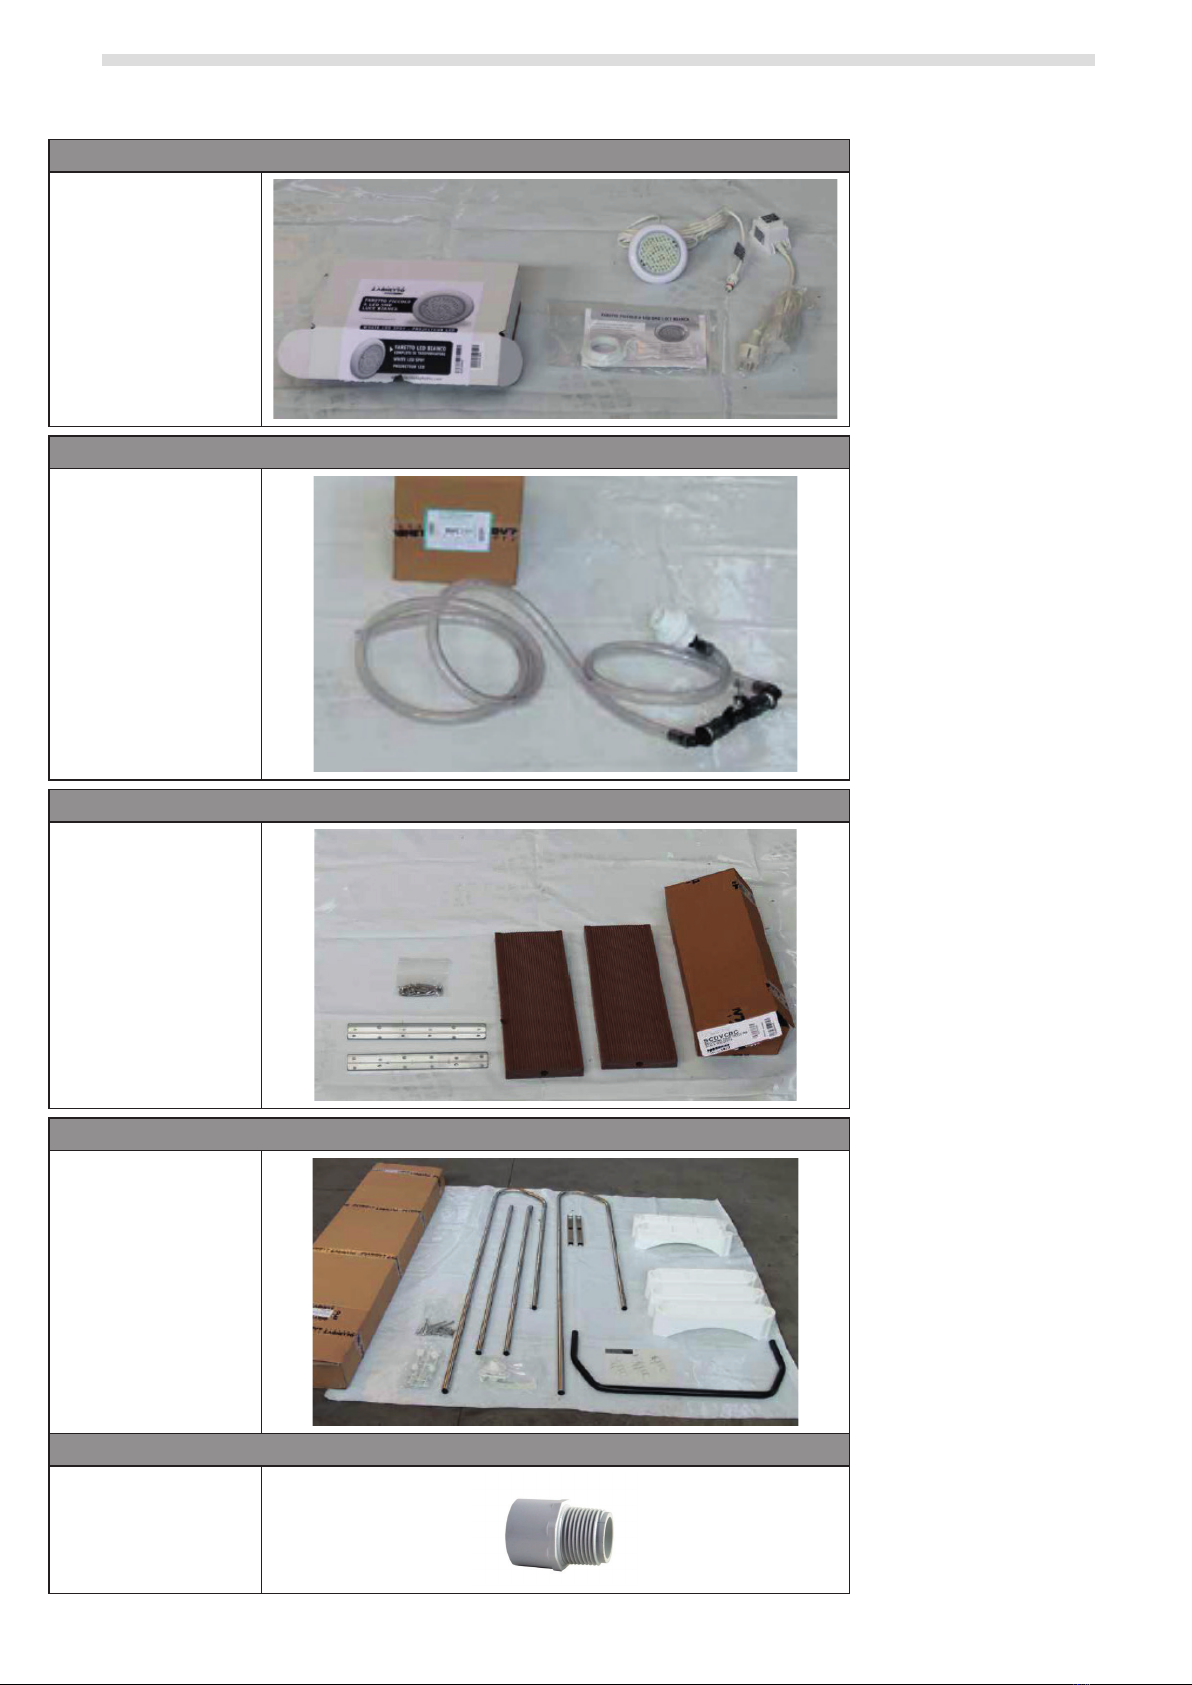
2.5 Package Contents ....................................................................7
Section 3. Pool Parts Assembly................... 11
3.1 Support Leg Assembly........................................................ 11
3.2 Fastening and Alignment Kit Assembly ....................... 12
3.3 Corner Pieces Assembly...................................................... 14
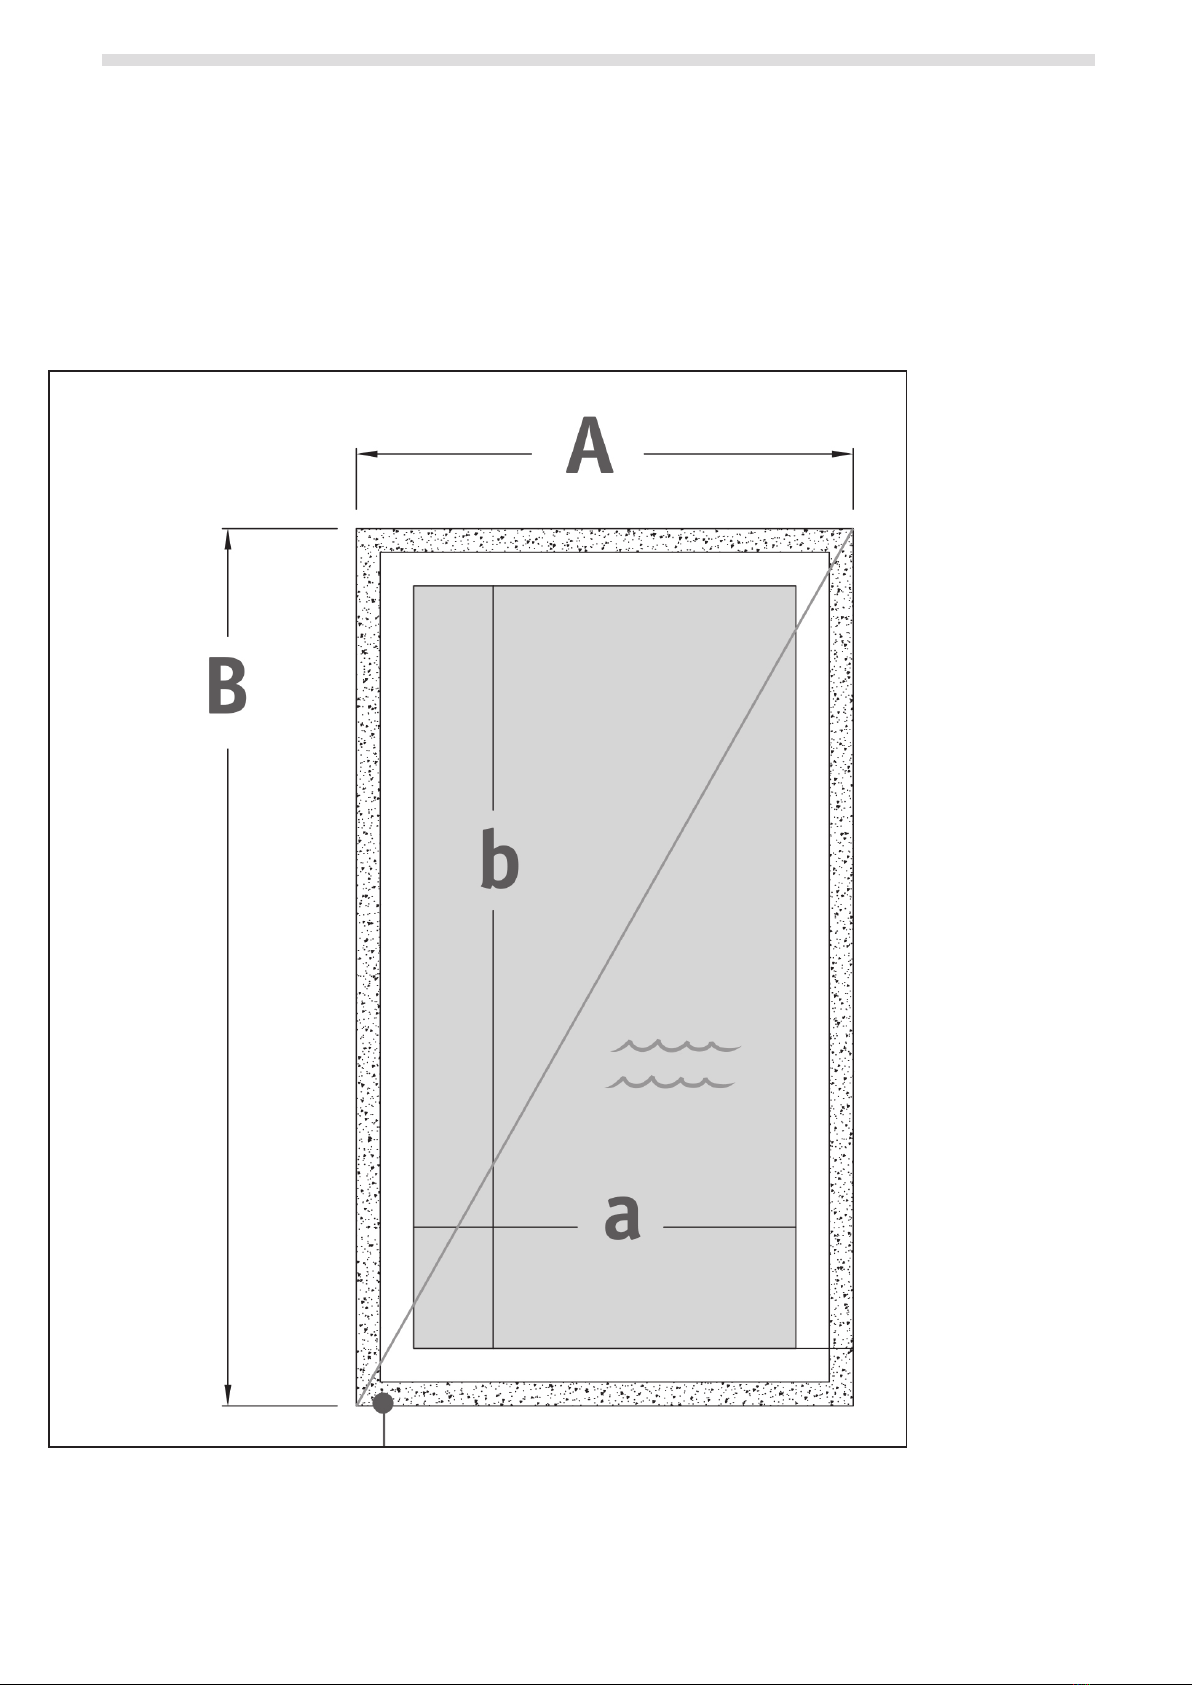
Section 4. Ground Marking ......................... 16
4.1 Marking for 4 x 2 Pool.......................................................... 16
4.2 Marking for 5 x 3 Pool.......................................................... 17
4.3 Check Dimensions ................................................................ 17
4.4 Mark Square Outline on Slab ............................................ 18
4.5 Draw Corner Arcs................................................................... 18
4.6 Outline Marking on Slab..................................................... 19
Section 5. Install the Anchors ..................... 20
5.1 Mark Anchor Position on Slab .......................................... 20
5.2 Attach Anchors to Slab........................................................ 21
Section 6. Assemble the Pool Structure ..... 21
6.1 Attach Crossbeams to Leg Supports.............................. 21
6.2 Assemble Corner Legs (4)................................................... 22
6.3 Connect Corner Crossbeams to Leg Supports ........... 23
6.4 Structure Alignment ............................................................ 24
6.5 Level and Plumb the Leg supports................................. 25
Section 7. Liner Installation ........................ 26
7.1 Prepare the Liner................................................................... 26
7.2 Fitting the Liner...................................................................... 26
Section 8. Install Skimmer, Fittings,
Filtration and Overflow.............. 28
8.1 Install the Return................................................................... 28
8.2 Install the Lights .................................................................... 28
8.3 Install the Overflow and Skimmer .................................. 28
8.4 Overflow Assembly............................................................... 30
8.5 Filtration System Installation ............................................ 31
Section 9. Assemble the Top ....................... 32
9.1 Plastic Wood Finish Top Assembly ................................. 32
9.2 Corner Panel Support Assembly...................................... 33
9.3 Central Panel Support to the Structure......................... 33
Section 10. Assemble and Attach Ladder .... 34
10.1 Ladder Assembly................................................................... 34
10.2 Assembling of the Ladder to the Structure ................. 36
10.3 Panel Assembly...................................................................... 39
10.4 Panels Supports Assembly................................................. 40
Section 11. Filling The Pool: .......................... 41
11.1 Fill with Water ......................................................................... 41
11.2 Adjust after Filling, if necessary........................................ 41
11.3 Final Assembled Pool........................................................... 42
Section 12. Use and Maintenance................. 42
12.1 Before First Use ...................................................................... 42
12.2 Cleaning.................................................................................... 43
12.3 Water Chemistry Table ........................................................ 43