Page 1
CONTENTS
INTRODUCTION ............................................................................................................................3
THREE INTO ONE ......................................................................................................................................... 4
ANALOGUE TAPE ERA ............................................................................................................................ 4
DIGITAL ERA ............................................................................................................................................. 4
DYNAMIC DELAY ERA............................................................................................................................. 4
COMBINED POWER ................................................................................................................................ 4
FEATURES ...................................................................................................................................................... 5
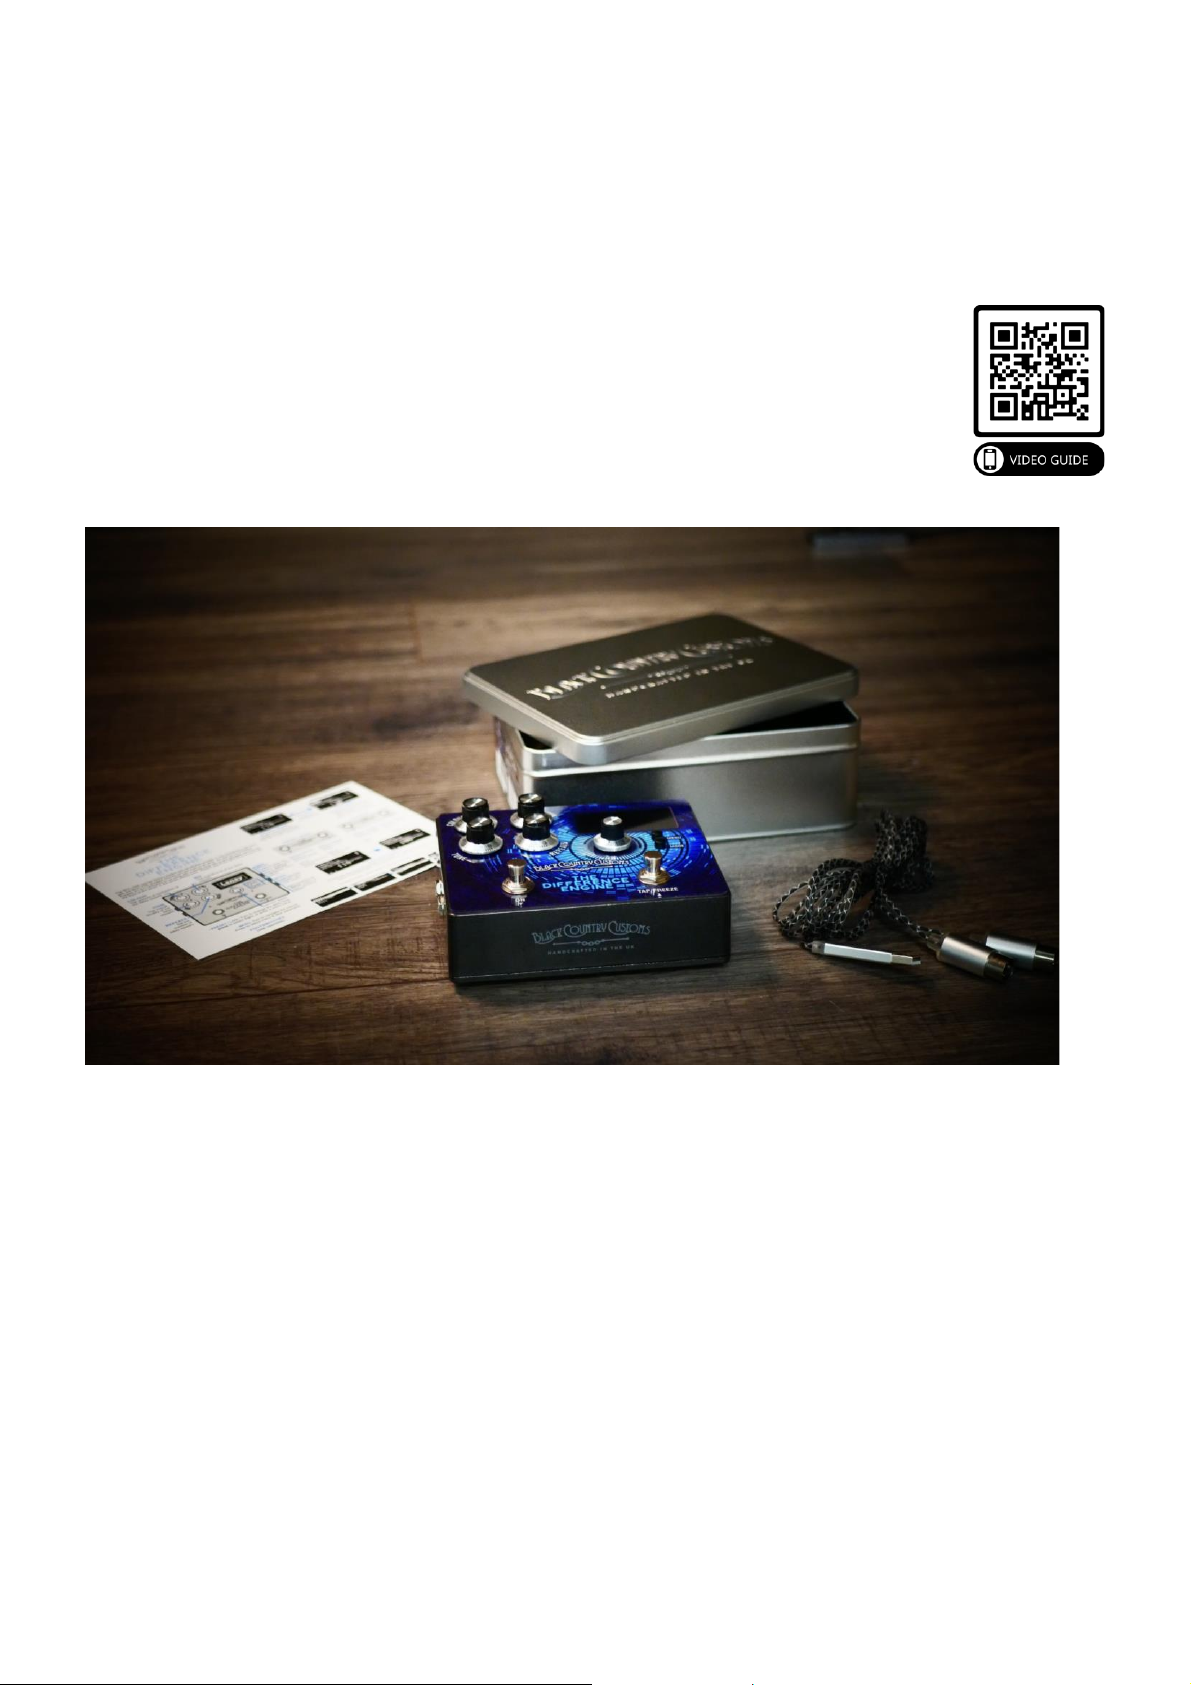
WHATS IN THE BOX ..................................................................................................................................... 5
PEDAL OVERVIEW .........................................................................................................................6
CONTROLS .................................................................................................................................................... 6
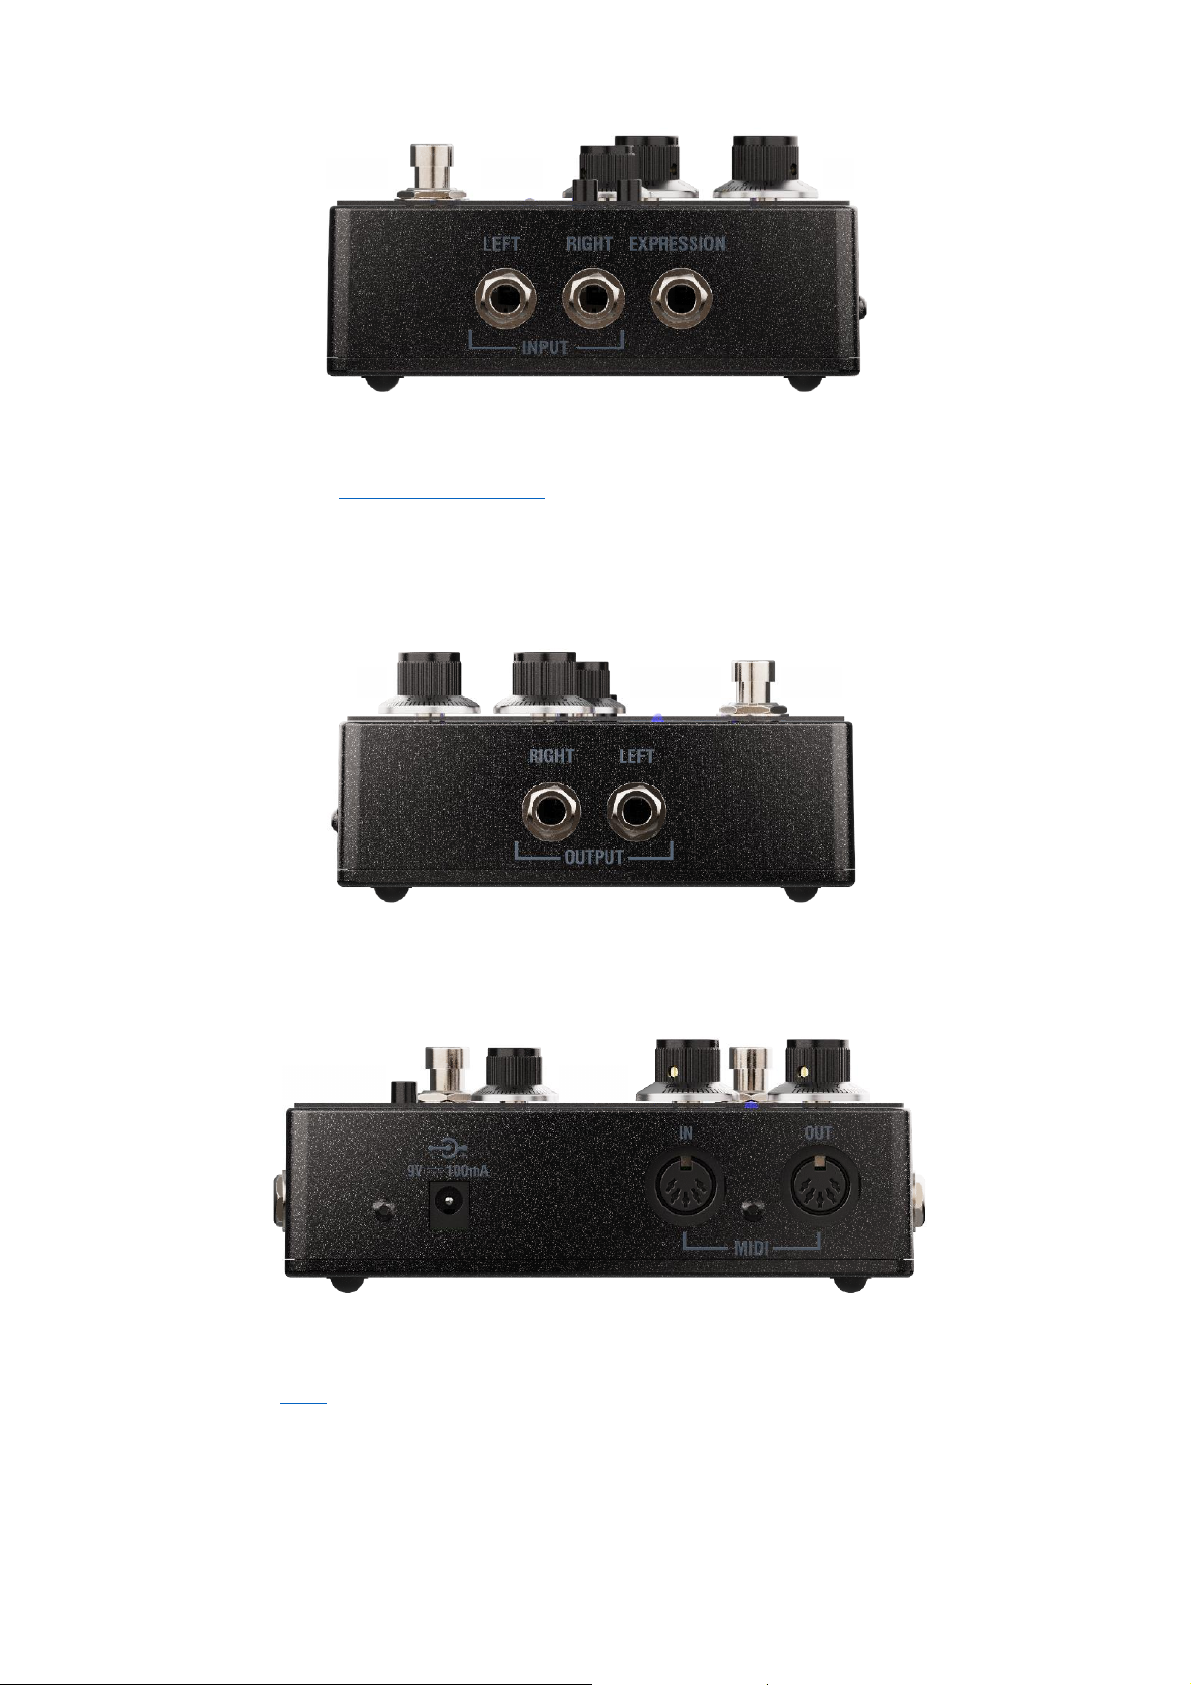
CONNECTIONS ............................................................................................................................................ 8
GETTING STARTED........................................................................................................................9
HOW TO CONNECT TO THE DIFFERENCE ENGINE ............................................................................... 9
IN FRONT OF THE GUITAR AMP............................................................................................................ 9
IN THE FX LOOP....................................................................................................................................... 9
DIRECT.....................................................................................................................................................10
USING KEYBOARDS...............................................................................................................................10
STEREO CONNECTIONS ......................................................................................................................10
WHATS ON THE SCREEN?.........................................................................................................................12
PRESET & LIVE MODE.................................................................................................................................13
PRESET MODE........................................................................................................................................13
LIVE MODE..............................................................................................................................................13
SCROLLING THROUGH PRESETS ............................................................................................. 14
RECALLING A PRESET ................................................................................................................................14
EDITING A PRESET......................................................................................................................................14
QUICK EDITING......................................................................................................................................14
DEEP EDITING ........................................................................................................................................15
STORING A PRESET ....................................................................................................................................15
COPYING A PRESET ...................................................................................................................................15
CHANGING A PRESET NAME....................................................................................................................15
ROUTING 101.............................................................................................................................. 16
ROUTING......................................................................................................................................................16
STEREO....................................................................................................................................................16
XFB...........................................................................................................................................................16
PING PONG ............................................................................................................................................16
MONO .....................................................................................................................................................17
WET/DRY.................................................................................................................................................17
MENUS ......................................................................................................................................... 18
NAVIGATION OF THE MENUS ..................................................................................................................18
EXPRESS YOURSELF................................................................................................................... 19
CONNECTING THE EXPRESSION PEDAL...........................................................................................19
EXPRESSION PEDAL MENU..................................................................................................................19
CALIBRATION.........................................................................................................................................19
EXPRESSION MODES ............................................................................................................................20
INVERT.....................................................................................................................................................20
THE EDIT MENU .......................................................................................................................... 21
MODE...........................................................................................................................................................21
TIME..............................................................................................................................................................21
ANALOGUE ............................................................................................................................................21
DIGITAL ...................................................................................................................................................21