Laser Tools L100M MX User manual

1
L100M MX LASER PRECISION LEVEL™
Operating instructions:
The Model L100M MX Laser Precision Level™ is a hand carried precision level with a built in LASER! This
Laser projects a beam of light from the end of the level and produces an eye visible laser dot that can be seen on
almost any surface even in direct sunlight. The laser actually extends the level reference to over 500 FEET and is
ten times brighter than standard red laser beams.
Here's How It Works....
1. Measure level or plumb using the precision level vial or two plumb vials. They're built in and factory
set.
2. Turn the laser on by turning the battery cap switch.
3. Mark the center of the laser dot and subtract 1/2 inch to reference the bottom of the level.
IT'S THAT SIMPLE!
Avoid Exposure
Battery Extension Level Vial Warning and Certification Label
Battery Cap 2 Plumb Vials Product Identification
ON-OFF Label
Caution - Use of controls or adjustments or performance of procedures other than those specified herein may
result in hazardous radiation exposure.
The level and plumb vials built into the L100M MX Laser Precision Level™ are used just like standard spirit
levels. Just center the bubble between the long index lines for a level indication. Remember, the more accurate the
bubble is centered between the lines, the more accurate the laser beam will be for referencing level. Note: Give
the bubble a few seconds to settle after moving the level.
Turn the laser beam on by rotating the battery compartment end cap clockwise. To turn the beam off,
turn the end cap counter-clockwise a quarter turn. Avoid over tightening since it isn't necessary. (CDRH:
The battery cap On/Off is an alternate to the beam attenuator requirement.)
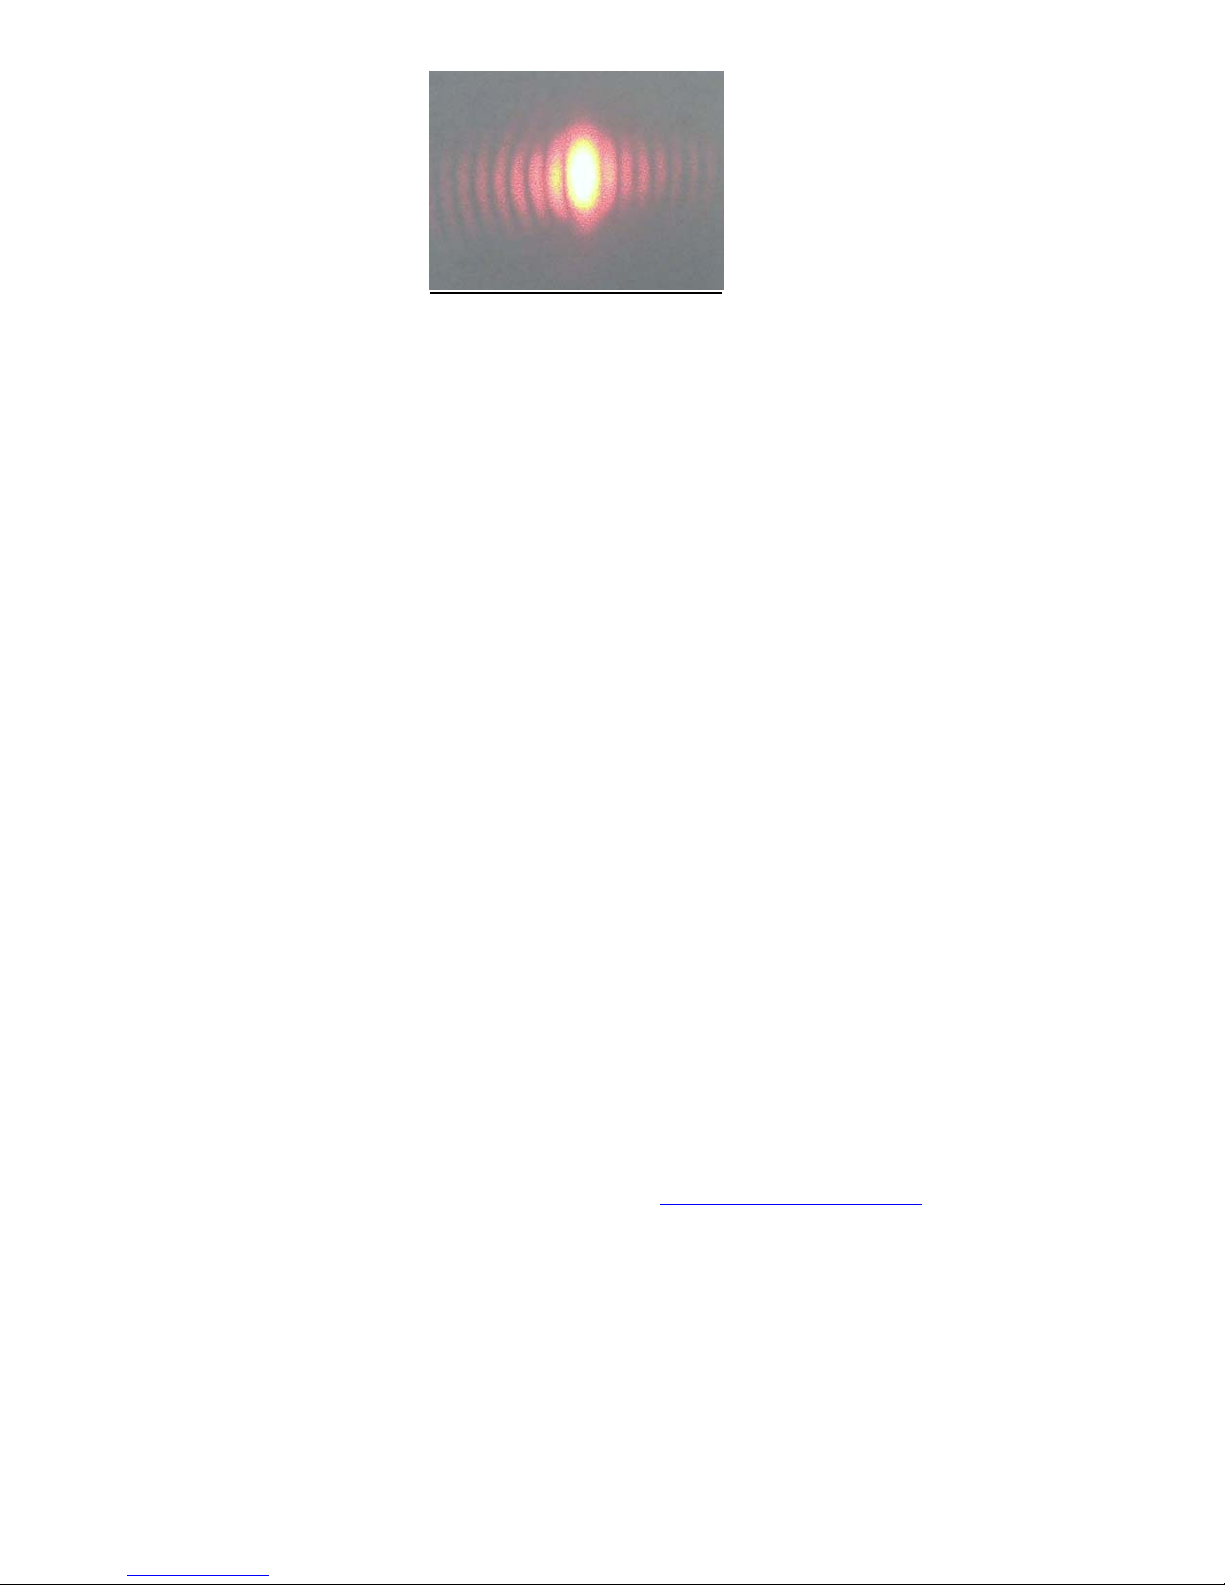
The laser beam produces a bright green spot on most any reflective surface. However, the laser dot can be seen
best when the surface is of a lighter color (i.e. wooden 2x4s, white wallboards, forms, and anything colored White
or Red.) Dark colors soak up the light so the laser dot will be less bright. The L100 MX Laser Precision Level™
is bright enough to be seen in direct sunlight. The laser dot can be seen better when the sun is shaded from shining
directly onto the laser dot. Standing in front of the sun or using a sun screen (your hand, your helper’s body, a
piece of paper, etc.) will work.

2
The laser beam center is positioned 1/2 inch from the bottom of the level. This means that a half inch needs to be
subtracted from the center spot of the laser dot to reference the actual bottom of the level.
Mark the bull’s eye of the circular "target" and subtract 1/2 inch. This second mark is level with the bottom of the
L100M MX Laser Precision Level™ within 1/8 inch out to 100 feet or any distance in between!
Helpful hints:
1. To find the laser dot on long shots, follow the laser beam out to the marking spot by sticking a piece of paper or
any target in front of the beam and tracing the beam path to the marking spot. This works great in bright sunlight
conditions. Also, even though the laser beam is low powered, avoid looking directly into the laser beam. The laser
beam is quite bright.
2. To aim the laser in the general direction of the shot, sight down the top of the laser by looking lengthwise down
the top of the level at the target spot.
Battery Replacement:
Unscrew the battery compartment end cap and remove the batteries. Replace with 2 Panasonic CR 123A Lithium
Photo Batteries or equivalent.
Remember: The negative ends (the flat end of the battery) goes in first. The positive ends with the button end
sticking up go toward the brass end cap.
Maintenance:
The L100M MX Laser Precision Level™ is designed to be weather resistant and construction tough, but like any
precision instrument, general care should be taken to avoid abuse.
1. The precision glass level vial and plumb vials are protected and shock mounted. Avoid direct contact with the
level vials.
2. The front optic window is coated with a high performance film. Clean with a lint free cloth or swab using a
premium glass cleaner solution.
3. Clean the outside of the level with a damp cloth.
Calibration: The L100M MX Laser Precision Level™ uses wedge prisms for beam steering and should not
require any adjustments for the life of the unit. However should adjustments or repairs be required, contact Laser
Tools Co., Inc., 12101 Arch St., Little Rock, AR 72206 directly at http://www.Lasertoolsco.com or 501-562-0900
or Fax 501-562-0022.

3
Accessories:
The L100M MX Laser Precision Level™ can be mounted to standard camera tripods for stand alone operation.
However, to speed up the fine tuning of the level vial, the AP100A Leveling Adapter Plate or the AP1000 Transit
Adapter Plate is recommended. Both the AP100A and AP1000 are designed with a 3 or 4 position adjustment
system that quickly and accurately centers the bubble within the level. This means that the L100M MX Laser
Precision Level™ can be leveled and turned in a 360 degree circle to shoot in any direction without wasting time
to readjust the tripod for level. The AP100A and the AP1000 can be used on any flat surface.
The AP90C Beam Bender™ adapts to the L100M MX Laser Precision Level™ and creates two laser beams that
are exactly 90 degrees apart. This is used for quick layouts, exact positioning of reference points and vertical
plumbing. The AP180C Beam Spreader™ creates a line useful for layouts, marking and broad area leveling.
For protection during transportation, the AP30 padded carrying case is recommended. This zippered
case fits all laser models and includes the “Laser Hand Level" logo. The AP40 hard shell carrying case
is foam filled and designed to store the laser level and all accessories.
The laser beam center is positioned 1/2 inch from the bottom of the level. This means that a 1/2 inch
needs to be subtracted from the center spot of the laser dot to reference the actual bottom of the level.
Safety Precautions:
1. Avoid direct eye exposure to the laser beam.
2. Don’t view the laser beam with optical or magnifying devices or equipment.
3. Avoid looking directly into reflections of the laser beam
Specifications:
Model: Ll00M MX Laser Precision Level™
•Dimensions: 1" W x 1 1/8" H x 13" L (25.4mm x 28.6mm x 330.2mm)
•Weight: Less than 20 oz.
•Level Vial: 5 minute: Accurate to +/- 1/8” over 100'.
•Plumb Vials: 30 minute; Accurate to +/- 1/4” over 20'.
•Laser Beam: Accurate to +/- 1/16” over 100'.
•Power: 2 Size CR123A Lithium Photo Batteries. Over 40 hours of continuous operation. (Batteries included.)
Class IIIa @ 635nm <5mw.

4
Warranty:
This L100M MX Laser Precision Level™ is warranted to the original purchaser to be free from defects
in workmanship and material. Laser Tools Co., Inc. will repair or replace any defective part, which may
develop under normal and proper use within a period of one year from the date of purchase, without
charge of parts and labor, once delivered, shipped prepaid to Laser Tools Co., Inc., together with proof
of date and place of purchase. This warranty is not subject to misuse, abuse, assign, or transfer. The
exclusive remedy under any and all warrants and guarantees expressed or implied is limited to repair
and/or replacement as provided herein and Laser Tools Co., Inc. shall not be liable for damages from
loss or delay of equipment uses, consequential or incidental damage.
Manufactured by: Laser Tools Co., Inc.. 12101 Arch St., Little Rock AR 72206 Phone 501-562-0900 FAX
Table of contents
Popular Laser Level manuals by other brands

LaserLiner
LaserLiner Revolution operating instructions

LaserLiner
LaserLiner SuperCross-Laser SCL 2 operating instructions

ADA INSTRUMENTS
ADA INSTRUMENTS 3D Liner 2V Green operating manual

LaserLiner
LaserLiner DigiLevel Plus manual

Hilti
Hilti PR 28 operating instructions

DeWalt
DeWalt LASERCHALKLINE DW086-XE instruction manual