Registering The Unit with Wi-Fi:
1. Download the ‘MySTRATA_HEAT’ app by LATICRETE.
2. Ensure the Smartphone is logged onto a 2.4 GHz Wi-Fi signal before proceeding. If necessary “forget” (in
the iPhone Wi-Fi Settings) any 5 GHz signal from the local Wi-Fi router and/or router extender.
3. Within the app, enter the house or business location in which the STRATA_HEAT thermostat is located. If
using the LCD model, make sure to include the address so the time zone and weather report will be accurate.
4. It is advised to have details of your current energy tariff and pricing, as these will be required if you wish to
use the energy monitoring features. If you don’t know or wish not to use this feature, you can select SKIP.
4. Next Choose your device. Based on the version of Thermostat you have, you will either chose the option for
‘Device Number’ or the QR Code Option.
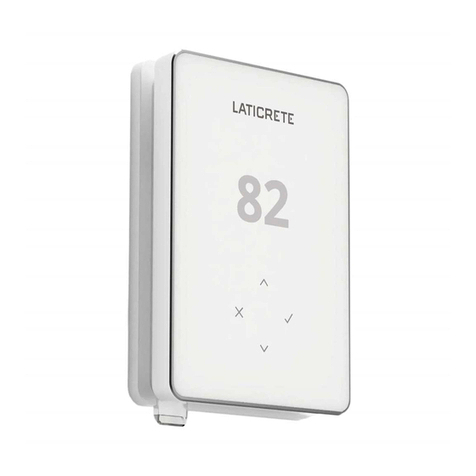
White WiFi Thermostat: The QR Code can be found on the screen protector decal on the front of the
screen. If this is not available, then you will need to remove the faceplate and use the QR code sticker on
the back of the unit.
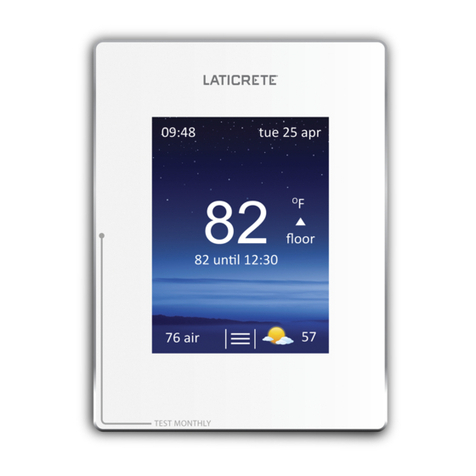
Smart LCD Thermostat: The QR code will pull up when the unit is first turned on. If the unit was
previously setup prior to registering, you can obtain the QR code by selecting the 3 lines on the bottom
center of the screen> Settings > Network > Network setup.
5. Scan the QR Code-The app will ask to connect to the thermostat “Hot Spot” click Connect. The Wi-Fi
network will appear, and the password will need to be entered. Again, make sure the connection is 2.4 GHz.
Enter the password and click “next”. Watch the thermostat screen as the router connects.
6. Proceed to adding the room(s) being setup in the app by filling in the information. Once done app home
screen should appear allowing you to control the unit via the smart app.
Manual Setup of STRATA_HEAT Thermostats (Not connecting the unit to Wi-Fi)
STRATA_HEAT Wi-Fi Thermostat
1. Securely seat the screen into place and make sure the breaker is turned on to boot up
the unit. If setup was previously attempted, it is best to reset the thermostat and start
over.
2. To Reset: Click checkmark 2X to get to scroll screen. Use arrows to scroll to gear
icon. Click checkmark. Scroll to red on/off button. Click checkmark. Scroll to make
checkmark blue. Click checkmark. Unit will reset.
3. Starts up with Blue House icon with lightning bolt. This is correct, click checkmark.
Next screen is a White House with Lightning Bolt and number 2 under it. This sets up
the probe to read floor temperature. If not “2” use arrows to change it to “2”. Click checkmark. The Wi-Fi
icon will appear- scroll arrows to make the X blue and click the checkmark. The unit will ask to set the date-
use the arrows to scroll to the correct number and click the checkmark, continue this process until the date and
time are set. Click the checkmark and the setup is complete. The programming can be set on the thermostat.
There is also an override function and a fixed temperature feature. See the operating manual for more
information and functions.
