10
Normal Operation
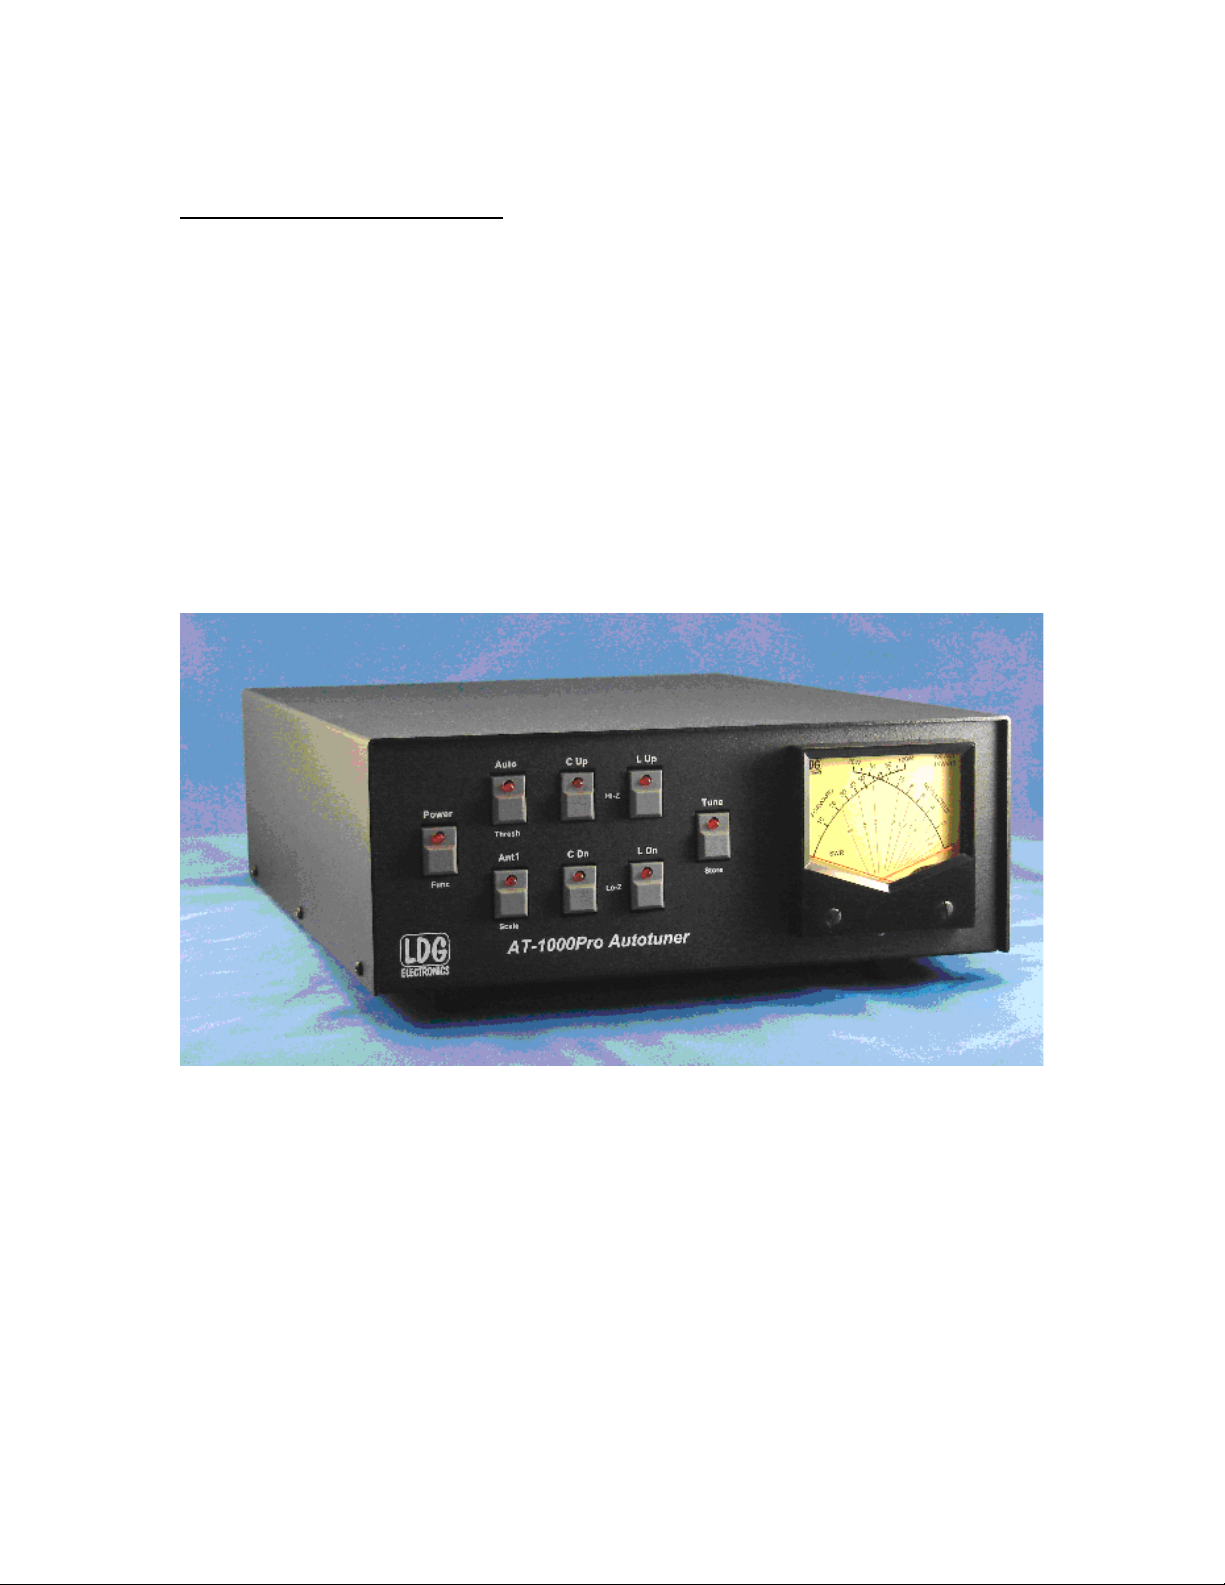
To prepare the tuner for use, press the “Power” button on the front panel. The red LED above the
button, and the meter lights come on, indicating that your AT-1000Pro has powered up. The tuner
resets to the last tuned setting (and Antenna selection) before the previous power-down.
Select the desired antenna by pressing the Ant 1 button. The LED is on when Ant 1 is selected,
and is off when Ant 2 is selected.
Set your amplifier to standby, so it will not operate when you transmit; tune with your exciter
only. Set your exciter to transmit up to 125 watts (with rollback), 30 watts max (without rollback;
see below), or on the frequency you plan to use. CW is usually the most convenient mode, but
you can also use RTTY, FM or an AM carrier.
While transmitting 5 – 125 watts, press and release the “Tune” button on the tuner front panel; an
automatic tuning cycle will begin. You will hear the relays in your AT-1000Pro operate as they
switch inductors and capacitors in and out seeking a match; they make a fairly loud buzzing
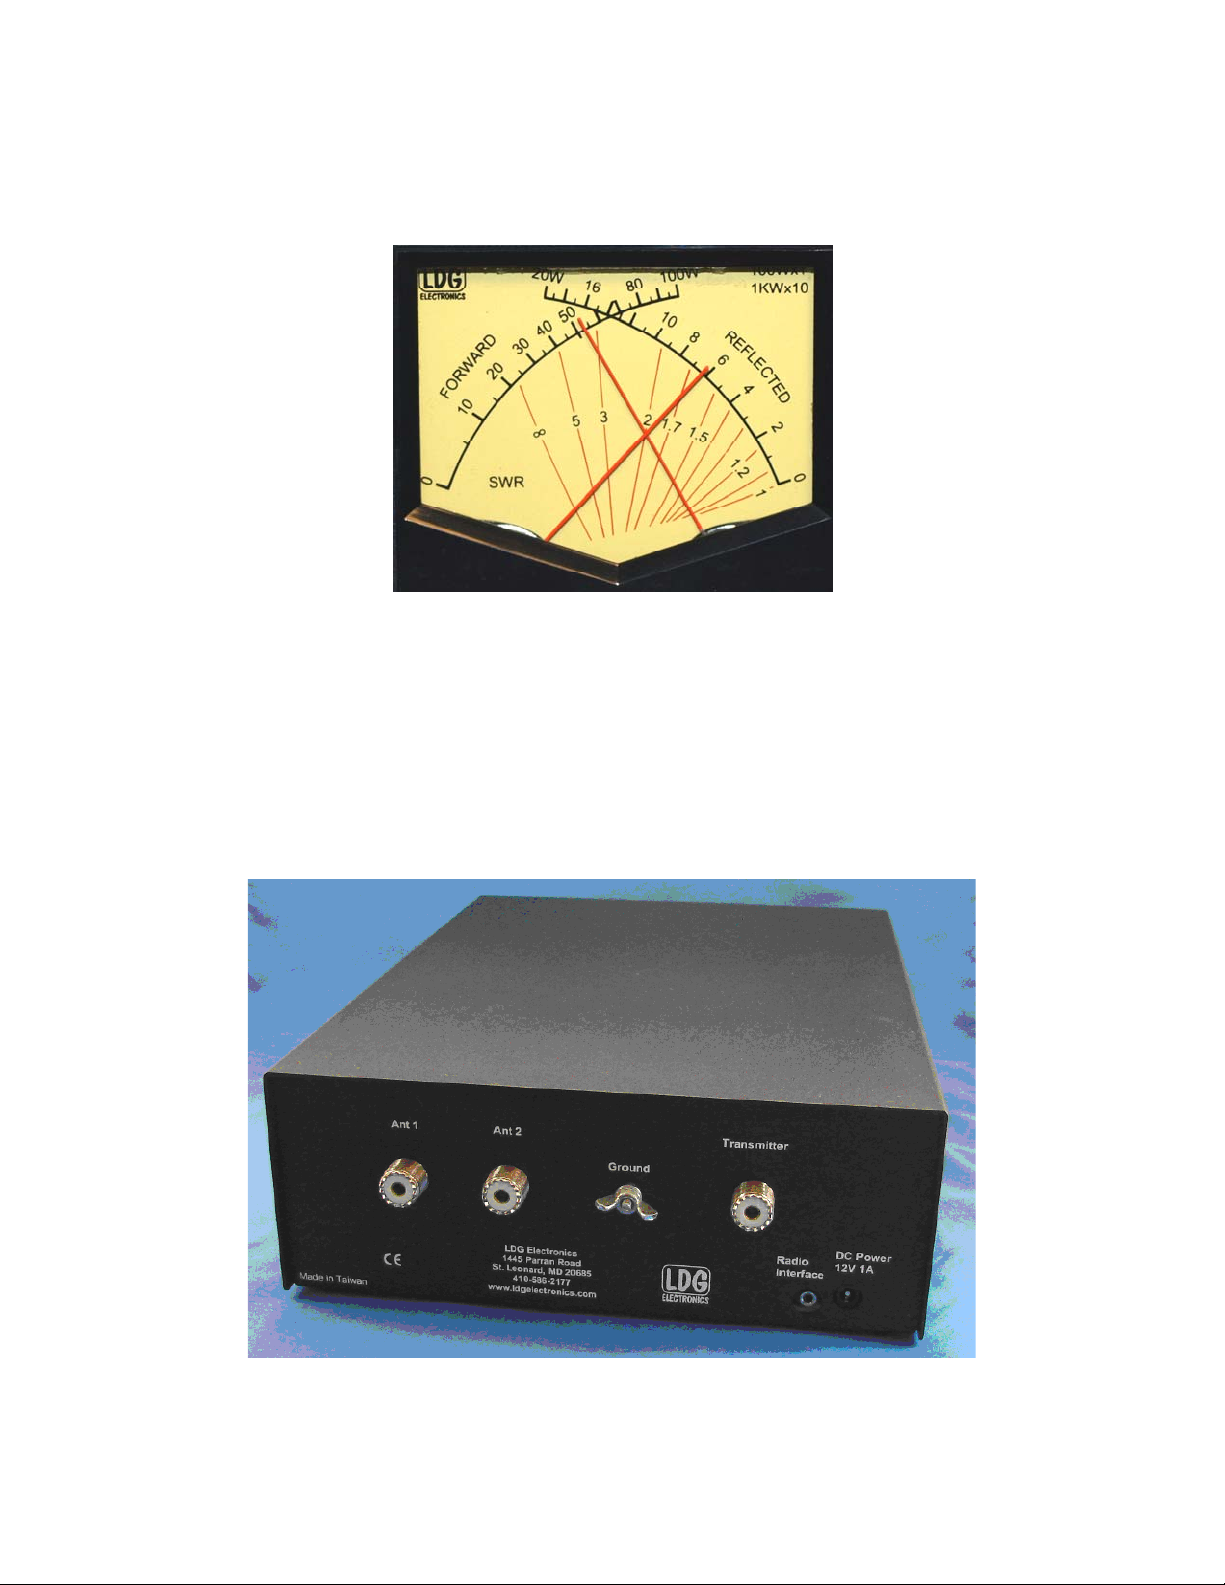
noise. You can observe the present reflected power and SWR on the meter during the tuning
process—but watch closely; it happens fast!
The tuning cycle will automatically end in a few seconds, with the meter indicating the final
achieved SWR, usually 1.5 or less. The Tune LED will blink five times, indicating a good tune
and a memory save. Check for an SWR of 2 or less. If the SWR is greater than 2, use the manual
adjustment buttons to adjust the SWR to level less than 2 (see “Fine-tuning the tuner”, below).
Unkey your exciter.
After tuning is completed, set your amplifier to operate, key your exciter and tune your amplifier
as usual (if needed). Good practice dictates tuning your amplifier into a 50-ohm dummy load
with a suitable power rating. You may tune your amplifier into the antenna through your AT-
1000Pro providing it has tuned the antenna to a low SWR, and also providing you do not exceed
the specified ratings of either your amplifier or your AT-1000Pro. Never press the Tune button
while transmitting more than 125 watts. Unkey when done; you are ready to transmit.
Memory Operation
At the end of each successful tuning cycle (SWR <1.5), the tuning parameters are stored in non-
volatile memory. For each antenna port, there are four banks of 2,000 memories, allowing you to
use an external 4-way antenna switch connected after the antenna jack. Each time a tuning cycle
is started, if a previous successful tune was performed on the given frequency, the stored
parameters for that frequency are quickly tried. If one of the stored parameters gives an SWR of
1.5 or less, the tuning cycle ends. If not, a full tuning cycle begins automatically, with the new
tuning parameters stored automatically upon successful completion of the cycle. The Tune LED
will blink five times, indicating a good tune and a memory save.
The memory storage and tuning process is completely automatic, with no impact on your
operation of the tuner. The effect is much faster overall tuning once the tuner has "learned" your
most common bands and frequencies. You will probably want to use memory tuning most of the
time.