Installation
This section covers:
nTools you will need
nSafety information
nTips for a successful audio installation
nCabling notes
nPhysical installation
nConnection diagrams
Tools You Will Need
nHole saw for the appropriate type of ceiling
n#2 Phillips screwdriver
nWire cutters
nTape measure
nLadder or lift
nAppropriate personal protective equipment
We recommend suspending the tile brace using Chief’s “Speed Connect Hardware Kit,” part number
CMSHDW, available from legrandav.com.
Safety Information
Warning
Follow standard safety practices when using ladders or lifts. Failure to do so can result in injury
or death.
Note
All above-ceiling work must conform to local building codes and should be performed by qualified
personnel.
Placement Tips
Avoid common audio problems:
nThe effective range for each Vaddio microphone and each Vaddio speaker is about 12 ft. (3.7 m)
under most circumstances. Be sure the room design includes enough microphones and speakers to
provide adequate coverage.
nTo prevent audio feedback, install microphones at least 4 ft. (1.2 m) from speakers. More separation
is better.
nPlace microphones closer to the people talking than to the room's speakers. This helps maintain good
echo cancellation.
nBecause of its geometry, the overhead microphone is less sensitive in a small area directly below it.
In a small to medium room, it may make sense to install the microphone(s) above the centerline of the
conference table.
nDo not route microphone cables across or beside fluorescent light fixtures. Electrical interference
from the ballasts may degrade the audio signal.
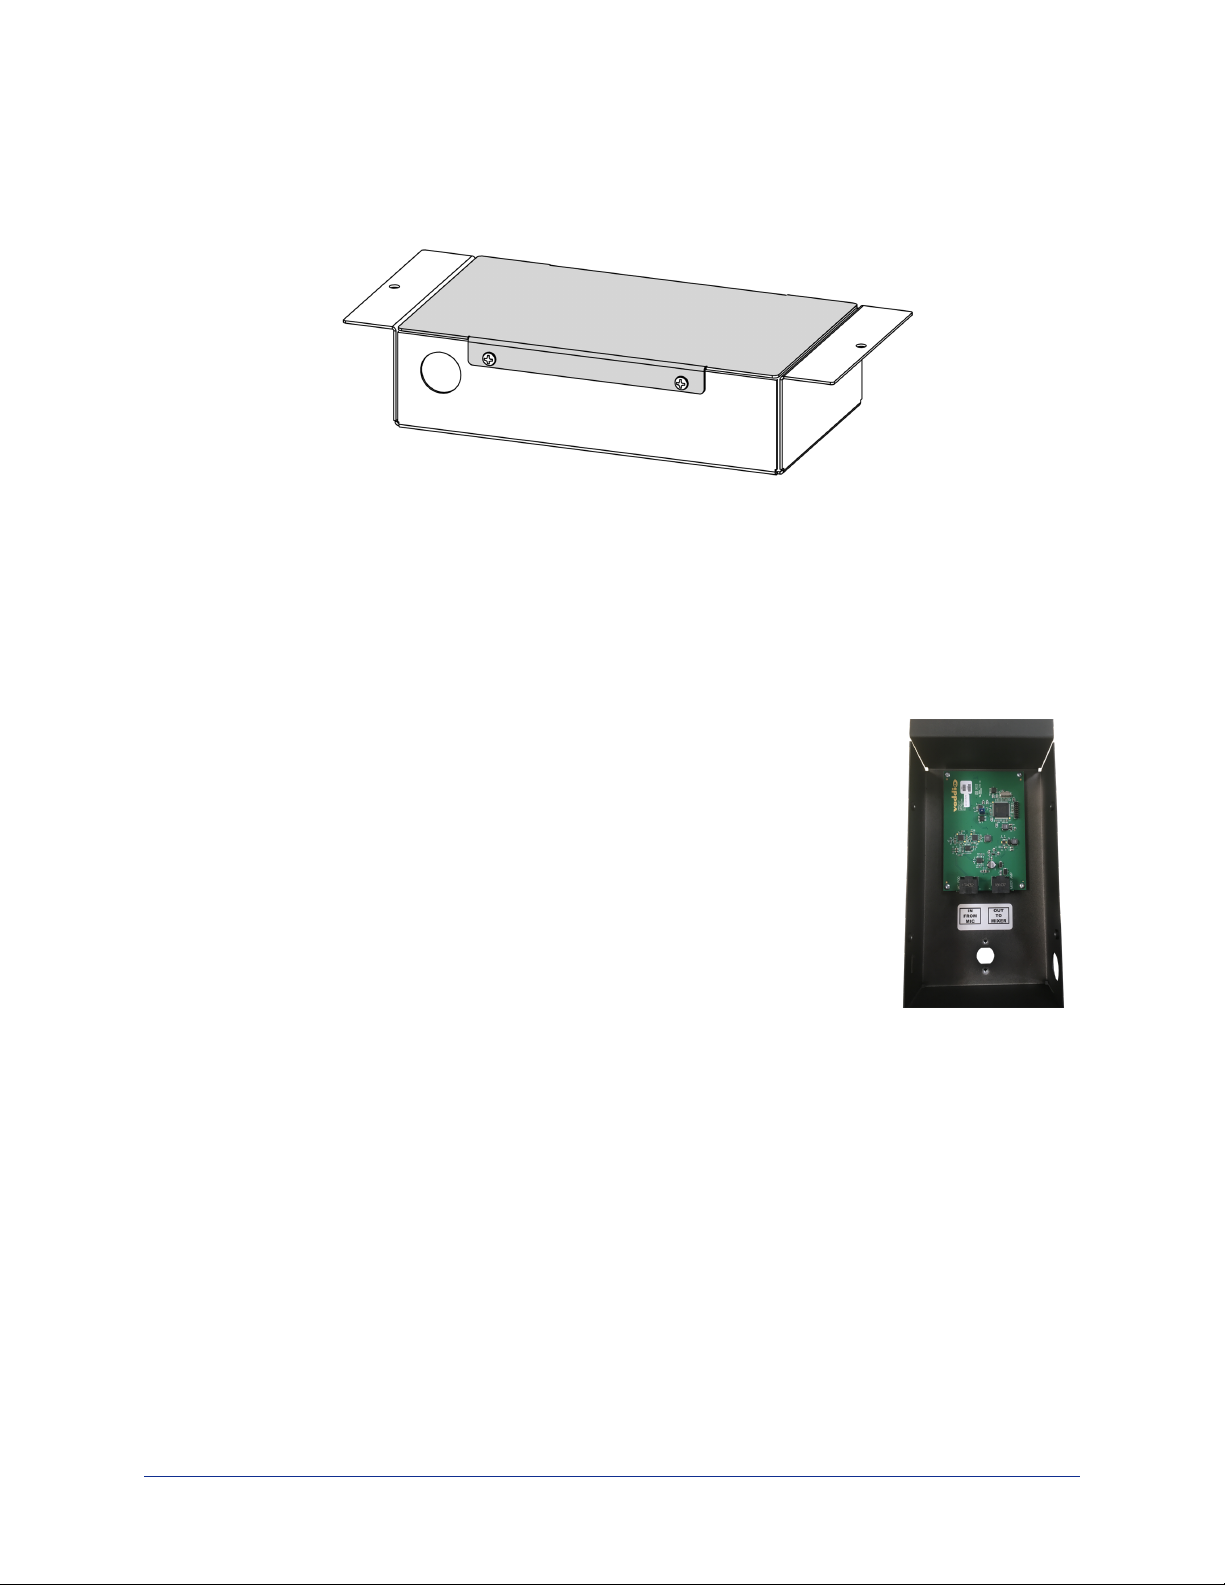
nMount the EasyIP CeilingMIC/AMP D away from air vents, to keep the microphone from picking up
the sounds of the HVAC system.
3
Complete Manual for the EasyIP CeilingMIC/AMP D Network-Connected Amplifier and Overhead Microphone