manuals.online logo
Brands
  1. Home
  2. •
  3. Brands
  4. •
  5. LEM
  6. •
  7. Commercial Food Equipment
  8. •
  9. LEM 1111 User manual

LEM 1111 User manual

IMPORTANT WARRANTY INFORMATION:
PLEASE READ, FILL OUT AND RETURN ENCLOSED
WARRANTY CARD.
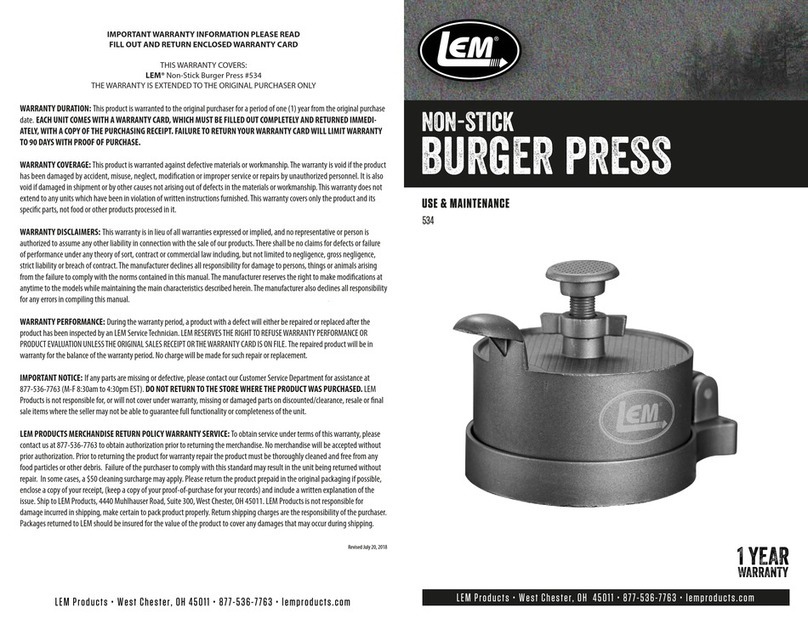
THIS WARRANTY COVERS LEM PRODUCTS:
25lb Vertical Sausage Stuffer or 10lb Vertical Sausage Stuffer
THE WARRANTY IS EXTENDED TO THE ORIGINAL PURCHASER ONLY.
WARRANTY DURATION: This product is warranted to the original purchaser for a period of one
(1) year from the original purchase date. EACH UNIT COMES WITH A WARRANTY CARD,
WHICH MUST BE FILLED OUT COMPLETELY AND RETURNED IMMEDIATELY
WITH A COPY OF THE PURCHASING RECEIPT. FAILURE TO RETURN YOUR
WARRANTY CARD WILL LIMIT WARRANTY TO 90 DAYS WITH PROOF OF
PURCHASE.
WARRANTY COVERAGE: This product is warranted against defective materials or
workmanship. The warranty is void if the product has been damaged by accident, misuse, neglect,
modification or improper service or repairs by unauthorized personnel. It is also void if damaged in
shipment or by other causes not arising out of defects in the materials or workmanship. This
warranty does not extend to any units which have been in violation of written instructions furnished,
or to units which have been altered or modified.
WARRANTY DISCLAIMERS: This warranty is in lieu of all warranties expressed or implied, and
no representative or person is authorized to assume any other liability in connection with the sale of
our products. There shall be no claims for defects or failure of performance under any theory of sort,
contract or commercial law including, but not limited to negligence, gross negligence, strict liability
or breach of contract.
The manufacturer declines all responsibility for damage to persons, things, or animals arising from
the failure to comply with the norms contained in this manual. The manufacturer reserves the right
to make modifications at any time to the models while maintaining the main characteristics
described herein. The manufacturer also declines all responsibility for any errors in compiling this
manual.
WARRANTY PERFORMANCE: During the above one year warranty period, a product with a
defect will either be repaired or replaced after the product has been inspected by an LEM Service
Technician. NO PRODUCT WILL BE EVALUATED UNLESS THE ORIGINAL SALES
RECEIPT OR THE WARRANTY CARD IS ON FILE. The repaired product will be in warranty
for the balance of the one year warranty period. No charge will be made for such repair or
replacement.
IMPORTANT NOTICE: If any parts are missing or defective, please contact our Customer
Service Department for assistance at 877-536-7763. (M-F 8:30am to 4:30pm EST) DO NOT
RETURN TO THE STORE WHERE THE ITEM WAS PURCHASED.
LEM PRODUCTS MERCHANDISE RETURN POLICY WARRANTY SERVICE:
To obtain service under terms of this warranty, please contact us at 877-536-7763 to obtain
authorization prior to returning the merchandise. No merchandise will be accepted without prior
authorization. Please return the product pre-paid in the original packaging if possible, enclose a copy
of your receipt, (Keep a copy of your proof-of purchase for your records.) and include a written
explanation of the issue. Ship to LEM Products, 107 May Drive, Harrison, OH 45030, LEM
Products is not responsible for damage incurred in shipping, make certain to pack product properly.
Return shipping charges are the responsibility of the purchaser. Packages returned to LEM should be
insured for the value of the product to cover any damages that may occur during shipping.



SAUSAGE STUFFER
25LB. MODEL #1111
10LB. MODEL #1112
LEM Products
109 May Drive • Harrison, OH 45030
877-536-7763 • www.lemproducts.com
1. Collect ingredients: ground meat, ground pork or pork fat, your choice of
seasoning, cure (if used) and casings. (LEM carries a wide variety of casings,
sausage seasonings, cure and other sausage enhancers.)
2. LEM suggests using an 80/20 ratio of lean meat to pork or pork fat. This ratio
will make for a juicy sausage.
3. Combine meat with pork, seasonings (and cure if used), and 1 oz. of water per
pound of meat being mixed. Water will not weaken the flavor but will allow
the meat to flow more freely through the stuffer and tube.
4. After meat is mixed, immediately begin the stuffing process. Meat mixed with
seasoning will quickly “set-up” and become difficult to work with, which will
cause undue stress on the stuffer gears.
5. Lower the piston until meat begins to extrude from the stuffing tube.
6. Slide casing onto proper size stuffing tube and tie off end.
7. Lower the piston and begin filling casings.
8. Fill casings until firm. If twisting into links is desired you can do so as you fill
or after the entire casing is filled. If the latter is desired do not over fill casing
or it may burst upon twisting.
9. Clean the stuffer with warm soapy water and hand dry thoroughly.
With normal use and maintenance this stuffer will give you years of enjoyment.

SAUSAGE STUFFER
25LB. MODEL #1111 & 10LB. MODEL #1112
# DESCRIPTION QTY # DESCRIPTION QTY
1 M10 Nut 4 20 Washer 1
2 40mm SS washer 4 21 Spring 1
3 Stuffer Base 1 22 M5 Screw 1
4 Washer 4 23 Gear 1
5 Retaining Ring 1 24 Large Gear Shaft 1
6 Cylinder 1 25 Small Gear Shaft 1
7 M10 Acorn Nut 4 26 Handle 1
8 M10 Allen Head Screw 4 27 Ring 1
9 Main Shaft 1 28 Right Solid Plate 1
10 M5 Screw 14 29 M6 Air Release Screw 1
11 Washer 4 30 Air Release Spring 1
12 M8 Screw 4 31 M6 Air Release Pin 1
13 Washer 8 32 Piston Gasket 1
14 Piston 1 33 Left Solid Plate 1
15 Bottom Plate 1 34 38mm Stuffing Tube (1 ½”) 1
16 M5 Allen Head Screw 2 35 25mm Stuffing Tube (1”) 1
17 M5 Nut 2 36 19mm Stuffing Tube (3/4”) 1
18 Gear Box Cover 1 37 16mm Stuffing Tube (5/8”) 1
19 Gear Base 1
IMPORTANT PLEASE READ:
1. Read and follow all instructions prior to using the stuffer and keep for reference.
2. Hand wash unit in warm soapy water prior to use. Hand dry.
3. Use adult supervision when children are present.
4. Unit is right handed (install cylinder so stuffing tubes face forward with the
crank on the right side.)
ASSEMBLYAND PROPER USE:
1. Attach the handle (#26) to the upper Large gear shaft (#24).
2. Free the cylinder (#6) for removal by turning/cranking the handle clockwise until
the piston is free of the cylinder. Tilt the cylinder and remove from the inner
Allen Head Screws (#8).
3. Place meat in the cylinder. Pack the meat tightly in the cylinder to minimize air
pockets.
4. Place the cylinder back on to the frame by sitting on the Allen Head Screws and
tilting to lock in place.
5. Remove the retaining ring (#5); insert a stuffing tube of choice into the retaining
ring. Screw the retaining ring hand tight onto the unit.
6. Slide casings onto stuffing tube.
7. With the handle still attached to the Upper Large Gear Shaft lower the piston
(#14) into the cylinder until it reaches the meat. Once the piston is lowered,
move the handle to the lower Small Gear Shaft (#25). Continue to crank the
handle and the meat will be extruded through the tube and into the casing.
8. After extruding all the meat from the cylinder, replace handle on upper gear to
quickly remove piston from cylinder.
9. Remove cylinder for cleaning (as instructed above for filling). Hand wash with
warm soapy water and dry thoroughly.
10. Clean piston and reassemble and spray with food grade Silicon Spray. (Available
at LEM Products.) NOTE: When replacing the gasket, grove side faces down.
SAUSAGE MAKING:

This manual suits for next models

1

Other LEM Commercial Food Equipment manuals

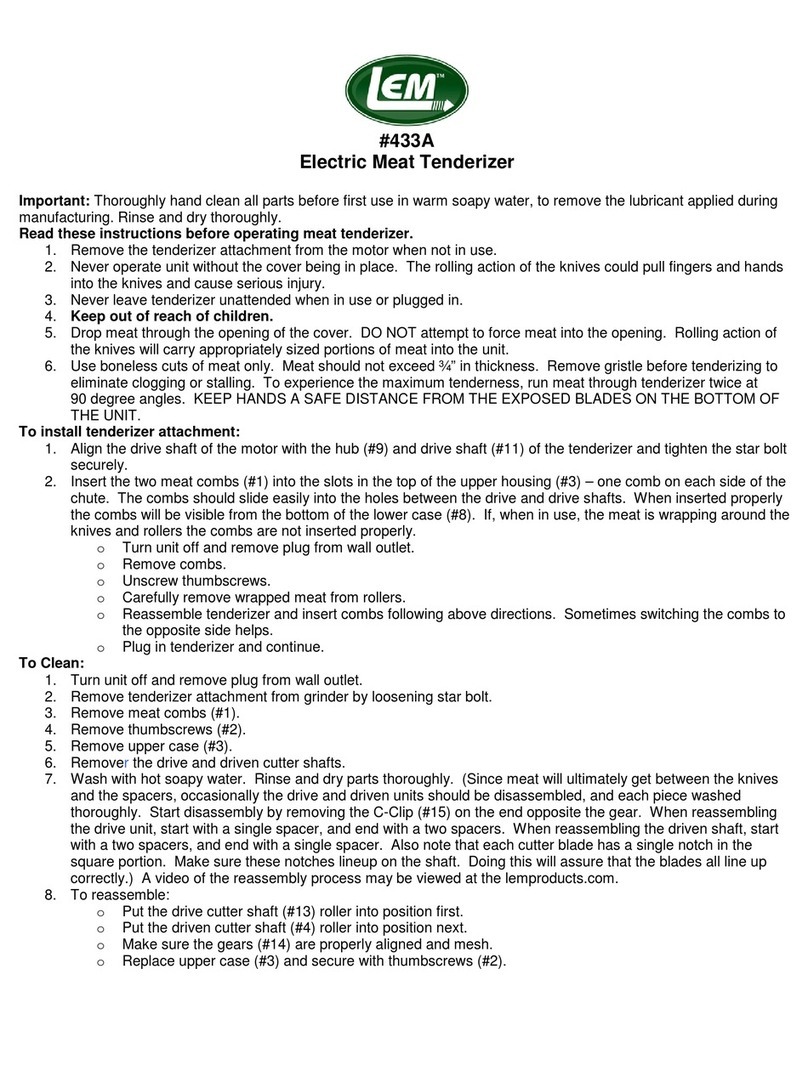
LEM 534 Parts list manual

LEM

LEM 534 Parts list manual

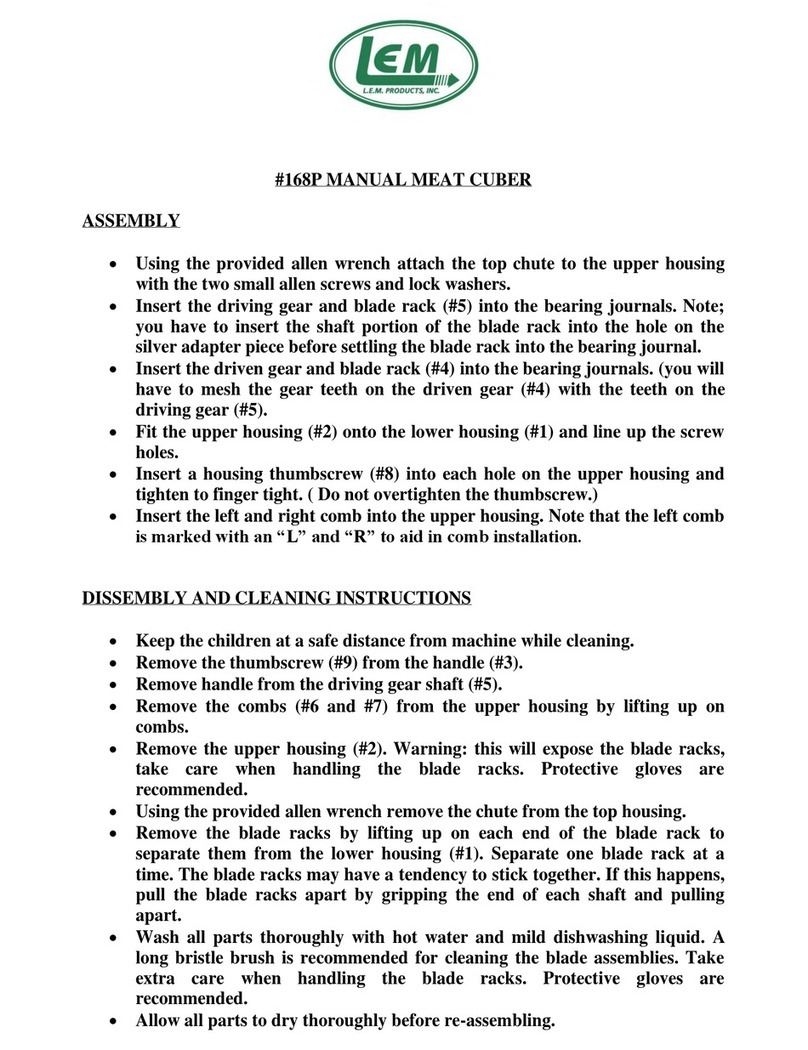
LEM 168P User manual

LEM

LEM 168P User manual

LEM 433A User manual

LEM

LEM 433A User manual

Popular Commercial Food Equipment manuals by other brands

Culinaire CD.MP.C2 Series Specification, installation and operation manual

Culinaire

Culinaire CD.MP.C2 Series Specification, installation and operation manual

Alto-Shaam Converge CMC-H2H Operator's manual

Alto-Shaam

Alto-Shaam Converge CMC-H2H Operator's manual

Nordcap VAR-PM14 user manual

Nordcap

Nordcap VAR-PM14 user manual

Casselin CBIN351 manual

Casselin

Casselin CBIN351 manual

Hussmann Q1-FC Installation & operation guide

Hussmann

Hussmann Q1-FC Installation & operation guide

Island Umbrella NU6812 Assembly/installation instructions

Island Umbrella

Island Umbrella NU6812 Assembly/installation instructions

Inoksan PERFECT 700 Series instruction manual

Inoksan

Inoksan PERFECT 700 Series instruction manual

Angelo Po 0G1CP1EC Use and installation  manual

Angelo Po

Angelo Po 0G1CP1EC Use and installation manual

PARRY NPSPF6 instructions

PARRY

PARRY NPSPF6 instructions

CARTER-HOFFMANN CD27 Cleaning, Operating, Maintenance Instructions, Parts List & Warranty

CARTER-HOFFMANN

CARTER-HOFFMANN CD27 Cleaning, Operating, Maintenance Instructions, Parts List & Warranty

Diamond 65/40 FTE operating instructions

Diamond

Diamond 65/40 FTE operating instructions

Fagor Advance Plus APG-061 installation manual

Fagor

Fagor Advance Plus APG-061 installation manual

Taylor Taylormate 152 Operation

Taylor

Taylor Taylormate 152 Operation

Villager VLN SC 350 Original instruction manual

Villager

Villager VLN SC 350 Original instruction manual

Middleby CTX Mighty Chef TCO2114 Owner's operating & installation manual

Middleby

Middleby CTX Mighty Chef TCO2114 Owner's operating & installation manual

EMGA Santos 53 User and maintenance manual

EMGA

EMGA Santos 53 User and maintenance manual

Hendi 264409 user manual

Hendi

Hendi 264409 user manual

Bartscher W3B-1 Original instruction manual

Bartscher

Bartscher W3B-1 Original instruction manual

manuals.online logo
manuals.online logoBrands
  • About & Mission
  • Contact us
  • Privacy Policy
  • Terms and Conditions

Copyright 2025 Manuals.Online. All Rights Reserved.