manuals.online logo
Brands
  1. Home
  2. •
  3. Brands
  4. •
  5. Cambro
  6. •
  7. Commercial Food Equipment
  8. •
  9. Cambro IBSD37 User manual

Cambro IBSD37 User manual

www.cambro.com
IBSD37
Capacity: 37 Gallon (140 L)
Bin Colors: White (148), Yellow (229)
Unit ships complete with 18"(45,7cm)*
long clear drain hose made of FDA
approved PVC material. Can be used
with or without hose based on access to
floor drain.
* Available hose length when attached
to the drain elbow is 161⁄2" (42 cm).
SET UP GUIDE
AND USER MANUAL SOAK AND BRINE TANK
CA PROP 65
Set Up Guide and Usage Instructions
1. Remove the tank from the carton and locate the
drain elbow hose assembly.
2. Verify the presence of the black O-ring on the
plumbing union.
3. Attach the drain elbow hose assembly by engaging
the threaded ring and rotating it counterclockwise
until tight.
4. To re-position the drain elbow, loosen the threaded
ring slightly, turn drain elbow to the desired
position, then tighten to keep it in place.
2
Set Up Guide and Usage Instructions Cont.
5. Before filling tank, ensure blue valve handle is in
the closed position and drain elbow is facing up.
6. Fill tank. Caution: Do not fill to the rim with
liquid or contents may spill during transport.
7. To drain directly over a floor drain, remove drain
hose, loosen plumbing union and twist drain elbow
to face down over the floor drain and re-tighten the
plumbing union. Do not allow any of the casters
to drop into the floor drain, as this could cause
damage to the drain components. Slowly turn blue
valve handle counterclockwise to the open position
to begin draining liquid. Continue to turn valve until
liquid is draining at an acceptable rate.
8. If the tank cannot be placed over a floor drain,
position the drain elbow with hose attached so the
drain hose reaches the floor drain. Slowly turn valve
handle counterclockwise to the open position to
begin draining liquid. Continue to turn valve until
liquid is draining at an acceptable rate.
9. After draining the contents of the tank, fully close
the valve and return the drain elbow to a vertical
position or remove and follow recommended
cleaning directions on page 4.
Recommended Safe Fill Line
Caution: When the valve is fully open, liquid will
drain at an extremely rapid rate (37 gallons in
approximately 4 minutes) and could cause the
floor drain to overflow.
Valve handle shown in closed position.
3
How to Replace the Drain Valve Assembly
1. Remove hex nut from inside the bin. Requires 13⁄4"
(4,5cm) wrench or large pliers.
Note: Remove plastic hex nut when replacing drain
valve assembly on tanks made prior to 3/1/2019.
2. Remove hex bolts and washers from front mounting
support bracket. Use 7⁄16" (1,1cm) wrench or socket
wrench.
3. Place new drain valve assembly kit onto the tank.
Note: For tanks made prior to 3/1/2019, install the
drain valve assembly with the blue handle facing
down, as shown in the image here.
4. Install washers then hex bolts onto front mounting
support bracket.
5. Install stainless steel hex nut inside the bin.
Tighten snug but do not over-tighten.
Note: For tanks made prior to 3/1/19, install the
plastic hex nut inside the bin.
Ensure valve handle is turned in the closed
position.
6. Ensure the black O-ring is in the open plumbing
union before completing the next step.
7. Secure drain elbow with plumbing union on
the tank.
8. Tighten counterclockwise to secure into place.
9. During non-use, loosen the plumbing union,
position drain elbow assembly in a vertical position.
Place the hose end under the front rim of the tank.
Tank made prior to 3/1/2019.
Tank made after 3/1/2019.
Telephone: (714) 848-1555 Toll Free: (800) 854-7631 Customer Service: (800) 833-3003
© Cambro Manufacturing Company 5801 Skylab Road, Huntington Beach, CA 92647
Printed in U.S.A. 05/19
www.cambro.com
UMIBSD37 REV A
D041935
Warranty
Replacement Parts
Cambro warrants to the original buyer that if a product proves defective:
• Within 1 year from the date of manufacture, Cambro will replace the product free of charge; or,
• After 1 year and up to 2 years from the date of manufacture, Cambro will grant a credit of 2/3 off replacement product; or,
• After 2 years and up to 3 years from the date of manufacture, Cambro will grant a credit of 1/3 of the original price towards a replacement product.
• Improper product use, product abuse or failure to follow the care and usage instructions noted in this manual voids the above warranty.
1. Rear 3" (7,6 cm) Fixed Caster Kit (60009)
2. Front 3" (7,6 cm) Swivel Caster Kit (60005)
3. Drain Valve Assembly* (H19005)
4. Drain Plumbing Union O-ring – pack of 6 (H19011)
5. Drain Elbow Hose Assembly (H19006)
6. Clear Back Lid (60272)
7. Clear Front Slider Lid (60273)
*NOTE: For tanks made prior to 3/1/2019,
use the plastic hex nut included in Drain
Valve Assembly replacement part kit.
For tanks made after 3/1/2019, use stainless
steel hex nut included in kit.
Caster Maintenance
Cleaning Instructions
• Grease swivel raceway of caster using a lubricant such as Lubriplate No. 930-AA, Keystone #84EPXLT multi-purpose grease or the equivalent. Moving O-ring or seal
with finger, apply grease using a grease gun with a needle nose adapter or a tube-type applicator such as “Sta-lube” Moly-graph Assembly Lube. These can be obtained
at most auto parts stores.
• Use a light oil such as WD-40 on the nylon bushing at the hub. Check caster for any damage and test caster spin and swivel rotation before returning to service.
1. Clean with hot water, mild commercial detergent and soft cloth, soft bristle brush or sponge.
2. Sanitizing solutions are recommended. Use an odor removing soak or sanitizer to remove scents and stains as needed, such as a diluted solution of 2-3 tablespoons of
baking soda per gallon of hot tap water, or 1 part lemon juice or vinegar to 4 parts hot water.
3. Rinse and drain with clean, hot water.
4. Use cleaners and degreasers designated for plastic materials only.
5. DO NOT use cleaners or detergents containing ammonia or bleach.
6. DO NOT use steel wool, abrasive scrub pads or brushes.
7. Wipe off any remaining soap and dirt with a clean cloth. Allow to air dry or use a clean cloth to wipe dry.
1
24
3
6
7
5
Tank made prior to 3/1/2019.
Tank made after 3/1/2019.

Other Cambro Commercial Food Equipment manuals

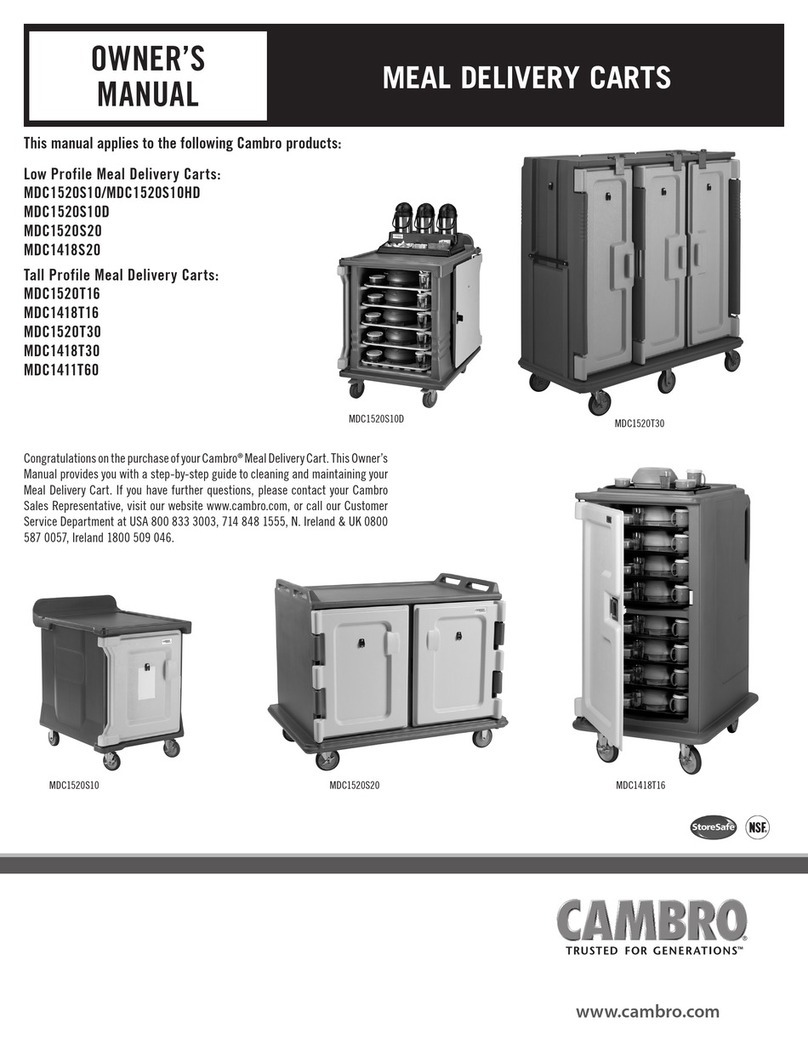
Cambro MDC1520S10 User manual

Cambro

Cambro MDC1520S10 User manual

Cambro Camshelving GN 1/1 User manual

Cambro

Cambro Camshelving GN 1/1 User manual

Cambro MDC1520T20 User manual

Cambro

Cambro MDC1520T20 User manual

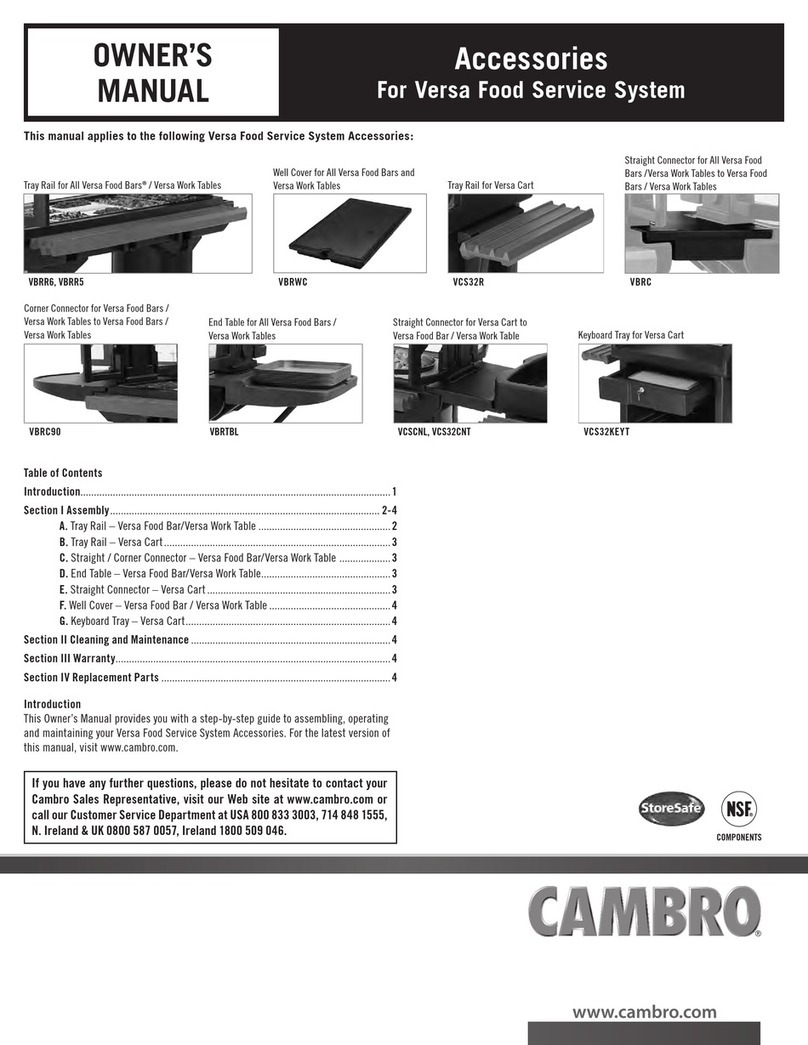
Cambro VBRR6 User manual

Cambro

Cambro VBRR6 User manual

Cambro AIR CURTAIN ULTRA User manual

Cambro

Cambro AIR CURTAIN ULTRA User manual

Cambro CAMSHELVING CSFLEXMERCH User manual

Cambro

Cambro CAMSHELVING CSFLEXMERCH User manual

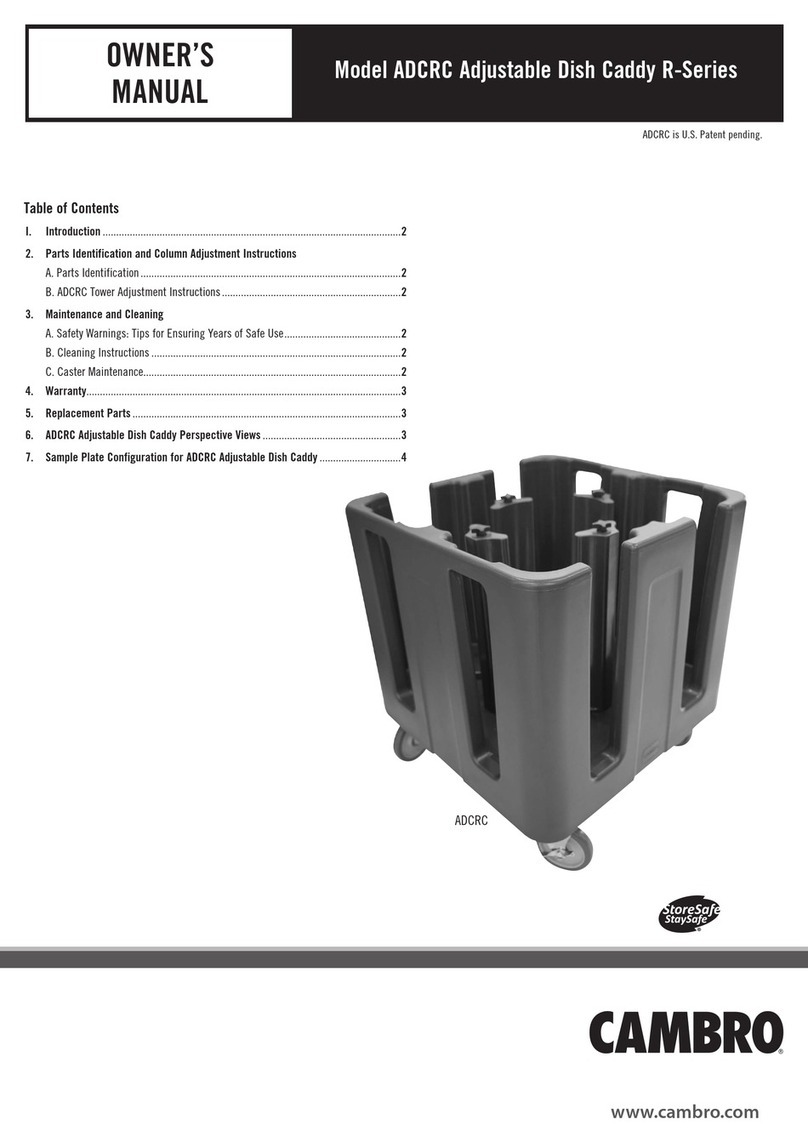
Cambro R Series User manual

Cambro

Cambro R Series User manual

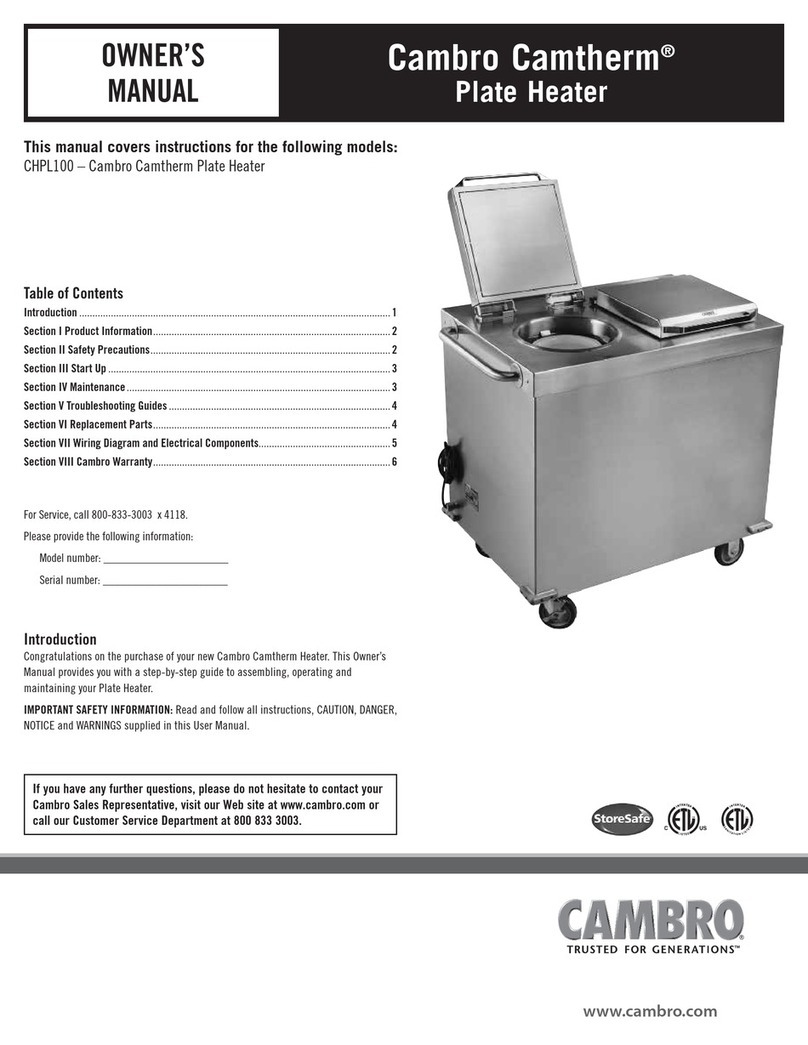
Cambro Camtherm CHPL100 User manual

Cambro

Cambro Camtherm CHPL100 User manual

Cambro Camtherm Series User manual

Cambro

Cambro Camtherm Series User manual

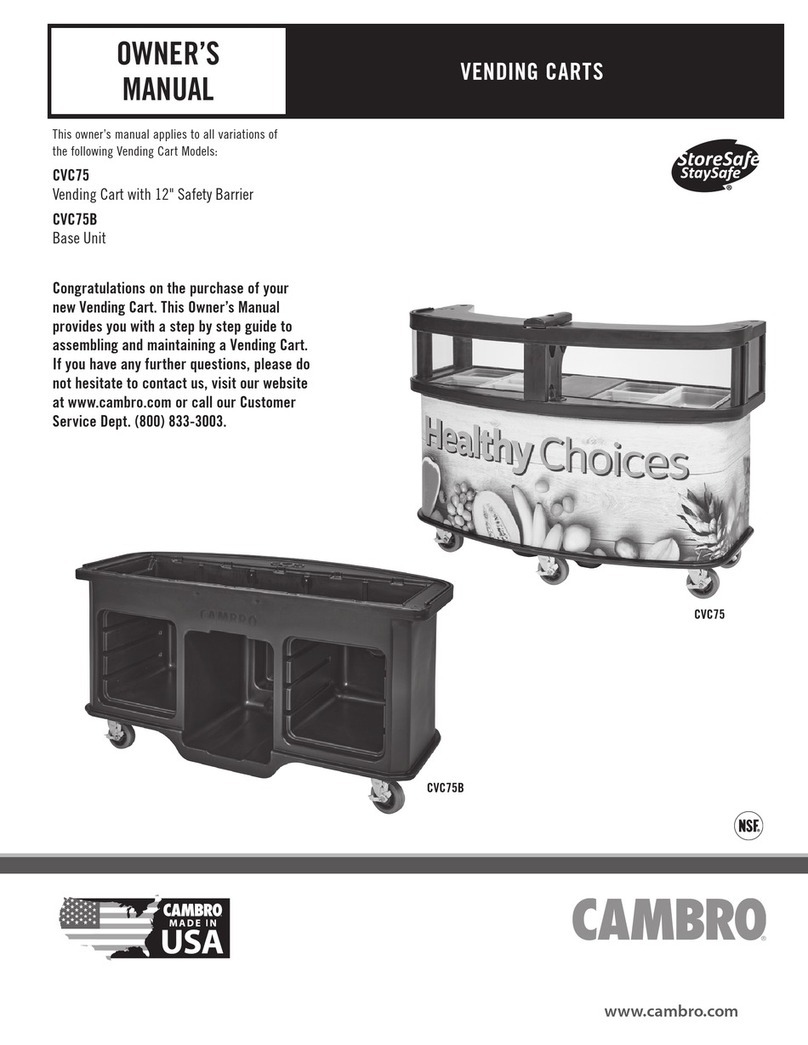
Cambro CVC75 User manual

Cambro

Cambro CVC75 User manual

Cambro MDCH1520S202 User manual

Cambro

Cambro MDCH1520S202 User manual

Cambro Camshelving User manual

Cambro

Cambro Camshelving User manual

Cambro CamKiosk KVC854 User manual

Cambro

Cambro CamKiosk KVC854 User manual

Cambro Camcarrier User manual

Cambro

Cambro Camcarrier User manual

Popular Commercial Food Equipment manuals by other brands

Baba Gas Fired Tandoor instruction manual

Baba

Baba Gas Fired Tandoor instruction manual

Vollrath STOELTING SCBA118-37 owner's manual

Vollrath

Vollrath STOELTING SCBA118-37 owner's manual

Braun 9 Pro Series manual

Braun

Braun 9 Pro Series manual

Federal SSRC Series Installation & operation instructions

Federal

Federal SSRC Series Installation & operation instructions

Duke FLM200 instruction sheet

Duke

Duke FLM200 instruction sheet

Beverage-Air MT Series Installation and operating instructions

Beverage-Air

Beverage-Air MT Series Installation and operating instructions

etol blu'box 13 SMART eco Original user manual

etol

etol blu'box 13 SMART eco Original user manual

Unified Brands Groen EE Series Operators & service manual

Unified Brands

Unified Brands Groen EE Series Operators & service manual

Bonnet Neve OFFLIP 3 ECO User instructions

Bonnet Neve

Bonnet Neve OFFLIP 3 ECO User instructions

Henny Penny OFE-321 instruction manual

Henny Penny

Henny Penny OFE-321 instruction manual

Henny Penny LOV Gas 200 Series quick start guide

Henny Penny

Henny Penny LOV Gas 200 Series quick start guide

Taylor QS Series Service manual

Taylor

Taylor QS Series Service manual

Exos Mini user manual

Exos

Exos Mini user manual

Berner BGI40 operating instructions

Berner

Berner BGI40 operating instructions

CombiSteel 7455.1600 user manual

CombiSteel

CombiSteel 7455.1600 user manual

AG EQUIPMENT GNX2100TN quick start guide

AG EQUIPMENT

AG EQUIPMENT GNX2100TN quick start guide

Falcon Dominator Plus User, installation and servicing instructions

Falcon

Falcon Dominator Plus User, installation and servicing instructions

Diamond DD12/3T instruction manual

Diamond

Diamond DD12/3T instruction manual

manuals.online logo
manuals.online logoBrands
  • About & Mission
  • Contact us
  • Privacy Policy
  • Terms and Conditions

Copyright 2025 Manuals.Online. All Rights Reserved.