Page 6
OPERATING INSTRUCTIONS CONTINUED
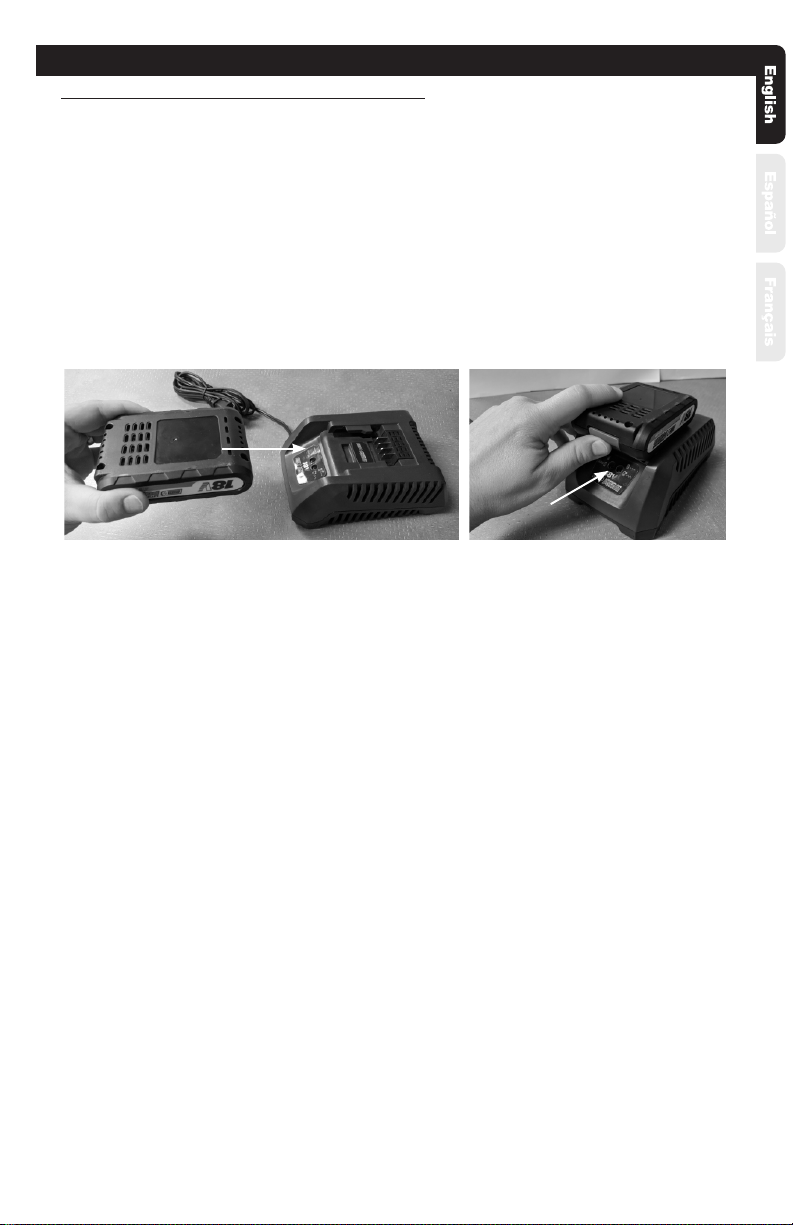
Inserting the Battery:
WARNING: RISK OF FIRE, BURNS, OR ELECTRICAL SHOCK. To reduce risk of battery re or bursts,
use only Fountainhead Group Batteries that are in good condition and have not been damaged.
Do not use Batteries that are wet or have been damaged.
CAUTION: RISK OF UNINTENDED SPRAYING. Ensure that the Power Switch is in the OFF (O) posi-
tion and that the Shut-o is in the closed position (Lever released) before inserting the Battery.
The Sprayer will spray when the Battery is inserted if the Power Switch is in the ON (I) position and
the Shut-o is open (Lever depressed).
Filling the Sprayer:
WARNING: RISK OF DEATH, PERSONAL INJURY AND/OR PROPERTY DAMAGE FROM IMPROPER
CHEMICAL USE OR MIXTURE. Never use ammable or combustible liquids, caustics, acids, or hot
water in this Sprayer. Spraying ammable or combustible liquids can create combustible fumes
that could be ignited by the electrical system in the Sprayer, causing an explosion. Always refer
to chemical manufacturer instructions for proper mixture. Always wear appropriate personal
protection equipment as instructed by chemical manufacturer when using, preparing, handling,
spraying, or disposing of chemicals. This includes at least goggles, gloves, and protective cloth-
ing.
CAUTION: RISK OF DAMAGE TO INTERNAL COMPONENTS. Use of chemicals other than water
based or water soluble solutions may damage the Sprayer and will void the warranty. Do not
operate the Sprayer without the In-Tank lter properly installed. Doing so could allow debris to
enter the Pump causing clogging or damage to the Pump.
-
Removing the Battery.
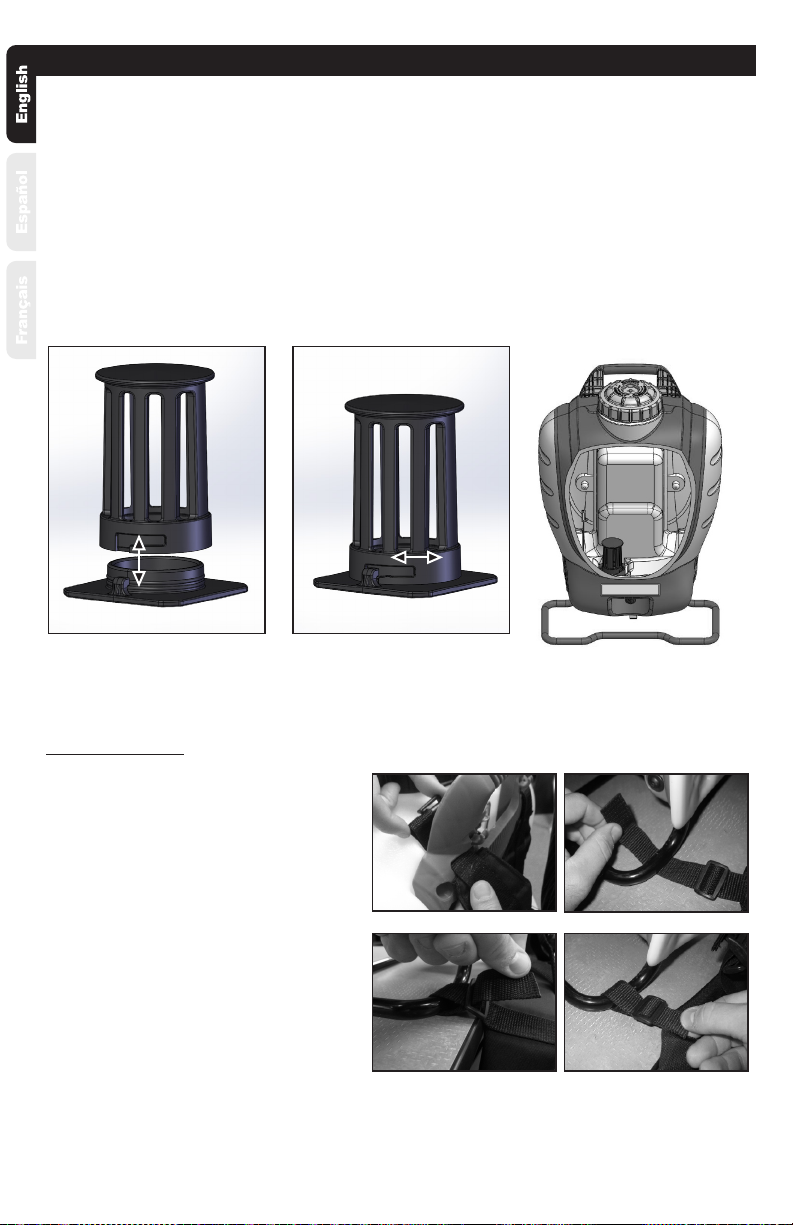
Cleaning and Storage.
Servicing the In-Tank Filter.
-
Inserting the Battery.