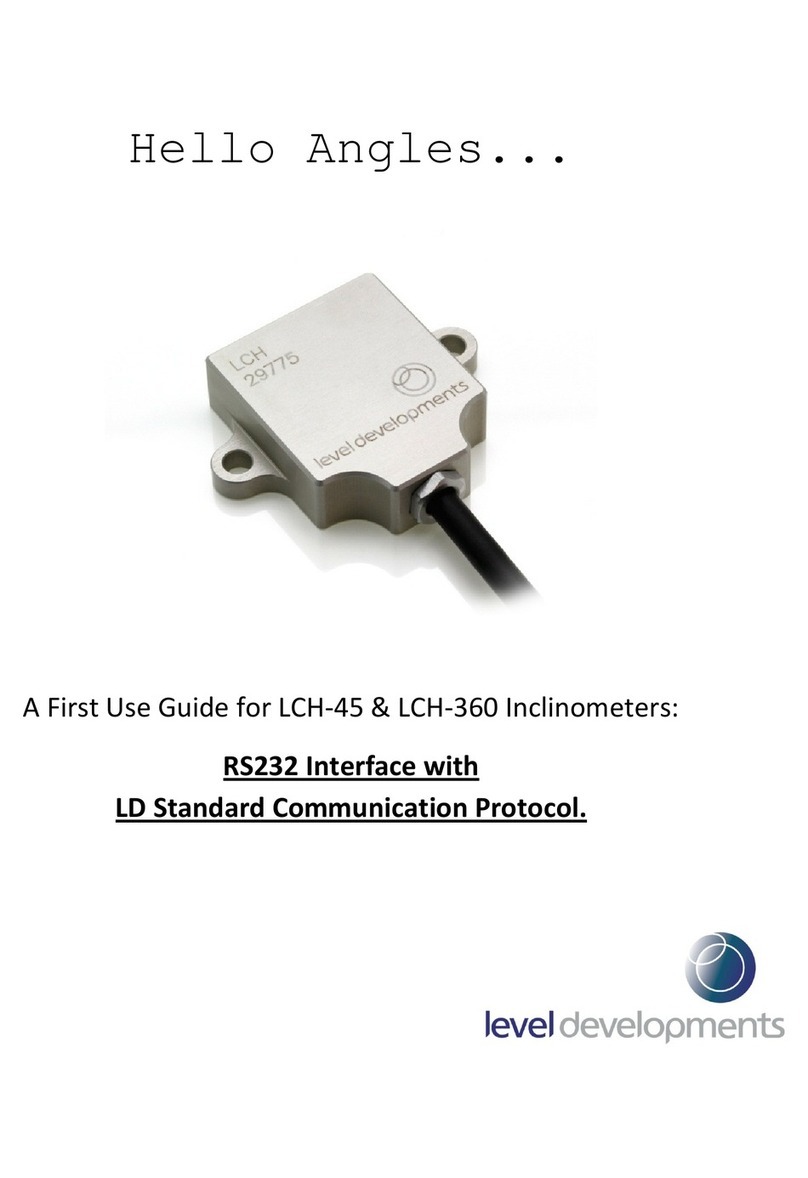
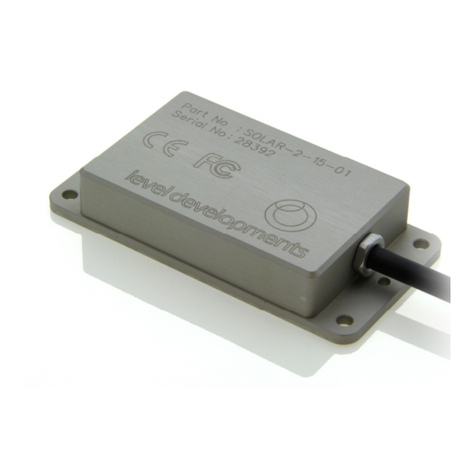
Level Developments LD-2M User manual

LD-2M
Operating Instructions
2 Axis Electronic Inclinometer
with RS232 and Digital Display
www.leveldevelopments.com
Level Developments Ltd
Spencer Place
97-99 Gloucester Road
t.
+44 (0)20 86841400
f.
+44 (0)20 86841422
e.
sales@leveldevelopments.com
Croydon
Surrey CR0 2DN
United Kingdom

1
Contents
Contents
.............................................................
Introduction
.......................................................
Features
..............................................................
Measuring Angle
...............................................
Button Functions
...............................................
Battery and Charger
..........................................
Accuracy test
......................................................
Setup Menu
........................................................
Tolerance.................................................
Calibrate..................................................
Average...................................................
Sound......................................................
RS232......................................................
LED Scale.................................................
Backlight.................................................
Brightness................................................
Contrast..................................................
Power (Auto off)......................................
Save........................................................
Specifications
.....................................................
Dimensions
.........................................................
Warranty
............................................................
1
2
2
3
4
5
5
6
6
7
11
11
11
13
13
13
13
14
14
14
15
15

2
Introduction
The LD-2M is a revolutionary measuring tool that provides a digital readout
of angle in the X and Y axis simultaneously. It has a measurement range of
±30° and a resolution of 0.01°. It has an overall accuracy of better than
±0.05° and a built in RS232 interface which can be used to connect to a data
logger or computer. At the time of writing there is no other product
available which can match this performance at the same price.
On/off
switch
RS232/Charge
connector
Features

3
Measuring Angle
The LD-2M can be used to measure angles in three different modes. It will
switch automatically between them depending on how the instrument is
positioned.
X Axis Measurement Mode:
In this mode the instrument is placed
horizontally on the side face and the
displays switches to read the X axis of
tilt only. The measurement range is
±30°.
Y Axis Measurement Mode:
In this mode the instrument is placed vertically on
the side face and the displays switches to read
the Y axis of tilt only. The measurement range is
±30°.
X-Y Axis Measurement
Mode:
In this mode the instrument is
placed on it’s base and the
display reads the X and Y axis
of tilt simultaneously. The
measurement range is ±30°
for each axis.

4
Button Functions
‘
Mode
’ and ‘
Up’
button:
In normal use this button switches the display between reading
the angle reading in degrees (°) and reading the gradient in
mm/m.
In setup mode (see page 6 for details) this is used as the ‘
Up
’
key to navigate the menu settings.
‘
Abs > Rel
’ and ‘
Menu’
button:
In normal use this button switches the display between reading
the absolute angle and reading a relative angle from the angle
at which the key was pressed. The display will show ‘
ABS
’
when reading in absolute mode.
This button is also used to activate the setup menu, and make
selections once in the setup area. To activate the ‘
Menu
’
press and hold this button while the unit is switched on. This
will take you directly into the setup menu facility.
There are three buttons used to control the LD-2M inclinometer. They
each have a dual function, one function whilst in normal operating mode
and one whilst in the setup menu area. The functions are detailed below:
‘
LCD Back-light
’ and ‘
Down’
button:
In normal use this button switches the LCD back-light on or
off.
In setup mode (see page 6 for details) this is used as the
‘
Down
’ key to navigate the menu settings.

5
Battery and Charger
The LD-2M has a built in Lithium Ion rechargeable battery, and is supplied
with an intelligent charger unit. In normal use the battery will last around
100 hours. When the battery indicator reads low, or when the battery is
completely flat, plug in the charger unit and allow to charge for 12 hours.
The charger unit is a universal type which can operate from 110-240v a.c.
At 50/60 Hz. An adaptor may be required depending on the country of
use.
Testing the Accuracy
Please use the following simple procedure to check the accuracy of the LD-
2M before using. This should also be carried out if the unit is dropped, or
is being used in an environment that varies more than 5°C from the envi-
ronment in which it was last calibrated.
1) Place the LD-2M down on
a clean, flat horizontal sur-
face. The surface does not
have to be exactly level.
Wait 10 seconds so the dis-
play is completely stabilised
and note the X and Y angle
readings from the display.
2) Turn the instrument
through 180° (see drawing),
and place back down in the
same spot on the surface.
Wait 10 seconds so the dis-
play is completely stabilised
and note second set of read-
ings of the X and Y angle.
3) Compare the two X-axis readings. One reading should be the negative
of the other. For example if X
1
= +0.35° then X
2
should read -0.35°. If
there is more than 0.05° variation then unit will need to be recalibrated
(see page 7). Check the same for the Y-axis readings.

6
Setup Menu Mode
There are a number of settings which affect the operation of the LD-2M
inclinometer, and these can be accessed from setup menu. To activate the
setup menu, switch off the instrument, press and hold the key and
switch the unit back on with the key still pressed. After the start-up
screen, the display will show the menu options as follows:
Use the keys to highlight the required setting and the key to go
to this setting page.
Tolerance :
The tolerance setting controls the scale of the circle which appears in the
display. It can be set to ‘
On
’ or ‘
Off
’ and the value can be changed be-
tween 0.1 and 10.0°.

7
Calibrate :
The calibrate screen allows you to reset the absolute zero position in the
XY mode, the X mode and the Y mode.
Setting the XY Axis Zero Point -
Place the instrument on a flat stable surface. The surface does not need to
be perfectly level. Wait for a few seconds to allow the display to stabilise.
Use the keys to select ‘
Set-XY
’ and press the key. Wait for a
few seconds until the display reads :
Turn the level through 180° (as shown in the drawing) placing back down
in the same place on the surface as before.

8
Step 1 - Place instrument down select ‘Set XY’ and push button.
Step 2 - Rotate through 180° and push button again.
The XY measurement mode zero point is now re-set
Use the keys to select ‘
Return
’ and press the key to return to
the main menu. Select save to exit the menu and return to the normal
mode of operation.

9
Setting the X Axis Zero Point -
Place the instrument on it’s horizontal side on a flat stable surface as
shown in the picture below. The surface does not need to be perfectly
level, but should be clean and flat. Wait for a few seconds to allow the
display to stabilise. Use the keys to select ‘
Set-X
’ and press the
key. Wait for a few seconds until the display reads :
Turn the level through 180° (as shown in the drawing) placing back down
in the same place on the surface as before.
The X measurement mode zero point is now re-set
Use the keys to select ‘
Return
’ and press the key to return to
the main menu. Select save to exit the menu and return to the normal
mode of operation.

10
Turn the level through 180° (as shown in the drawing) placing back down
in the same place on the surface as before.
Setting the Y Axis Zero Point -
Place the instrument on it’s horizontal face against a flat stable surface at
approximately 90° to the horizontal, as shown in the picture below. The
surface does not need to be perfectly level, but should be clean and flat.
Wait for a few seconds to allow the display to stabilise. Use the keys
to select ‘
Set-Y
’ and press the key. Wait for a few seconds until the
display reads :

11
The Y measurement mode zero point is now re-set
Use the keys to select ‘
Return
’ and press the key to return to
the main menu. Select save to exit the menu and return to the normal
mode of operation.
Average :
The average setting varies the way the instrument averages the internal
readings to give a smooth output. It is factory set to ‘
15
’ and should be
left at this for most applications, although it can be varied in the range of
6-25. A low value will reduce the number of samples used in the moving
average calculation, and will give a faster response time, but with more
noise. A value of 25 will give a slower response time which could be useful
to filter out unwanted noise or vibration. This is an advanced feature that
should only be changed if the implications of doing so are understood.
Sound :
The sound setting screen enables the internal sounder to be switch ‘
on
’ or
‘
off
’.
RS232 Output :
The RS232 setting screen enables you to alter the way in which the RS232
signal is transmitted. Use the keys to highlight the desired option
and then the key to return to the main menu. Select save to exit the
main menu and return to the normal mode of operation.

12
ID -
This number sets the ID of the device when using ‘
Command
’ mode. This
enable multiple devices to be connected to a single host.
Command -
When set to ‘
Command
’, an RS232 output of the X an Y axis readings is
sent only in response to a call command from the connected equipment
(usually a PC or laptop). The call command needs to be in the format:
Polling -
`
When set to ‘
Polling
’, an RS232 output of the X an Y axis readings is sent
continuously from the instrument.
Poll...1s -
When set to ‘
Poll...1s
’, an RS232 output of the X an Y axis readings is sent
every 1 second from the instrument.
Poll...10s -
When set to ‘
Poll...10s
’, an RS232 output of the X an Y axis readings is
sent every 10 seconds from the instrument.
•
Baud Rate : 9600 bps
•
Parity : None
•
Data Bits : 8
•
Stop Bits : 1
Bytes 11 6 111 6 1 1
O/P x = + 3 . 0 2 , y = - 1 7 . 4 5 CR LF
Bytes 4 2
O/P C A L L 0 0 ID Number of Device
RS232 Output Format -
An RS-232 cable for connecting the LD-2M to a PC via a 9 pin D type serial
connector is available separately, part number LD-2M-RS232

13
LED Scale :
This setting has no effect on the function of the LD-2M. It is a feature
which is used on another product which uses the same menu settings. As
such no change should be made to this setting
Backlight :
The backlight setting menu controls the LCD illumination. The backlight is
useful for using the product in low light conditions, but if used continu-
ously will cause the battery to run down more quickly. These settings con-
trol whether the backlight is on or off as default, or what period of
inactivity will cause the light to switch off. The options are:
Use the keys to highlight the desired option and then the key
to return to the main menu. Select save to exit the main menu and return
to the normal mode of operation.
Brightness :
The brightness setting controls the brightness of the LCD backlight. It can
be set between 0 and 10. Use the keys to adjust the brightness
value and the key to return to the main menu. Select save to exit the
main menu and return to the normal mode of operation.
Contrast :
The contrast setting controls the contrast of the LCD, and it can be set be-
tween a value of 10 and 40. Use the keys to adjust the contrast
value and the key to return to the main menu. Select save to exit the
main menu and return to the normal mode of operation.

14
Power :
The power setting controls the auto shut off period for the instrument. To
conserve the battery, it can be set to switch off automatically after 3 min-
utes or 10 minutes, or it can be set such that it will stay on until switched
off at the main switch. The option screen is :
To update any changes made in the setup menu, it is necessary to highlight
the ‘Save’ option and press the key to save and return to the normal
operating mode.
Use the keys to highlight the desired option and then the key
to return to the main menu. Select save to exit the main menu and return
to the normal mode of operation.
Save :
Specifications
•
Measuring Range : ±30°
•
Resolution : 0.01°
•
Accuracy : ±0.05° or 1% of measured value
•
Response Time : <1.0 second
•
Operating Temp. : 0-45°C
•
Power : Built in Li-Ion (3.7V)
•
Battery Life : 100 hours
•
Output Format : RS232 (9600-N-8-1)
•
Weight : 250g
•
Size : 115 x 62 x 29mm
•
LCD : 128x64 pixels with backlight

15
If, within one year from the date of original purchase, the LD-2M digital
inclinometer fails to function because of defects in materials or workman-
ship, the manufacturer will, at its option, either repair or replace such com-
ponents provided the original purchaser:
1. Contacts the dealer from whom the unit was purchased for instructions
2. Follow the dealer's instructions for return of the unit;
3. Submit original date and proof of purchase;
4. Includes a brief explanation describing why the LD-2M is inoperable, or
how it was damaged.
This warranty does not cover damage resulting from accident, misuse or
abuse, water, tampering, servicing performed or attempted by unauthor-
ised agencies, units that have been modified in any fashion, or units that
have not been recalibrated and maintained in accordance with the instruc-
tions in this manual.
Warranty
Dimensions
Table of contents
Other Level Developments Measuring Instrument manuals