5
EZMANAGER
ENGLISH
EZMANAGER
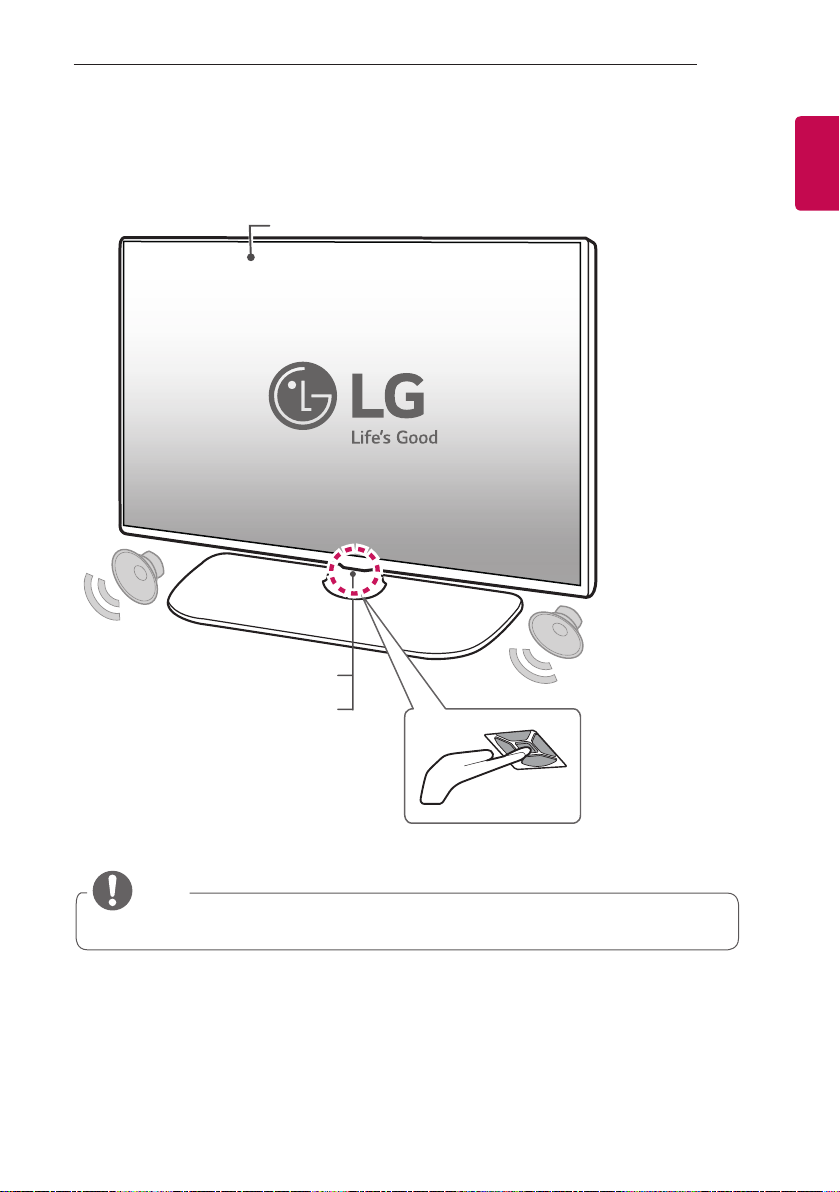
•Image shown may differ from yourTV.
INTRODUCTION
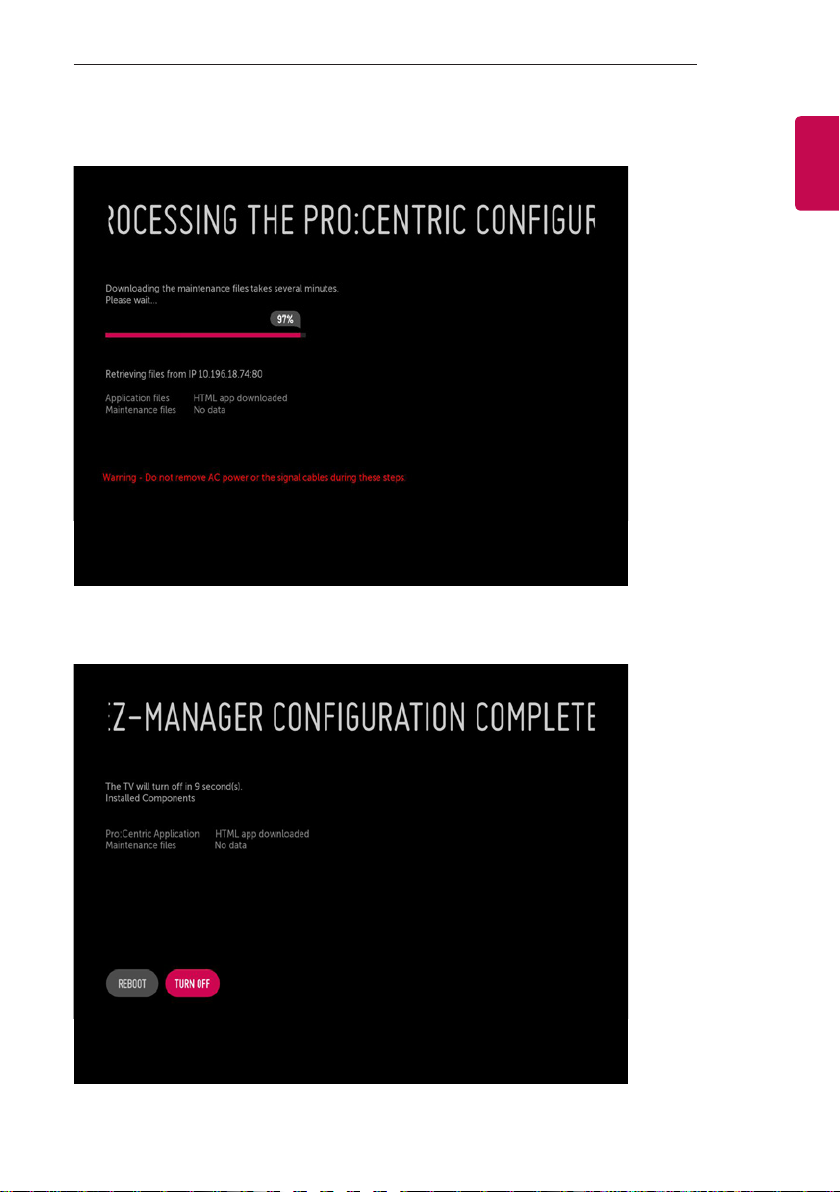
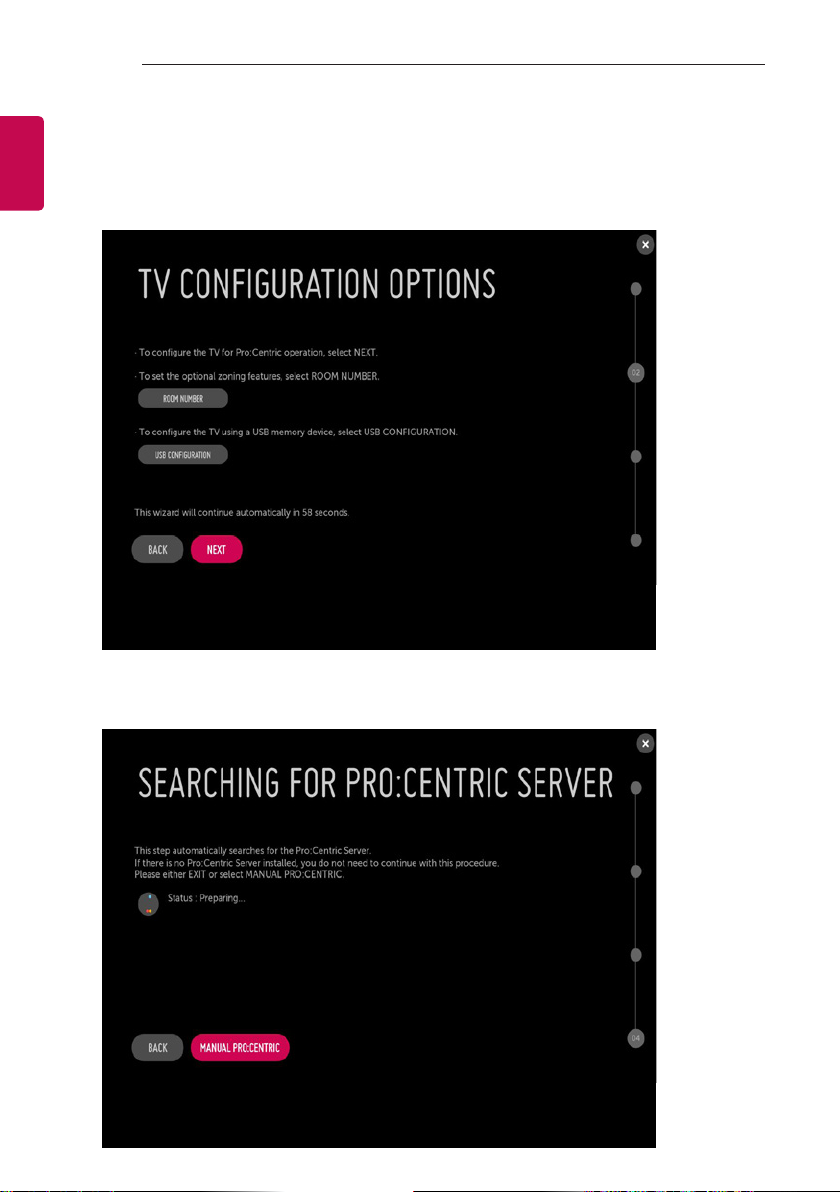
The Pro:Centric Platform enables you to simply install, manage and use guest-centric solutions.The default Domain“procentric.local”and IP Server Address
are needed to be registered in DNSTV will contact the IP Server using the default Domain“procentric.local”via IP on server search page. If TV doesn’t
contact the Server, TV will search the pre-defined channel earlier than all channels. (Only DVB-C)
The frequencies of pre-defined channels are below.
Germany:‘51000, 858000, 778000, 698000, 618000, 538000, 458000, 378000, 298000, 218000, 138000 khz’. Philippines 6Mhz:‘57000, 651000, 591000,
531000, 471000, 411000, 351000, 291000, 231000, 171000, 111000 khz’. Other Country:‘50000, 842000, 762000, 682000, 602000, 522000, 442000,
362000, 282000, 202000, 122000 khz’.
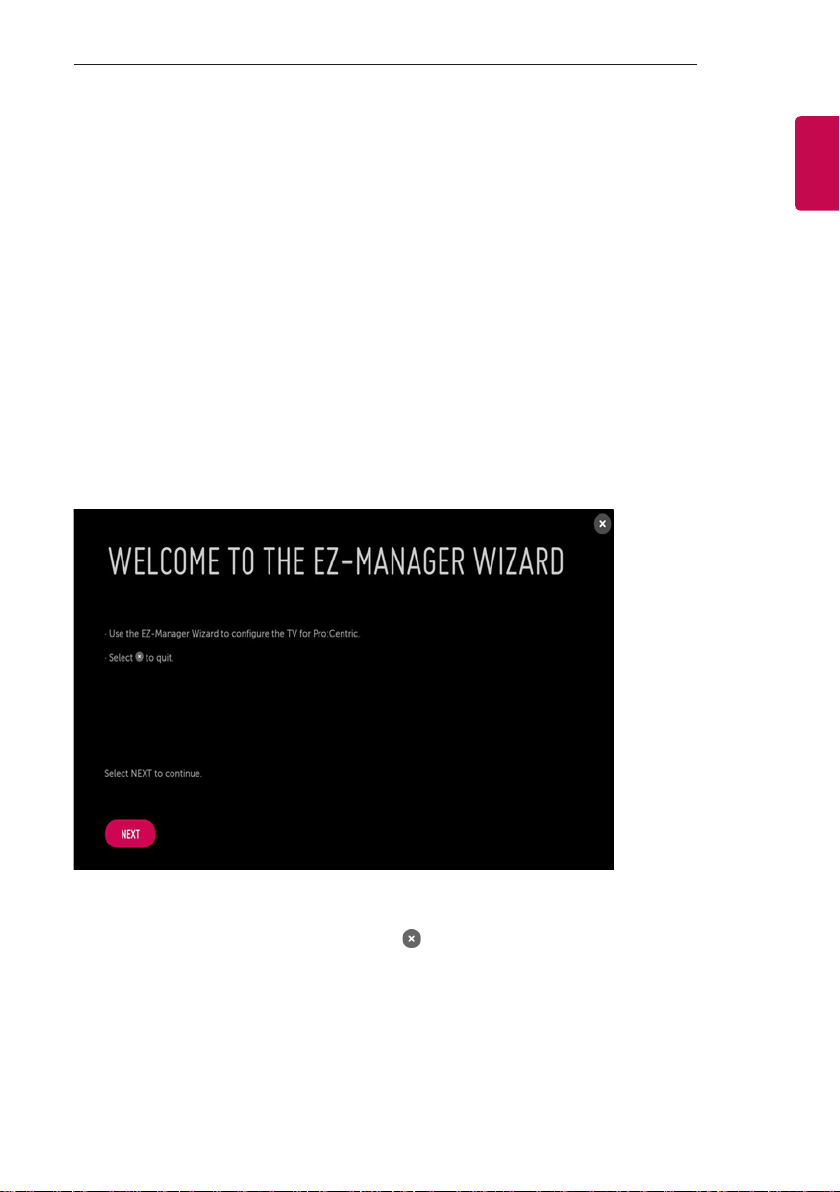
EZ-MANAGER WIZARD
-If you are using Pro:Centric, this setup wizard till help you easily set up theTV. Select ‘NEXT’to continue.
-Otherwise, if you will not be installing a Pro:Centric Server, select‘ ’to quit.