LG LSSB2791ST User manual

ENGLISH ESPAÑOL
OWNER’S MANUAL
BUILT-IN SXS
REFRIGERATOR
Please read this owner's man al thoro ghly before operating
and keep it handy for reference at all times.
LSSB2791**
P/No. : MFL67262501 www.lg.com

3
3
10
2
ENGLISH
Model/Serial record
Basic safety precautions
Parts and Features
Starting
Adjusting the temperatures and functions
Adjusting the temperatures and display
perating the dispenser
Setting the functions
Shelf
Freezer door bin
Dairy corner
Adjustable door bin
Refrigerator gallon bin
Refrigerator/Freezer drawers
Refrigerator/Freezer Drawer cover Upper/Lower
How to replace the water filter
Food storage guide
General information
Cleaning
Smart Diagnosis
Troubleshooting guide
It is normal…
11
11
13
14
15
19
19
20
21
21
22
22
24
26
27
28
30
45
20
Table of contents
Introduction
Operation
Suggestion on
food storage
Care and
maintenance

Introduction
3
Model/Serial record
The model and serial numbers are found on the inner case or back of refrigerator
compartment of this unit. These numbers are unique to this unit and not
available to others. You should record requested information here and retain
this guide as a permanent record of your purchase. Staple your receipt here.
Date of purchase :
Dealer purchased from :
Dealer address :
Dealer phone no. :
Model no. :
Serial no. :
Basic safety precautions
This guide contains many important safety messages.
Always read and obey all safety messages.
This is the safety alert symbol. It alerts you to safety messages that inform you
of hazards that can kill or hurt you or others or cause damage to the product. All
safety messages will be preceded by the safety alert symbol and the hazard signal
word DANGER, WARNING, or CAUTION. These words mean:
All safety messages will identify the hazard, tell you how to reduce the chance of
injury, and tell you what can happen if the instructions are not followed.
DANGER
You may be killed or seriously injured if you don’t follow
instructions.
WARNING
You can be killed or seriously injured if you don’t follow
instructions.
CAUTION
Indicates an imminently hazardous situation which, if not
avoided, may result in minor or moderate injury, or product
damage only.

ENGLISH
Introduction
4
WARNING
To reduce the risk of fire, electric shock, or personal injury when using your
product, basic safety precautions should be followed, including the following.
Read all instructions before using this appliance.
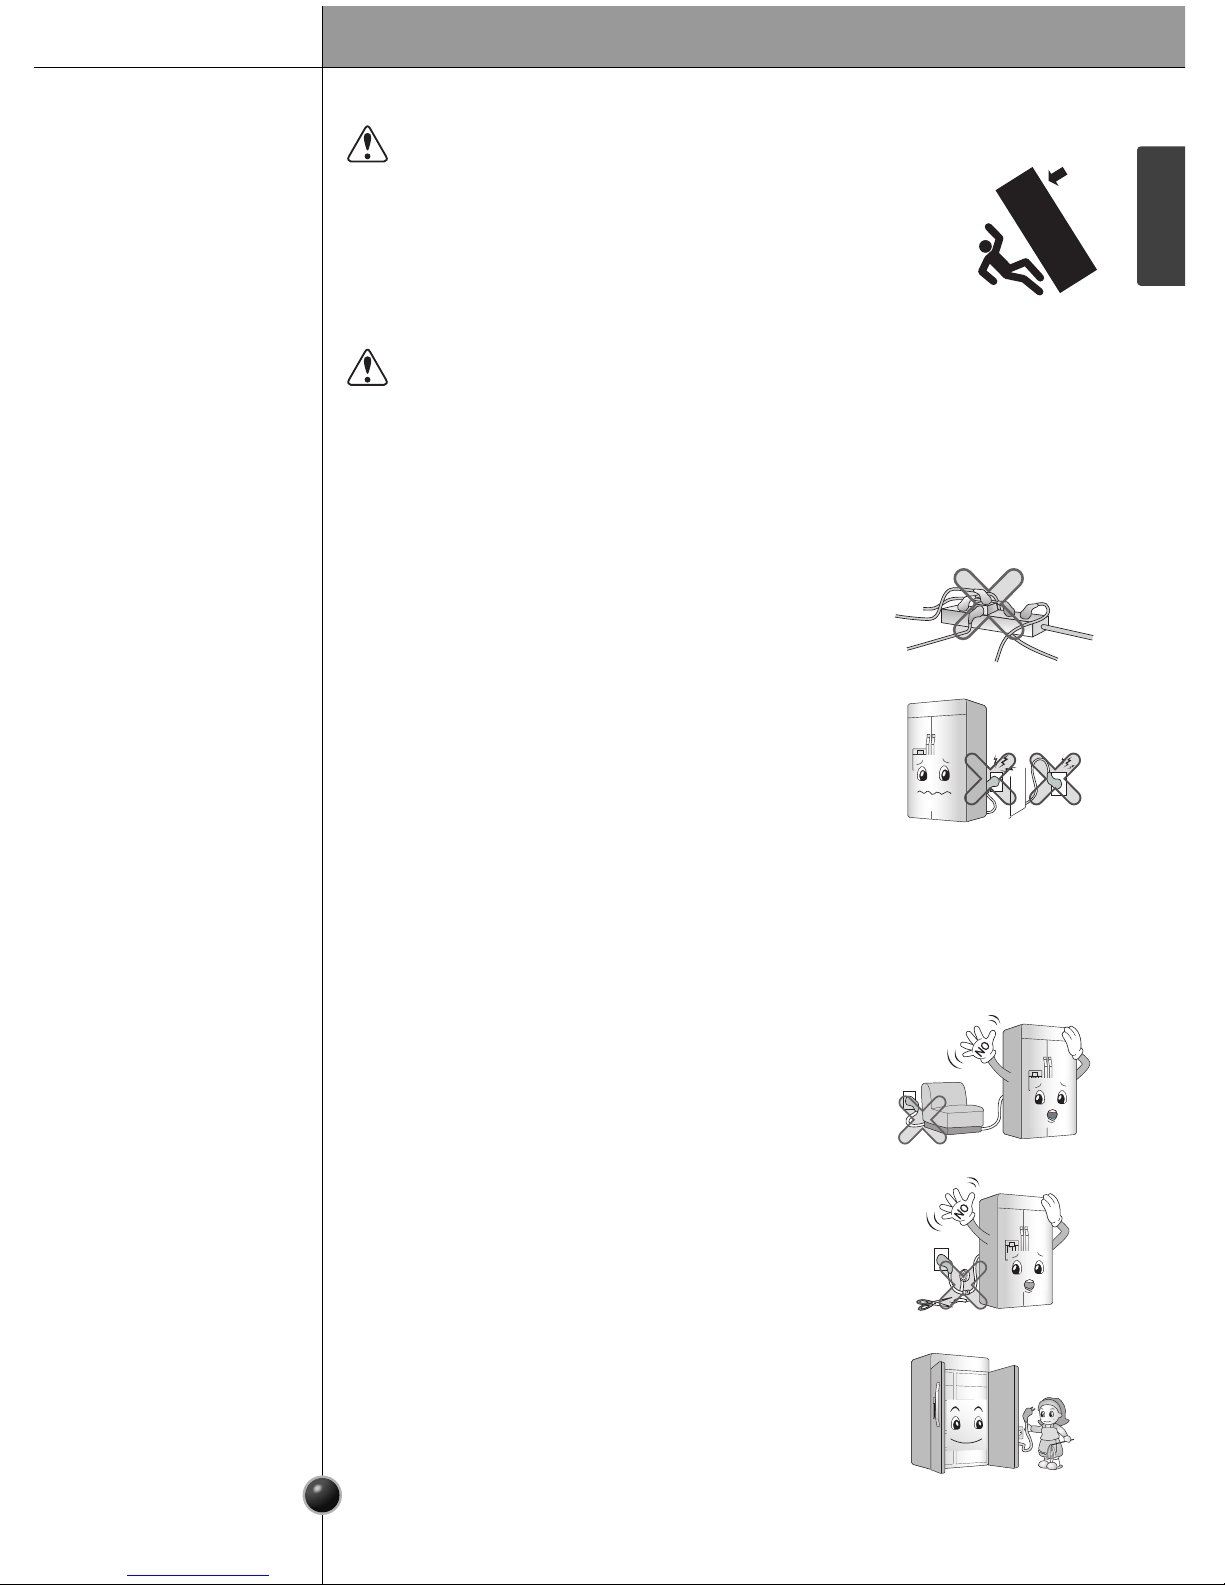
WARNING
TIP-OVER HAZARD
Use two or more people to move and install the refrigerator.
To prevent the refrigerator from tipping over, install anti-tip brackets
(provided). Failure to follow the refrigerator installation instructions can
result in serious injury or death.
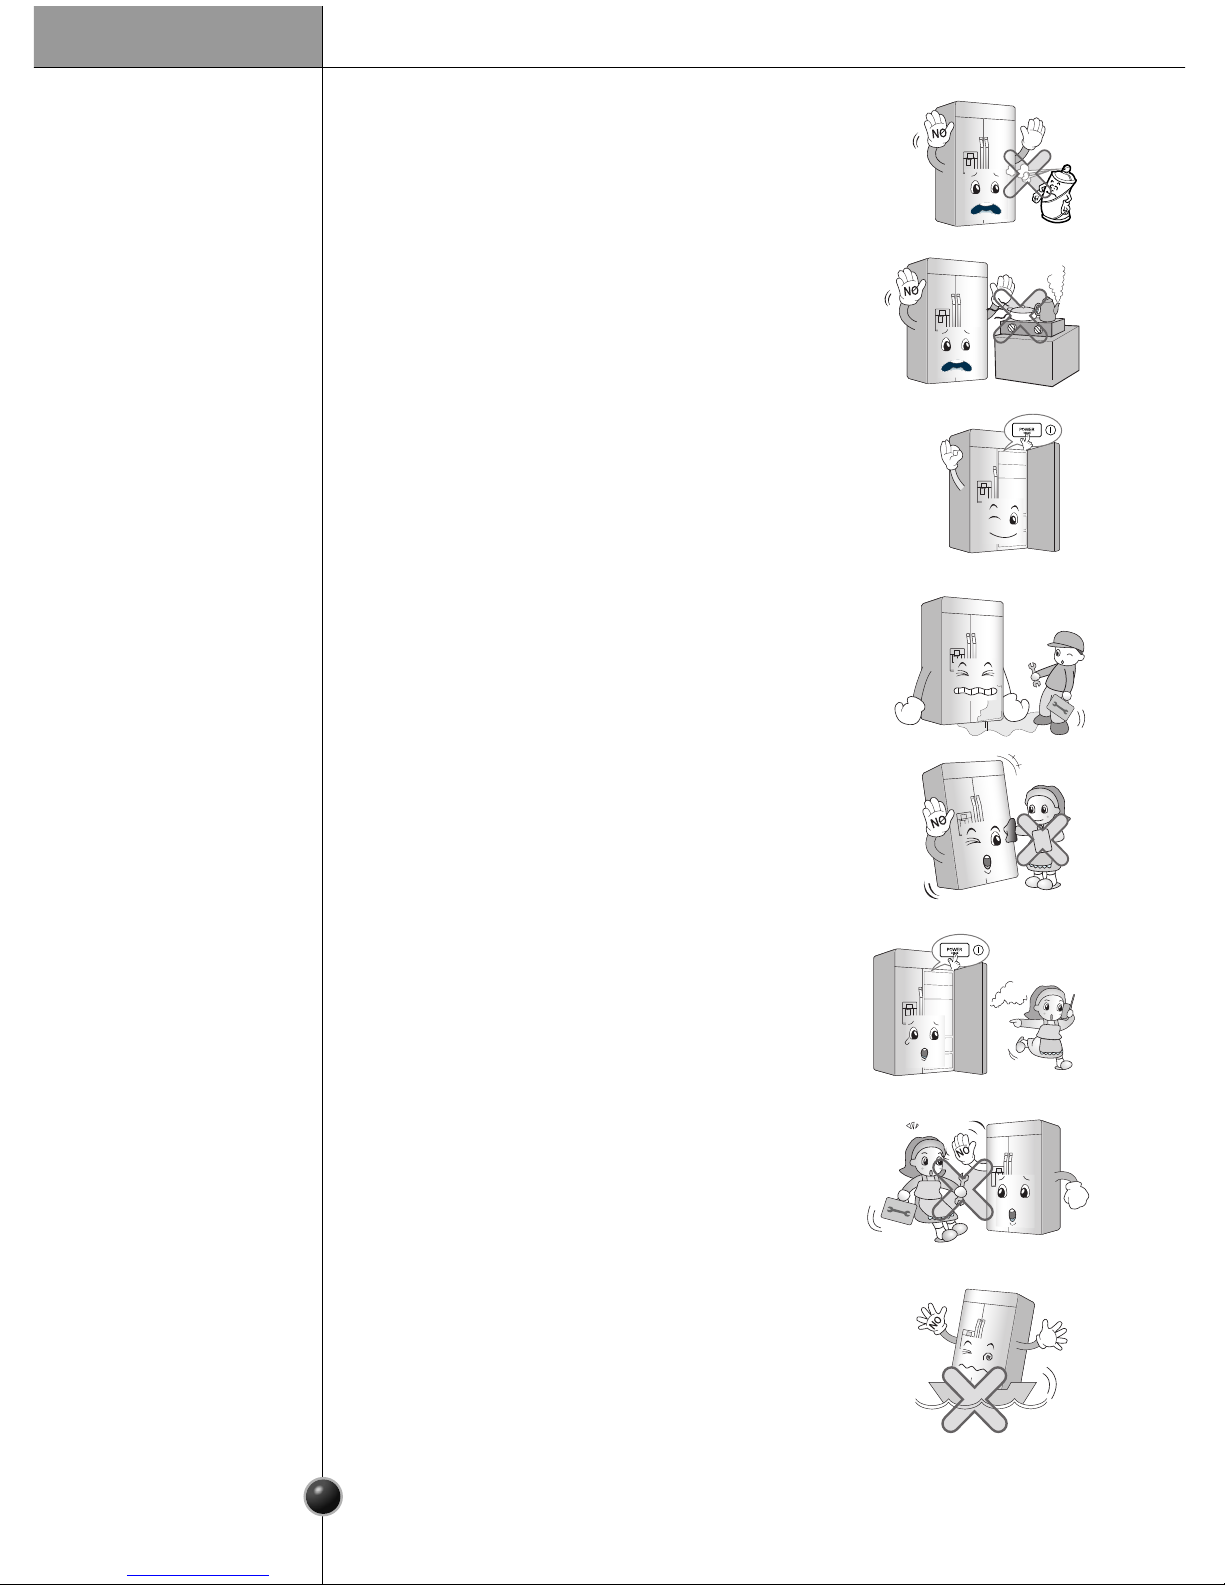
1. When connecting the power
Use a dedicated outlet.
• Using several devices at one outlet may cause a fire.
Prevent the power cord from being squeezed or crushed if the refrigerator is
pushed in after the power plug is extracted during the installation.
When moving your appliance away from the wall, be careful not to roll over the
power cord or to damage it in any way.
It can cause fire or electric shock.
Do not allow the power cord to be bent, crushed, or
damaged. Do not run the power cord under heavy objects
like furniture, other appliances, or in traffic areas.
It may damage the power cord to cause fire or electric shock.
Do not allow the power plug to face upward or to be
squeezed at the back of the refrigerator.
Water may be flown into or the plug may be damaged, which
causes fire or electric shock.
Do not extend or modify the length of the power plug.
Use only an exact factory replacement part to avoid electrical
issues, fire, or shock.
Unplug the power cord or turn off the power when
cleaning or moving the refrigerator.
• It may cause electric shock or injury.
• Press the POWER button for 3 second to turn off the power
at display panel.

Introduction
5
Remove water or dust from the power plug and insert it
with the ends of the pins securely connected.
Dust, water, a loose connection may cause a fire or electric
shock.
Do not use the power cord or the power plug if it is
damaged or if the holes of the outlet are loose.
It may cause electric shock or short circuit to make fire.
Wait for 5 minutes or longer when reconnecting the plug.
Give the compressor time to cycle before re-starting.
If the supply cord is damaged, it must be replaced by the manufacturer or its
service agent or a similarly qualified person in order to avoid a hazard.
Do not unplug the refrigerator by pulling on the cord.
It may cause electric shock or short circuit to fire.
Do not pull out the cord or touch the power plug with wet
hands.
It may cause electric shock or injury.

ENGLISH
Introduction
6
2. When using the refrigerator
Do not place heavy or dangerous objects on the
refrigerator.
It may fall and cause injury, fire, electric shock when opening or
closing the door.
Do not install the refrigerator in a damp place or a place
where water drips or splashes, like near a sink or a
downspout.
Deterioration of insulation of electric parts may cause electric
leakage.
Do not allow children to hang on the refrigerator Doors,
shelves or drawers.
It may cause serious injure.
Prevent children from entering the product.
It may endanger the life of a child if the child enters the
refrigerator.
Opening and closing the door of the refrigerator vigorously may cause the
stored food in the door boats to fall.
Do not use or store flammable materials like ether,
benzene, alcohol, medicine, LP gas, spray,
cosmetics near or in the refrigerator.
It may cause explosion or fire.
Benzene
Ether
Thinner
Do not use a hair drier to dry the inside, nor light a
candle to remove odor.
It may cause explosion or fire.

Introduction
7
If your refrigerator is leaking, have it checked by an
authorized service technician before operating it.
It may cause electric shock or fire.
Turn off the refrigerator if you will not be using it for an
extended period of time, or in the event of a severe electrical
storm.
Press the POWER button for 3 second to turn off the power at
display panel.
Do not install the refrigerator near a gas stove, water
heater or other sources of ignition that may possibly
leak gas.
Do not use combustible sprays (including cooking sprays,
oils and other aerosol products) on or near the
refrigerator.
It may cause fire.
Do not spray water inside or outside the refrigerator,
do not clean it with benzene or thinner.
Deterioration of insulation of electric parts may cause electric
shock or fire.
ThinnerThinner
When a strange smell or smoke is detected from the
refrigerator, turn off the refrigerator and contact the
service center.
It may cause fire.
Service
center
Do not use the refrigerator for non-domestic purpose
(storing medicine or testing material, installed in
vehicles, aircraft, or boats.).
It may cause an unexpected risk such as fire, electric shock,
deterioration of stored material, chemical reaction.
Do not allow any person except an authorized servicer
to disassemble, repair, alter the refrigerator.
It may cause injury, electric shock, fire.

ENGLISH
Introduction
8
When disposing the refrigerator, remove the packing
materials from the door or take off the doors but leave the
shelves in place so that children may not easily climb inside.
Child entrapment generally results in death by suffocation.
This appliance is not intended for use by persons (including children) with
reduced physical, sensory, mental capabilities, or lack of experience and
knowledge, unless they have been given supervision or instruction concerning
use of the appliance by a person responsible for their safety.
Children should be supervised to ensure that they do not play with the
appliance.
Install the refrigerator on a solid and level floor.
If the refrigerator tips when opening or closing the door, it
could fall over, causing property damage and personal injury.
Do not step on the pipe under the freezer door.
It may cause electric shock or injury.
Do not insert hands or metal objects into the exit of
cool air, the cover, the bottom of the refrigerator,
or the vent grille on the back.
It may cause electric shock or injury.
CAUTION
Violating this direction may cause personal injury or property damage.
Always be careful, please.
Do not insert hands into the ice bucket or the ice
dispenser.
Doing so may cause injury.

Introduction
9
Do not touch food or containers in the freezer with wet
hands.
It may cause frostbite.
Do not put ice in a thin crystal cup or ceramic ware.
The glass may shatter and present a hazard.
When the electricity is off, remove ice from the ice bucket.
If the power is off long enough, the ice will melt and the water
will run onto the floor. In the event of a long-term power
outage, dump the ice to prevent this.
Supply the automatic icemaker with drinkable water.
Non-potable water can cause health risks.
Do not remove the cover of the automatic dispenser.
The operation mechanic parts of the icemaker may hurt people.
Place food items and containers carefully on the shelves in the refrigerator.
The food may fall during opening and closing the door of the refrigerator and hurt
people.
Drinkable
water
Do not put glass bottles or containers in the freezer.
It may freeze the contents to break the bottle, causing injury.
Do not stick your hands under the refrigerator.
Sharp edges, fans, and wires may cause an injury.

ENGLISH
Introduction
10
Parts and Features
Freezer
Compartment Refrigerator
Compartment
Dairy Corner
LED Function
Display Board
LED Lamp
Automatic
Icemaker
Top Cover
Shelf
Shelf
Door Rack
Drawer (3)
Lower Cover
Shelf
Shelf
LED Lamp
Filter
Gallon bin
Adjustable door bin
Adjustable door bin
Drawer(3)
Because opening or closing the door or the home bar
of the refrigerator may cause injury to the person
around it, be careful, please.
Opening or closing the door may cause feet or hands to be
caught in the chink in door or the child to be get hurt by the
corner.
Do not put pets into the refrigerator.

Operation
11
Starting
When your refrigerator is first installed, allow it to stabilize at normal operating
temperatures for 2-3 hours prior to filling it with fresh or frozen foods.
If operation is interrupted, wait 5 minutes before restarting.
Adjusting the temperatures and functions
Dispenser Push Switch
Dispenser Lamp (hidden)
Water/Ice Output
Dispenser Display Board
LED Function display board

ENGLISH
Operation
12
1 2 3 4 5 6 7
8 9
10 11
12
POWER
Power on/off. Pre and hold the POWER button for 3 econd to turn the power on or
off. And you can turn on the refrigerator with ame way.
QUICK FREEZING
When the QUICK FREEZING button i pre ed, the di play will indicate the elected
function ha been activated.
FRZ. TEMP.
Indicate the et temperature of the freezer compartment in Cel iu or Fahrenheit.
REF. TEMP.
Indicate the et temperature of the refrigerator compartment in Cel iu or Fahrenheit.
ALARM
Thi indicator how that the door-open warning alarm i activated.
FILTER RESET
Thi indicator how the current tatu for the water filter. See Re etting the Filter
Indicator.
SMART DIAGNOSTIC FUNCTION
See Smart Diagno tic, page 28.
FRZ. Temp. indicator
REF. Temp. indicator
Energy Saving
Thi indicater how that Energy Saving mode i activated.
Child Lock
Pre and hold the Child Lock button for 3 econd to activate or deactivate the Child
Lock.
Dispenser selection indicator
Di play whether the di pen er i et to di pen e Water, Cubed or Cru hed Ice.
LED Function display board
Dispenser Display Board

Operation
13
Adjust freezer
temperature
Adjust refrigerator
temperature
To adju t the temperature in the freezer
compartment, pre the FRZ.TEMP. button to
cycle through the range of available etting .
To adju t the temperature in the refrigerator
compartment, pre the REF.TEMP. button to
cycle through the range of available etting .
Adjusting The Temperatures And Display
•The actual inner temperature varies depending on the food status, since the
indicated temperature setting is the target temperature and not the actual
temperature within the refrigerator.
Initially set the REFRIGERATOR CONTROL at 37 ˚F and the FREEZER CONTROL
at 0 ˚F. Leave them at these setting for 24 hours (one day) to stabilize.
Then adjust the compartment temperature as illustrated above.
•To change temperature display from Fahrenheit to Celsius press and hold
FRZ.TEMP. and REF.TEMP. buttons simultaneously for approximately 5 seconds.
Do the same to convert back to Celsius.
NOTE

ENGLISH
Operation
14
Dispensing
crushed ice
Dispensing
cubed ice
Pre the DISPERNSER SELECTION button repeatedly until
the cru hed ice icon illuminate .
Pre the Di pen er Pu h Switch with a gla or other
container to di pen e cru hed ice.
Pre the DISPERNSER SELECTION button repeatedly until
the cubed ice icon illuminate .
Pre the Di pen er Pu h Switch with a gla or other
container to di pen e cubed ice.
• Hold the container a clo e to the ice or water hoot a po ible to avoid
pilling and pla hing.
• Do not di pen e ice into fine china or cry tal gla e . China or cry tal can be
broken.
Operating The Dispenser
Dispensing
water
Pre the DISPERNSER SELECTION button repeatedly until
the water icon illuminate .
Pre the Di pen er Pu h Switch with a gla or other
container to di pen e water.
•Hold the glass or other container in place for a couple of seconds after dispensing
ice or water to catch the last few cubes or drops. The dispenser is designed to not
operate while either refrigerator door is open.
NOTE
CAUTION

Operation
15
15
Setting
the Child Lock
Setting the door
alarm
Resetting the
filter indicator
Activating
Quick Freezing
Pre the button for the de ired function to view and elect other etting .
Pre and hold the CHILD LOCK button for three econd to
lock the di pen er and all of the other control panel function .
Pre and hold again for 3 econd to unlock.
The ALARM button al o control the door alarm that ound
three time in 30- econd interval when a compartment door i
left open for more than 60 econd . The alarm top ounding
when the door i clo ed. Pre the ALARM button once to
activate and deactivate the door alarm function.
Pre and hold the FILTER RESET button for approximately
3 econd to re et the filter indicator after the water filter ha
been replaced.
Pre the QUICK FREEZING button once to activate the
QUICK FREEZING function. The QUICK FREEZING icon on
the di play panel will illuminate when activated. The QUICK
FREEZING function run the freezer compartment at the
colde t etting for a 24-hour period to increa e icemaking by up
to about 20%, and then turn off automatically.
Setting The Functions
•Contact your local service center if the alarm continues to sound after the doors are
closed.
NOTE
•
It i recommended that you replace the water filter approximately every 6 month , when
the water filter indicator light reache 0 or if the ice or water tart to ta te bad.
NOTE
•
Press the button again to cancel the QUICK FREEZING function.
NOTE
Activating
Energy Saving
Pre the ENERGY SAVING button for at lea t 3 econd to
activate or deactivate the function.
Thi function i recommended for added energy aving .
(Some heater to reduce exce moi ture on the refrigerator
may be turned off) The energy aving function i al o
recommended during long period of time pent away from
home-like vacation.

ENGLISH
Operation
1616
Power on/off The POWER button will turn off all electrical power to the unit.
Pre and hold the POWER button for 3 econd to turn off the
power. When the power i off, the indicator light i off. It mean
you don’t have to turn off power at the circuit breaker or wall
receptacle. Thi function hould be u ed for ervice or
extended vacation .
The automatic icemaker can automatically make 6 cubes at a time, 70~120
pieces per day. This quantity may vary by circumstance, including ambient
temperature, door opening, freezer load. etc.
Icemaking stops when the ice storage bin is full.
If you don't want to use the automatic icemaker, turn the icemaker switch to
OFF. If you want to use automatic icemaker again, change the switch to ON.
Automatic
icemaker
•It is normal that a noise is produced when ice drops into the ice storage bin.
•Occasionally shake the ice storage bin so that the ice does not pile higher on one
side. If the ice piles up high next to the ice maker, ice production will stop.
NOTE
•Do not insert your hands into the maker.
It may cause injury.
After dispenser
is used The water collector has no self-drainage
function, so it should be cleaned regularly.
Remove the cover by pulling the front of the
water collector cover and dry it with a cloth.
WARNING
lcemaker
ON/OFF Switch
Automatic
Shutoff Arm

Operation
17
Ice is lumped together
When ice is lumped together, take the ice lumps out of the ice storage bin,
break them into small pieces, and then place them into the ice storage bin
again.
When the icemaker produces too small or lumped together ice, the amount
of water supplied to the ice maker may need to be adjusted. Contact the
service center.
❈If ice is not used frequently, it may lump together.
Power failure
Ice may drop into the freezer compartment. Take the ice storage bin out and
discard all the ice then dry it and place it back.
The unit is newly installed
It takes about 12 hours for a newly installed refrigerator to make ice in the
freezer compartment.
When icemaker
does not operate
smoothly
The other
functions Door open warning
A warning tone will sound 3 times at thirty-second intervals if the refrigerator
or freezer door is left open for more than sixty seconds.
Please contact a local service center if the warning continues to sound after
closing the door.
Auto closing
door system The doors automatically close when in the
60 degree position, as shown in the picture
below.
•This function is operated with a spring-damper
mechanism. Closing speed and strength depends
on the ambient temperature, frequency of door
opening/closing and contents of the door bins.
NOTE
60°

ENGLISH
Operation
18
Throw away the first few batches of ice (about 24 cubes) and water
(about 7 glasses) first made after refrigerator installation.
The first ice and water may include particles or odor from the feed water pipe
or feed water box. This is also necessary if the refrigerator has not been used
for a long time.
Children should be supervised when using the dispenser.
Be careful that food does not block the ice passage.
The ice passage may become blocked with frost if only crushed ice is used.
Remove the frost that accumulates by removing the ice bin and clearing the
passage with a rubber spatula. Dispensing cubed ice can also help prevent
frost buildup.
Never store beverage cans or other items in the ice bin for the purpose
of rapid cooling.
Doing so may damage the icemaker or the containers may burst.
Never use thin crystal glass or crockery to collect ice.
Such containers may chip or break resulting in glass fragments in the ice.
Dispense ice into a glass before filling it with water or other beverages.
Splashing may occur if ice is dispensed into a glass that already contains
liquid.
To avoid personal injury, keep hands out of the ice door and passage.
Part breakage or injury may occur.
Never remove the ice maker cover.
If discolored ice is dispensed, check the water filter and water supply. If
the problem continues, contact service center. Do not use the ice or
water until the problem is corrected.
Never use a glass that is exceptionally narrow or deep.
Ice may jam in the ice passage and refrigerator performance may be affected.
Keep the glass at a proper distance from the ice outlet.
A glass held too close to the outlet may prevent ice from dispensing.
CAUTION

Operation
19
Shelf
The shelves in your refrigerator are adjustable to
meet your individual storage needs.
How to use
1. Hold the front part of the shelf and lift it up
slightly.
2. While holding the shelf, tilt the shelf to pull it out.
Make sure that shelves are level from one side to
the other.
Failure to do so may result in the shelf falling or
spilling food.
Tilt the front of the shelf up and guide the shelf
hooks into the slots at a desired height. Then, lower
the front of the shelf so that the hooks drop into the
slots.
How to
disassemble
How to
reassemble
Freezer door bin
Store small packaged frozen food.
Do not store ice cream or food a for long period of time.
How to use
Hold the bin with both hands and slightly lift up the
front part to pull it out.
How to
disassemble
Hold the bin with both hands and
reassemble one side at a time by
pushing it in.
How to
reassemble
CAUTION

ENGLISH
Operation
20
Adjustable door bins
You can store small packaged refrigerated food or beverages such as milk, canned
drinks, etc. The door adjustable bins are removable for easy cleaning and adjustment.
How to use
You must remove the dairy corner before
disassembling the adjustable door bin.
To remove the door bin, pull the levers on
each side and pull the bin up off of the rail.
How to
disassemble
Before reassembling the adjustable door bin, you must first remove the dairy corner.
Hold the door bin with both hands and place it on top of the rail. Push the basket
down while holding the lever under the bin. You will hear a "click" sound when the
door bin is in the correct position.
How to
reassemble
Dairy corner
You can store dairy goods like butter, cheese etc.
How to use
To remove the dairy corner, simply lift it up and pull
straight out.
If you close the refrigerator door with the dairy corner
left open on the door side, the refrigerator door may not
close properly. Be careful to avoid damaging the cover.
How to
disassemble
- Always removing/assembling the adjustable door bin using two hands.
Make sure that the adjustable door bins are empty before removing/assembling
them.
WARNING
Lever
Other manuals for LSSB2791ST
2
This manual suits for next models
1
Table of contents
Other LG Refrigerator manuals
Popular Refrigerator manuals by other brands

Hearthland
Hearthland HCFDR23C User instructions

Hotpoint
Hotpoint HTR17BBSLWW - 16.6 cu. Ft. Top Freezer... owner's manual

COMPANION
COMPANION COMP622 - 22L instruction manual

Hisense
Hisense RS695N4IS2 Operation manual

Hotpoint Ariston
Hotpoint Ariston ENTM xxxxx F operating instructions

AEG Electrolux
AEG Electrolux ER 1720 U Installation and instruction manual