manuals.online logo
Brands
  1. Home
  2. •
  3. Brands
  4. •
  5. Liberty Garden
  6. •
  7. Lawn And Garden Equipment
  8. •
  9. Liberty Garden 880 User manual

Liberty Garden 880 User manual

This manual suits for next models

1

Other Liberty Garden Lawn And Garden Equipment manuals
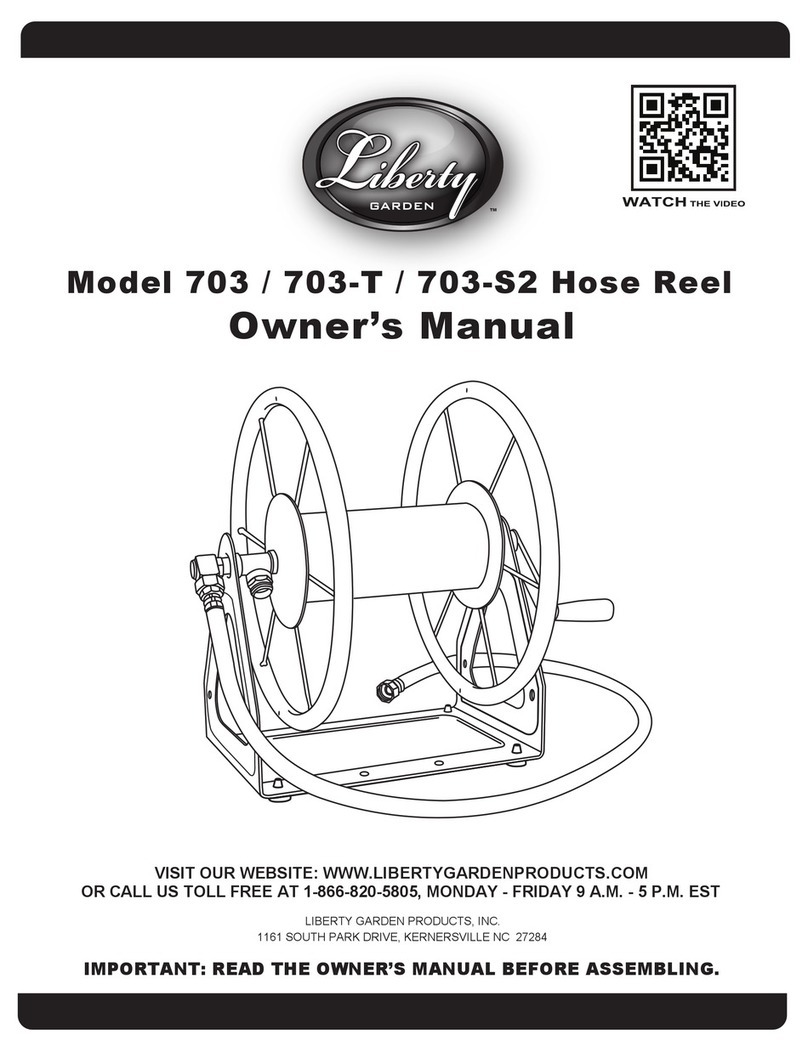
Liberty Garden Navigator 710 User manual

Liberty Garden

Liberty Garden Navigator 710 User manual

Liberty Garden 840 User manual

Liberty Garden

Liberty Garden 840 User manual

Liberty Garden 704 User manual

Liberty Garden

Liberty Garden 704 User manual

Liberty Garden 1180 User manual

Liberty Garden

Liberty Garden 1180 User manual

Liberty Garden 890 User manual

Liberty Garden

Liberty Garden 890 User manual

Liberty Garden 707 User manual

Liberty Garden

Liberty Garden 707 User manual
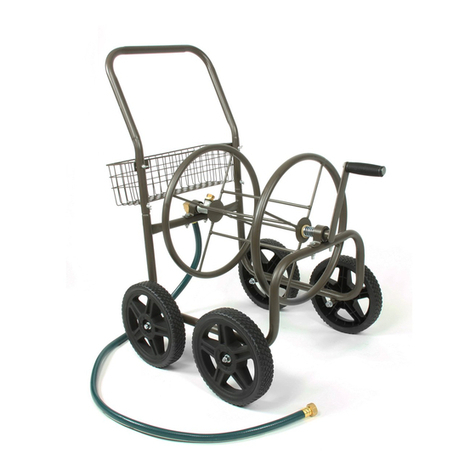
Liberty Garden 870 User manual

Liberty Garden

Liberty Garden 870 User manual

Liberty Garden 871 User manual

Liberty Garden

Liberty Garden 871 User manual

Liberty Garden 708 User manual

Liberty Garden

Liberty Garden 708 User manual

Liberty Garden 709-S2 User manual

Liberty Garden

Liberty Garden 709-S2 User manual

Liberty Garden Navigator 712 User manual

Liberty Garden

Liberty Garden Navigator 712 User manual

Liberty Garden Navigator 710 User manual

Liberty Garden

Liberty Garden Navigator 710 User manual

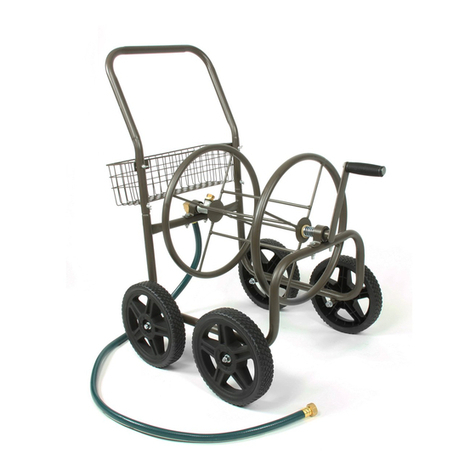
Liberty Garden Liberty Basics 501 User manual
Liberty Garden

Liberty Garden Liberty Basics 501 User manual

Liberty Garden 301 User manual

Liberty Garden

Liberty Garden 301 User manual

Liberty Garden 1200 User manual

Liberty Garden

Liberty Garden 1200 User manual

Liberty Garden 871-S User manual

Liberty Garden

Liberty Garden 871-S User manual

Liberty Garden 118 User manual

Liberty Garden

Liberty Garden 118 User manual

Popular Lawn And Garden Equipment manuals by other brands

Sunforce SOLAR user manual

Sunforce

Sunforce SOLAR user manual

GARDEN OF EDEN 55627 user manual

GARDEN OF EDEN

GARDEN OF EDEN 55627 user manual

Goizper Group MATABI POLMINOR instruction manual

Goizper Group

Goizper Group MATABI POLMINOR instruction manual

Rain Bird 11000 Series Operation & maintenance manual

Rain Bird

Rain Bird 11000 Series Operation & maintenance manual

Cub Cadet BB 230 brochure

Cub Cadet

Cub Cadet BB 230 brochure

EXTOL PREMIUM 8891590 Translation of the original user manual

EXTOL PREMIUM

EXTOL PREMIUM 8891590 Translation of the original user manual

Snapper 690179 installation instructions

Snapper

Snapper 690179 installation instructions

Exmark SAR481KA30 Operator's manual

Exmark

Exmark SAR481KA30 Operator's manual

Yazoo/Kees Z12 Operator's manual

Yazoo/Kees

Yazoo/Kees Z12 Operator's manual

Makita EM408MP Original instruction manual

Makita

Makita EM408MP Original instruction manual

Exmark Quest Bagger Setup instructions

Exmark

Exmark Quest Bagger Setup instructions

Manitou Systems AS960 Operator's manual

Manitou Systems

Manitou Systems AS960 Operator's manual

Vertex 1/3 HP Maintenance instructions

Vertex

Vertex 1/3 HP Maintenance instructions

GHE AeroFlo 80 manual

GHE

GHE AeroFlo 80 manual

Land Pride Post Hole Diggers HD25 Operator's manual

Land Pride

Land Pride Post Hole Diggers HD25 Operator's manual

Yazoo/Kees Z9 Commercial Collection System Z9A Operator's & parts manual

Yazoo/Kees

Yazoo/Kees Z9 Commercial Collection System Z9A Operator's & parts manual

Premier designs WindGarden 26829 Assembly instructions

Premier designs

Premier designs WindGarden 26829 Assembly instructions

Snapper 1691351 installation instructions

Snapper

Snapper 1691351 installation instructions

manuals.online logo
manuals.online logoBrands
  • About & Mission
  • Contact us
  • Privacy Policy
  • Terms and Conditions

Copyright 2025 Manuals.Online. All Rights Reserved.

4
8. Attach handle (G) to crank handle (J)
using handle bolt and nut. Tighten se-
curely. Attach crank handle to pipe on
end of spool. Teflon tape should be on
end of pipe to prevent leaking. Fig. 7.
Fig. 7
. Attach the Leader hose (E) to the
end of the swivel. DO NOT OVER-
TIGHTEN. Fig. 10 Fig. 10
2. ATTACHING YOUR GARDEN
HOSE: Attach your hose to the brass
swivel. Loop the hose over the spool
end to avoid kinking. Fig 11.
4. Your hose cart is now ready to use.
Attach the end of the leader hose to your
water supply.
General Care and Maintenance
To help delay rust, repaint any parts of the unit from which paint has been scraped. Use a
weather proof paint to seal fasteners (bolts , nuts). If the unit is exposed to lawn fertilizer, thor-
oughly rinse the entire unit. Fertilizer will damage the unit if not removed. Do not expose cart
plumbing or inlet hose to freezing temperatures with water present.
Fig 11
“Liberty” is a registered trademark of Liberty Garden Products, Inc. Kernersville NC. All Rights Reserved. 2007
Product: 880
9. Attach wheels (C) by sliding the Axle
(F) thru the axle bushing. Slide wheel
over axle, attach washer and nut. Repeat
for other wheel and tighten. Inflate tire
to 20 PSI.
Fig. 8
0. Slide U-Handle (D) over the frame
extensions and align the holes. Insert
bolts (M) thru handle holes and attach
wing nuts (N). Hand tighten. Fig 9.
Fig. 9
Model 880 and 1180 Two Wheel
Hose Cart Instruction Manual
500 Indeneer Drive, Suite 9, Kernersville NC 27284
Liberty Garden Products, Inc.
Visit our we site: www.li ertygardenproducts.com or call
us toll free at 1-866-820-5805.
2
Tools Required: Two adjusta le Wrenches ,Screwdriver, Ru er Mallet.
Estimated assem ly time: 30 minutes.
Parts List
A. Frame (1 Unit)
B. Spool (1)
C. Tires (2)
D. U-Handle (1)
E. Leader Hose (1)
F. Axle with washers/nuts. (1)
G. Handle with olt (1)
H. Spring (1)
I. U-Bushing (2)
J. Crank Handle (1)
K. Plastic Spacer Washers (2)
L. Brass Swivel (1)
M. Handle Bolts (2)
N. Handle Wing Nuts (2)
O. U-Bushing Bolts (4)
P. U-Bushing Nuts (4)
Q. Ru er feet w/nuts (2)
. Layout all parts and fasteners. Make sure all parts are accounted for. If any part is
missing please contact Liberty Garden Products at 866-820-5805. Do not contact the
retailer. You can also visit our website, www.li ertygardenproducts.com, for more
instructions, pictures and helpful hints.
2. Attach rubber feet to bottom
of frame. Insert bolts into bottom
of frame. Attach nuts and tighten.
See Figure .
Model 880 Cart: Holds up to 300’ of 5/8” hose.
Model 1180: Holds up to 200 ft. of 1” hose. All plum ing on the 1180 cart
is for 1” fittings.
A. B.
C.
D
E.
F.
L.
H.
G. I.
J.
K.
M
N
O
P
Q
Fig. 1
3
3. Turn frame over and attach U-
Bushing (I) to frame using 2 U-
Bushing bolts (O) and nuts (P).
Hand tighten only. See Fig. 2. Set
frame aside.
4. Spool Assem ly: Insert brass
swivel (L) thru bushing (I) and
screw into the galvanized T on the
spool. Tighten using wrench. Fig 3.
Do not over tighten, this could
damage threads. Be sure to use Tef-
lon tape on threads.
Fig. 2
5. Turn Spool around and slide a
plastic spacer washer (K), spring (H)
and another plastic spacer washer
over the pipe. Fig 4.
Fig. 4
6. Attaching spool to frame: insert
“pipe” end of spool into U-bushing
that is attached to frame.
Fig. 5.
Fig. 5
Fig. 6
Fig. 3
7. On the other end of spool, align
the U-bushing with the holes in the
frame and insert U-bushing bolts (O)
and attach nuts (P). You may need to
put pressure on the spool by com-
pressing the spring to align holes.
Tighten all 4 U-bushing nuts with a
wrench. Fig 6.