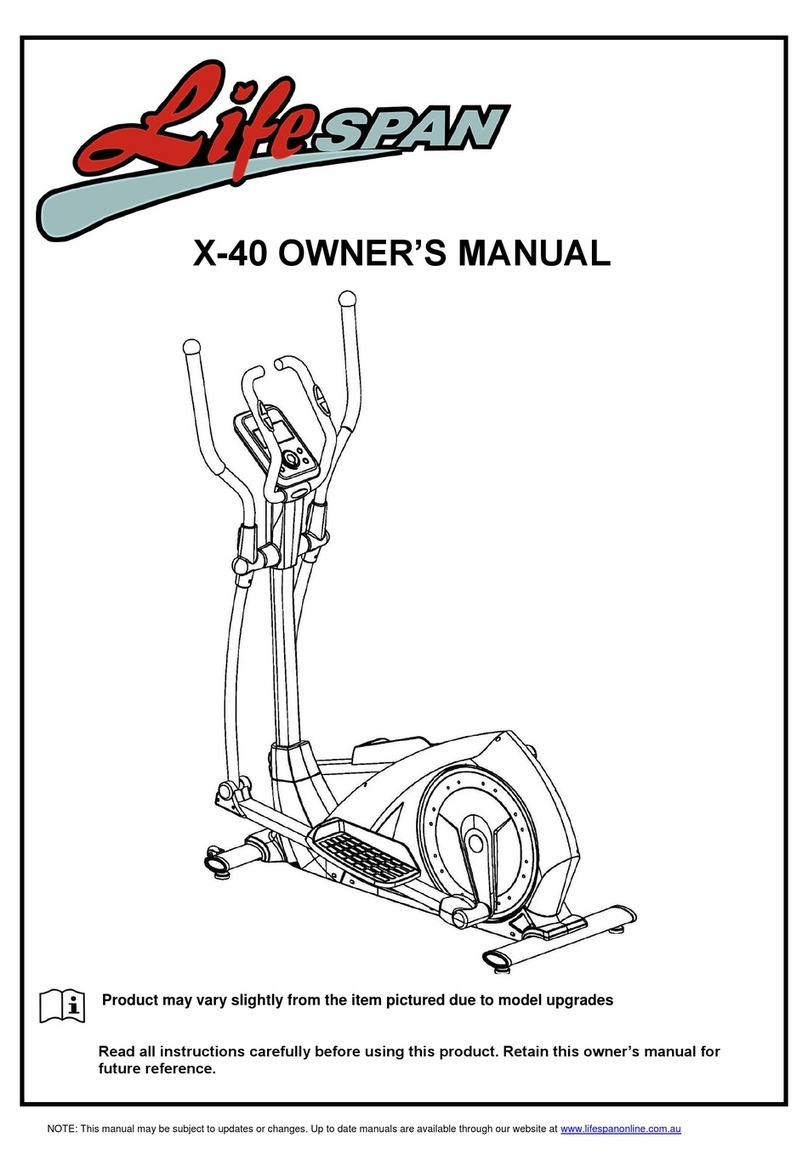
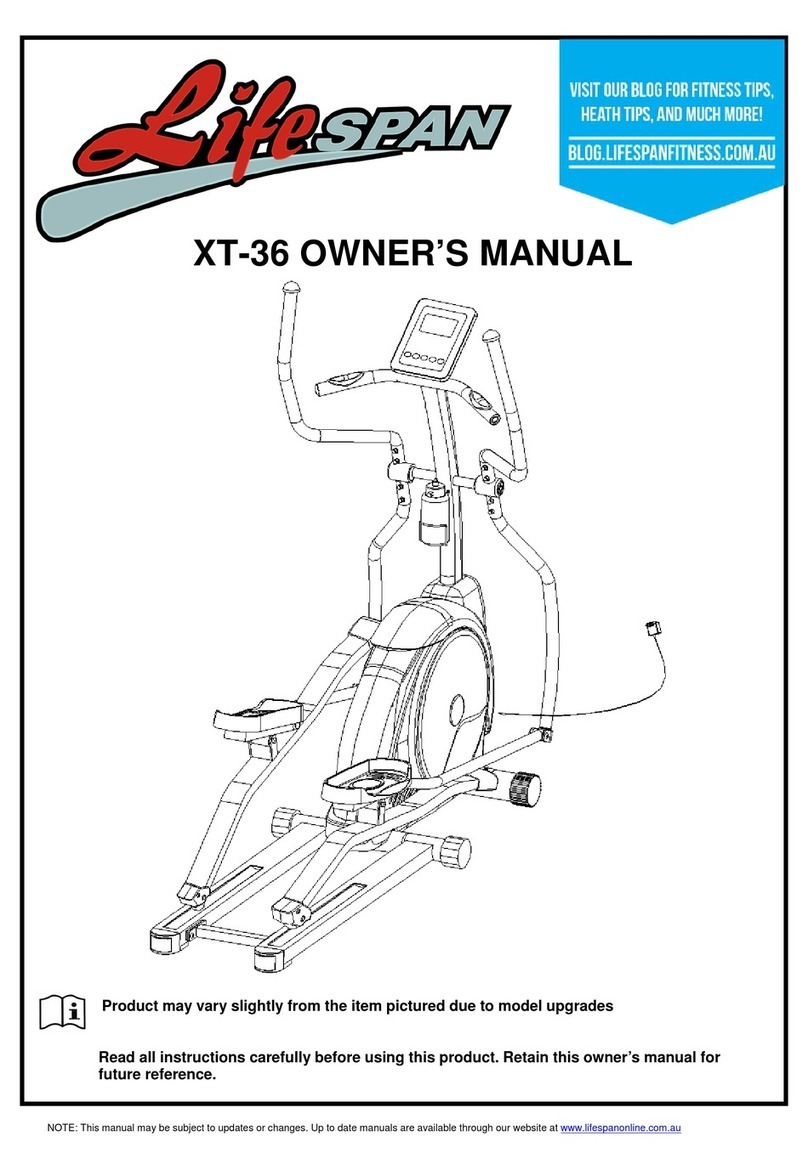
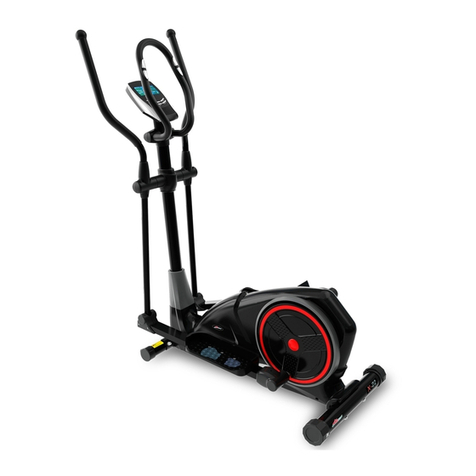
Life Span X-15 User manual

This manual may be subject to change. Please view our website www.lifespanonline.com.au for the most up to date manuals.
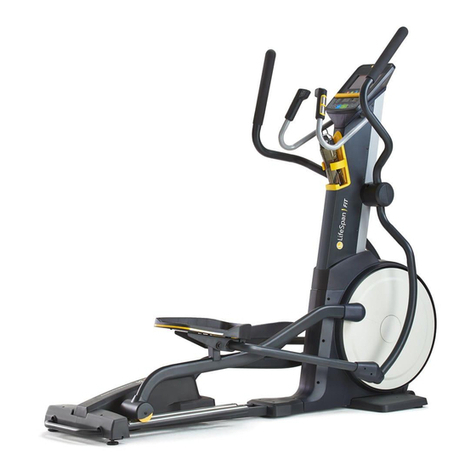
Product may vary slightly from the item pictured due to model upgrades
Read all instructions carefully before using this product. Retain this owner’s manual for
future reference.
X-15 OWNER’S MANUAL

2
X-15
TABLE OF CONTENTS
1. IMPORTANT SAFETY INSTRUCTIONS 3
2. ASSEMBLY INSTRUCTIONS 5
3. PROGRAM OPERATION 13
4. EXERCISE GUIDE 20
5. EXPLODED DIAGRAM 24
6. PARTS LIST 25
7. WARRANTY 26

3
X-15
1. IMPORTANT SAFETY INSTRUCTIONS
WARNING - Read all instructions before using this machine.
It is important your machine receives regular maintenance to prolong its useful life. Failing to
regularly maintain your machine may void your warranty.
Please keep this manual with you at all times
a. It is important to read this entire manual before assembling and using the equipment. Safe and effective
use can only be achieved if the equipment is assembled, maintained and used properly.
Please note: It is your responsibility to ensure that all users of the equipment are informed of all
warnings and precautions.
b. Before starting any exercise program you should consult your doctor to determine if you have any
medical or physical conditions that could put your health and safety at risk, or prevent you from using
the equipment properly. Your doctor’s advice is essential if you are taking medication that affects your
heart rate, blood pressure or cholesterol level.
c. Be aware of your body’s signals. Incorrect or excessive exercise can damage your health. Stop
exercising if you experience any of the following symptoms: pain, tightness in your chest, irregular
heartbeat, and extreme shortness of breath, lightheadedness, dizziness or feelings of nausea. If you do
experience any of these symptoms, you should consult your doctor before continuing with your exercise
program.
d. Keep children and pets away from the equipment. This equipment is designed for adult use only.
e. Use the equipment on a solid, flat level surface with a protective cover for your floor or carpet. To
ensure safety, the equipment should have at least 0.5 meters of free space all around it.
f. Before using the equipment, check that the nuts and bolts are securely tightened. If you hear any
unusual noises coming from the equipment during use and assemble, stop immediately. Do not use the
equipment until the problem has been rectified.
4
X-15
g. Wear suitable clothing while using the equipment. Avoid wearing loose clothing that may get caught in
the equipment or that may restrict or prevent movement.
h. This equipment is designed for indoor and family use only.
i. Care must be taken when lifting or moving the equipment so as not to injure your back.
j. Always keep this instruction manual and assembly tools at hand for quick reference.
k. The equipment is not suitable for therapeutic use.

5
X-15
2. ASSEMBLY INSTRUCTIONS

6
X-15
STEP 1:
1. Attach the front stabilizer (42) and rear stabilizer (44) onto the main frame (52) using the square
neck bolt (48), arc washer (46) and cap nut (6).

7
X-15
STEP 2:
1. Connect the mid-sensor wire 2 (39) to the mid-sensor wire 1 (50)
2. Lock the up-right post (45) onto the main frame (52) using the screw (47) and arc washer
(46)

8
X-15
STEP 3:
1. Put the swing rod post (14L and 14R) onto each of the swing axes on the up-right post (45),
then lock it with the bolt (10), spring washer (9) and washer (8) and attach the ball cap (11)
2. Lock the pedal rod post (18L and 18R) on each crank axes of the main frame (52) by the
nylon nut (25) and washer (24). Then, attach the ball cap (26)
3. Connect the swing rod post to the pedal rod post using the bolt (19), washer (20) and nylon
nut (21). Then, attach the ball cap (11)

9
X-15
STEP 4:
1. Lock the pedal (23L and 23R) on each pedal rod post (18L and 18R) using bolt (22),
washer (20) and nylon nut (21)

10
X-15
STEP 5:
1. Lock the handlebar (2L and 2R) to each swing rod post (14L and 14R) to the square
neck bolt (4) ,arc washer (5) and cap nut (6)

11
X-15
STEP 6:
1. Lock the mid-handlebar post (34) onto the up-right post (45) by the screw (29) and
spring washer (9), then cap the small cover (28)
2. Connect the computer wire (37) to the mid-sensor wire 2 (39), and then attach the
computer (37) onto the up-right post (45) using the screw (40) and washer (41)
3. Insert the pulse wire (38) onto the back of the computer (37)

12
X-15
STEP 7:
1. Insert the adaptor (51) into the hole of the main frame (52) and connect to wall socket

13
X-15
3. PROGRAM OPERATION
Key Functions:
A. ENTER: Chooses the functions from PROGRAM, GENDER, TIME, HEIGHT, WEIGHT, DISTANCE,
TARGET HEART RATE, AGE, and 10 columns. The chosen function shall flash. Please note that
not all the functions can be selected in every program according to the type of each program.
B. START/STOP: Starts or stops the program chosen, and resets the monitor by pressing and holding
for 3 seconds.
C. MODE: Changes the displays of the values between RPM and SPEED, between CAL and WATT.
The values of RPM and WATT show at the same time, or the values of SPEED and CAL do by
pressing it.
D. UP (┼): Selects or increases the values of PROGRAM, GENDER, TIME, HEIGHT, WEIGHT,
DISTANCE,TARGET HEART RATE, AGE, and 10 columns.
E. DOWN (─): Selects or decreases the values of PROGRAM, GENDER, TIME, HEIGHT, WEIGHT,
DISTANCE,TARGET HEART RATE, AGE, and 10 columns.
The Display:
A. START: Indicates the selected program has started.
B. STOP: Indicates the selected program has stopped. Users are free to change the programs and the
value of functions applied.
C. PROGRAM: Indicates the selected program from Program 1 to Program 16.
D. LEVEL: Indicates the level of loading selected from Level 1 to Level 16.
E. Indicates the gender selected (Male or Female).
F. Loading Profile: There are 10 columns of loading bars, and 8 bars in each column. Each column
represents 3 minutes workout (without setting of TIME value), and each bar represents 2 levels of
loading.

14
X-15
Operating Ranges:
Values
Range (Count
up)
Count down
Preset
Increment
(Decrement)
PROGRAM
1-16
16-1
1
1
LEVEL
1-16
16-1
N/A
1
GENDER
Male, Female
N/A
Male
N/A
TIME
0:00 ~ 99:59
99:00 ~ 5:00
0:00
1:00
HEIGHT (cm)
110.0-199.5
199.5- 110.0
175.0
0.5
WEIGHT (kg)
10.0-199.8
199.8-10.0
70.0
0.2
DISTANCE
0.0 - 999.0
999.0- 1.0
0.0
1.0
WATT
30 - 300
300 - 30
100
1.0
TARGET
H.R.
60 - 220
220 - 60
90
1
AGE
10-99
99- 10
30
1
N/A: not applicable.
TIME: This is the operating range in Program 1. In other programs (i.e. except Program 1 and Program 8),
the preset value will be 5:00.
Operating Ranges:
A. The values calculated or measured by the computer are for exercise purpose only, not for medical
purpose.
B. Variables that you may customize in the programs:
Programs
Variables
P1-P7
TIME, DISTANCE, AGE
P8
GENDER, HEIGHT, WEIGHT, AGE
P9
TIME, DISTANCE, TARGET H.R.
P10-P12
TIME, DISTANCE, AGE
P13-P16
TIME, DISTANCE, AGE, 10 COLUMNS
Please note that you can only customize either TIME or DISTANTANCE, you cannot adjust both in the same
workout.

15
X-15
C. Program Selection: There are 16 programs including 1 Manual Program, 6 Preset Programs, 1 Body
Fat Program, 4 Heart Rate Control Programs, 4 User Setting Programs.
D. Program Graph: Each graph shown is the profile of loading in each interval (column). With the value
of TIME counting up, each interval is 3 minutes and all the columns make up a total of 30 minutes.
With the value of TIME counting down, each interval is the value of setup TIME divided by 10. For
example, if the time value is setup to 40 minutes, each interval will be 40 minutes divided by 10
(40/10=4). Namely, each interval will be 4 minutes. The brief descriptions of the profile of each
graph are as follows:
Program 1: Manual
Program 8: Body Fat
Program 2: Rolling
Program 9: Target H.R.
Program 3: Valley
Program 10: 60% H.R.C.
Program 4: Fat Bum
Program11: 75% H.R.C.
Program 5: Ramp
Program 12: 80% H.R.C.
Program 6: Fitness Test
Program 13-16: User Settings
Program 7: Random
E. Body Types: There are 9 body types divided according to the FAT% calculated.
Type 1: 5~9%
Type 6: 30~34%
Type 2: 10~14%
Type 7: 35~39%
Type 3: 15~19%
Type 8: 40~44%
Type 4: 20~24%
Type 9: 45~50%
Type 5: 25~29%
G. BMR: Basal Metabolism Ratio
H. BMI: Body Mass Index

16
X-15
Operating Instructions:
A. Exercising With a Specific Goal:
1. TIME Control: Sets up a period of time to exercise. (Except in Program 8)
2. DISTANCE Control: Sets up a certain distance to exercise. (Except in Program 8)
3. BODY FAT Control: Computer designs various programs for different people with different
body fat ratios.
4. WATT Control: Keeps different bodies burning in desired WATT consumed.
5. Heart Rate Control: Keeps users to exercise on a safe heart-beating condition.
B. Heart Rate: The whole set of heart rate detector includes 2 sensors each side. Each sensor has
2 pieces of metal parts. The correct way to get detected is to gently press both metal parts with
each hand. Once the signals are picked up by the computer, the HEART RATE/BODY TYPE
display will flash.
C. Program 1: Manual Program:
Press the "ENTER" key to select TIME, DISTANCE, and AGE.
Then, press the “UP” or “DOWN” key to adjust the values. The default loading level is 6. After pressing
"START/STOP" key to exercise, please also apply the heart rate detector appropriately. Users may exercise
in any desired level (by pressing “UP” or “DOWN” during the workout) with a period of time or a certain
distance.
With the input of age, the computer may suggest a target heart rate to exercise. The suggested heart rate is
80% (220 - age). So, if the heart rate detected equals to or is greater than the TARGET H.R., the value of
HEART RATE will keep flashing. Please note that it is a warning for users to slow down or to lower the level
of intensity.

17
X-15
D. Program 2~7: Preset Programs:
Press the "ENTER" key to select TIME, DISTANCE, and AGE.
Then, press the “UP” or “DOWN” key to adjust the values. Users may exercise with different levels of
loading in different intervals as the profiles show.
After pressing "START/STOP to exercise, please also apply the heart rate detector appropriately. Users
may also exercise in any desired level (by pressing “UP” or “DOWN” during the workout) with a period of
time or a certain distance.
With the input of age, the computer may suggest a target heart rate to exercise. The suggested heart rate is
80% (220 - age). So, if the heart rate detected equals to or is greater than the TARGET H.R., the value of
HEART RATE will keep flashing. Please note that it is a warning for users to speed down or to lower the
level of intensity.
E. Program 8: Body Fat Program:
This is a program designed to calculate users' body fat ratio and to design a specific workout profile for them.
With 9 different body types, the computer can generate 9 different profiles respectively.
Press the "ENTER" key to select GENDER, HEIGHT, WEIGHT, and AGE.
Then, press “UP” or “DOWN” key to adjust the values. After pressing "START/STOP" to calculate body fat,
please also apply the heart rate detector appropriately. If the detector cannot pick up any signals, an error
message "E3" will show up. If that happens, press "START/STOP" key to calculate again.
The calculated values of FAT%, BMR, BMI, BODY TYPE, and a designed profile will show up shortly. Press
"START/STOP" key to exercise.

18
X-15
F. Program 9~12: Heart Rate Control Programs:
Press the "ENTER" key to cycle through TIME, DISTANCE, and TARGET H.R.
Users may setup a target heart rate to exercise in a period of time or a certain distance. In Program 10 to
Program 12, press the "ENTER" key to select TIME, DISTANCE, and AGE. Then, press “UP” or “DOWN”
to adjust the values. Users may exercise in a period of time or a certain distance with 60% of Max Heart
Rate in Program l0, 75% of Max Heart Rate in Program 11, and 80% of Max Heart Rate in Program 12.
After pressing "START/STOP" key to exercise, please also apply the heart rate detector appropriately. In
these programs, the computer will adjust the level of loading according to the heart rate detected. For
example, the level of loading may increase while the heart rate detected is lower than TARGET H.R. and
the level of loading may decrease while the heart rate detected is higher than TARGET H.R.
As a result, the user's heart rate will be adjusted to close to the TARGET H.R., i.e. in the range from
TARGET H.R.-5 to TARGET H.R.+5.

19
X-15
G. Program 13~16: User Setting Independent Program:
Users are free to edit the values in the order of TIME, DISTANCE, AGE, and the level of loading in 10
intervals. The values and profiles will be stored in the computer memory after setup.
After pressing "START/STOP" key to exercise, please also apply the heart rate detector appropriately.
Users may also change the ongoing loading in each interval by pressing “UP” or “DOWN” key, but this will
not change the level of loading stored in the memory.
With the input of age, the computer may suggest a target heart rate to exercise. The suggested heart rate
is 80% (220 - age). So, if the heart rate detected equals to or is greater than the TARGET H.R., the value
of HEART RATE will keep flashing. Please note that it is a warning for users to speed down or to lower
the level of loading.

20
X-15
4. EXERCISE GUIDE
How you begin your exercise program depends on your physical condition. If you have been inactive
for several years or are severely overweight, start slowly and increase your workout time gradually.
Increase your workout intensity gradually by monitoring your heart rate while you exercise.
Remember to follow these essentials:
Have your doctor review your training and diet programs.
Begin your training program slowly with realistic goals that have been set by you and your
physician.
Warm up before you exercise and cool down after you work out.
Take your pulse periodically during your workout and strive to stay within a range of 60% (lower
intensity) to 90% (higher intensity) of your maximum heart rate zone. Start at the lower intensity,
and build up to higher intensity as you become more aerobically fit.
If you feel dizzy or lightheaded you should slow down or stop exercising.
Initially you may only be able to exercise within your target zone for a few minutes; however, your
aerobic capacity will improve over the next six to eight weeks. It is important to pace yourself while you
exercise so you don't tire too quickly.
To determine if you are working out at the correct intensity, use a heart rate monitor or use the table
below. For effective aerobic exercise, your heart rate should be maintained at a level between 60% and
90% of your maximum heart rate. If just starting an exercise program, work out at the low end of your
target heart rate zone. As your aerobic capacity improves, gradually increase the intensity of your
workout by increasing your heart rate.
Table of contents
Other Life Span Elliptical Trainer manuals

Life Span
Life Span X-22 User manual

Life Span
Life Span E2i User manual

Life Span
Life Span X-17 User manual

Life Span
Life Span EL2000 User manual

Life Span
Life Span ROWER-440 User manual

Life Span
Life Span X-40 User manual

Life Span
Life Span XT-36 User manual

Life Span
Life Span EL1000 User manual

Life Span
Life Span X-01 User manual

Life Span
Life Span ST-12 User manual