4
Overview
The EVOS®FL Auto Imaging System is a fully
automated imaging system controlled by the
integrated EVOS®FL Auto software. The software,
accessed by the touch-screen monitor, controls
the automated X-Y axis stage and the objective
turret, and features standard and advanced
imaging and analysis tools.
Note: The EVOS®FL Auto Imaging SystemUser
Guide is provided on the USB flash drive. You can
also dowload it from the EVOS®FLAuto Imaging
System product page at www.lifetechnologies.com.
2
Basic Operation - Quick Image
Note: For more detailed information such as advanced
operations (i.e., editing images, creating scan routines,
time lapse imaging, etc.) refer to the EVOS®FL Auto
Imaging SystemUser Guide.
1. Place the sample on the stage using the
appropriate vessel holder.
2. On the Home page, click Quick Image.
3. Using the Quick Image Wizard, enter the
following information:
• Which Vessel : Select vessel type
• Where to Start : Select a location to view
• Which Lighting : Select the light paths for
preview and capture (you can select multiple
paths for the capture overlay)
• What Magnification : Select theobjective(s)
to preview and capture the image(s)
4. Click Launch Wizard! .The system will move
to the Image}Capture tab, which will display the
preview choices selected in Step 3.
5. Adjust the focus and illumination using the
Lightand Focus sliders . The Light Path
buttons will allow adjustments to each
individual channel.
6. Press Preset to utilize the capture options
selected in Step 3. The system will automatically
move to the Image Edit}Overlay tab to allow
for further adjustments to brightness and
contrast.
7. Click Save Image 11 . For more information,
refer to the EVOS®FL Auto User Guide.
Capture Tab Controls
The controls on the Capture tab can be accessed via the
Quick Image Wizard (see Basic Operation - Quick Image),
by selecting Capture on the Home page, or by clicking the
Image }Capture tab on any screen.
}Vessel Expert : Used for selecting vessel type;the
crosshairs on the virtual vessel are used for
choosing a location to view.
}Objective buttons : Automatically adjustthe objective
turret for the desired magnification.
}Power button : Turns the light ON or OFF.
}Light and Camera button : Selects between
Monochrome or Color cameras. If using the monochrome
camera, allows displaying Pseudocolor.
}Light Path buttons : Select betweeninstalled light
cubes or transmitted light from thecondenser.
}Snap to Last : Auto-focuses on the last position on the
z-axis; used for quick focus on similar types of samples.
}Quick slider : Calculates the focal range where the
sample is located based on the vessel selected.
}Find Sample and Auto Fine : Automatic course
and fine focusing.
}Course 11 and Fine sliders 12 : Used for manually
adjusting course and fine focus.
}Capture 13 : Captures the current image on the screen.
}Capture All 14 : Captures an image using each of the
installed light cubes.
}Z-Stack 15 : Captures a series of images in the z-axis.
}Save 16 : Saves the captured images.
3
Setup
1. Unpack the monitor, and plug in the power
cord and the USB cable into the monitor.
2. Unpack the computer and accessories. Plug
in the mouse, keyboard, and power cord.
Connect the monitor and the computer using
the USB cable connected to the monitor.
3. Remove the accessory box and theinstrument
from the shipping box. DO NOT lift the
instrument by the stage or the condenser
arm; lift it by the handholds located in the
instrument base.
4. Ensure that the instrument power switch is
OFF, and then plug the power cable into the
power supply and the instrument. Use the
DVI cable to connect the instrument and the
monitor, and use the USB cable to connect
the instrument to the computer.
5. Remove the shipping restraint by loosening
the three thumb screws and pulling the
restraint forward, away from the unit.
6. Turn the instrument power switch ON. The
automatic X-Y stage will begin to move within
a few seconds of being powered on.
7. Once the stage has stopped moving and the
windows desktop appears on the monitor,
double-click the EVOS®logo (next to the start
button) to launch the software.
8. Once the Home page is displayed, the
instrument is ready to use.
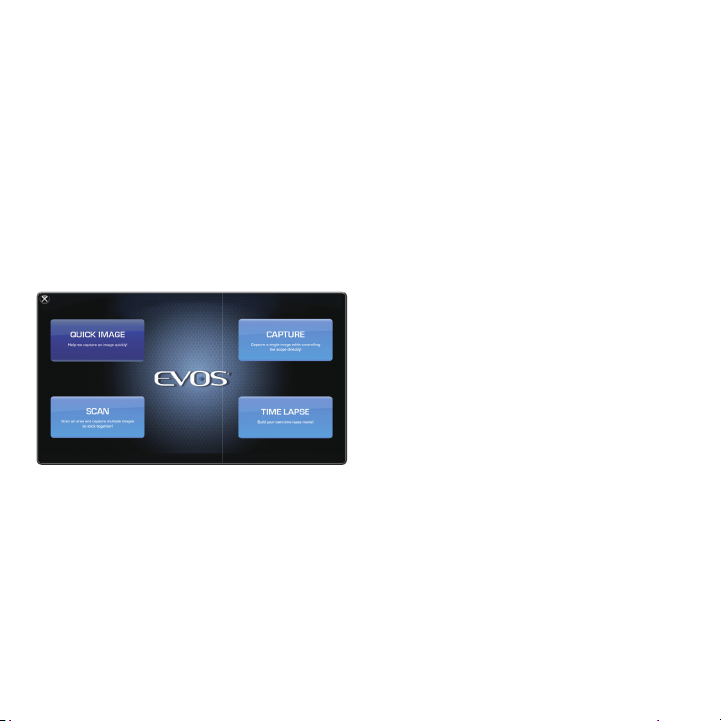
Home page of the EVOS®FL Auto software
Quick Image: Provides step-by-step
instructions for capturing an image in the
fastest way possible.
Capture: Captures a single image while
allowing the direct control of the instrument.
Scan: Scans an area to acquire multiple
images to build a tiled and stitched image.
Time Lapse: Creates and runs time lapse
movies based on user specifications.
11
Note: 13 ,14 ,15 , and 16 are HotButtons.
Hot Buttons are user-specified, programmable
buttons that customize theimagingsystem.
Up to four Hot Buttons can be displayed on
the Image }Capture tab.
For more information, refer the EVOS®FL
Auto Imaging SystemUser Guide.
11 12 13 14 15 16