www.linarie.com.au 7
7.1. Powering on
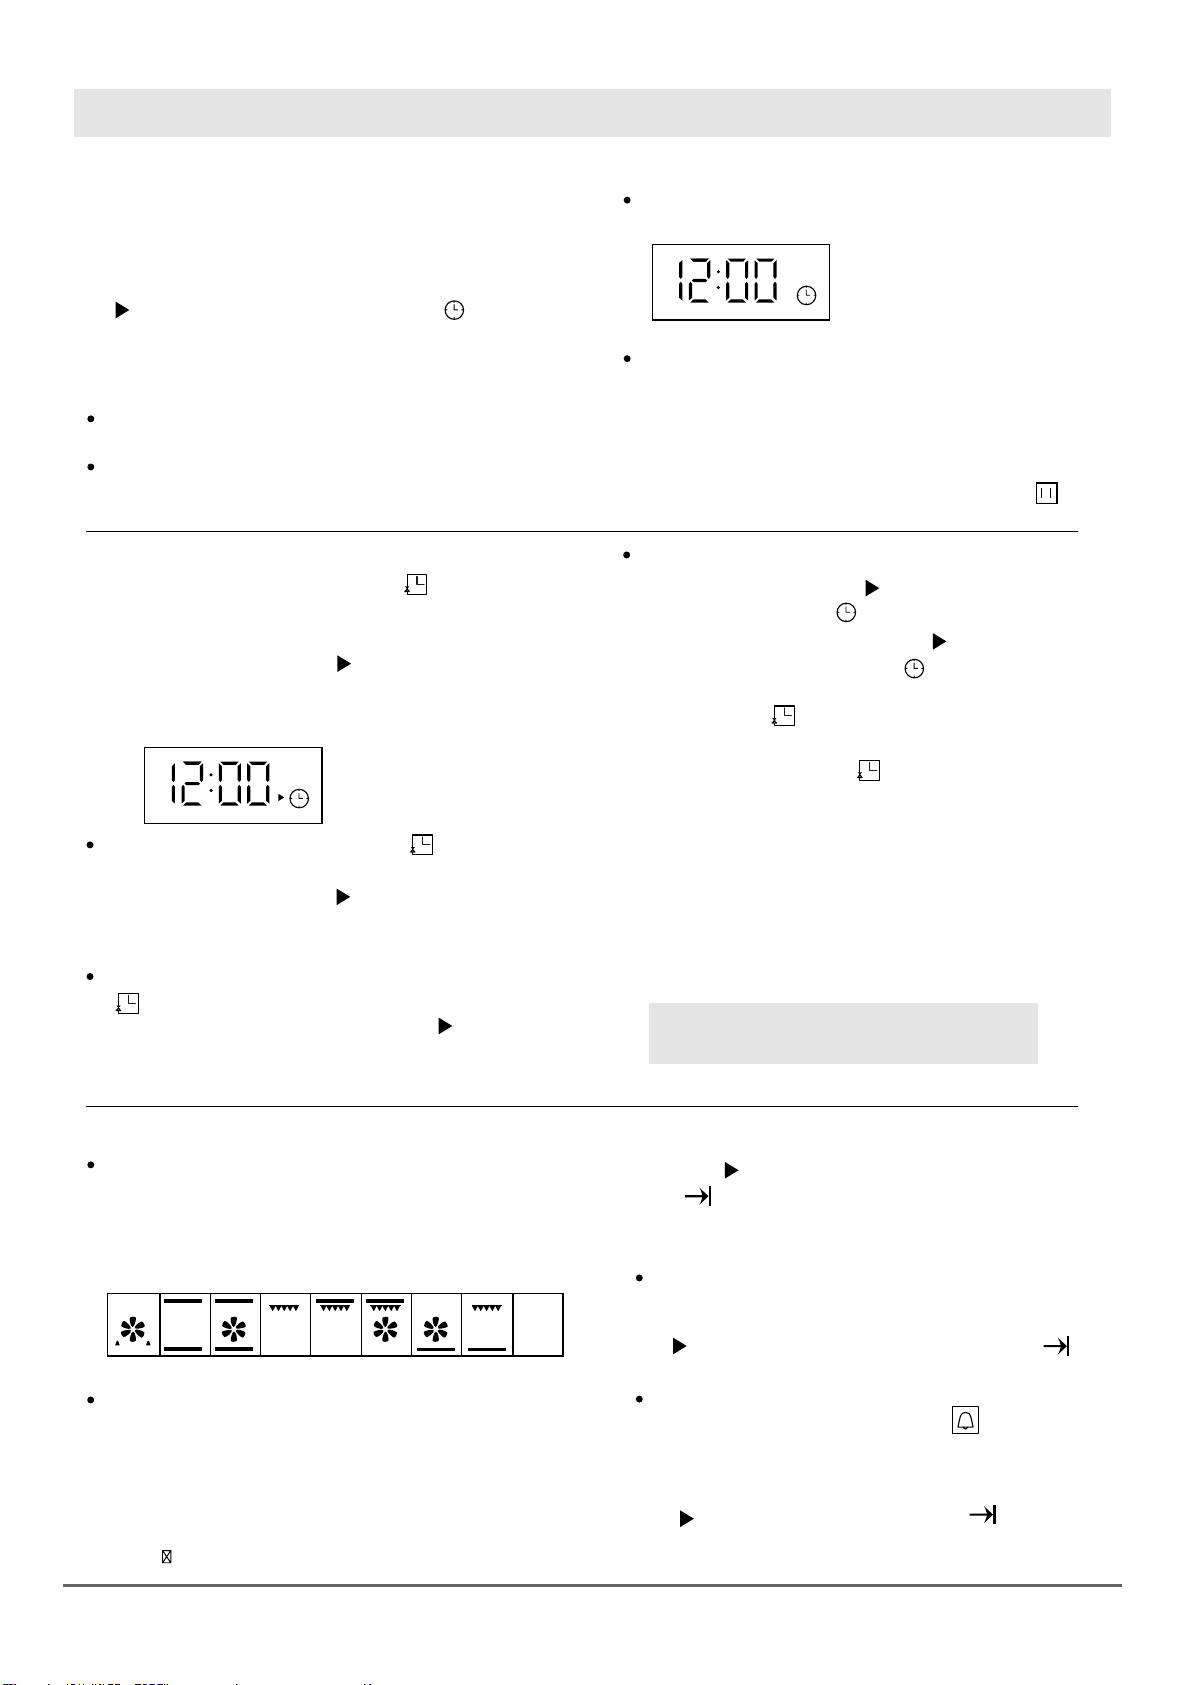
Connect your appliance to the main supply,
all indicator lights of the display board will
light up for 1second and then enter the clock
setting state. Default time show 12:00, hour
“12” flashes, the system clock setting icon
“ ” flashes, and the system clock icon “ ”
is always on. The clock can be input at this
time, refer to clock setting requirement for details.
After 10 seconds without any operation and the
oven will enter to adjust minute automatically.
Within 10 seconds without any operation when
adjusting minute, the oven will enter standby
mode automatically.
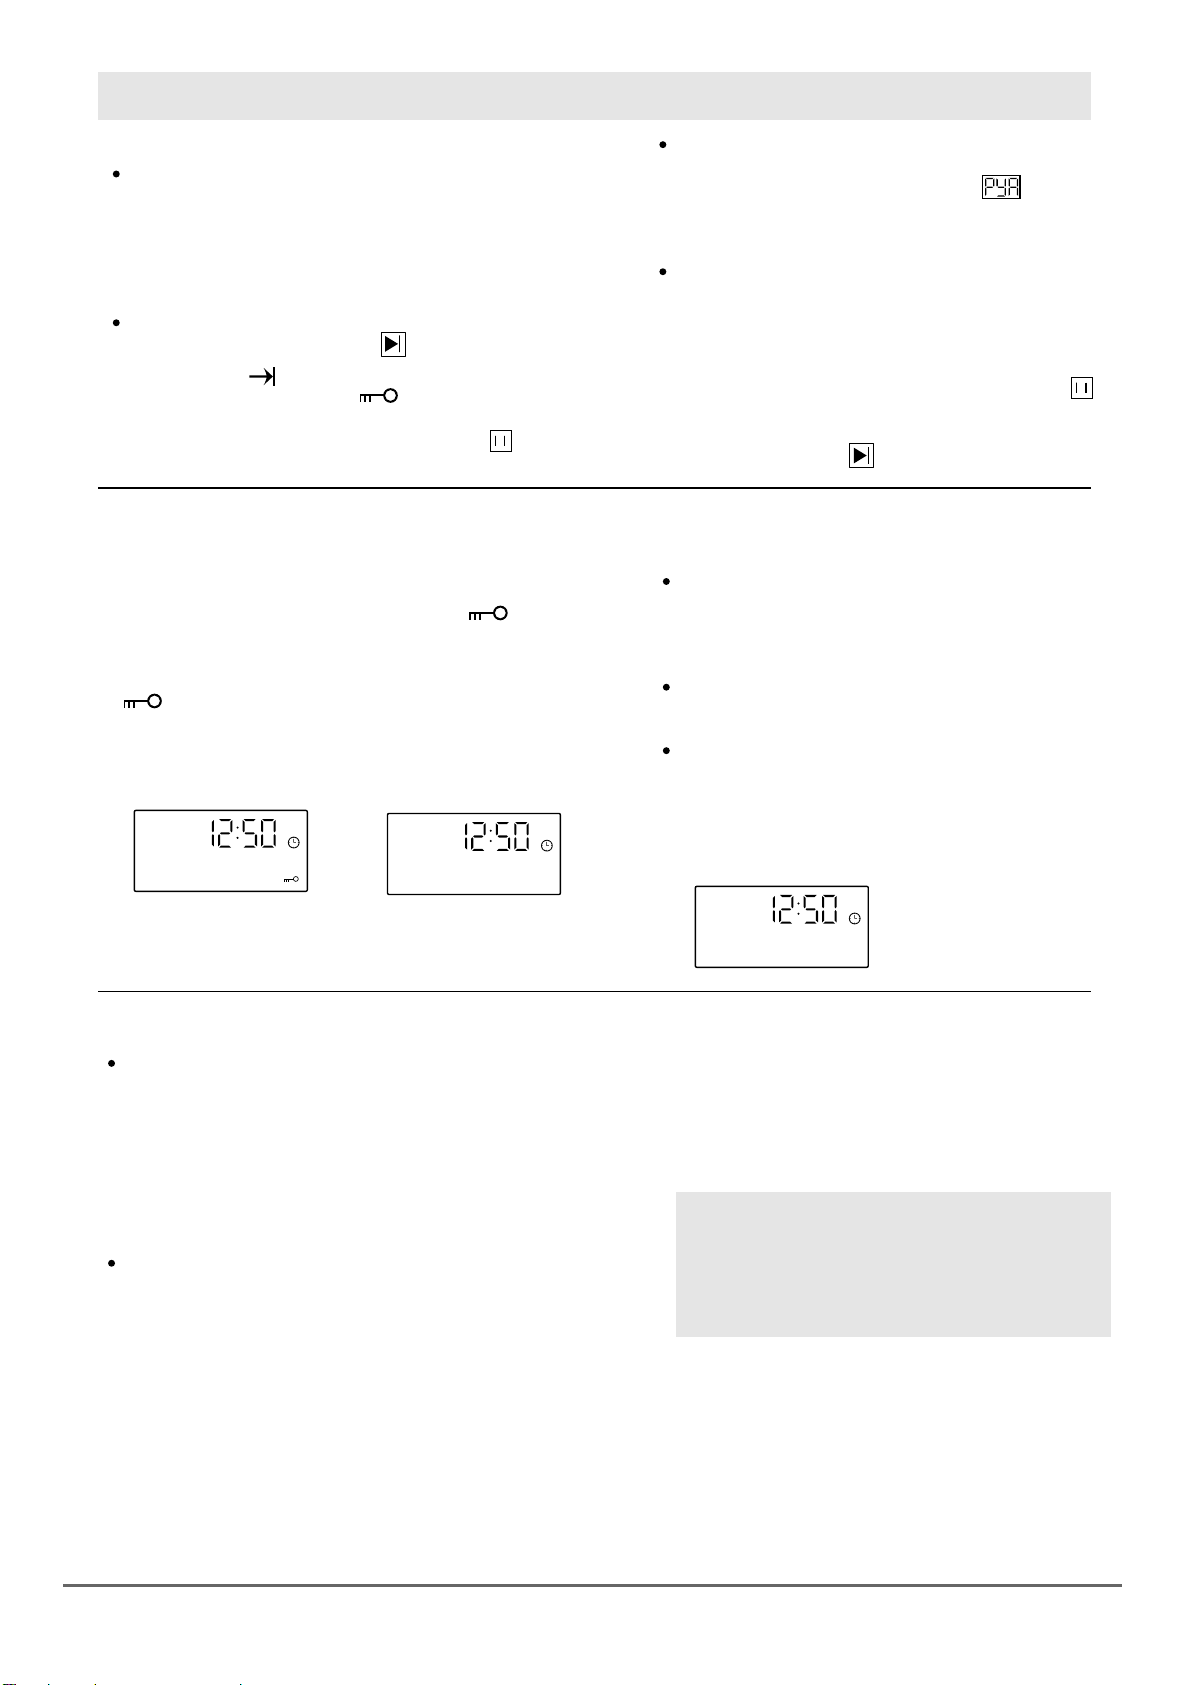
Under the standby mode, the display always shows
system time.(Refer to image below.)
Initial standby mode
When the oven is powered on, the oven door lock will
start to self-inspection. During the self-inspection, the
door lock will run back and forth automatically. If there
is no abnormal alarm within 20 seconds, then
self-inspection is completed. Or if it shows fault code
“E-3” during the self-inspection, please refer to protection
function for problem analysis, you can touch “ ” to
cancel the fault code and return to standby mode.
7. PROGRAM FUNCTIONS
to switch to minute adjustment. Minute
value and the setting icon “ “ flash at this
time, you can set minute time by rotating
programming switch KB2.(0~59).
After adjusting the minutes, re-touch the
“ ” to confirm, clock setting accomplished.
And at this time, the clock setting icon “ ”
goes out and the second icon “ : ” flashes
(1s/1 time).
After adjusting the hours, re-touch “ ”
7.2 Time setting
In the standby mode, touching the “ ”
button once to enter the system clock setting
state. At this time, the hour value of the
clock and the setting icon “ ” flash (1s/1
time) and the hour is set by rotating the
switch KB2. (0~23~0 is recyclable)
When the hour and minute are set, the
system clock setting icon “ ” flashes and
the system clock icon “ ” is always on.
After confirming, the setting icon “ ” is
off and the system clock icon “ ” continues
to be displayed. In the hour setting, if you do
not touch the “ ” button to confirm within
10 seconds, it will automatically switch to
the minute setting. If the “ ” button is not
confirmed within 10 seconds after the clock
setting is completed, the system defaults to
complete the clock setting and automatically
returns to the standby state. If the clock is
not set within 20 seconds after power-on,
the system default clock is 12:00 and enters
standby state. If the power is turned off, the
clock will be reset.
In the standby state, only the system clock
is dsplayed.
7.3 Function choices
Under standby status, switch different
functions by rotating the programming
switch KB1 in turn, refer to shown below for the
order. (The oven will remember the last
operation) If temperature is not adjustable for that switch KB2 to
set
the cooking temperature. function level, the default
clock value and the working parameter setting icon
“
” flash as well as the oven working icon “ “
is always on.
When selecting the function, the clock position shows the
default cooking time of the corresponding function
(it will show “Eco” under Eco mode), the temperature
position shows the default temperature of the corres-
ponding function. For temperature adjustable function
mode, temperature place will display default temperature
value of corresponding function and flash, temperature
icon “ ” will flash, and the working parameter setting
icon “ ” flash as well as the oven working icon
“ ” is always on. You can rotate the
programming switch KB2 to set the cooking
temperature.
For temperature adjustable function mode, after the
cooking temperature is set, touch “ ” to switch to
cooking time adjustment, display screen clock place
will display default cooking time of corresponding
function and flash, the working parameter setting icon
“” flash and working time icon “ ” is always on,
you can rotate programming switch KB2 to set the
cooking time at this time.