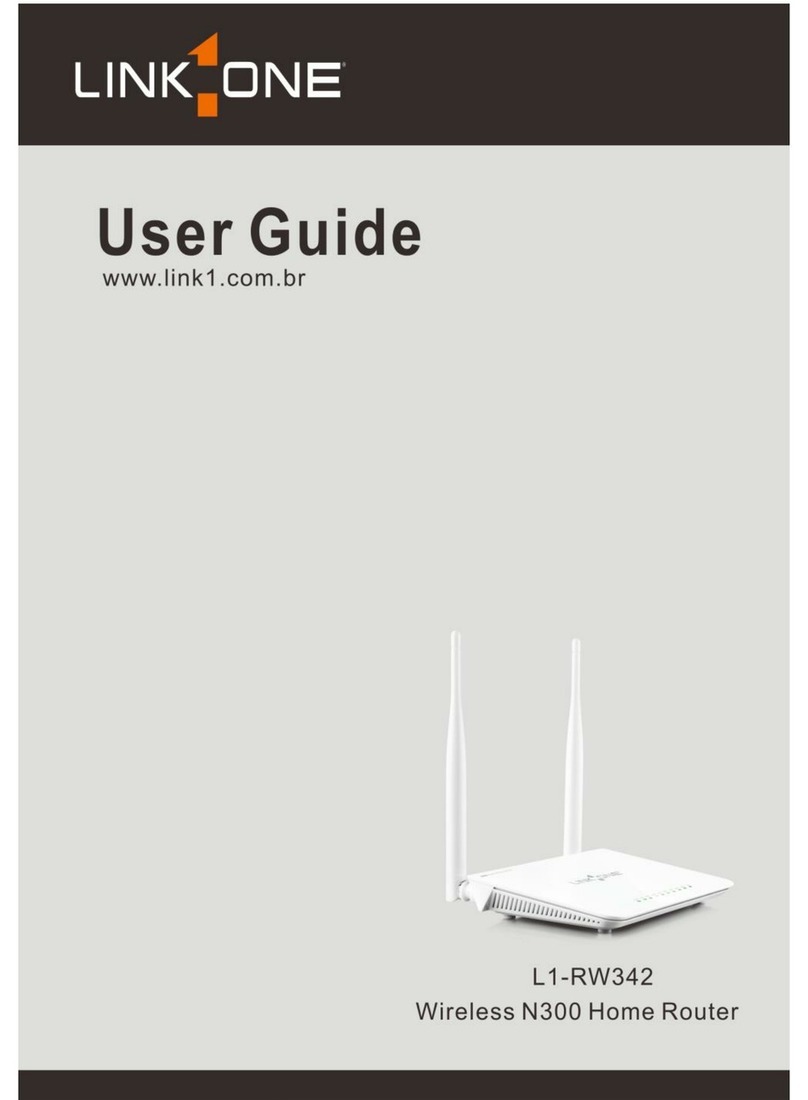
Link-One L1-RW333 User manual

Wireless N300 Home Router

Wireless N300 Home Router
Copyright Statement
is the registered trademark of Shenzhen Tenda Technology Co.,
Ltd. All the products and product names mentioned herein are the trademarks or
registered trademarks of their respective holders. Copyright of the whole product
as integration, including its accessories and software, belongs to Shenzhen Tenda
Technology Co., Ltd. No part of this publication can be reproduced, transmitted,
transcribed, stored in a retrieval system, or translated into any language in any
form or by any means without the prior written permission of Shenzhen Tenda
Technology Co., Ltd. If you would like to know more about our product information,
please visit our website at www.link1.com.br
Pictures, images and product specifications herein are for references only. To
improve internal design, operational function, and/or reliability, Tenda reserves the
right to make changes to the products described in this document without
obligation to notify any person or organization of such revisions or changes. Tenda
does not assume any liability that may occur due to the use or application of the
product or circuit layout(s) described herein. Every effort has been made in the
preparation of this document to ensure accuracy of the contents, but all
statements, information and recommendations in this document do not constitute
the warranty of any kind, express or implied.
.

Wireless N300 Home Router
Table of Contents
Table of Contents..................................................................................................... 3
Chapter 1 Product Overview.................................................................................. 1
1.1 Package Contents......................................................................................... 1
1.2 Getting to know your router.......................................................................... 1
Chapter 2 Installation and Quick Setup Guide..................................................... 3
2.1 Preparation..................................................................................................... 3
2.2 Physical Installation....................................................................................... 3
2.3 Internet Connection Setup............................................................................ 5
2.3.1 Use Standard TCP/IP Properties for DHCP........................................ 5
2.3.2 Log in to Web Manager......................................................................... 5
2.3.3 Connect to Device Wirelessly............................................................... 5
Chapter 3 Advanced Settings............................................................................... 12
3.1 Status ............................................................................................................ 12
3.2 Internet Connection Setup.......................................................................... 13
3.2.1 PPPoE ................................................................................................... 13
3.2.2 Static IP.................................................................................................. 14
3.2.3 DHCP..................................................................................................... 15
3.2.4 PPTP...................................................................................................... 15
3.2.5 L2TP....................................................................................................... 16
3.3 MAC Clone................................................................................................... 18
3.4 WAN Speed.................................................................................................. 18
3.5 WAN Medium Type...................................................................................... 18
3.6 LAN Settings ................................................................................................ 21
3.7 DNS Settings................................................................................................ 21
3.8 DHCP............................................................................................................ 22
3.9 DHCP Client List.......................................................................................... 22
Chapter 4 Wireless Settings................................................................................. 24
4.1 Wireless Basic Settings.............................................................................. 24
4.1.1 Wireless AP Mode................................................................................ 24
4.1.2 WDS Bridge Mode ............................................................................... 25
4.2 Wireless Security......................................................................................... 32
4.3 Wireless Access Control............................................................................. 35
4.4 Wireless Client............................................................................................. 36
Chapter 5 Bandwidth Control............................................................................... 37
5.1 Bandwidth Control....................................................................................... 37
5.2 Traffic Statistics............................................................................................ 38
Chapter 6 Special Applications............................................................................. 39

Wireless N300 Home Router
6.1 Port Range Forwarding............................................................................... 39
6.2 DMZ Host...................................................................................................... 40
6.3 DDNS............................................................................................................ 41
6.4 UPNP ............................................................................................................ 42
6.5 Static Routing............................................................................................... 42
6.6 Routing Table ............................................................................................... 43
Chapter 7 Security................................................................................................. 44
7.1 URL Filter...................................................................................................... 44
7.2 MAC Filter..................................................................................................... 45
7.3 Client Filter ................................................................................................... 47
Chapter 8 Tools ...................................................................................................... 49
8.1 Reboot........................................................................................................... 49
8.2. Restore to Factory Default Settings......................................................... 49
8.3 Back/Restore................................................................................................ 49
8.4 Syslog............................................................................................................ 51
8.5 Remote Web-based Management............................................................ 51
8.6 Time............................................................................................................... 52
8.7 Login Password ........................................................................................... 52
8.8 Firmware Upgrade....................................................................................... 53
Appendix 1 How to Configure IP.......................................................................... 54
WIN7 OS Configuration..................................................................................... 54
XP OS Configuration ......................................................................................... 57
Appendix 2 Glossary.............................................................................................. 59
Appendix 3 FAQs................................................................................................... 62
Appendix 4 Remove Wireless Network from Your PC................................... 64
Appendix 5 Safety and Emission Statement...................................................... 67

Wireless N300 Home Router
1
Chapter 1 Product Overview
1.1 Package Contents
Unpack the box and verify the package contains the following items:
Wireless Broadband Router
Power Adapter
Quick Install Guide
Resource CD(including User Guide, Quick Install Guide, and setup wizard)
Ethernet Cable
If any of the above items is incorrect, missing, or damaged, please contact your
Link-One reseller for immediate replacement.
1.2 Getting to know your router
Before you cable your router, take a moment to become familiar with the front and
back panels and the label. Pay particular attention to the LEDs on the front panel.
Front Panel
Front LED Overview
LED
Status
Description
Power
Solid
Indicates a proper connection to the power supply.
Off
Indicates an improper connection to the power supply.
SYS
Blinking
Indicates system is functioning properly.
WPS
Solid
WPS is enabled.
Blinking
Device is performing WPS authentication on a client
device.
Off
WPS is disabled or WPS negotiation is finished.
WLAN
Solid
Wireless is enabled.
Blinking
Transferring data.
Off
Wireless is disabled.
LAN(1/2/3)
Solid
LAN port connected correctly.
Blinking
LAN port is transferring data.
Off
LAN port connected incorrectly.
WAN
Solid
WAN port connected correctly.
Blinking
WAN port is transferring data.
Off
WAN port connected incorrectly.

Wireless N300 Home Router
2
Back Panel
Back Port Overview
Port
Description
WAN
Usually for connecting DSL MODEM, CABLE MODEM, ISP to
the Internet.
LAN(1/2/3)
Usually for connecting computers, switches ,etc.
POWER
The power adapter is connected and you can use the provided
adapter to supply power.
WPS/ RESET
When you press this button for 7 seconds, files set by the router
will be deleted and the router restores to default factory settings;
for 1 second, WPS will be enabled and the WPS LED will be
blinking accordingly.
1.3 Position your Router
The router lets you access your network from virtually anywhere within the operating
range of your wireless network. However, the operating distance or range of your
wireless connection can vary significantly depending on the physical placement of
your router. For example, the thickness and number of walls the wireless signal
passes through can limit the range. For best results, place your router:
Near the center of the area where your computers and other devices operate,
and preferably within line of sight to your wireless devices.
So it is accessible to an AC power outlet and near Ethernet cables for wired
computers.
In an elevated location such as a high shelf, keeping the number of walls and
ceilings between the router and your other devices to a minimum.
Away from electrical devices that are potential sources of interference.
Equipment that might cause interference includes ceiling fans, home security
systems, microwaves, PCs, the base of a cordless phone, or a 2.4-GHz cordless
phone.
Away from any large metal surfaces, such as a solid metal door or aluminum
studs. Large expanses of other materials such as glass, insulated walls, fish
tanks, mirrors, brick, and concrete can also affect your wireless signal.

Wireless N300 Home Router
3
Chapter 2 Installation and Quick Setup Guide
2.1 Preparation
Before connecting Ethernet cables, please verify the following items:
Item
Description
Wireless Router
Used with the provided power supply.
PC
Installed with IE8 or other better web browsers.
Ethernet Cable
Used for linking the PC to the router.
Broadband Service
Provided by ISP.
Internet Connection
Setup
If you connect to the Internet using a broadband
connection that requires a username and a password
provided by your ISP, please select PPPoE;
If your ISP provides all the needed information: IP
address, subnet mask, gateway address, and DNS
address(es), please select Static IP;
If you can access Internet as soon as your computer
directly connects to an Internet-enabled ADSL/Cable
modem, please select DHCP;
If your ISP uses a PPTP connection, please select PPTP;
If your ISP uses an L2TP connection, please select L2TP.
2.2 Physical Installation
1. Connect one end of the included power adapter to the device and plug the other
end into a wall outlet nearby. (Using a power adapter with a different voltage rating
than the one included with the device will cause damage to the device.)

Wireless N300 Home Router
4
2. Connect one of the LAN ports on the device to the NIC port on your PC using an
Ethernet cable.
3. Connect the Ethernet cable from Internet side to the WAN port on the device.
4. When connected, log in to Web manager to set up Internet connection.

Wireless N300 Home Router
5
2.3 Internet Connection Setup
Before you start the setup process, get your ISP information and make sure the
computers and devices in the network have the settings described here.
2.3.1 Use Standard TCP/IP Properties for DHCP
If you set up your computer to use a static IP address, change the settings so that it
uses Dynamic Host Configuration Protocol (DHCP). If you are not clear about this
configuration, please refer to Appendix 1: How to Configure IP.
2.3.2 Log in to Web Manager
1. 1). Launch a web browser, such as IE Web browser;
2). In the address bar, input 192.168.0.1 and press Enter;
3). Enter admin in the password field on the appearing login window and then click
OK.
2.3.3 Connect to Device Wirelessly
Having finished above settings, you can search the device's wireless network (SSID)
from your wireless devices (notebook, iPad, iPhone, etc.) and enter a security key to
connect to it wirelessly.
1. If you are using Windows XP OS, do as follows:
1) Click Start and select Control Panel.

Wireless N300 Home Router
6
2) Click Network Connections.
3) Right click Wireless Network Connection and then select View Available
Wireless Networks.

Wireless N300 Home Router
7
4) Select the desired wireless network, click Connect, enter the security key and
then click OK.
5) You can access Internet via the device when "Connected" appears next to the
wireless network name you selected.

Wireless N300 Home Router
8
2. If you are using Windows 7 OS, do as follows:
1) Click Start and select Control Panel.

Wireless N300 Home Router
9
2) Click Network and Internet.
3) Click Network and Sharing Center.
4) Click Change adapter settings.

Wireless N300 Home Router
10
5) Select a desired wireless connection and right click Connect/Disconnect.
6) Select the wireless network you wish to connect and click Connect.

Wireless N300 Home Router
11
7) Enter the security key and click OK.
8) You can access Internet via the device when "Connected" appears next to the
wireless network name you selected.

Wireless N300 Home Router
12
Chapter 3 Advanced Settings
3.1 Status
Here you can see at a glance the operating status of the device.
1. Connection Status: Displays WAN connection status: Disconnected, Connecting
or Connected.
2. Disconnected: Indicates that the Ethernet cable from your ISP side is not
correctly connected to device's WAN port or the router is not logically connected
to your ISP.
3. Connecting: Indicates that the WAN port is correctly connected and is requesting
an IP address from your ISP.
4. Connected: Indicates that the router has been connected to your ISP.
5. Internet Connection Type: Displays current Internet connection type.
6. WAN IP: Displays the WAN IP address.
7. Subnet Mask: Displays WAN subnet mask provided by your ISP.
8. Gateway: Displays WAN gateway address.
9. DNS Server: Displays the preferred WAN DNS address.
10. Alternate DNS Server: Displays the alternate WAN DNS address if any.
11. Connection Time: Time duration since the device has been successfully
connected to ISP.

Wireless N300 Home Router
13
1. LAN MAC Address: Displays device’s LAN MAC address.
2. WAN MAC Address: Displays device’s WAN MAC address.
3. System Time: Displays device’s system time either customized or obtained from
Internet.
4. Up Time: Displays device's uptime.
5. Connected Client(s): Displays the number of connected network devices (which
obtain IP addresses from device DHCP server).
6. Firmware Version: Displays Device’s current firmware version.
7. Hardware Version: Displays Device’s current hardware version.
3.2 Internet Connection Setup
3.2.1 PPPoE
Select PPPoE (Point to Point Protocol over Ethernet) if you used to connect to the
Internet using a broadband connection that requires a username and a password and
enter the user name and password provided by your ISP.
1. Internet connection Type: Select PPPoE.

Wireless N300 Home Router
14
2. PPPoE User Name: Enter the User Name provided by your ISP.
3. PPPoE Password: Enter the password provided by your ISP.
4. MTU: Maximum Transmission Unit. DO NOT change it from the factory default of
1492 unless necessary. You may need to change it for optimal performance with
some specific websites or application software that cannot be opened or enabled;
in this case, try 1450, 1400, etc.
5. Service Name: Description of PPPoE connection. Leave blank unless otherwise
required.
6. Server Name: Description of server. Leave blank unless otherwise required.
7. Connect Automatically: Connect automatically to the Internet after rebooting the
system or connection failure.
Connect Manually: Require the user to manually connect to the Internet before
each session.
Connect On Demand: Re-establish connection to the Internet only when there is
data transmission.
Connect During Specified Time Period: Only connect to Internet during a
specified time period.
8. OK: Click it to save all your settings.
3.2.2 Static IP
Select Static IP if your ISP provides all the needed info. You will need to enter the
provided IP address, subnet mask, gateway address, and DNS address(es) in
corresponding fields.
1. Internet connection Type: Select Static IP.
2. IP Address: Enter the IP address provided by your ISP. Consult your ISP if you
are not clear.

Wireless N300 Home Router
15
3. Subnet mask: Enter the subnet mask provided by your ISP.
4. Gateway: Enter the WAN Gateway provided by your ISP. Consult your ISP if you
are not clear.
5. DNS Server: Enter the DNS address provided by your ISP.
6. Alternate DNS Server: Enter the other DNS address if your ISP provides 2 such
addresses (optional).
7. OK: Click it to save all your settings.
3.2.3 DHCP
Select DHCP (Dynamic IP) if you can access Internet as soon as your computer
directly connects to an Internet-enabled ADSL/Cable modem.
1. Internet Connection Type: Select DHCP.
2. MTU: Maximum Transmission Unit. DO NOT change it from the factory default of
1500 unless instructed by your ISP. You may need to change it for optimal
performance with some specific websites or application software that cannot be
opened or enabled; in this case, try 1450, 1400, etc.
3. OK: Click it to save your settings.
3.2.4 PPTP
PPTP: Select PPTP (Point-to-Point-Tunneling Protocol) if your ISP uses a PPTP
connection. The PPTP allows you to connect a router to a VPN server.
For example:
A corporate branch and headquarter can use this connection type to implement
mutual and secure access to each other’s resources.

Wireless N300 Home Router
16
1. Internet Connection Type: Displays the current Internet connection type.
2. PPTP Server Address: Enter the IP address of a PPTP server.
3. User Name: Enter your PPTP User Name.
4. Password: Enter the password.
5. MTU: Maximum Transmission Unit. DO NOT change it from the factory default of
1492 unless instructed by your ISP. You may need to change it for optimal
performance with some specific websites or application software that cannot be
opened or enabled; in this case, try 1450, 1400, etc.
6. Address Mode: Select "Dynamic" if you don’t get any IP info from your ISP,
otherwise select "Static". Consult your ISP if you are not clear.
7. IP Address: Enter the IP address provided by your ISP. Consult your ISP if you
are not clear.
8. Subnet Mask: Enter the subnet mask provided by your ISP.
9. Gateway: Enter the WAN Gateway provided by your ISP. Consult your ISP if you
are not clear.
3.2.5 L2TP
Select L2TP (Layer 2 Tunneling Protocol) if your ISP uses an L2TP connection. The
L2TP connects your router to a L2TP server.
For Example:
A corporate branch and headquarter can use this connection type to implement
mutual and secure access to each other’s resources.
Table of contents
Other Link-One Wireless Router manuals
Popular Wireless Router manuals by other brands

ZyXEL Communications
ZyXEL Communications PRESTIGE 334W quick start guide
ZUM Radio
ZUM Radio Elite 3.5 LCD ZUMspot user guide
Linksys
Linksys WRT120N - Wireless-N Home Router Wireless user guide
Gyrfalcon Technology
Gyrfalcon Technology AI Buddy Plai WiFi Getting started guide
Huawei
Huawei HG231f quick start
Asus
Asus RT-AC55UHP user guide
Linksys
Linksys WRT54GR - Wireless-G Broadband Router Quick installation guide
LevelOne
LevelOne WGR-2301 user manual
TRENDnet
TRENDnet TEW-654TR - 300Mbps Wireless N Travel Router datasheet
NETGEAR
NETGEAR MBR1515 user manual
TRENDnet
TRENDnet TEW-731BR Quick installation guide

Buffalo Tech
Buffalo Tech Nfiniti Airstation WHR-G300N user manual
