manuals.online logo
Brands
  1. Home
  2. •
  3. Brands
  4. •
  5. Link
  6. •
  7. Control Unit
  8. •
  9. Link 500 Series User manual

Link 500 Series User manual

Link Mfg. Ltd.
223 15th St. N.E.
Sioux Center, IA USA
51250-2120
www.linkmfg.com
QUESTIONS?
CALL CUSTOMER
SERVICE
1-800-222-6283
INSTALLATION
INSTRUCTIONS
H14980 REV G
10/21/21
500 Series
Height Control Valve
Single Port
(H00500)
2
3. SAFE WORKING PRACTICES
When handling parts, wear appropriate gloves, eye-
glasses, ear protection, and other safety equipment.
Proper tightening of fasteners is important to the perfor-
mance and safety of the suspension. Follow all torque
specifications throughout the instructions.
4. SAFE WORKING PRACTICES
4.1
Air lines are pressurized and may blow debris, USE
EYE PROTECTION.
5. HCV INSTALLATION
5.1
Disconnect and remove old valve.
5.2
Attach the Link H00500 HCV to the same mounting
bracket. Or use the enclosed brackets as needed to
mount the valve.
1. Always mount valve with lever arm on the top side.
2. At full up or down suspension travel:
MAXIMUM LEVER ANGLE IS 45°
MINIMUM LEVER ANGLE IS 30°
3. Mount HCV parallel to frame rail
4. If NOT using the integral dump option, dump pilot
port vent must be left in place.
5. If using integral dump option, remove dump pilot
port vent and connect directly to 3-way selector
valve. Ensure that selector system is vented to at-
mosphere at all times (even when not being acti-
vated).
NOTE: Dump pilot port/system must not be
plugged at any time as this may affect valve center-
ing.
5.3
Attach the proper length lever to the H00500 HCV.
Check for any interference or straight lining of the valve
lever and linkage through the entire suspension travel.
5.4
Reconnect the air lines to the H00500 HCV per figure 1
on page 3. Connect the dump pilot port to a normally
closed control valve.
5.5
Adjust the ride height of the suspension utilizing the
H00500 HCV lever and the vehicle manufacturer’s ride
height recommendations. Install centering pin to ensure
the valve dead band is at ride height.
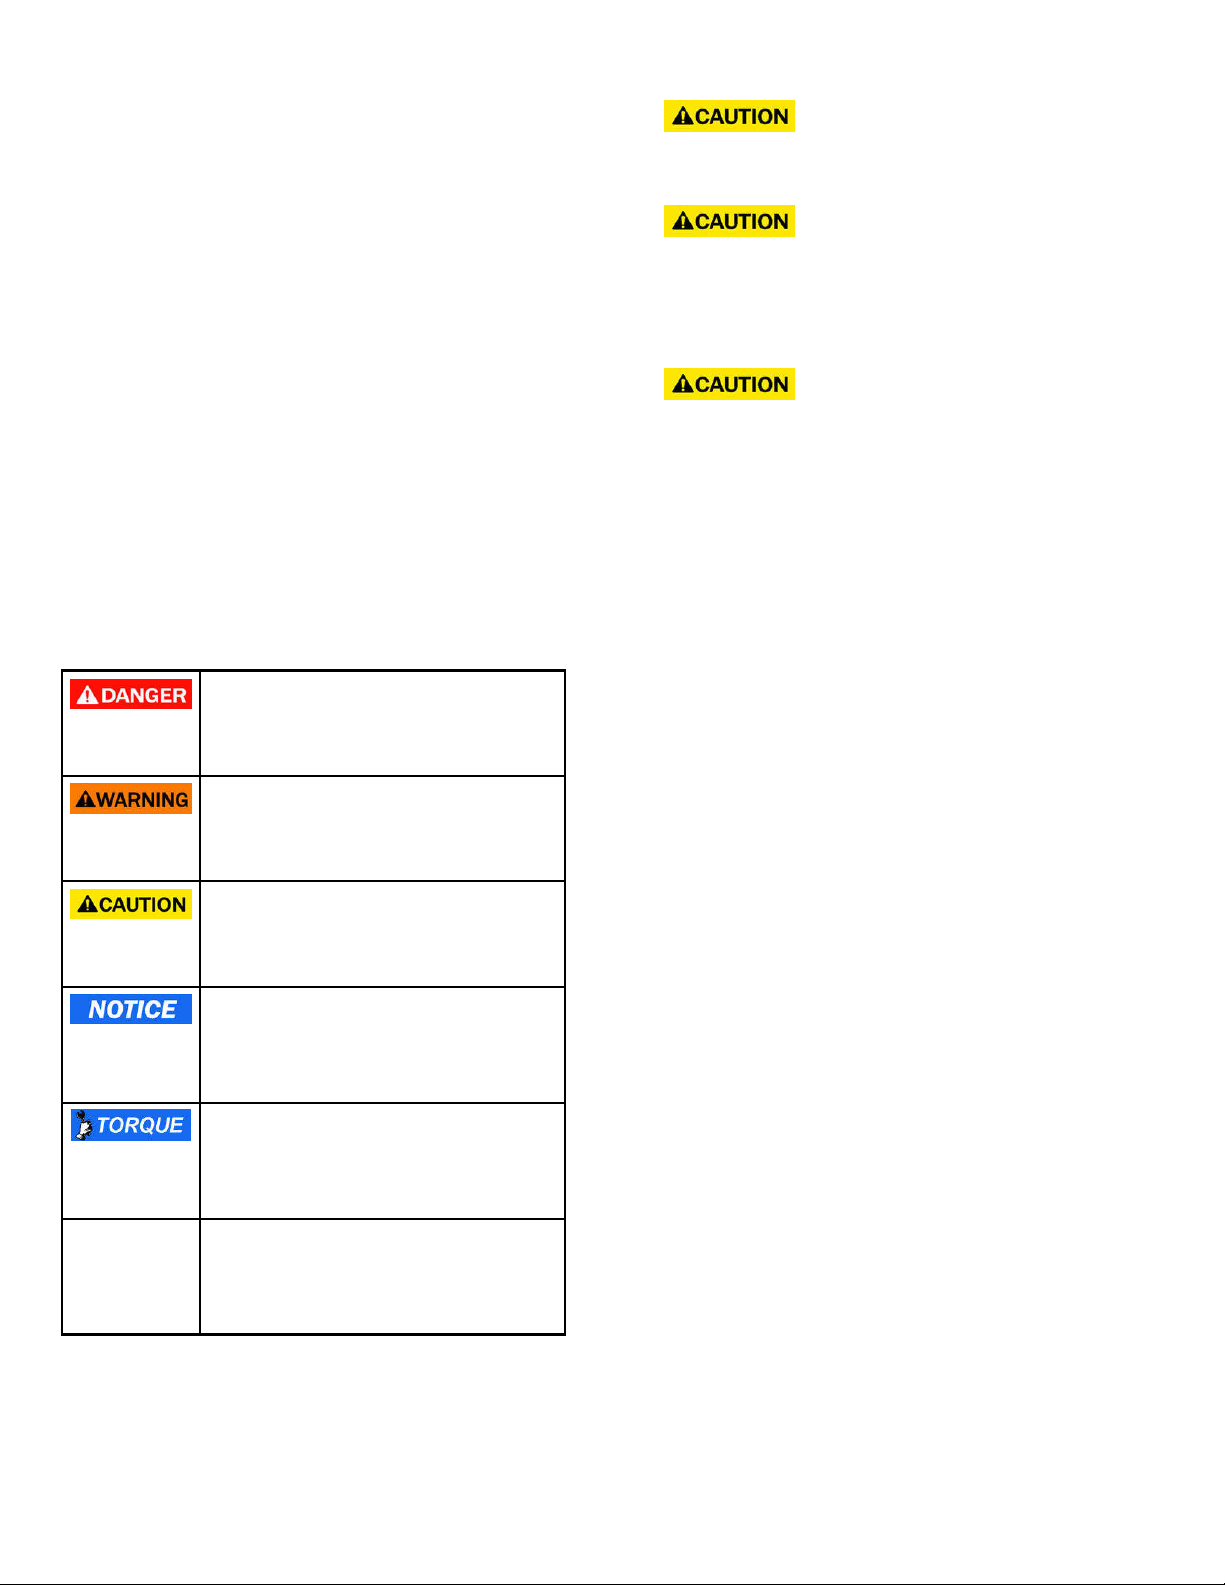
DANGER indicates a hazardous
situation which if not avoided, will
result in death or serious injury.
WARNING indicates a potentially
hazardous situation which, if not
avoided, could result in death or
serious injury.
CAUTION indicates a potentially
hazardous situation which, if not
avoided, could result in minor or
moderate injury.
NOTICE indicates a potentially
hazardous situation which, if not
avoided, may result in property
damage.
TORQUE indicates named fasteners
are to be tightened to a specified
torque value.
NOTE: A Note provides information or
suggestions that help you correctly
perform a task.
IMPORTANT: IT IS IMPORTANT THAT THE ENTIRE IN-
STALLATION INSTRUCTIONS BE READ THOROUGHLY
BEFORE PROCEEDING WITH THE INSTALLATION.
1. INTRODUCTION
Thank you for choosing a Link Suspension Control. We
want to help you get the best results from this height
control valve and to operate it safely. This instruction
contains information to assist in the installation of the
Height Control Valve. This instruction is intended solely
for use with this product.
All information in this instruction is based on the latest
information available at the time of printing. Link Manu-
facturing reserves the right to change its products or
manuals at any time without notice.
Damaged components should be returned to Link with
a pre-arranged Returned Materials Authorization (RMA)
number through the Customer Service Department.
The damaged component may then be replaced if in
compliance with warranty conditions.
2. SAFETY SYMBOLS, TORQUE SYMBOL,
and NOTES
3
6. TROUBLE SHOOTING GUIDE
7. HCV TEST PROCEDURE
7.1
With a minimum of 90 psi at the supply port, rotate the
lever up (as indicated on the side of the valve) 30° to
45°. Air should begin to flow into the air springs within
seconds.
7.2
Rotate the lever to the neutral position. Air flow should
stop.
7.3
Rotate the lever down 30° to 45°. Air should begin to
exhaust from the air springs within seconds.
PROBLEM POSSIBLE CAUSE
Air springs flat
Obstruction in air line
Insufficient air pressure to suspension
Defective Pressure Protection Valve
Defective HCV-see test procedure
Air leak in system
Air Springs raise to full height but do not exhaust Obstructed air line
Defective HCV-see test procedure
Air springs deflate when parked Leak in air system-check with soapy water
Defective HCV-see test procedure
Suspension will not maintain proper height
Check dump port for proper venting
Obstructed air line
Defective HCV-see test procedure
Hard ride Ride height out of adjustment-readjust per vehicle
service manual
Ride height unequal side to side for (2) valve
system
Check dump port for proper venting
Reset ride height on each side
7.4
Rotate the lever to the neutral position. Air flow should
stop.
7.5
If the valve fails to flow air or shut off as specified, re-
place with a new one.
8. REASONS TO REPLACE THE HCV
8.1
 HCV did not pass the test procedure
 Air leaks from the HCV
 HCV is damaged
Figure 1.
5.6
Tighten all nuts to 60 to 80 in-lbs.
5.7
Remove centering dowel.
BOLT TORQUE
60 - 80 IN-LBS
LEVER
DUMP PILOT
PORT
DUMP PILOT PORT VENT
AIR SUPPLY
TO AIR
SPRINGS EXHAUST
PORT
FILL
EXHAUST
LINK MANUFACTURING, LTD.
223 15TH ST. NE, SIOUX CENTER, IA 51250
1-800-222-6283 www.linkmfg.com
Figure 2.

This manual suits for next models

1

Other Link Control Unit manuals

Link 1500 Series User manual

Link

Link 1500 Series User manual

Link 600 Series User manual

Link

Link 600 Series User manual

Link 450 Series User manual

Link

Link 450 Series User manual

Link CAN-Lambda User manual

Link

Link CAN-Lambda User manual

Popular Control Unit manuals by other brands

gefran R-U16 Installation and operation manual

gefran

gefran R-U16 Installation and operation manual

Mankenberg DM 462V Original operating manual

Mankenberg

Mankenberg DM 462V Original operating manual

Genebre 2934 Installation, operation and maintenance manual

Genebre

Genebre 2934 Installation, operation and maintenance manual

Watts AMES Maxim Series manual

Watts

Watts AMES Maxim Series manual

Velleman Whadda WPSE358 manual

Velleman

Velleman Whadda WPSE358 manual

Watts 919 Series Installation, maintenance & repair

Watts

Watts 919 Series Installation, maintenance & repair

SI JANUS installation instructions

SI

SI JANUS installation instructions

Mercury VesselView Mobile quick start guide

Mercury

Mercury VesselView Mobile quick start guide

Trenz Electronic TE0720 Schematics

Trenz Electronic

Trenz Electronic TE0720 Schematics

TP-Link TL-SM321A installation guide

TP-Link

TP-Link TL-SM321A installation guide

Amperes PR7400 instruction manual

Amperes

Amperes PR7400 instruction manual

Pima MWA500 installation guide

Pima

Pima MWA500 installation guide

Emerson SolaHD SCM-E-EIP user guide

Emerson

Emerson SolaHD SCM-E-EIP user guide

Motorline professional MC61BR installer and user manual

Motorline professional

Motorline professional MC61BR installer and user manual

Afag LM 20 instructions

Afag

Afag LM 20 instructions

NOXAS ID-O-Matic manual

NOXAS

NOXAS ID-O-Matic manual

symbios logic J21971S-0398 installation guide

symbios logic

symbios logic J21971S-0398 installation guide

RD DP30V5A operating instructions

RD

RD DP30V5A operating instructions

manuals.online logo
manuals.online logoBrands
  • About & Mission
  • Contact us
  • Privacy Policy
  • Terms and Conditions

Copyright 2025 Manuals.Online. All Rights Reserved.