Rev: 10.18.21 Page 2 CCD-0004098
Introduction
The Lippert 3000 Series Patio Rail Kit has been designed for easy installation and use. The Lippert 3000 Series
Patio Rail Kit is pre-installed onto the ramp door, it can be used in a 90 degree angle as a patio, or fold the
front of the patio rail kit to the sides and lower the ramp door to the ground to load toy vehicles into the
trailer. The overall capacity is 3000 lbs. for doors with five or more bumper contacts or lower hinge leaves,
1600 lbs. for doors with less than five bumper contact or lower hinge leaves.
For information on the assembly or individual components of this product, please visit:
https://support.lci1.com/doors-support-patio-rail-kits.
NOTE: Images used in this document are for reference only when assembling, installing and/or operating
this product. Actual appearance of provided and/or purchased parts and assemblies may differ.
The "WARNING" symbol above is a sign that a procedure has a safety risk involved and may cause death
or serious personal injury if not performed safely and within the parameters set forth in this manual.
Failure to follow instructions provided in this manual may result in death, serious personal injury
and/or severe product and property damage, including voiding of the component warranty.
Safety
Read and understand all instructions before installing or operating this product. Adhere to all safety labels.
This manual provides general instructions. Many variables can change the circumstances of the instructions,
i.e., the degree of difficulty, operation and ability of the individual performing the instructions. This
manual cannot begin to plot out instructions for every possibility, but provides the general instructions,
as necessary, for effectively interfacing with the device, product or system. Failure to correctly follow the
provided instructions may result in death, serious personal injury, severe product and/or property damage,
including voiding of the LCI limited warranty.
TABLE OF CONTENTS
Introduction 2
Safety 2
Weight Ratings 3
Ramp Door 3
Resources Required 3
Prior to Installation 3
Rear Ramp Door Installation 6
Seal Installation 6
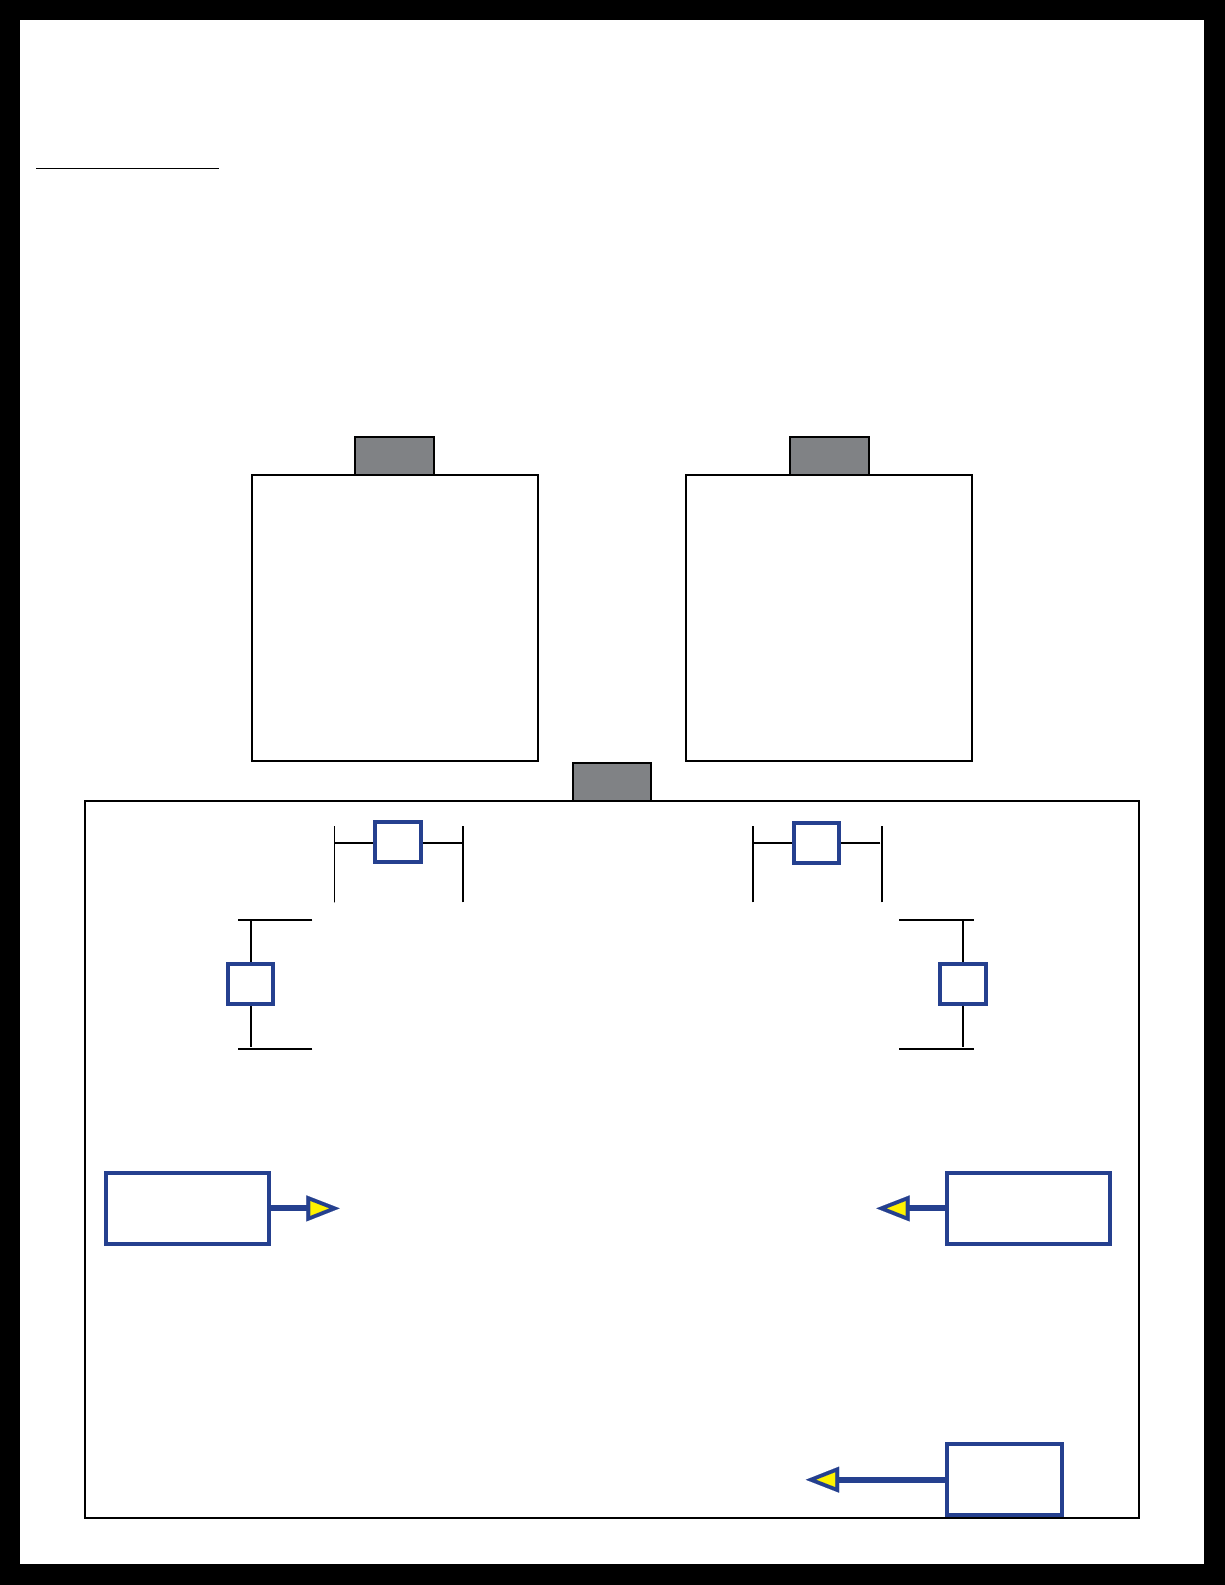
Leaf Hinges 7
Compression Latch Mechanism 8
Door Jamb Bungee Stabilization Brackets 9
Door Cable Installation 11
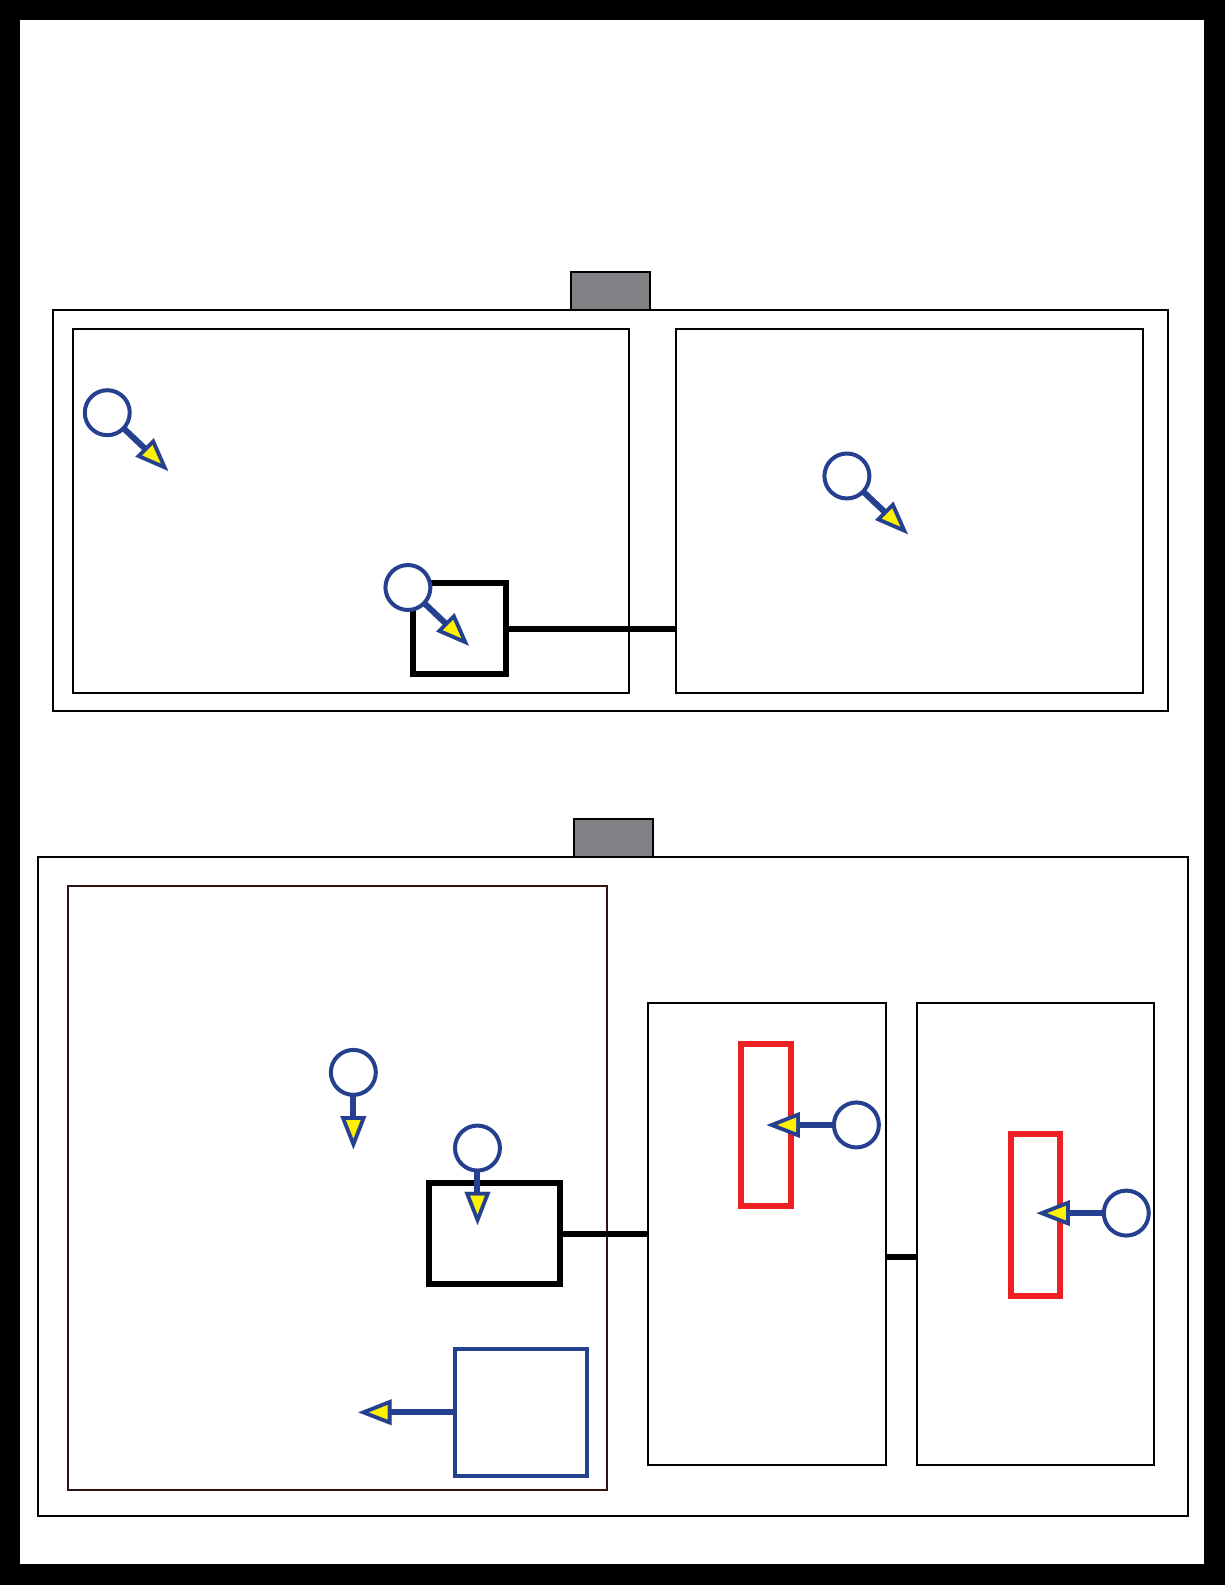
Operation 12
Extended Patio Position 12
Extended Patio to Ramp Position 16
Stowed Ramp Position 21
Stowed Patio Position 24
Maintenance 27