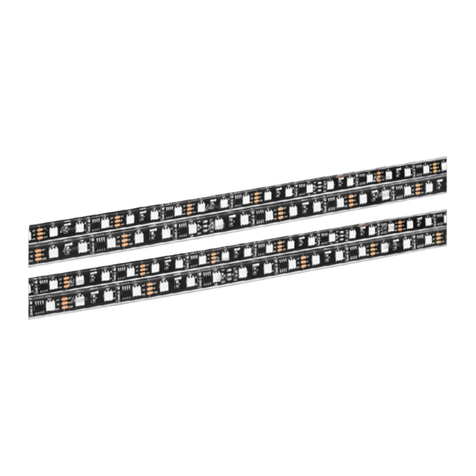
To fully secure the strips, you will be adding one of the small zip ties provided with your kit. You
will see four open sections on the cable tie mount, grab a zip tie, and run it through one of the
available areas (picture below for reference). Carefully tightened the strip to the cable tie mount
without applying too much pressure on the LED strip.
Nylon cable tie with a zip tie
OPTION 2 - USING THE 3M TAPE ON THE BACK OF THE STRIPS
You will mount the LED strips using the 3M adhesive tape on the back of the strips. Consider
adding zip ties if possible. For the 3M tape to properly bond to the surface, the surface must be
free of any dirt.
STEP 5: RUNNING EXTENSION CABLES
Once you've mounted all the strips, you will need to run the extension cables to the engine bay.
In some vehicles, the extension cables can be routed through the inside of the car to the front.
However, not all vehicles are the same, and most require the extensions to be routed on the
underbody of the vehicle. Avoid leaving loose cables and always use proper cable
management.
STEP 6: CONNECTING TO BATTERY
At this point, you should have all four extension cables routed to the engine bay. Locate the four
connector power converter and connect each LED strip to one of the connectors on the
converter. The smallest connection on the converter is for the Bluetooth controller.
The power converter comes with one red power wire and one black ground wire. Add the power
wire to the positive terminal on the vehicle’s battery, locate a ground, and add the ground wire.
*Dirty, rusted and degrading batteries will result in functionality problems*


